
geti-sdk
Software Development Kit (SDK) for the Intel® Geti™ platform for Computer Vision AI model training.
Stars: 78
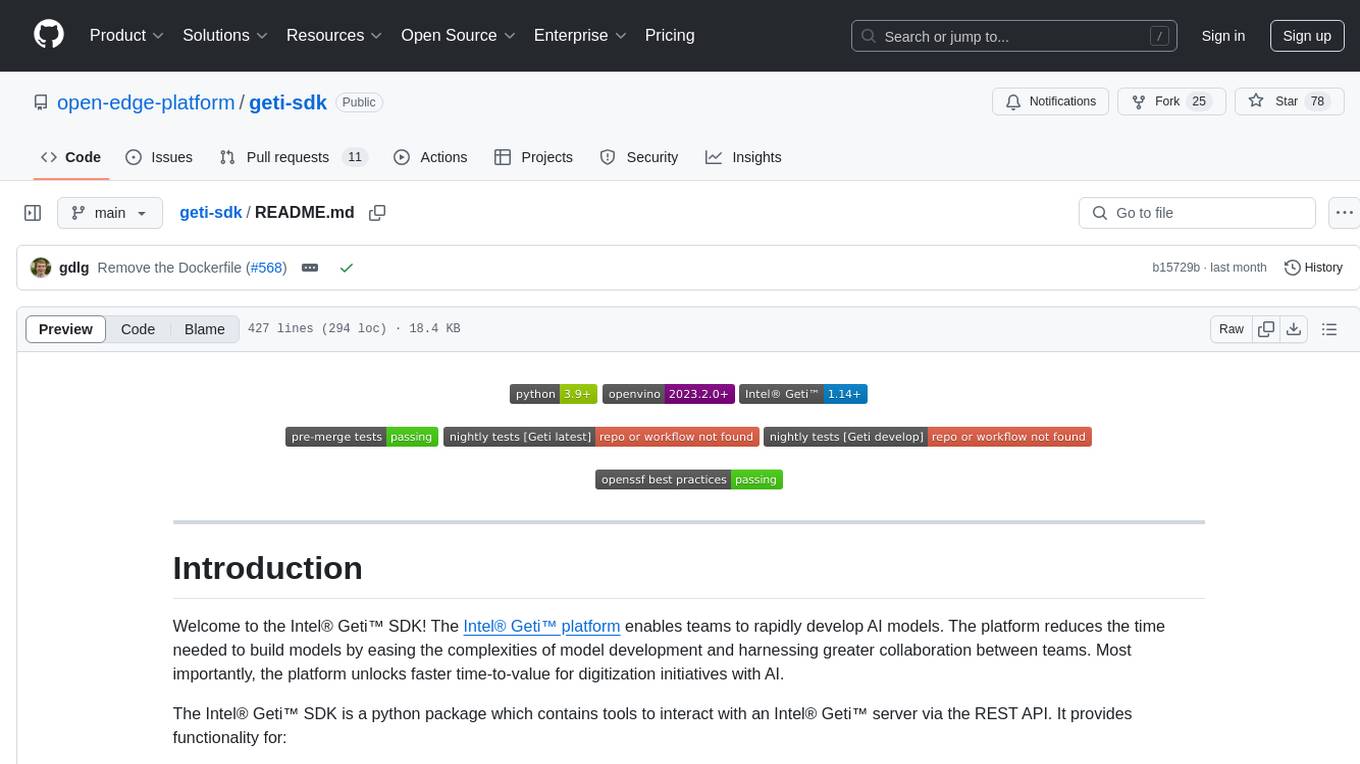
The Intel® Geti™ SDK is a python package that enables teams to rapidly develop AI models by easing the complexities of model development and fostering collaboration. It provides tools to interact with an Intel® Geti™ server via the REST API, allowing for project creation, downloading, uploading, deploying for local inference with OpenVINO, configuration management, training job monitoring, media upload, and prediction. The repository also includes tutorial-style Jupyter notebooks demonstrating SDK usage.
README:
Welcome to the Intel® Geti™ SDK! The Intel® Geti™ platform enables teams to rapidly develop AI models. The platform reduces the time needed to build models by easing the complexities of model development and harnessing greater collaboration between teams. Most importantly, the platform unlocks faster time-to-value for digitization initiatives with AI.
The Intel® Geti™ SDK is a python package which contains tools to interact with an Intel® Geti™ server via the REST API. It provides functionality for:
- Project creation from annotated datasets on disk
- Project downloading (images, videos, configuration, annotations, predictions and models)
- Project creation and upload from a previous download
- Deploying a project for local inference with OpenVINO
- Getting and setting project and model configuration
- Launching and monitoring training jobs
- Media upload and prediction
This repository also contains a set of (tutorial style) Jupyter notebooks that demonstrate how to use the SDK. We highly recommend checking them out to get a feeling for use cases for the package.
Using an environment manager such as miniforge or venv to create a new Python environment before installing the Intel® Geti™ SDK and its requirements is highly recommended.
NOTE: If you have installed multiple versions of Python, use
py -3.9 venv -m <env_name>when creating your virtual environment to specify a supported version (in this case 3.9). Once you activate the virtual environment <venv_path>/Scripts/activate, make sure to upgrade pip to the latest versionpython -m pip install --upgrade pip wheel setuptools.
Make sure to set up your environment using one of the supported Python versions for your operating system, as indicated in the table below.
| Python <= 3.8 | Python 3.9 | Python 3.10 | Python 3.11 | Python 3.12 | Python 3.13 | |
|---|---|---|---|---|---|---|
| Linux | ❌ | ✔️ | ✔️ | ✔️ | ✔️ | ❌ |
| Windows | ❌ | ✔️ | ✔️ | ✔️ | ✔️ | ❌ |
| MacOS | ❌ | ✔️ | ✔️ | ✔️ | ✔️ | ❌ |
Once you have created and activated a new environment, follow the steps below to install the package.
Use pip install geti-sdk to install the SDK from the Python Package Index (PyPI). To
install a specific version (for instance v1.5.0), use the command
pip install geti-sdk==1.5.0
-
Download or clone the repository and navigate to the root directory of the repo in your terminal.
-
Base installation Within this directory, install the SDK using
pip install .This command will install the package and its base dependencies in your environment. -
Notebooks installation (Optional) If you want to be able to run the notebooks, make sure to install the extra requirements using
pip install .[notebooks]This will install both the SDK and all other dependencies needed to run the notebooks in your environment -
Development installation (Optional) If you plan on running the tests or want to build the documentation, you can install the package extra requirements by doing for example
pip install -e .[dev]The valid options for the extra requirements are
[dev, docs, notebooks], corresponding to the following functionality:-
devInstall requirements to run the test suite on your local machine -
notebooksInstall requirements to run the Juypter notebooks in thenotebooksfolder in this repository. -
docsInstall requirements to build the documentation for the SDK from source on your machine
-
The SDK contains example code in various forms to help you get familiar with the package.
-
Code examples are short snippets that demonstrate how to perform several common tasks. This also shows how to configure the SDK to connect to your Intel® Geti™ server.
-
Jupyter notebooks are tutorial style notebooks that cover pretty much the full SDK functionality. These are the recommended way to get started with the SDK.
-
Example scripts are more extensive scripts that cover more advanced usage than the code examples, have a look at these if you don't like Jupyter.
The package provides a main class Geti that can be used for the following use cases
To establish a connection between the SDK running on your local machine, and the
Intel® Geti™ platform running on a remote server, the Geti class needs to know the
hostname or IP address for the server and it needs to have some form of authentication.
Instantiating the Geti class will establish the connection and perform authentication.
-
Personal Access Token
The recommended authentication method is the 'Personal Access Token'. The token can be obtained by following the steps below:
- Open the Intel® Geti™ user interface in your browser
- Click on the
Usermenu, in the top right corner of the page. The menu is accessible from any page inside the Intel® Geti™ interface. - In the dropdown menu that follows, click on
Personal access token, as shown in the image below. - In the screen that follows, go through the steps to create a token.
- Make sure to copy the token value!
Once you created a personal access token, it can be passed to the
Geticlass as follows:from geti_sdk import Geti geti = Geti( host="https://your_server_hostname_or_ip_address", token="your_personal_access_token" )
-
User Credentials
NOTE: For optimal security, using the token method outlined above is recommended.
In addition to the token, your username and password can also be used to connect to the server. They can be passed as follows:
from geti_sdk import Geti geti = Geti( host="https://your_server_hostname_or_ip_address", username="dummy_user", password="dummy_password" )
Here,
"dummy_user"and"dummy_password"should be replaced by your username and password for the Geti server. -
SSL certificate validation
By default, the SDK verifies the SSL certificate of your server before establishing a connection over HTTPS. If the certificate can't be validated, this will results in an error and the SDK will not be able to connect to the server.
However, this may not be appropriate or desirable in all cases, for instance if your Geti server does not have a certificate because you are running it in a private network environment. In that case, certificate validation can be disabled by passing
verify_certificate=Falseto theGeticonstructor. Please only disable certificate validation in a secure environment!
-
Project download The following python snippet is a minimal example of how to download a project using
Geti:from geti_sdk import Geti geti = Geti( host="https://your_server_hostname_or_ip_address", token="your_personal_access_token" ) geti.download_project_data(project_name="dummy_project")
Here, it is assumed that the project with name 'dummy_project' exists on the cluster. The
Getiinstance will create a folder named 'dummy_project' in your current working directory, and download the project parameters, images, videos, annotations, predictions and the active model for the project (including optimized models derived from it) to that folder.The method takes the following optional parameters:
-
target_folder-- Can be specified to change the directory to which the project data is saved. -
include_predictions-- Set to True to download the predictions for all images and videos in the project. Set to False to not download any predictions. -
include_active_model-- Set to True to download the active model for the project, and any optimized models derived from it. If set to False, no models are downloaded. False by default.
NOTE: During project downloading the Geti SDK stores data on local disk. If necessary, please apply additional security control to protect downloaded files (e.g., enforce access control, delete sensitive data securely).
-
-
Project upload The following python snippet is a minimal example of how to re-create a project on an Intel® Geti™ server using the data from a previously downloaded project:
from geti_sdk import Geti geti = Geti( host="https://your_server_hostname_or_ip_address", token="your_personal_access_token" ) geti.upload_project_data(target_folder="dummy_project")
The parameter
target_foldermust be a valid path to the directory holding the project data. If you want to create the project using a different name than the original project, you can pass an additional parameterproject_nameto the upload method.
The Geti instance can be used to either back-up a project (by downloading it and later
uploading it again to the same cluster), or to migrate a project to a different cluster
(download it, and upload it to the target cluster).
To up- or download all projects from a cluster, simply use the
geti.download_all_projects and geti.upload_all_projects methods instead of
the single project methods in the code snippets above.
The following code snippet shows how to create a deployment for local inference with OpenVINO:
import cv2

from geti_sdk import Geti

geti = Geti(
host="https://your_server_hostname_or_ip_address", token="your_personal_access_token"
)

# Download the model data and create a `Deployment`
deployment = geti.deploy_project(project_name="dummy_project")

# Load the inference models for all tasks in the project, for CPU inference
deployment.load_inference_models(device='CPU')

# Run inference
dummy_image = cv2.imread('dummy_image.png')
prediction = deployment.infer(image=dummy_image)

# Save the deployment to disk
deployment.save(path_to_folder="dummy_project")
The deployment.infer method takes a numpy image as input.
The deployment.save method will save the deployment to the folder named
'dummy_project', on the local disk. The deployment can be reloaded again later using
Deployment.from_folder('dummy_project').
The examples
folder contains example scripts, showing various use cases for the package. They can
be run by navigating to the examples directory in your terminal, and simply running
the scripts like any other python script.
In addition, the notebooks
folder contains Jupyter notebooks with example use cases for the geti_sdk. To run
the notebooks, make sure that the requirements for the notebooks are installed in your
Python environment. If you have not installed these when you were installing the SDK,
you can install them at any time using
pip install -r requirements/requirements-notebooks.txt
Once the notebook requirements are installed, navigate to the notebooks directory in
your terminal. Then, launch JupyterLab by typing jupyter lab. This should open your
browser and take you to the JupyterLab landing page, with the SDK notebooks open (see
the screenshot below).
NOTE: Both the example scripts and the notebooks require access to a server running the Intel® Geti™ platform.
The Geti class provides the following methods:
-
download_project_data-- Downloads a project by project name (Geti-SDK representation), returns an interactive object. -
upload_project_data-- Uploads project (Geti-SDK representation) from a folder. -
download_all_projects-- Downloads all projects found on the server. -
upload_all_projects-- Uploads all projects found in a specified folder to the server. -
export_project-- Exports a project to an archive on disk. This method is useful for creating a backup of a project, or for migrating a project to a different cluster. -
import_project-- Imports a project from an archive on disk. This method is useful for restoring a project from a backup, or for migrating a project to a different cluster. -
export_dataset-- Exports a dataset to an archive on disk. This method is useful for creating a backup of a dataset, or for migrating a dataset to a different cluster. -
import_dataset-- Imports a dataset from an archive on disk. A new project will be created for the dataset. This method is useful for restoring a project from a dataset backup, or for migrating a dataset to a different cluster. -
upload_and_predict_image-- Uploads a single image to an existing project on the server, and requests a prediction for that image. Optionally, the prediction can be visualized as an overlay on the image. -
upload_and_predict_video-- Uploads a single video to an existing project on the server, and requests predictions for the frames in the video. As with upload_and_predict_image, the predictions can be visualized on the frames. The parameterframe_stridecan be used to control which frames are extracted for prediction. -
upload_and_predict_media_folder-- Uploads all media (images and videos) from a folder on local disk to an existing project on the server, and download predictions for all uploaded media. -
deploy_project-- Downloads the active model for all tasks in the project as an OpenVINO inference model. The resultingDeploymentcan be used to run inference for the project on a local machine. Pipeline inference is also supported. -
create_project_single_task_from_dataset-- Creates a single task project on the server, potentially using labels and uploading annotations from an external dataset. -
create_task_chain_project_from_dataset-- Creates a task chain project on the server, potentially using labels and uploading annotations from an external dataset.
For further details regarding these methods, please refer to the method documentation, the code snippets, and example scripts provided in this repo.
Please visit the full documentation for a complete API reference.
-
Creating projects. You can pass a variable
project_typeto control what kind of tasks will be created in the project pipeline. For example, if you want to create a single task segmentation project, you'd passproject_type='segmentation'. For a detection -> segmentation task chain, you can passproject_type=detection_to_segmentation. Please see the scripts in theexamplesfolder for examples on how to do this. -
Creating datasets and retrieving dataset statistics.
-
Uploading images, videos, annotations for images and video frames and configurations to a project.
-
Downloading images, videos, annotations, models and predictions for all images and videos/video frames in a project. Also downloading the full project configuration is supported.
-
Setting configuration for a project, like turning auto train on/off and setting number of iterations for all tasks.
-
Deploying a project to load OpenVINO inference models for all tasks in the pipeline, and running the full pipeline inference on a local machine.
-
Creating and restoring a backup of an existing project, using the code snippets provided above. Only annotations, media and configurations are backed up, models are not.
-
Launching and monitoring training jobs is straightforward with the
TrainingClient. Please refer to the notebook007_train_projectfor instructions. -
Authorization via Personal Access Token is available for both On-Prem and SaaS users.
-
Fetching the active dataset
-
Triggering (post-training) model optimization for model quantization and changing models precision.
-
Running model tests
-
Benchmarking models to measure inference throughput on different hardware. It allows for quick and easy comparison of inference framerates for different model architectures and precision levels for the specified project.
- Model upload
- Prediction upload
- Importing datasets to an existing project: For this, you can use the import functionality from the Intel® Geti™ user interface instead.
For Tasks:
Click tags to check more tools for each tasksFor Jobs:
Alternative AI tools for geti-sdk
Similar Open Source Tools

geti-sdk
The Intel® Geti™ SDK is a python package that enables teams to rapidly develop AI models by easing the complexities of model development and fostering collaboration. It provides tools to interact with an Intel® Geti™ server via the REST API, allowing for project creation, downloading, uploading, deploying for local inference with OpenVINO, configuration management, training job monitoring, media upload, and prediction. The repository also includes tutorial-style Jupyter notebooks demonstrating SDK usage.
geti-sdk
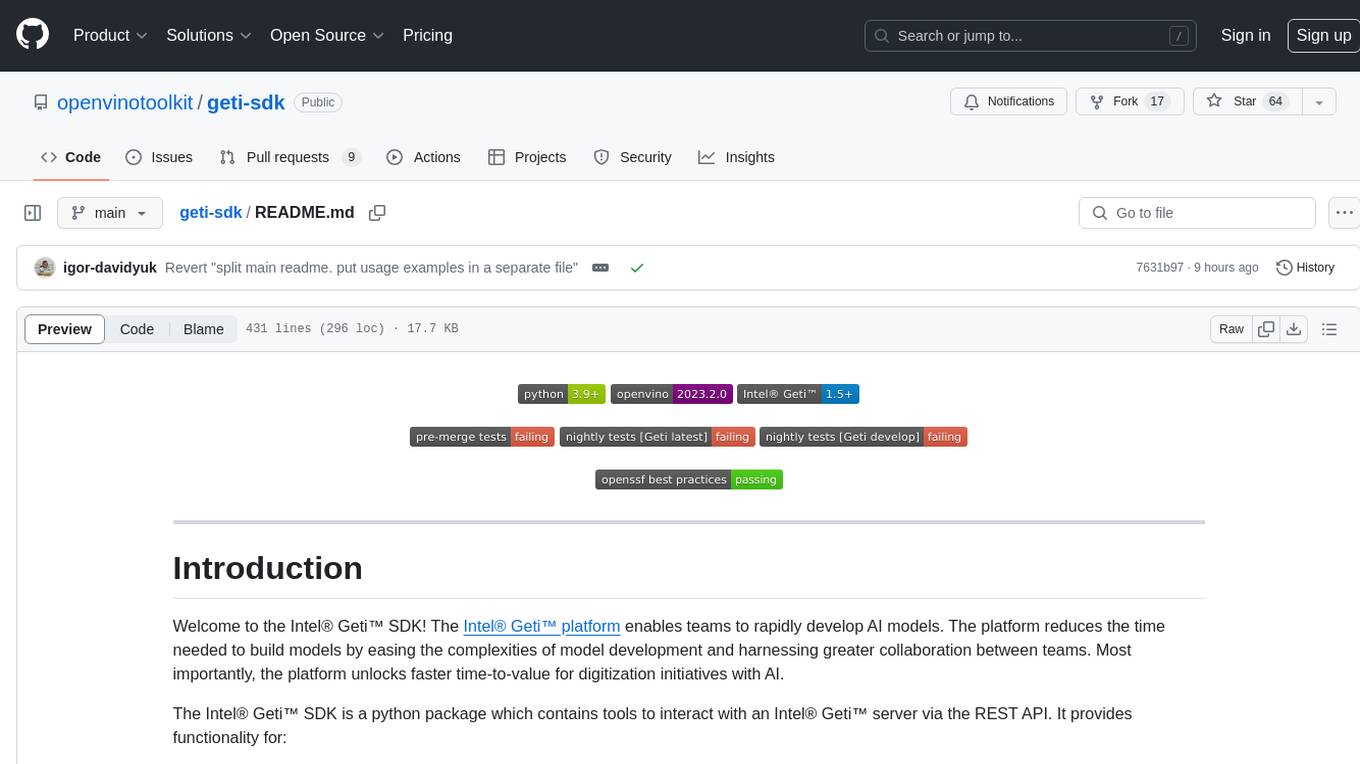
The Intel® Geti™ SDK is a python package that enables teams to rapidly develop AI models by easing the complexities of model development and enhancing collaboration between teams. It provides tools to interact with an Intel® Geti™ server via the REST API, allowing for project creation, downloading, uploading, deploying for local inference with OpenVINO, setting project and model configuration, launching and monitoring training jobs, and media upload and prediction. The SDK also includes tutorial-style Jupyter notebooks demonstrating its usage.
holohub
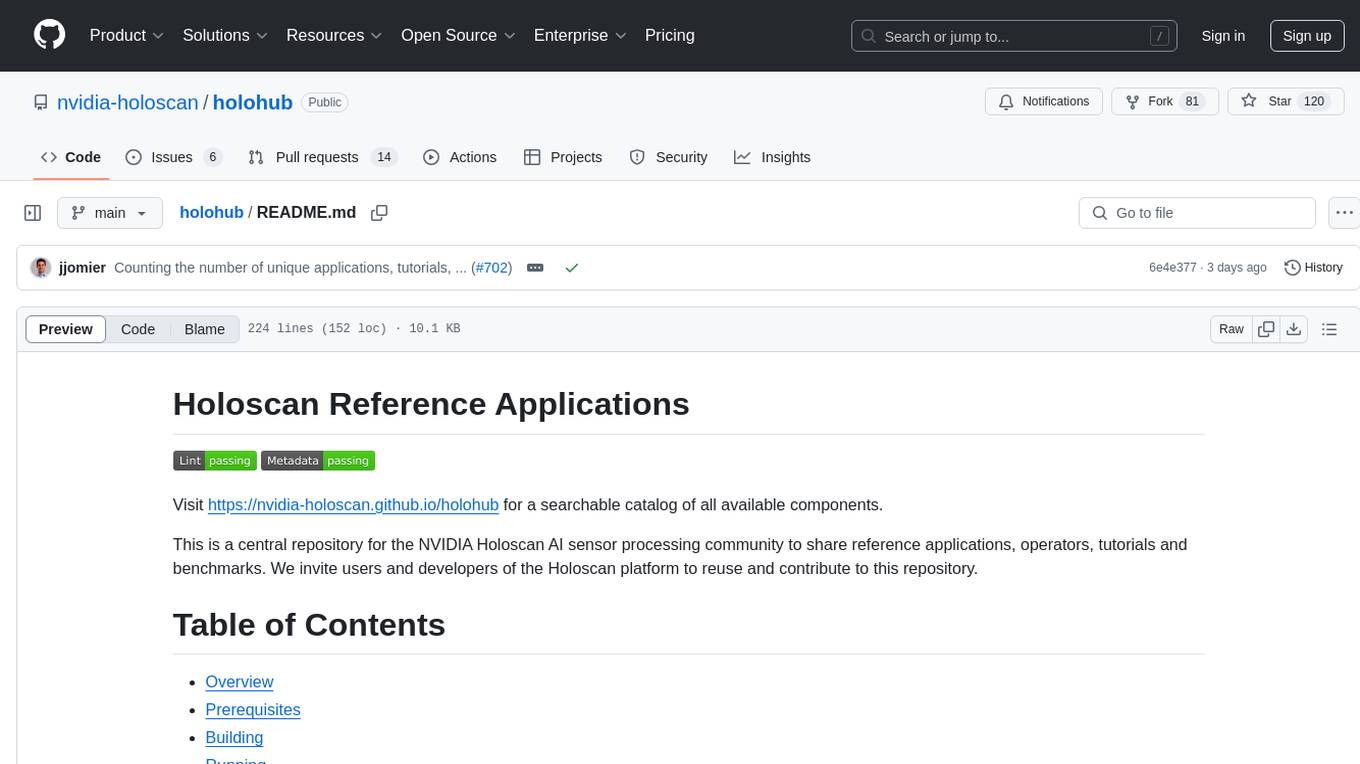
Holohub is a central repository for the NVIDIA Holoscan AI sensor processing community to share reference applications, operators, tutorials, and benchmarks. It includes example applications, community components, package configurations, and tutorials. Users and developers of the Holoscan platform are invited to reuse and contribute to this repository. The repository provides detailed instructions on prerequisites, building, running applications, contributing, and glossary terms. It also offers a searchable catalog of available components on the Holoscan SDK User Guide website.
bedrock-claude-chatbot
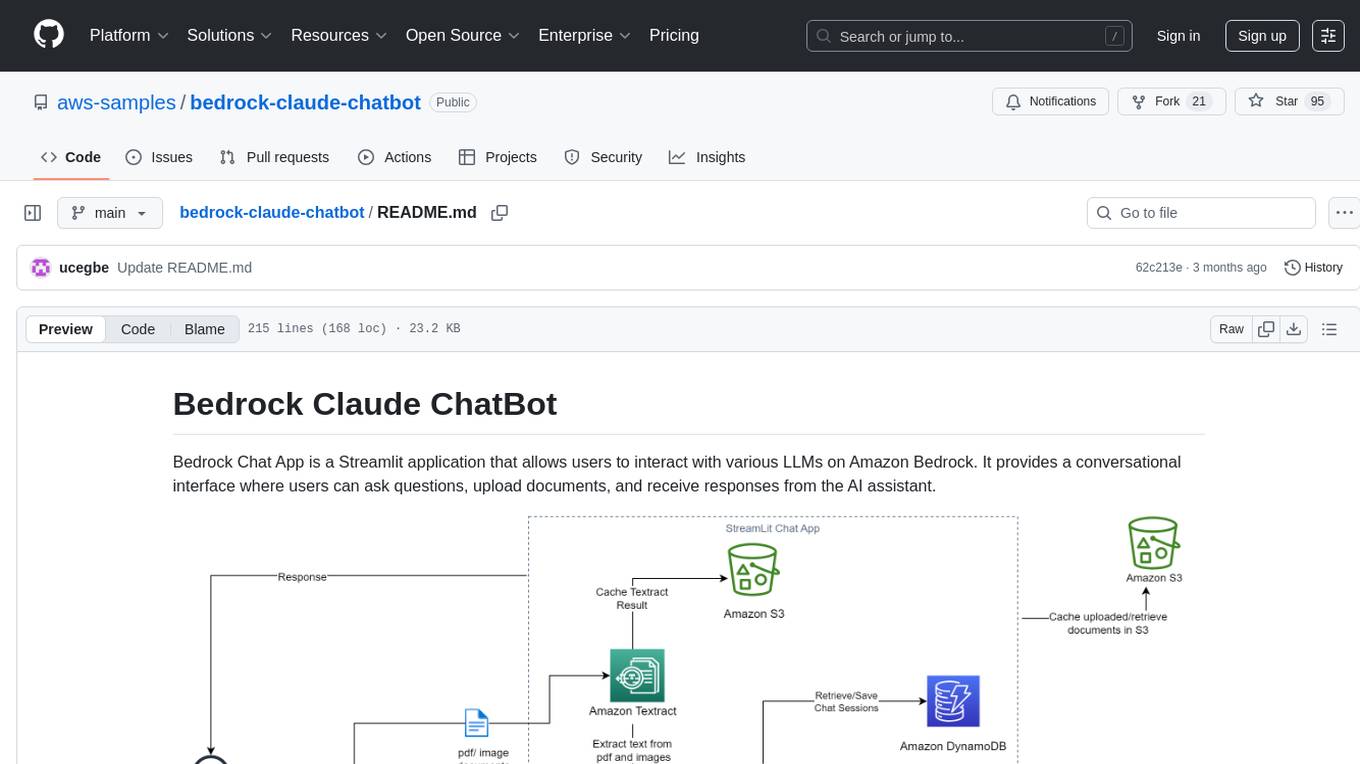
Bedrock Claude ChatBot is a Streamlit application that provides a conversational interface for users to interact with various Large Language Models (LLMs) on Amazon Bedrock. Users can ask questions, upload documents, and receive responses from the AI assistant. The app features conversational UI, document upload, caching, chat history storage, session management, model selection, cost tracking, logging, and advanced data analytics tool integration. It can be customized using a config file and is extensible for implementing specialized tools using Docker containers and AWS Lambda. The app requires access to Amazon Bedrock Anthropic Claude Model, S3 bucket, Amazon DynamoDB, Amazon Textract, and optionally Amazon Elastic Container Registry and Amazon Athena for advanced analytics features.
latex2ai
LaTeX2AI is a plugin for Adobe Illustrator that allows users to use editable text labels typeset in LaTeX inside an Illustrator document. It provides a seamless integration of LaTeX functionality within the Illustrator environment, enabling users to create and edit LaTeX labels, manage item scaling behavior, set global options, and save documents as PDF with included LaTeX labels. The tool simplifies the process of including LaTeX-generated content in Illustrator designs, ensuring accurate scaling and alignment with other elements in the document.
unitycatalog
Unity Catalog is an open and interoperable catalog for data and AI, supporting multi-format tables, unstructured data, and AI assets. It offers plugin support for extensibility and interoperates with Delta Sharing protocol. The catalog is fully open with OpenAPI spec and OSS implementation, providing unified governance for data and AI with asset-level access control enforced through REST APIs.

cognita
Cognita is an open-source framework to organize your RAG codebase along with a frontend to play around with different RAG customizations. It provides a simple way to organize your codebase so that it becomes easy to test it locally while also being able to deploy it in a production ready environment. The key issues that arise while productionizing RAG system from a Jupyter Notebook are: 1. **Chunking and Embedding Job** : The chunking and embedding code usually needs to be abstracted out and deployed as a job. Sometimes the job will need to run on a schedule or be trigerred via an event to keep the data updated. 2. **Query Service** : The code that generates the answer from the query needs to be wrapped up in a api server like FastAPI and should be deployed as a service. This service should be able to handle multiple queries at the same time and also autoscale with higher traffic. 3. **LLM / Embedding Model Deployment** : Often times, if we are using open-source models, we load the model in the Jupyter notebook. This will need to be hosted as a separate service in production and model will need to be called as an API. 4. **Vector DB deployment** : Most testing happens on vector DBs in memory or on disk. However, in production, the DBs need to be deployed in a more scalable and reliable way. Cognita makes it really easy to customize and experiment everything about a RAG system and still be able to deploy it in a good way. It also ships with a UI that makes it easier to try out different RAG configurations and see the results in real time. You can use it locally or with/without using any Truefoundry components. However, using Truefoundry components makes it easier to test different models and deploy the system in a scalable way. Cognita allows you to host multiple RAG systems using one app. ### Advantages of using Cognita are: 1. A central reusable repository of parsers, loaders, embedders and retrievers. 2. Ability for non-technical users to play with UI - Upload documents and perform QnA using modules built by the development team. 3. Fully API driven - which allows integration with other systems. > If you use Cognita with Truefoundry AI Gateway, you can get logging, metrics and feedback mechanism for your user queries. ### Features: 1. Support for multiple document retrievers that use `Similarity Search`, `Query Decompostion`, `Document Reranking`, etc 2. Support for SOTA OpenSource embeddings and reranking from `mixedbread-ai` 3. Support for using LLMs using `Ollama` 4. Support for incremental indexing that ingests entire documents in batches (reduces compute burden), keeps track of already indexed documents and prevents re-indexing of those docs.
agentok
Agentok Studio is a visual tool built for AutoGen, a cutting-edge agent framework from Microsoft and various contributors. It offers intuitive visual tools to simplify the construction and management of complex agent-based workflows. Users can create workflows visually as graphs, chat with agents, and share flow templates. The tool is designed to streamline the development process for creators and developers working on next-generation Multi-Agent Applications.
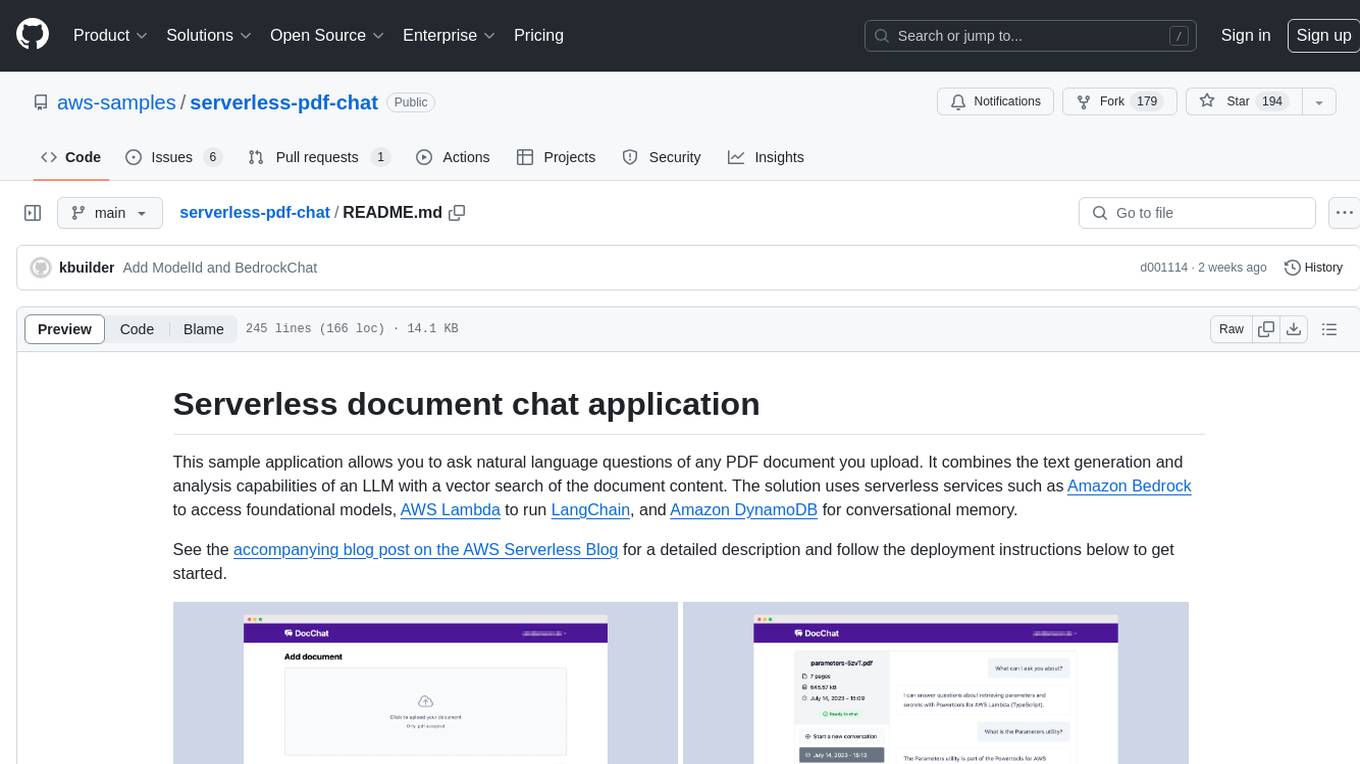
serverless-pdf-chat
The serverless-pdf-chat repository contains a sample application that allows users to ask natural language questions of any PDF document they upload. It leverages serverless services like Amazon Bedrock, AWS Lambda, and Amazon DynamoDB to provide text generation and analysis capabilities. The application architecture involves uploading a PDF document to an S3 bucket, extracting metadata, converting text to vectors, and using a LangChain to search for information related to user prompts. The application is not intended for production use and serves as a demonstration and educational tool.
guidellm
GuideLLM is a platform for evaluating and optimizing the deployment of large language models (LLMs). By simulating real-world inference workloads, GuideLLM enables users to assess the performance, resource requirements, and cost implications of deploying LLMs on various hardware configurations. This approach ensures efficient, scalable, and cost-effective LLM inference serving while maintaining high service quality. The tool provides features for performance evaluation, resource optimization, cost estimation, and scalability testing.
vector-vein
VectorVein is a no-code AI workflow software inspired by LangChain and langflow, aiming to combine the powerful capabilities of large language models and enable users to achieve intelligent and automated daily workflows through simple drag-and-drop actions. Users can create powerful workflows without the need for programming, automating all tasks with ease. The software allows users to define inputs, outputs, and processing methods to create customized workflow processes for various tasks such as translation, mind mapping, summarizing web articles, and automatic categorization of customer reviews.
mosec
Mosec is a high-performance and flexible model serving framework for building ML model-enabled backend and microservices. It bridges the gap between any machine learning models you just trained and the efficient online service API. * **Highly performant** : web layer and task coordination built with Rust 🦀, which offers blazing speed in addition to efficient CPU utilization powered by async I/O * **Ease of use** : user interface purely in Python 🐍, by which users can serve their models in an ML framework-agnostic manner using the same code as they do for offline testing * **Dynamic batching** : aggregate requests from different users for batched inference and distribute results back * **Pipelined stages** : spawn multiple processes for pipelined stages to handle CPU/GPU/IO mixed workloads * **Cloud friendly** : designed to run in the cloud, with the model warmup, graceful shutdown, and Prometheus monitoring metrics, easily managed by Kubernetes or any container orchestration systems * **Do one thing well** : focus on the online serving part, users can pay attention to the model optimization and business logic
knowledge-graph-of-thoughts
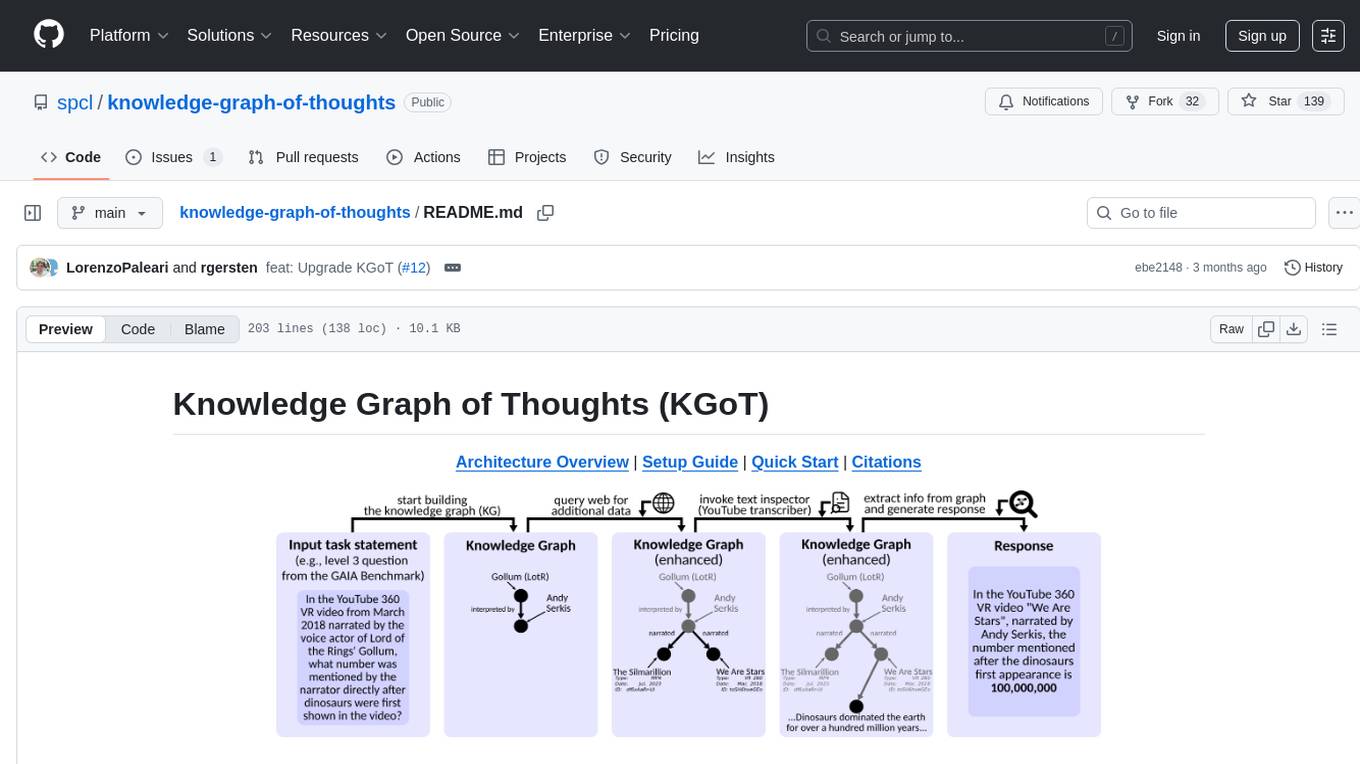
Knowledge Graph of Thoughts (KGoT) is an innovative AI assistant architecture that integrates LLM reasoning with dynamically constructed knowledge graphs (KGs). KGoT extracts and structures task-relevant knowledge into a dynamic KG representation, iteratively enhanced through external tools such as math solvers, web crawlers, and Python scripts. Such structured representation of task-relevant knowledge enables low-cost models to solve complex tasks effectively. The KGoT system consists of three main components: the Controller, the Graph Store, and the Integrated Tools, each playing a critical role in the task-solving process.
kaito
Kaito is an operator that automates the AI/ML inference model deployment in a Kubernetes cluster. It manages large model files using container images, avoids tuning deployment parameters to fit GPU hardware by providing preset configurations, auto-provisions GPU nodes based on model requirements, and hosts large model images in the public Microsoft Container Registry (MCR) if the license allows. Using Kaito, the workflow of onboarding large AI inference models in Kubernetes is largely simplified.
civitai
Civitai is a platform where people can share their stable diffusion models (textual inversions, hypernetworks, aesthetic gradients, VAEs, and any other crazy stuff people do to customize their AI generations), collaborate with others to improve them, and learn from each other's work. The platform allows users to create an account, upload their models, and browse models that have been shared by others. Users can also leave comments and feedback on each other's models to facilitate collaboration and knowledge sharing.
MCP2Lambda
MCP2Lambda is a server that acts as a bridge between MCP clients and AWS Lambda functions, allowing generative AI models to access and run Lambda functions as tools. It enables Large Language Models (LLMs) to interact with Lambda functions without code changes, providing access to private resources, AWS services, private networks, and the public internet. The server supports autodiscovery of Lambda functions and their invocation by name with parameters. It standardizes AI model access to external tools using the MCP protocol.
For similar tasks

geti-sdk
The Intel® Geti™ SDK is a python package that enables teams to rapidly develop AI models by easing the complexities of model development and enhancing collaboration between teams. It provides tools to interact with an Intel® Geti™ server via the REST API, allowing for project creation, downloading, uploading, deploying for local inference with OpenVINO, setting project and model configuration, launching and monitoring training jobs, and media upload and prediction. The SDK also includes tutorial-style Jupyter notebooks demonstrating its usage.
lms
The `lms` Command Line Tool for LM Studio is a powerful tool built with `lmstudio.js` that allows users to interact with LM Studio functionalities through the command line interface. It provides a wide range of commands for managing models, starting and stopping servers, creating projects, and streaming logs. Users can easily bootstrap the tool and access detailed information about each subcommand. The tool is designed to enhance the user experience and streamline workflows when working with LM Studio.

geti-sdk
The Intel® Geti™ SDK is a python package that enables teams to rapidly develop AI models by easing the complexities of model development and fostering collaboration. It provides tools to interact with an Intel® Geti™ server via the REST API, allowing for project creation, downloading, uploading, deploying for local inference with OpenVINO, configuration management, training job monitoring, media upload, and prediction. The repository also includes tutorial-style Jupyter notebooks demonstrating SDK usage.
aipan-netdisk-search
Aipan-Netdisk-Search is a free and open-source web project for searching netdisk resources. It utilizes third-party APIs with IP access restrictions, suggesting self-deployment. The project can be easily deployed on Vercel and provides instructions for manual deployment. Users can clone the project, install dependencies, run it in the browser, and access it at localhost:3001. The project also includes documentation for deploying on personal servers using NUXT.JS. Additionally, there are options for donations and communication via WeChat.
ChatGPT-API-Faucet
ChatGPT API Faucet is a frontend project for the public platform ChatGPT API Faucet, inspired by the crypto project MultiFaucet. It allows developers in the AI ecosystem to claim $1.00 for free every 24 hours. The program is developed using the Next.js framework and React library, with key components like _app.tsx for initializing pages, index.tsx for main modifications, and Layout.tsx for defining layout components. Users can deploy the project by installing dependencies, building the project, starting the project, configuring reverse proxies or using port:IP access, and running a development server. The tool also supports token balance queries and is related to projects like one-api, ChatGPT-Cost-Calculator, and Poe.Monster. It is licensed under the MIT license.
Yi-Ai
Yi-Ai is a project based on the development of nineai 2.4.2. It is for learning and reference purposes only, not for commercial use. The project includes updates to popular models like gpt-4o and claude3.5, as well as new features such as model image recognition. It also supports various functionalities like model sorting, file type extensions, and bug fixes. The project provides deployment tutorials for both integrated and compiled packages, with instructions for environment setup, configuration, dependency installation, and project startup. Additionally, it offers a management platform with different access levels and emphasizes the importance of following the steps for proper system operation.
Fast-LLM
Fast-LLM is an open-source library designed for training large language models with exceptional speed, scalability, and flexibility. Built on PyTorch and Triton, it offers optimized kernel efficiency, reduced overheads, and memory usage, making it suitable for training models of all sizes. The library supports distributed training across multiple GPUs and nodes, offers flexibility in model architectures, and is easy to use with pre-built Docker images and simple configuration. Fast-LLM is licensed under Apache 2.0, developed transparently on GitHub, and encourages contributions and collaboration from the community.
djl
Deep Java Library (DJL) is an open-source, high-level, engine-agnostic Java framework for deep learning. It is designed to be easy to get started with and simple to use for Java developers. DJL provides a native Java development experience and allows users to integrate machine learning and deep learning models with their Java applications. The framework is deep learning engine agnostic, enabling users to switch engines at any point for optimal performance. DJL's ergonomic API interface guides users with best practices to accomplish deep learning tasks, such as running inference and training neural networks.
For similar jobs
promptflow
**Prompt flow** is a suite of development tools designed to streamline the end-to-end development cycle of LLM-based AI applications, from ideation, prototyping, testing, evaluation to production deployment and monitoring. It makes prompt engineering much easier and enables you to build LLM apps with production quality.
deepeval
DeepEval is a simple-to-use, open-source LLM evaluation framework specialized for unit testing LLM outputs. It incorporates various metrics such as G-Eval, hallucination, answer relevancy, RAGAS, etc., and runs locally on your machine for evaluation. It provides a wide range of ready-to-use evaluation metrics, allows for creating custom metrics, integrates with any CI/CD environment, and enables benchmarking LLMs on popular benchmarks. DeepEval is designed for evaluating RAG and fine-tuning applications, helping users optimize hyperparameters, prevent prompt drifting, and transition from OpenAI to hosting their own Llama2 with confidence.
MegaDetector
MegaDetector is an AI model that identifies animals, people, and vehicles in camera trap images (which also makes it useful for eliminating blank images). This model is trained on several million images from a variety of ecosystems. MegaDetector is just one of many tools that aims to make conservation biologists more efficient with AI. If you want to learn about other ways to use AI to accelerate camera trap workflows, check out our of the field, affectionately titled "Everything I know about machine learning and camera traps".
leapfrogai
LeapfrogAI is a self-hosted AI platform designed to be deployed in air-gapped resource-constrained environments. It brings sophisticated AI solutions to these environments by hosting all the necessary components of an AI stack, including vector databases, model backends, API, and UI. LeapfrogAI's API closely matches that of OpenAI, allowing tools built for OpenAI/ChatGPT to function seamlessly with a LeapfrogAI backend. It provides several backends for various use cases, including llama-cpp-python, whisper, text-embeddings, and vllm. LeapfrogAI leverages Chainguard's apko to harden base python images, ensuring the latest supported Python versions are used by the other components of the stack. The LeapfrogAI SDK provides a standard set of protobuffs and python utilities for implementing backends and gRPC. LeapfrogAI offers UI options for common use-cases like chat, summarization, and transcription. It can be deployed and run locally via UDS and Kubernetes, built out using Zarf packages. LeapfrogAI is supported by a community of users and contributors, including Defense Unicorns, Beast Code, Chainguard, Exovera, Hypergiant, Pulze, SOSi, United States Navy, United States Air Force, and United States Space Force.
llava-docker
This Docker image for LLaVA (Large Language and Vision Assistant) provides a convenient way to run LLaVA locally or on RunPod. LLaVA is a powerful AI tool that combines natural language processing and computer vision capabilities. With this Docker image, you can easily access LLaVA's functionalities for various tasks, including image captioning, visual question answering, text summarization, and more. The image comes pre-installed with LLaVA v1.2.0, Torch 2.1.2, xformers 0.0.23.post1, and other necessary dependencies. You can customize the model used by setting the MODEL environment variable. The image also includes a Jupyter Lab environment for interactive development and exploration. Overall, this Docker image offers a comprehensive and user-friendly platform for leveraging LLaVA's capabilities.

carrot
The 'carrot' repository on GitHub provides a list of free and user-friendly ChatGPT mirror sites for easy access. The repository includes sponsored sites offering various GPT models and services. Users can find and share sites, report errors, and access stable and recommended sites for ChatGPT usage. The repository also includes a detailed list of ChatGPT sites, their features, and accessibility options, making it a valuable resource for ChatGPT users seeking free and unlimited GPT services.
TrustLLM
TrustLLM is a comprehensive study of trustworthiness in LLMs, including principles for different dimensions of trustworthiness, established benchmark, evaluation, and analysis of trustworthiness for mainstream LLMs, and discussion of open challenges and future directions. Specifically, we first propose a set of principles for trustworthy LLMs that span eight different dimensions. Based on these principles, we further establish a benchmark across six dimensions including truthfulness, safety, fairness, robustness, privacy, and machine ethics. We then present a study evaluating 16 mainstream LLMs in TrustLLM, consisting of over 30 datasets. The document explains how to use the trustllm python package to help you assess the performance of your LLM in trustworthiness more quickly. For more details about TrustLLM, please refer to project website.
AI-YinMei
AI-YinMei is an AI virtual anchor Vtuber development tool (N card version). It supports fastgpt knowledge base chat dialogue, a complete set of solutions for LLM large language models: [fastgpt] + [one-api] + [Xinference], supports docking bilibili live broadcast barrage reply and entering live broadcast welcome speech, supports Microsoft edge-tts speech synthesis, supports Bert-VITS2 speech synthesis, supports GPT-SoVITS speech synthesis, supports expression control Vtuber Studio, supports painting stable-diffusion-webui output OBS live broadcast room, supports painting picture pornography public-NSFW-y-distinguish, supports search and image search service duckduckgo (requires magic Internet access), supports image search service Baidu image search (no magic Internet access), supports AI reply chat box [html plug-in], supports AI singing Auto-Convert-Music, supports playlist [html plug-in], supports dancing function, supports expression video playback, supports head touching action, supports gift smashing action, supports singing automatic start dancing function, chat and singing automatic cycle swing action, supports multi scene switching, background music switching, day and night automatic switching scene, supports open singing and painting, let AI automatically judge the content.


![Nightly Tests [Geti latest] Status](https://img.shields.io/github/actions/workflow/status/openvinotoolkit/geti-sdk/nightly-tests-geti-latest.yaml?label=nightly%20tests%20%5BGeti%20latest%5D&link=https%3A%2F%2Fgithub.com%2Fopenvinotoolkit%2Fgeti-sdk%2Factions%2Fworkflows%2Fnightly-tests-geti-latest.yaml)
![Nightly Tests [Geti develop] Status](https://img.shields.io/github/actions/workflow/status/openvinotoolkit/geti-sdk/nightly-tests-geti-develop.yaml?label=nightly%20tests%20%5BGeti%20develop%5D&link=https%3A%2F%2Fgithub.com%2Fopenvinotoolkit%2Fgeti-sdk%2Factions%2Fworkflows%2Fnightly-tests-geti-develop.yaml)

