
chatgpt
Interface to ChatGPT from R
Stars: 310
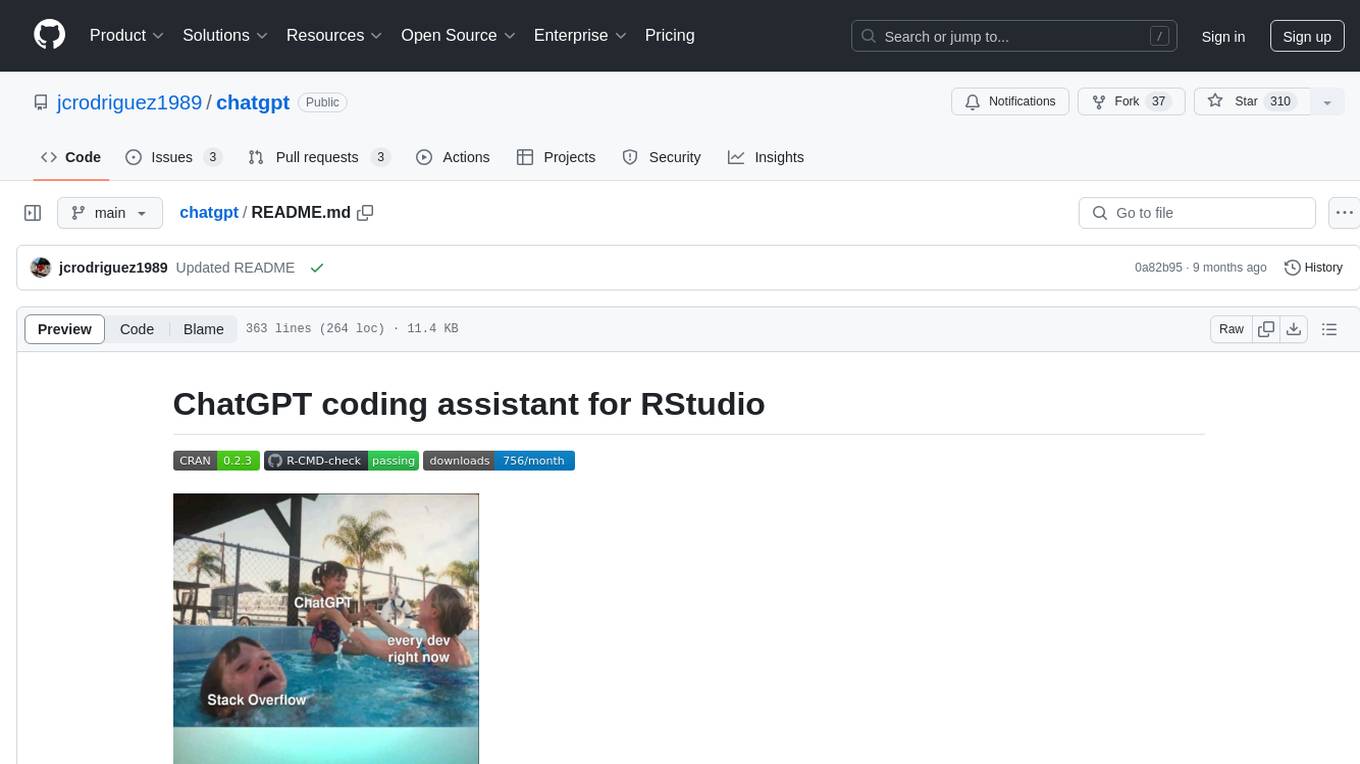
The ChatGPT R package provides a set of features to assist in R coding. It includes addins like Ask ChatGPT, Comment selected code, Complete selected code, Create unit tests, Create variable name, Document code, Explain selected code, Find issues in the selected code, Optimize selected code, and Refactor selected code. Users can interact with ChatGPT to get code suggestions, explanations, and optimizations. The package helps in improving coding efficiency and quality by providing AI-powered assistance within the RStudio environment.
README:
Meme by Programming Jokes I IT Humor & Memes
Install the current released version of {chatgpt} from
CRAN:
install.packages("chatgpt")Or install the development version from GitHub with:
# install.packages("remotes")
remotes::install_github("jcrodriguez1989/chatgpt")You need to setup your ChatGPT API key in R.
First you will need to obtain your ChatGPT API key. You can create an API key by accessing OpenAI API page -don’t miss their article about Best Practices for API Key Safety-.
Then you have to assign your API key for usage in R, this can be done just for the actual session, by doing:
Sys.setenv(OPENAI_API_KEY = "XX-XXXXXXXXXXXXXXXXXXXXXXXXXXXXXXXXXXXXXXXXXXXXXXXX")Or you can do it persistent (session-wide), by assigning it in your
.Renviron file. For it, execute usethis::edit_r_environ(), and in
that file write a line at the end your API key as
OPENAI_API_KEY=XX-XXXXXXXXXXXXXXXXXXXXXXXXXXXXXXXXXXXXXXXXXXXXXXXXThe {chatgpt} R package provides a set of features to assist in R coding. Current existing addins:
- Ask ChatGPT: Opens an interactive chat session with ChatGPT
- Comment selected code: Comment the selected code
- Complete selected code: Complete the selected code
- Create unit tests: Create testthat unit tests for the selected code
- Create variable name: Create a name for a variable that would be assigned the result of this code
- Document code (in roxygen2 format): Document a function definition, in roxygen2 format
- Explain selected code: Explain the selected code
- Find issues in the selected code: Find issues in the selected code
- Optimize selected code: Optimize the selected code
- Refactor selected code: Refactor the selected code
Note: When no code is selected, it will use the whole file’s code.
Error in gpt_get_completions:
  list(message = "You exceeded your current quota, please check your plan and billing details.", type = "insufficient_quota", param = NULL, code = NULL)
To fix this, you need to provide a billing method in OpenAI. More information can be found in this article.
> cat(ask_chatgpt("What do you think about R language?"))
As an AI language model, I dont have personal opinions, but I can provide you factual information about R language. R is a popular programming language used for statistical computing, data analysis, and graphical visualization. It provides a wide range of tools for analyzing data, including linear and non-linear modeling, time-series analysis, and classification methods, among others. R is also an open-source language, which means it is freely available to use for everyone. Due to its extensive package ecosystem and user-friendly syntax, R is widely preferred by data analysts, statisticians, and researchers.> cat(comment_code("for (i in 1:10) {\n print(i ** 2)\n}"))
# This is a for loop that initializes the variable i to 1 and iterates until it reaches 10
for (i in 1:10) {
# The code block within the loop will execute once for each iteration
# This line prints the result of i raised to the power of 2 using the ** operator
print(i ** 2)
}> cat(complete_code("# A function to square each element of a vector\nsquare_each <- function("))
square_each <- function(x){
x_squared <- x^2
return(x_squared)
}
# Example usage
my_vector <- c(1, 2, 3, 4, 5)
square_each(my_vector) # Output: 1 4 9 16 25> cat(create_unit_tests("squared_numbers <- function(numbers) {\n numbers ^ 2\n}"))
Sure, heres a full testthat file with test cases for the given R code:
{r}
library(testthat)
# Define the function
squared_numbers <- function(numbers) {
numbers ^ 2
}
# Test case for a vector of one number
test_that("squared_numbers works with one number", {
expect_equal(squared_numbers(2), 4)
})
# Test case for a vector of multiple numbers
test_that("squared_numbers works with multiple numbers", {
expect_equal(squared_numbers(c(2, 3, 4)), c(4, 9, 16))
})
# Test case for an empty vector
test_that("squared_numbers works with an empty vector", {
expect_error(squared_numbers(NULL))
expect_warning(squared_numbers(NaN))
})
# Test case for a non-numeric vector
test_that("squared_numbers works with a non-numeric vector", {
expect_error(squared_numbers("test"))
expect_error(squared_numbers(TRUE))
})
In these test cases, were testing:
- whether the function works with a vector of one number
- whether the function works with a vector of multiple numbers
- whether the function gracefully handles an empty vector- whether the function gracefully handles a non-numeric vector
For the first two test cases, were using expect_equal() to check that the functions output matches the expected output. For the next two test cases, were using expect_error() and expect_warning() to check that the function throws the expected errors and warnings.
You can save this code as a file with a .R extension, for example squared_numbers_test.R, and then run the tests with the test_file() function from the testthat package:
{r}
library(testthat)
test_file("squared_numbers_test.R")
This will output a summary of the test results, showing how many tests passed, skipped, and failed.> cat(create_variable_name("sapply(1:10, function(i) i ** 2)"))
Here is an example of a good variable name for the result:
squared_values <- sapply(1:10, function(i) i ** 2)
The variable name squared_values indicates that the result of the code is a set of values that have been squared.> cat(document_code("square_numbers <- function(numbers) numbers ** 2"))
Id be happy to help! Heres an example of how you could document the "square_numbers" function using roxygen2 format:
{r}
# Square numbers
#
# This function takes a vector of numbers and returns their squares.
#
# @param numbers A numeric vector to be squared
#
# @return A numeric vector representing the squares of the input numbers
#
# @examples
# square_numbers(1:5)
#
# @export
square_numbers <- function(numbers) {
numbers ** 2
}
This includes a brief description of the function, an explanation of the input parameter, a description of the output, an example usage of the function, and the @export tag, which indicates that this function should be available to users of the package.> cat(explain_code("for (i in 1:10) {\n print(i ** 2)\n}"))
This is a for loop that will run 10 times, with the value of i ranging from 1 to 10.
During each iteration of the loop, the value of i is squared using the ** (exponentiation) operator, and the result is printed using the print() function.
So, each time the loop runs, the output will be:
1
4
9
16
25
36
49
64
81
100
This loop can be used to generate the sequence of squares from 1 to 10.> cat(find_issues_in_code("i <- 0\nwhile (i < 0) {\n i <- i - 1\n}"))
The code creates an infinite loop since the condition inside the while loop (i < 0) is never met when the initial value of i is 0. To fix it, either initialize i with a negative value like i <- -1 or change the comparison operator inside the loop to >, e.g. while (i > 0) { i <- i - 1 }.> cat(optimize_code("i <- 10\nwhile (i > 0) {\n i <- i - 1\n print(i)\n}"))
The code can be optimized using a for loop which is a more efficient and concise loop for iterating over a sequence of values. Heres the optimized code:
R
for (i in 9:0) {
print(i)
}
This code does the same thing as the original code, but its more efficient because it eliminates the need for the while loop and the extra variable assignment. The for loop directly iterates over the sequence from 9 to 0 and prints each value.> cat(refactor_code("i <- 10\nwhile (i > 0) {\n i <- i - 1\n print(i)\n}"))
Here is the refactored R code:
i <- 10
for (i in 9:0) {
print(i)
}
This can also be done using a while loop:
i <- 10
while (i > 0) {
print(i - 1)
i <- i - 1
}
Both versions will produce the same output as the original code.If you want {chatgpt} not to show messages in console, please set the
environment variable OPENAI_VERBOSE=FALSE.
If you want {chatgpt} addins to take place in the editor -i.e., replace
the selected code with the result of the addin execution- then you sould
set the environment variable OPENAI_ADDIN_REPLACE=TRUE.
To change the language that ChatGPT responds in, the
OPENAI_RETURN_LANGUAGE environment variable must be changed. E.g.,
Sys.setenv("OPENAI_RETURN_LANGUAGE" = "Español")
cat(chatgpt::explain_code("for (i in 1:10) {\n  print(i ** 2)\n}"))
#> El código utiliza un bucle "for" para imprimir los cuadrados de los números del 1 al 10.
#>
#> La sintaxis "for (i in 1:10)" indica que el bucle se va a ejecutar 10 veces, y que la variable "i" va a tomar valores desde 1 hasta 10.
#>
#> Dentro del bucle, "print(i ** 2)" calcula el cuadrado del valor actual de "i" y lo imprime en la consola. El operador "**" se usa para elevar un número a una potencia.
#>
#> Entonces, la salida del código será:
#>
#> [1] 1
#> [1] 4
#> [1] 9
#> [1] 16
#> [1] 25
#> [1] 36
#> [1] 49
#> [1] 64
#> [1] 81
#> [1] 100In order to run ChatGPT queries behind a proxy, set the OPENAI_PROXY
environment variable with a valid IP:PORT proxy. E.g.,
Sys.setenv("OPENAI_PROXY" = "81.94.255.13:8080").
To replace the default OPENAI's API URL ("https://api.openai.com/v1"), you can set the OPENAI_API_URL environment variable with the URL you need to use.
E.g., Sys.setenv("OPENAI_API_URL" = "https://api.chatanywhere.com.cn").
ChatGPT model parameters can be tweaked by using environment variables.
The following environment variables can be set to tweak the behavior, as documented in https://beta.openai.com/docs/api-reference/completions/create .
-
OPENAI_MODEL; defaults to"gpt-3.5-turbo" -
OPENAI_MAX_TOKENS; defaults to256 -
OPENAI_TEMPERATURE; defaults to1 -
OPENAI_TOP_P; defaults to1 -
OPENAI_FREQUENCY_PENALTY; defaults to0 -
OPENAI_PRESENCE_PENALTY; defaults to0
For Tasks:
Click tags to check more tools for each tasksFor Jobs:
Alternative AI tools for chatgpt
Similar Open Source Tools

chatgpt
The ChatGPT R package provides a set of features to assist in R coding. It includes addins like Ask ChatGPT, Comment selected code, Complete selected code, Create unit tests, Create variable name, Document code, Explain selected code, Find issues in the selected code, Optimize selected code, and Refactor selected code. Users can interact with ChatGPT to get code suggestions, explanations, and optimizations. The package helps in improving coding efficiency and quality by providing AI-powered assistance within the RStudio environment.
MCPSharp
MCPSharp is a .NET library that helps build Model Context Protocol (MCP) servers and clients for AI assistants and models. It allows creating MCP-compliant tools, connecting to existing MCP servers, exposing .NET methods as MCP endpoints, and handling MCP protocol details seamlessly. With features like attribute-based API, JSON-RPC support, parameter validation, and type conversion, MCPSharp simplifies the development of AI capabilities in applications through standardized interfaces.
langgraph4j
Langgraph4j is a Java library for language processing tasks such as text classification, sentiment analysis, and named entity recognition. It provides a set of tools and algorithms for analyzing text data and extracting useful information. The library is designed to be efficient and easy to use, making it suitable for both research and production applications.
openai
An open-source client package that allows developers to easily integrate the power of OpenAI's state-of-the-art AI models into their Dart/Flutter applications. The library provides simple and intuitive methods for making requests to OpenAI's various APIs, including the GPT-3 language model, DALL-E image generation, and more. It is designed to be lightweight and easy to use, enabling developers to focus on building their applications without worrying about the complexities of dealing with HTTP requests. Note that this is an unofficial library as OpenAI does not have an official Dart library.
aigverse
aigverse is a Python infrastructure framework that bridges the gap between logic synthesis and AI/ML applications. It allows efficient representation and manipulation of logic circuits, making it easier to integrate logic synthesis and optimization tasks into machine learning pipelines. Built upon EPFL Logic Synthesis Libraries, particularly mockturtle, aigverse provides a high-level Python interface to state-of-the-art algorithms for And-Inverter Graph (AIG) manipulation and logic synthesis, widely used in formal verification, hardware design, and optimization tasks.
IntelliNode
IntelliNode is a javascript module that integrates cutting-edge AI models like ChatGPT, LLaMA, WaveNet, Gemini, and Stable diffusion into projects. It offers functions for generating text, speech, and images, as well as semantic search, multi-model evaluation, and chatbot capabilities. The module provides a wrapper layer for low-level model access, a controller layer for unified input handling, and a function layer for abstract functionality tailored to various use cases.

Gemini-API
Gemini-API is a reverse-engineered asynchronous Python wrapper for Google Gemini web app (formerly Bard). It provides features like persistent cookies, ImageFx support, extension support, classified outputs, official flavor, and asynchronous operation. The tool allows users to generate contents from text or images, have conversations across multiple turns, retrieve images in response, generate images with ImageFx, save images to local files, use Gemini extensions, check and switch reply candidates, and control log level.
suno-api
Suno AI API is an open-source project that allows developers to integrate the music generation capabilities of Suno.ai into their own applications. The API provides a simple and convenient way to generate music, lyrics, and other audio content using Suno.ai's powerful AI models. With Suno AI API, developers can easily add music generation functionality to their apps, websites, and other projects.
hugging-chat-api
Unofficial HuggingChat Python API for creating chatbots, supporting features like image generation, web search, memorizing context, and changing LLMs. Users can log in, chat with the ChatBot, perform web searches, create new conversations, manage conversations, switch models, get conversation info, use assistants, and delete conversations. The API also includes a CLI mode with various commands for interacting with the tool. Users are advised not to use the application for high-stakes decisions or advice and to avoid high-frequency requests to preserve server resources.
react-native-fast-tflite
A high-performance TensorFlow Lite library for React Native that utilizes JSI for power, zero-copy ArrayBuffers for efficiency, and low-level C/C++ TensorFlow Lite core API for direct memory access. It supports swapping out TensorFlow Models at runtime and GPU-accelerated delegates like CoreML/Metal/OpenGL. Easy VisionCamera integration allows for seamless usage. Users can load TensorFlow Lite models, interpret input and output data, and utilize GPU Delegates for faster computation. The library is suitable for real-time object detection, image classification, and other machine learning tasks in React Native applications.
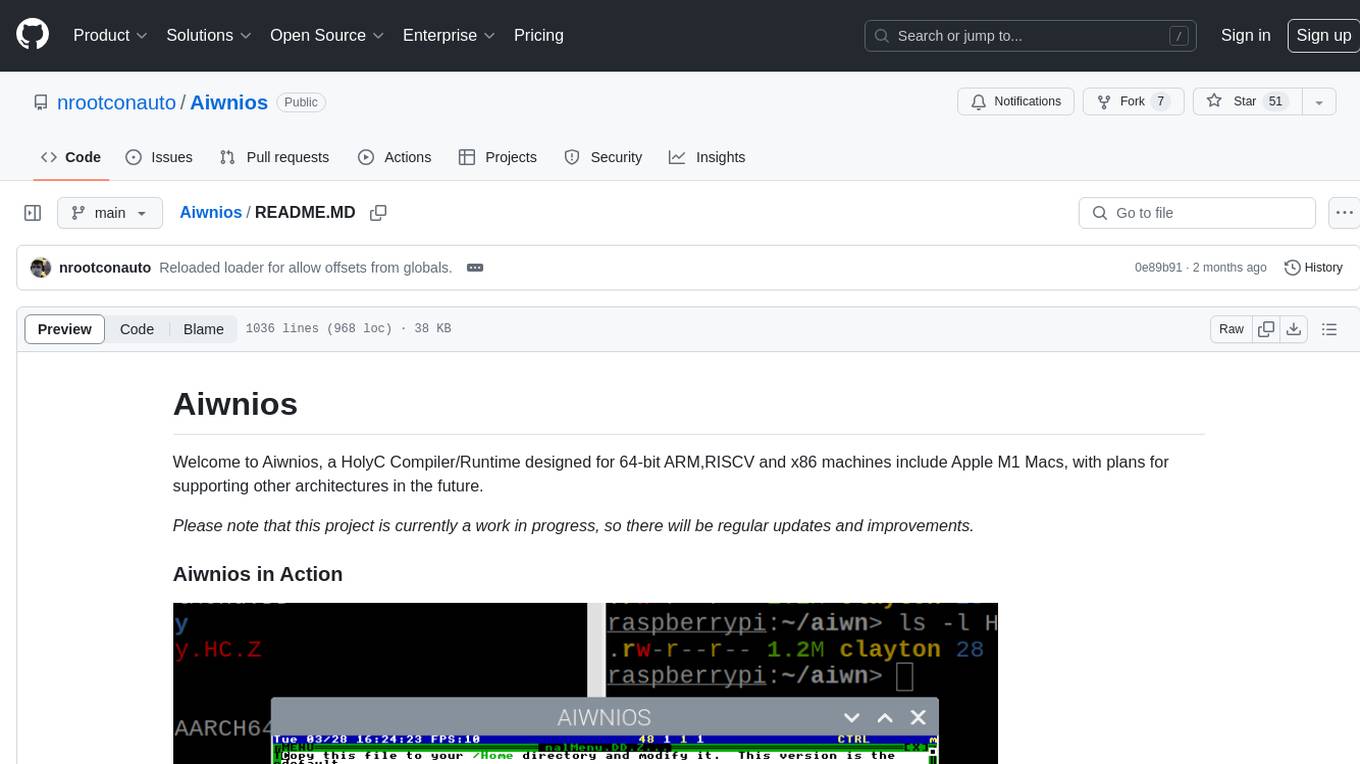
Aiwnios
Aiwnios is a HolyC Compiler/Runtime designed for 64-bit ARM, RISCV, and x86 machines, including Apple M1 Macs, with plans for supporting other architectures in the future. The project is currently a work in progress, with regular updates and improvements planned. Aiwnios includes a sockets API (currently tested on FreeBSD) and a HolyC assembler accessible through AARCH64. The heart of Aiwnios lies in `arm_backend.c`, where the compiler is located, and a powerful AARCH64 assembler in `arm64_asm.c`. The compiler uses reverse Polish notation and statements are reversed. The developer manual is intended for developers working on the C side, providing detailed explanations of the source code.
aicsimageio
AICSImageIO is a Python tool for Image Reading, Metadata Conversion, and Image Writing for Microscopy Images. It supports various file formats like OME-TIFF, TIFF, ND2, DV, CZI, LIF, PNG, GIF, and Bio-Formats. Users can read and write metadata and imaging data, work with different file systems like local paths, HTTP URLs, s3fs, and gcsfs. The tool provides functionalities for full image reading, delayed image reading, mosaic image reading, metadata reading, xarray coordinate plane attachment, cloud IO support, and saving to OME-TIFF. It also offers benchmarking and developer resources.
lollms
LoLLMs Server is a text generation server based on large language models. It provides a Flask-based API for generating text using various pre-trained language models. This server is designed to be easy to install and use, allowing developers to integrate powerful text generation capabilities into their applications.
videodb-python
VideoDB Python SDK allows you to interact with the VideoDB serverless database. Manage videos as intelligent data, not files. It's scalable, cost-efficient & optimized for AI applications and LLM integration. The SDK provides functionalities for uploading videos, viewing videos, streaming specific sections of videos, searching inside a video, searching inside multiple videos in a collection, adding subtitles to a video, generating thumbnails, and more. It also offers features like indexing videos by spoken words, semantic indexing, and future indexing options for scenes, faces, and specific domains like sports. The SDK aims to simplify video management and enhance AI applications with video data.
shortest
Shortest is an AI-powered natural language end-to-end testing framework built on Playwright. It provides a seamless testing experience by allowing users to write tests in natural language and execute them using Anthropic Claude API. The framework also offers GitHub integration with 2FA support, making it suitable for testing web applications with complex authentication flows. Shortest simplifies the testing process by enabling users to run tests locally or in CI/CD pipelines, ensuring the reliability and efficiency of web applications.
lollms_legacy
Lord of Large Language Models (LoLLMs) Server is a text generation server based on large language models. It provides a Flask-based API for generating text using various pre-trained language models. This server is designed to be easy to install and use, allowing developers to integrate powerful text generation capabilities into their applications. The tool supports multiple personalities for generating text with different styles and tones, real-time text generation with WebSocket-based communication, RESTful API for listing personalities and adding new personalities, easy integration with various applications and frameworks, sending files to personalities, running on multiple nodes to provide a generation service to many outputs at once, and keeping data local even in the remote version.
For similar tasks

chatgpt
The ChatGPT R package provides a set of features to assist in R coding. It includes addins like Ask ChatGPT, Comment selected code, Complete selected code, Create unit tests, Create variable name, Document code, Explain selected code, Find issues in the selected code, Optimize selected code, and Refactor selected code. Users can interact with ChatGPT to get code suggestions, explanations, and optimizations. The package helps in improving coding efficiency and quality by providing AI-powered assistance within the RStudio environment.
awesome-code-ai
A curated list of AI coding tools, including code completion, refactoring, and assistants. This list includes both open-source and commercial tools, as well as tools that are still in development. Some of the most popular AI coding tools include GitHub Copilot, CodiumAI, Codeium, Tabnine, and Replit Ghostwriter.
companion-vscode
Quack Companion is a VSCode extension that provides smart linting, code chat, and coding guideline curation for developers. It aims to enhance the coding experience by offering a new tab with features like curating software insights with the team, code chat similar to ChatGPT, smart linting, and upcoming code completion. The extension focuses on creating a smooth contribution experience for developers by turning contribution guidelines into a live pair coding experience, helping developers find starter contribution opportunities, and ensuring alignment between contribution goals and project priorities. Quack collects limited telemetry data to improve its services and products for developers, with options for anonymization and disabling telemetry available to users.
CodeGeeX4
CodeGeeX4-ALL-9B is an open-source multilingual code generation model based on GLM-4-9B, offering enhanced code generation capabilities. It supports functions like code completion, code interpreter, web search, function call, and repository-level code Q&A. The model has competitive performance on benchmarks like BigCodeBench and NaturalCodeBench, outperforming larger models in terms of speed and performance.
probsem
ProbSem is a repository that provides a framework to leverage large language models (LLMs) for assigning context-conditional probability distributions over queried strings. It supports OpenAI engines and HuggingFace CausalLM models, and is flexible for research applications in linguistics, cognitive science, program synthesis, and NLP. Users can define prompts, contexts, and queries to derive probability distributions over possible completions, enabling tasks like cloze completion, multiple-choice QA, semantic parsing, and code completion. The repository offers CLI and API interfaces for evaluation, with options to customize models, normalize scores, and adjust temperature for probability distributions.
are-copilots-local-yet
Current trends and state of the art for using open & local LLM models as copilots to complete code, generate projects, act as shell assistants, automatically fix bugs, and more. This document is a curated list of local Copilots, shell assistants, and related projects, intended to be a resource for those interested in a survey of the existing tools and to help developers discover the state of the art for projects like these.
minuet-ai.nvim
Minuet AI is a Neovim plugin that integrates with nvim-cmp to provide AI-powered code completion using multiple AI providers such as OpenAI, Claude, Gemini, Codestral, and Huggingface. It offers customizable configuration options and streaming support for completion delivery. Users can manually invoke completion or use cost-effective models for auto-completion. The plugin requires API keys for supported AI providers and allows customization of system prompts. Minuet AI also supports changing providers, toggling auto-completion, and provides solutions for input delay issues. Integration with lazyvim is possible, and future plans include implementing RAG on the codebase and virtual text UI support.
vim-ollama
The 'vim-ollama' plugin for Vim adds Copilot-like code completion support using Ollama as a backend, enabling intelligent AI-based code completion and integrated chat support for code reviews. It does not rely on cloud services, preserving user privacy. The plugin communicates with Ollama via Python scripts for code completion and interactive chat, supporting Vim only. Users can configure LLM models for code completion tasks and interactive conversations, with detailed installation and usage instructions provided in the README.
For similar jobs
lollms-webui
LoLLMs WebUI (Lord of Large Language Multimodal Systems: One tool to rule them all) is a user-friendly interface to access and utilize various LLM (Large Language Models) and other AI models for a wide range of tasks. With over 500 AI expert conditionings across diverse domains and more than 2500 fine tuned models over multiple domains, LoLLMs WebUI provides an immediate resource for any problem, from car repair to coding assistance, legal matters, medical diagnosis, entertainment, and more. The easy-to-use UI with light and dark mode options, integration with GitHub repository, support for different personalities, and features like thumb up/down rating, copy, edit, and remove messages, local database storage, search, export, and delete multiple discussions, make LoLLMs WebUI a powerful and versatile tool.

Azure-Analytics-and-AI-Engagement
The Azure-Analytics-and-AI-Engagement repository provides packaged Industry Scenario DREAM Demos with ARM templates (Containing a demo web application, Power BI reports, Synapse resources, AML Notebooks etc.) that can be deployed in a customer’s subscription using the CAPE tool within a matter of few hours. Partners can also deploy DREAM Demos in their own subscriptions using DPoC.
minio
MinIO is a High Performance Object Storage released under GNU Affero General Public License v3.0. It is API compatible with Amazon S3 cloud storage service. Use MinIO to build high performance infrastructure for machine learning, analytics and application data workloads.
mage-ai
Mage is an open-source data pipeline tool for transforming and integrating data. It offers an easy developer experience, engineering best practices built-in, and data as a first-class citizen. Mage makes it easy to build, preview, and launch data pipelines, and provides observability and scaling capabilities. It supports data integrations, streaming pipelines, and dbt integration.

AiTreasureBox
AiTreasureBox is a versatile AI tool that provides a collection of pre-trained models and algorithms for various machine learning tasks. It simplifies the process of implementing AI solutions by offering ready-to-use components that can be easily integrated into projects. With AiTreasureBox, users can quickly prototype and deploy AI applications without the need for extensive knowledge in machine learning or deep learning. The tool covers a wide range of tasks such as image classification, text generation, sentiment analysis, object detection, and more. It is designed to be user-friendly and accessible to both beginners and experienced developers, making AI development more efficient and accessible to a wider audience.
tidb
TiDB is an open-source distributed SQL database that supports Hybrid Transactional and Analytical Processing (HTAP) workloads. It is MySQL compatible and features horizontal scalability, strong consistency, and high availability.
airbyte
Airbyte is an open-source data integration platform that makes it easy to move data from any source to any destination. With Airbyte, you can build and manage data pipelines without writing any code. Airbyte provides a library of pre-built connectors that make it easy to connect to popular data sources and destinations. You can also create your own connectors using Airbyte's no-code Connector Builder or low-code CDK. Airbyte is used by data engineers and analysts at companies of all sizes to build and manage their data pipelines.
labelbox-python
Labelbox is a data-centric AI platform for enterprises to develop, optimize, and use AI to solve problems and power new products and services. Enterprises use Labelbox to curate data, generate high-quality human feedback data for computer vision and LLMs, evaluate model performance, and automate tasks by combining AI and human-centric workflows. The academic & research community uses Labelbox for cutting-edge AI research.
