
DashAI
DashAI: an interactive platform for training, evaluating and deploying AI models
Stars: 65

DashAI is a powerful tool for building interactive web applications with Python. It allows users to create data visualization dashboards and deploy machine learning models with ease. The tool provides a simple and intuitive way to design and customize web apps without the need for extensive front-end development knowledge. With DashAI, users can easily showcase their data analysis results and predictive models in a user-friendly and interactive manner, making it ideal for data scientists, developers, and business professionals looking to share insights and predictions with stakeholders.
README:
.. image:: https://img.shields.io/pypi/v/dashai.svg :target: https://pypi.python.org/pypi/dashai
.. image:: https://readthedocs.org/projects/dashai/badge/?version=latest :target: https://dashai.readthedocs.io/en/latest/?version=latest :alt: Documentation Status
A graphical toolbox for training, evaluating and deploying state-of-the-art AI models
.. image:: ./images/DashAI_banner.png :alt: DashAI Logo
DashAI needs Python 3.10 or greater to be installed. Once that requirement is satisfied, you can install DashAI via pip:
.. code:: bash
$ pip install dashai
Then, to initialize the server and the graphical interface, run:
.. code:: bash
$ dashai
Finally, go to http://localhost:3000/ <http://localhost:3000/>_ in your browser to access to the DashAI graphical interface.
Some datasets you can use to try DashAI are available here <https://github.com/DashAISoftware/DashAI_Datasets>_.
To download and run the development version of DashAI, first, download the repository and switch to the developing branch:
.. code:: bash
$ git clone https://github.com/DashAISoftware/DashAI.git
$ git checkout develop
.. warning::
All commands executed in this section must be run
from `DashAI/front`. To move there, run:

.. code::

    $ cd DashAI/front
Prepare the environment
1. `Install the LTS node version <https://nodejs.org/en>`_.

2. Install `Yarn` package manager following the instructions located on the
   `yarn getting started <https://yarnpkg.com/getting-started>`_ page.

3. Move to `DashAI/front` and Install the project packages
   using yarn:

.. code:: bash

    $ cd DashAI/front
    $ yarn install


Running the frontend
~~~~~~~~~~~~~~~~~~~~~~

Move to DashAI/front if you are not on that route:

.. code:: bash

    $ cd DashAI/front

Then, launch the front-end development server by running the following command:

.. code:: bash

    $ yarn start


Backend
-------


Prepare the environment
First, set the python enviroment, for that you can use
conda <https://docs.conda.io/en/latest/miniconda.html>_:
.. code: bash
$ conda create -n dashai python=3.10
$ conda activate dashai
Then, move to DashAI/back
.. code:: bash
$ cd DashAI/back
Later, install the requirements:
.. code:: bash
$ pip install -r requirements.txt
$ pip install -r requirements-dev.txt
$ pre-commit install
Running the Backend
There are three ways to run DashAI:

1. By executing DashAI as a module:

.. code:: bash

    $ python -m DashAI

2. Or,  installing the default build:

.. code:: bash

    $ pip install . -e
    $ dashai


Optional Flags
==============

**Setting the local execution path**

With the `--local-path` (alias `-lp`) option you can determine where DashAI will save its local
files, such as datasets, experiments, runs and others.
The following example shows how to set the folder in the local `.DashAI` directory:

.. code:: bash

    $ python -m DashAI --local-path "~/.DashAI"


**Setting the logging level**

Through the `--logging-level` (alias `-ll`) parameter, you can set which logging level the DashAI
backend server will have.

.. code:: bash

    $ python -m DashAI --logging-level INFO

The possible levels available are: `DEBUG`, `INFO`, `WARNING`, `ERROR`, `CRITICAL`.

Note that the `--logging-level` not only affects the DashAI loggers, but also
the datasets (which is set to the same level as DashAI) and the
SQLAlchemy (which is only activated when logging level is DEBUG).


**Disabling automatic browser opening**

By default, DashAI will open a browser window pointing to the application
after starting. If you prefer to disable this behavior, you can use the
`--no-browser` (alias `-nb`) flag:

.. code:: bash

    $ python -m DashAI --no-browser


**Checking Available Options**

You can check all available options through the command:

.. code:: bash

    $ python -m DashAI --help


Testing
=======

Execute tests
-------------

DashAI uses `pytest <https://docs.pytest.org/>`_ to perform the backend
tests.
To execute the backend tests

1. Move to `DashAI/back`

.. code:: bash

    $ cd DashAI/back

2. Run:

.. code:: bash

    $ pytest tests/

.. note::

    The database session is parametrized in every endpoint as
    ``db: Session = Depends(get_db)`` so we can test endpoints on a test database
    without making changes to the main database.


Acknowledgments
===============

This project is sponsored by the `National Center for Artificial Intelligence - CENIA <https://cenia.cl/en/>`_ (FB210017), and the `Millennium Institute for Foundational Data Research - IMFD <https://imfd.cl/en/>`_ (ICN17_002).

The core of the development is carried out by students from the Computer Science Department of the University of Chile and the Federico Santa Maria Technical University.

To see the full list of contributors, visit in `Contributors <https://github.com/DashAISoftware/DashAI/graphs/contributors>`_ the DashAI repository on Github.

.. image:: ./images/logos.png
   :alt: Collaboration Logos
For Tasks:
Click tags to check more tools for each tasksFor Jobs:
Alternative AI tools for DashAI
Similar Open Source Tools

DashAI
DashAI is a powerful tool for building interactive web applications with Python. It allows users to create data visualization dashboards and deploy machine learning models with ease. The tool provides a simple and intuitive way to design and customize web apps without the need for extensive front-end development knowledge. With DashAI, users can easily showcase their data analysis results and predictive models in a user-friendly and interactive manner, making it ideal for data scientists, developers, and business professionals looking to share insights and predictions with stakeholders.

aiomisc
aiomisc is a Python library that provides a collection of utility functions and classes for working with asynchronous I/O in a more intuitive and efficient way. It offers features like worker pools, connection pools, circuit breaker pattern, and retry mechanisms to make asyncio code more robust and easier to maintain. The library simplifies the architecture of software using asynchronous I/O, making it easier for developers to write reliable and scalable asynchronous code.
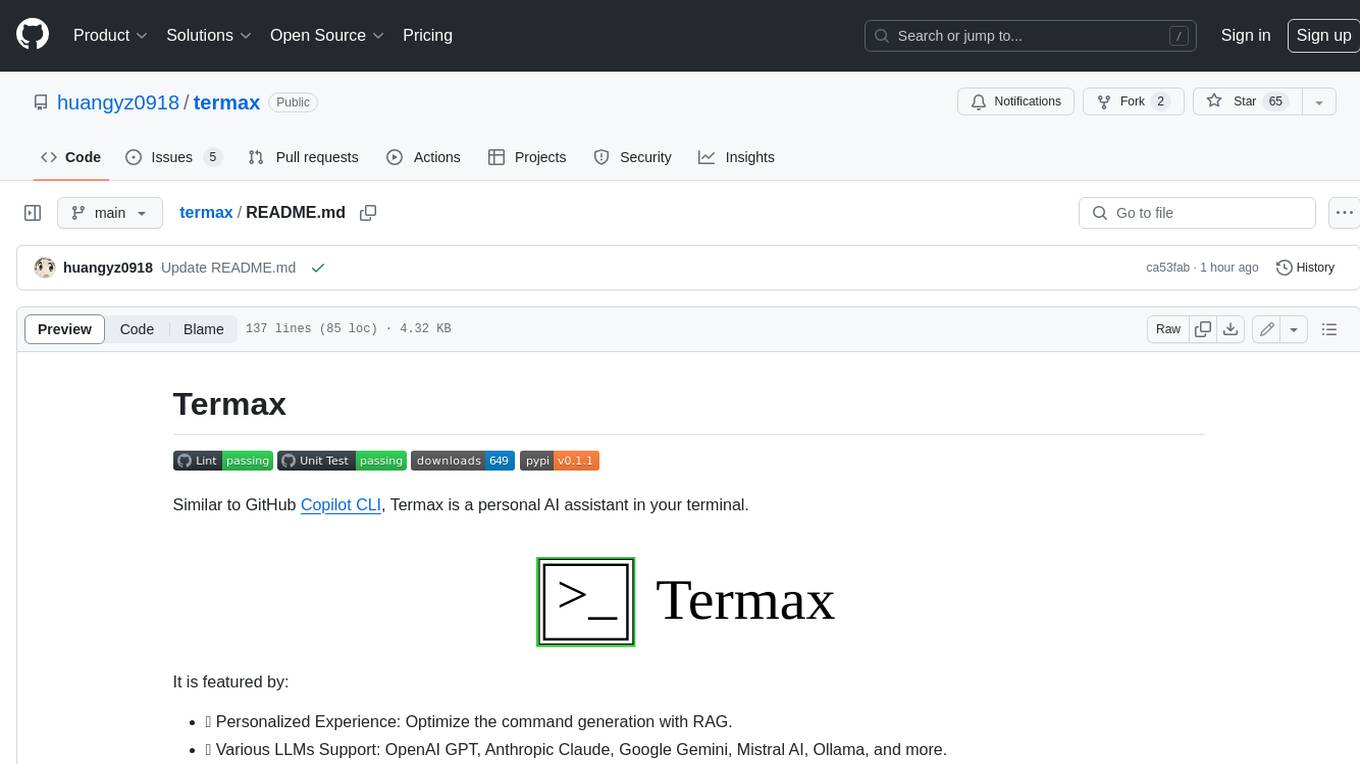
termax
Termax is an LLM agent in your terminal that converts natural language to commands. It is featured by: - Personalized Experience: Optimize the command generation with RAG. - Various LLMs Support: OpenAI GPT, Anthropic Claude, Google Gemini, Mistral AI, and more. - Shell Extensions: Plugin with popular shells like `zsh`, `bash` and `fish`. - Cross Platform: Able to run on Windows, macOS, and Linux.
lexido
Lexido is an innovative assistant for the Linux command line, designed to boost your productivity and efficiency. Powered by Gemini Pro 1.0 and utilizing the free API, Lexido offers smart suggestions for commands based on your prompts and importantly your current environment. Whether you're installing software, managing files, or configuring system settings, Lexido streamlines the process, making it faster and more intuitive.
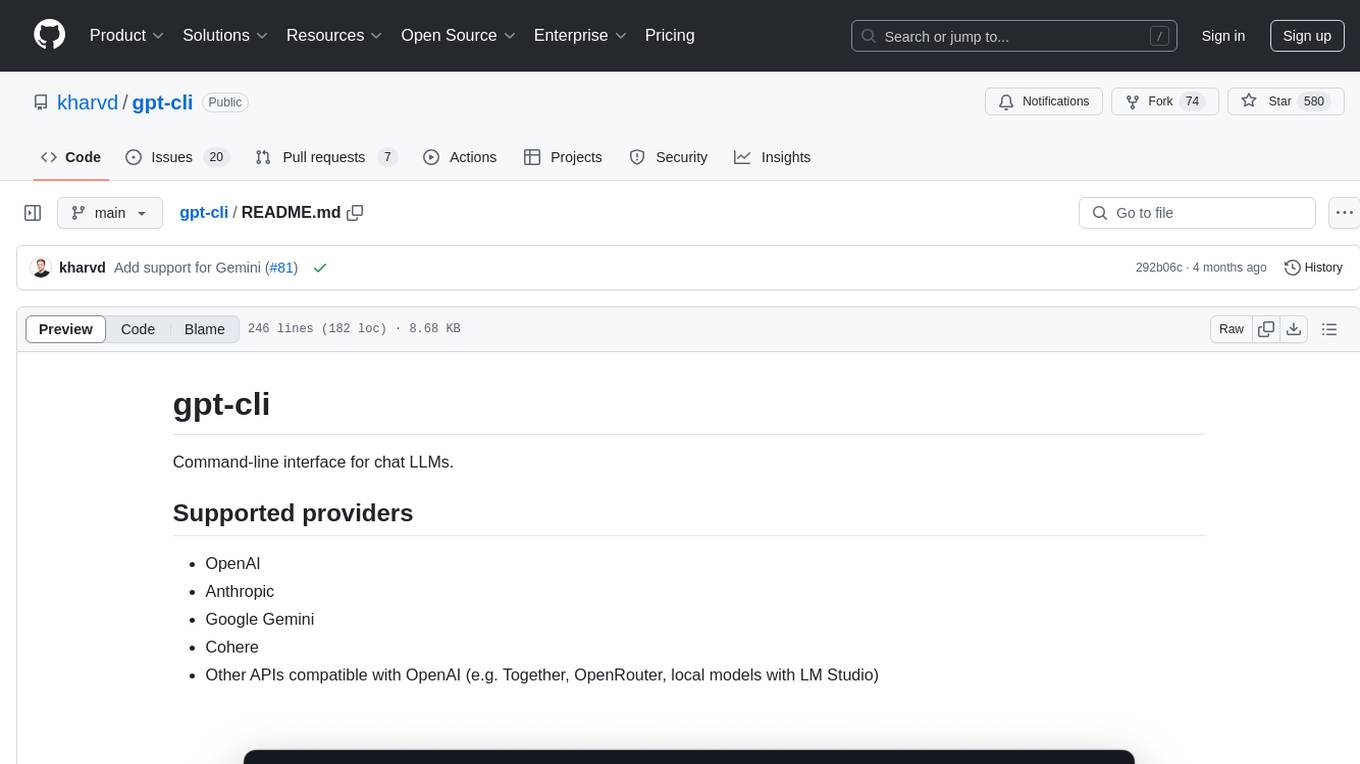
gpt-cli
gpt-cli is a command-line interface tool for interacting with various chat language models like ChatGPT, Claude, and others. It supports model customization, usage tracking, keyboard shortcuts, multi-line input, markdown support, predefined messages, and multiple assistants. Users can easily switch between different assistants, define custom assistants, and configure model parameters and API keys in a YAML file for easy customization and management.
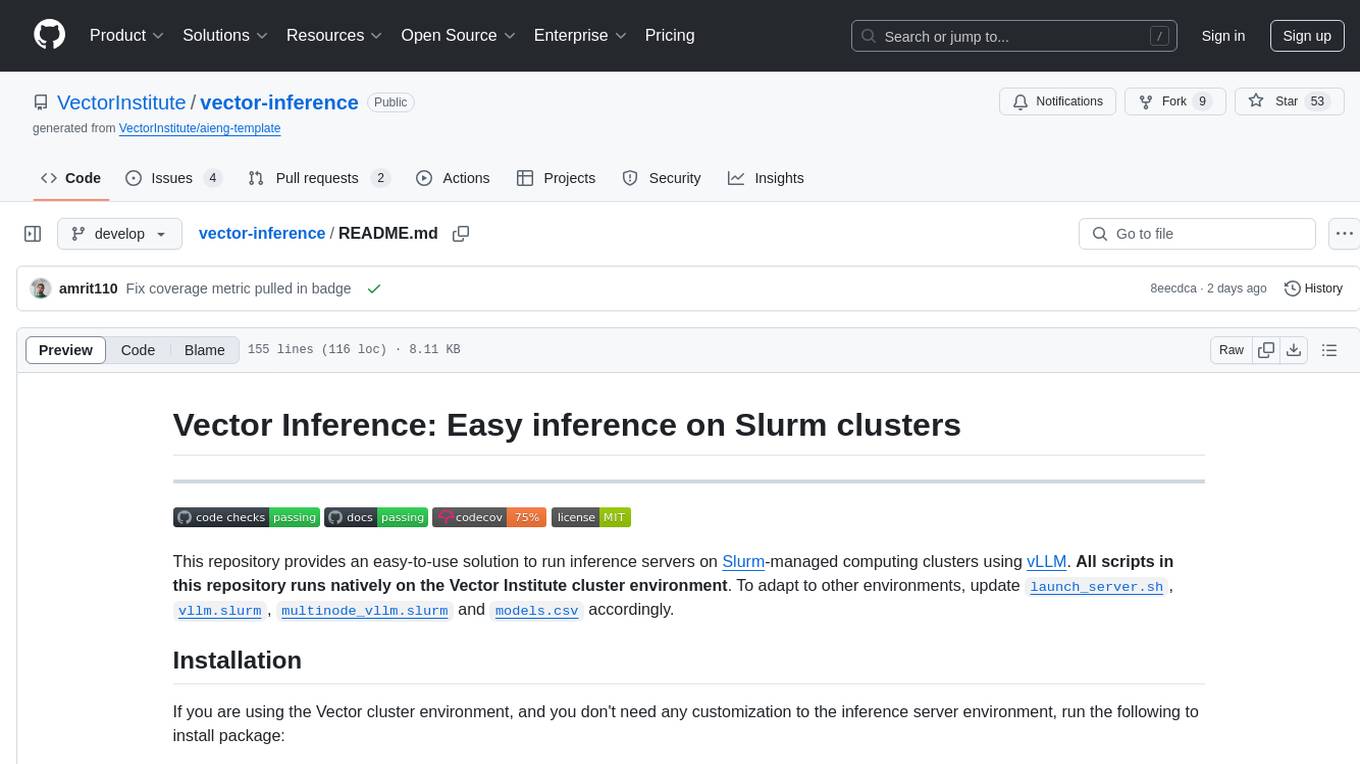
vector-inference
This repository provides an easy-to-use solution for running inference servers on Slurm-managed computing clusters using vLLM. All scripts in this repository run natively on the Vector Institute cluster environment. Users can deploy models as Slurm jobs, check server status and performance metrics, and shut down models. The repository also supports launching custom models with specific configurations. Additionally, users can send inference requests and set up an SSH tunnel to run inference from a local device.
llm-ollama
LLM-ollama is a plugin that provides access to models running on an Ollama server. It allows users to query the Ollama server for a list of models, register them with LLM, and use them for prompting, chatting, and embedding. The plugin supports image attachments, embeddings, JSON schemas, async models, model aliases, and model options. Users can interact with Ollama models through the plugin in a seamless and efficient manner.
safety-tooling
This repository, safety-tooling, is designed to be shared across various AI Safety projects. It provides an LLM API with a common interface for OpenAI, Anthropic, and Google models. The aim is to facilitate collaboration among AI Safety researchers, especially those with limited software engineering backgrounds, by offering a platform for contributing to a larger codebase. The repo can be used as a git submodule for easy collaboration and updates. It also supports pip installation for convenience. The repository includes features for installation, secrets management, linting, formatting, Redis configuration, testing, dependency management, inference, finetuning, API usage tracking, and various utilities for data processing and experimentation.

ash_ai
Ash AI is a tool that provides a Model Context Protocol (MCP) server for exposing tool definitions to an MCP client. It allows for the installation of dev and production MCP servers, and supports features like OAuth2 flow with AshAuthentication, tool data access, tool execution callbacks, prompt-backed actions, and vectorization strategies. Users can also generate a chat feature for their Ash & Phoenix application using `ash_oban` and `ash_postgres`, and specify LLM API keys for OpenAI. The tool is designed to help developers experiment with tools and actions, monitor tool execution, and expose actions as tool calls.
magic-cli
Magic CLI is a command line utility that leverages Large Language Models (LLMs) to enhance command line efficiency. It is inspired by projects like Amazon Q and GitHub Copilot for CLI. The tool allows users to suggest commands, search across command history, and generate commands for specific tasks using local or remote LLM providers. Magic CLI also provides configuration options for LLM selection and response generation. The project is still in early development, so users should expect breaking changes and bugs.
bedrock-claude-chat
This repository is a sample chatbot using the Anthropic company's LLM Claude, one of the foundational models provided by Amazon Bedrock for generative AI. It allows users to have basic conversations with the chatbot, personalize it with their own instructions and external knowledge, and analyze usage for each user/bot on the administrator dashboard. The chatbot supports various languages, including English, Japanese, Korean, Chinese, French, German, and Spanish. Deployment is straightforward and can be done via the command line or by using AWS CDK. The architecture is built on AWS managed services, eliminating the need for infrastructure management and ensuring scalability, reliability, and security.
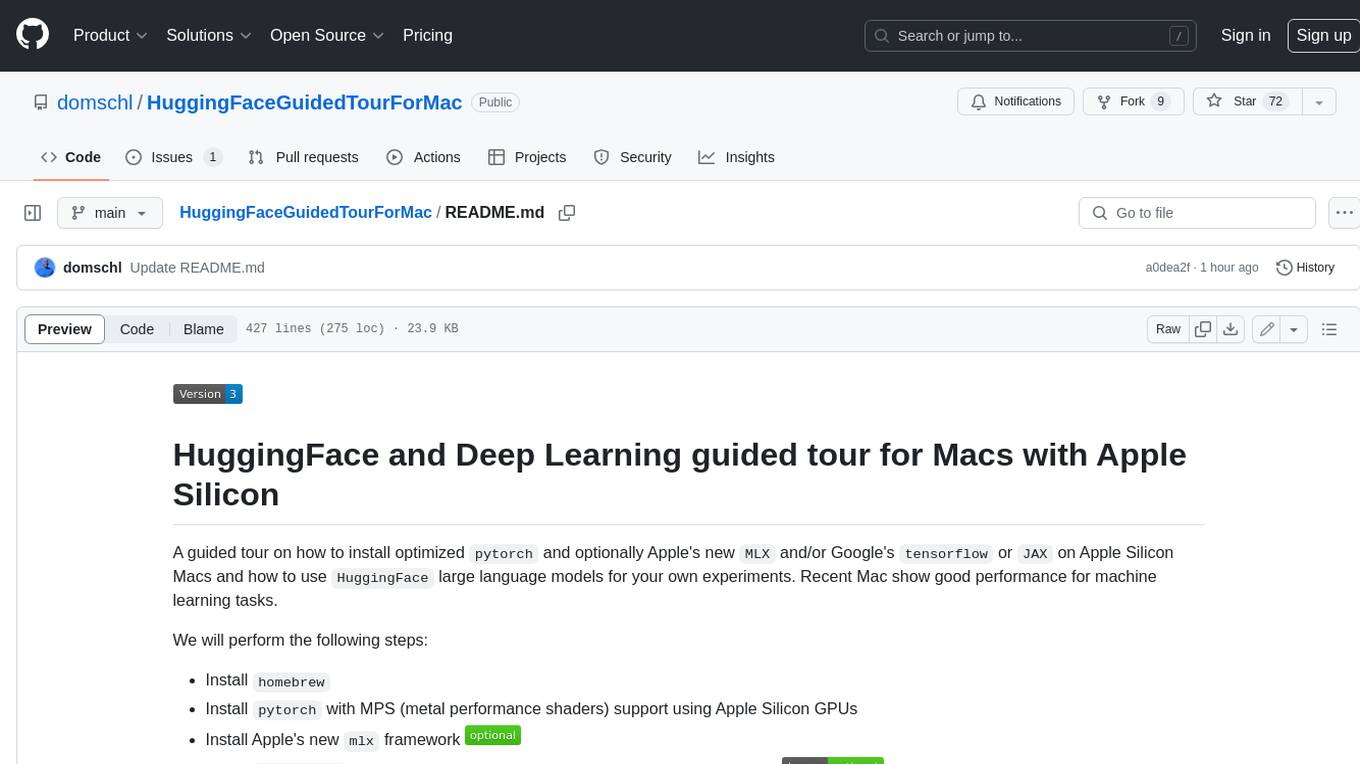
HuggingFaceGuidedTourForMac
HuggingFaceGuidedTourForMac is a guided tour on how to install optimized pytorch and optionally Apple's new MLX, JAX, and TensorFlow on Apple Silicon Macs. The repository provides steps to install homebrew, pytorch with MPS support, MLX, JAX, TensorFlow, and Jupyter lab. It also includes instructions on running large language models using HuggingFace transformers. The repository aims to help users set up their Macs for deep learning experiments with optimized performance.
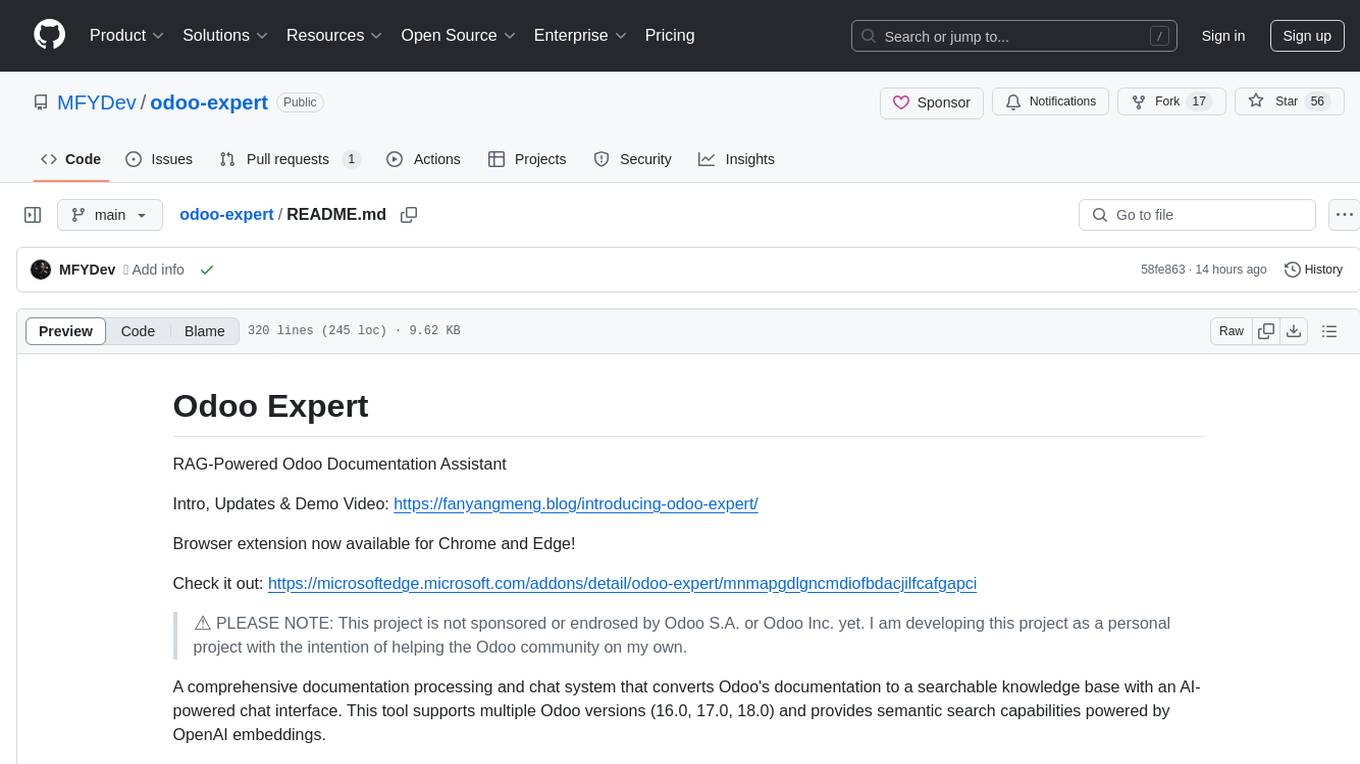
odoo-expert
RAG-Powered Odoo Documentation Assistant is a comprehensive documentation processing and chat system that converts Odoo's documentation to a searchable knowledge base with an AI-powered chat interface. It supports multiple Odoo versions (16.0, 17.0, 18.0) and provides semantic search capabilities powered by OpenAI embeddings. The tool automates the conversion of RST to Markdown, offers real-time semantic search, context-aware AI-powered chat responses, and multi-version support. It includes a Streamlit-based web UI, REST API for programmatic access, and a CLI for document processing and chat. The system operates through a pipeline of data processing steps and an interface layer for UI and API access to the knowledge base.
hash
HASH is a self-building, open-source database which grows, structures and checks itself. With it, we're creating a platform for decision-making, which helps you integrate, understand and use data in a variety of different ways.
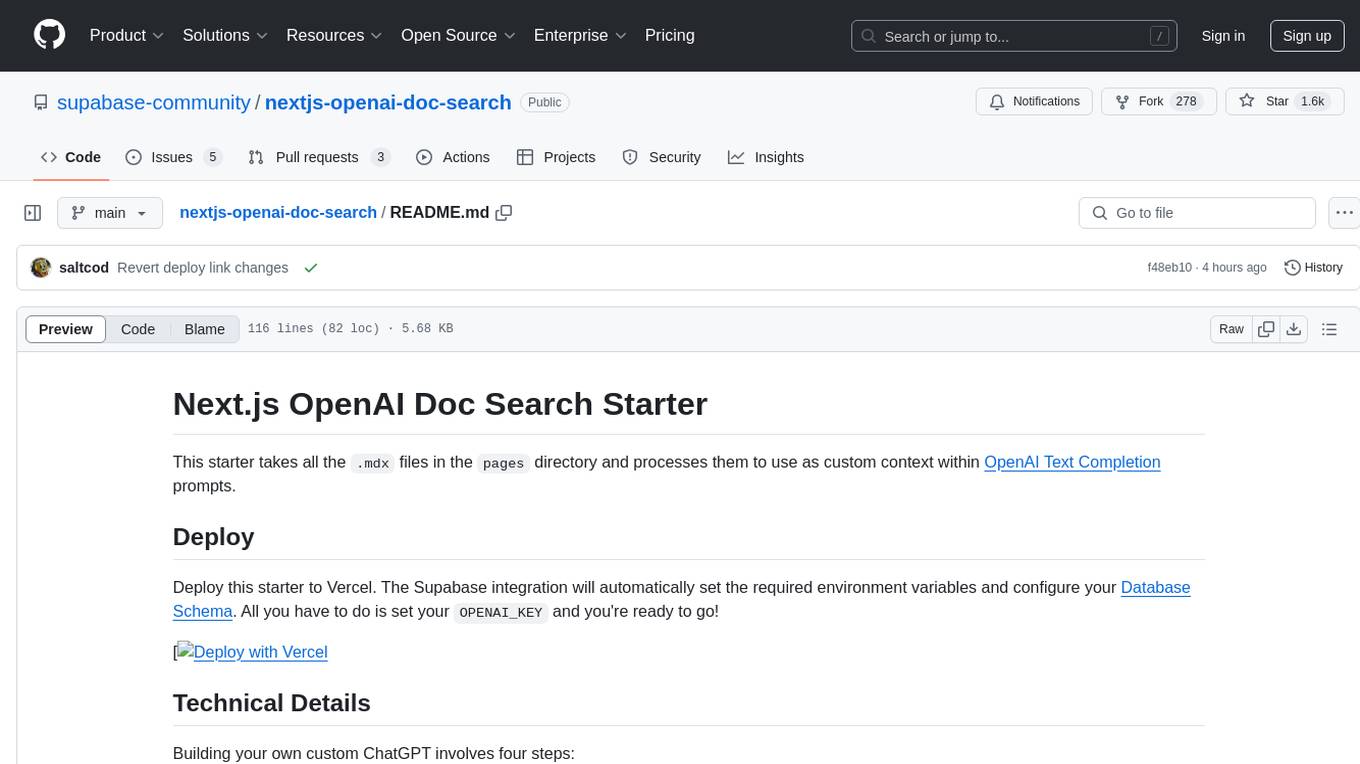
nextjs-openai-doc-search
This starter project is designed to process `.mdx` files in the `pages` directory to use as custom context within OpenAI Text Completion prompts. It involves building a custom ChatGPT style doc search powered by Next.js, OpenAI, and Supabase. The project includes steps for pre-processing knowledge base, storing embeddings in Postgres, performing vector similarity search, and injecting content into OpenAI GPT-3 text completion prompt.
slack-bot
The Slack Bot is a tool designed to enhance the workflow of development teams by integrating with Jenkins, GitHub, GitLab, and Jira. It allows for custom commands, macros, crons, and project-specific commands to be implemented easily. Users can interact with the bot through Slack messages, execute commands, and monitor job progress. The bot supports features like starting and monitoring Jenkins jobs, tracking pull requests, querying Jira information, creating buttons for interactions, generating images with DALL-E, playing quiz games, checking weather, defining custom commands, and more. Configuration is managed via YAML files, allowing users to set up credentials for external services, define custom commands, schedule cron jobs, and configure VCS systems like Bitbucket for automated branch lookup in Jenkins triggers.
For similar tasks

DashAI
DashAI is a powerful tool for building interactive web applications with Python. It allows users to create data visualization dashboards and deploy machine learning models with ease. The tool provides a simple and intuitive way to design and customize web apps without the need for extensive front-end development knowledge. With DashAI, users can easily showcase their data analysis results and predictive models in a user-friendly and interactive manner, making it ideal for data scientists, developers, and business professionals looking to share insights and predictions with stakeholders.
ai-on-gke
This repository contains assets related to AI/ML workloads on Google Kubernetes Engine (GKE). Run optimized AI/ML workloads with Google Kubernetes Engine (GKE) platform orchestration capabilities. A robust AI/ML platform considers the following layers: Infrastructure orchestration that support GPUs and TPUs for training and serving workloads at scale Flexible integration with distributed computing and data processing frameworks Support for multiple teams on the same infrastructure to maximize utilization of resources
ray
Ray is a unified framework for scaling AI and Python applications. It consists of a core distributed runtime and a set of AI libraries for simplifying ML compute, including Data, Train, Tune, RLlib, and Serve. Ray runs on any machine, cluster, cloud provider, and Kubernetes, and features a growing ecosystem of community integrations. With Ray, you can seamlessly scale the same code from a laptop to a cluster, making it easy to meet the compute-intensive demands of modern ML workloads.
labelbox-python
Labelbox is a data-centric AI platform for enterprises to develop, optimize, and use AI to solve problems and power new products and services. Enterprises use Labelbox to curate data, generate high-quality human feedback data for computer vision and LLMs, evaluate model performance, and automate tasks by combining AI and human-centric workflows. The academic & research community uses Labelbox for cutting-edge AI research.
djl
Deep Java Library (DJL) is an open-source, high-level, engine-agnostic Java framework for deep learning. It is designed to be easy to get started with and simple to use for Java developers. DJL provides a native Java development experience and allows users to integrate machine learning and deep learning models with their Java applications. The framework is deep learning engine agnostic, enabling users to switch engines at any point for optimal performance. DJL's ergonomic API interface guides users with best practices to accomplish deep learning tasks, such as running inference and training neural networks.
mlflow
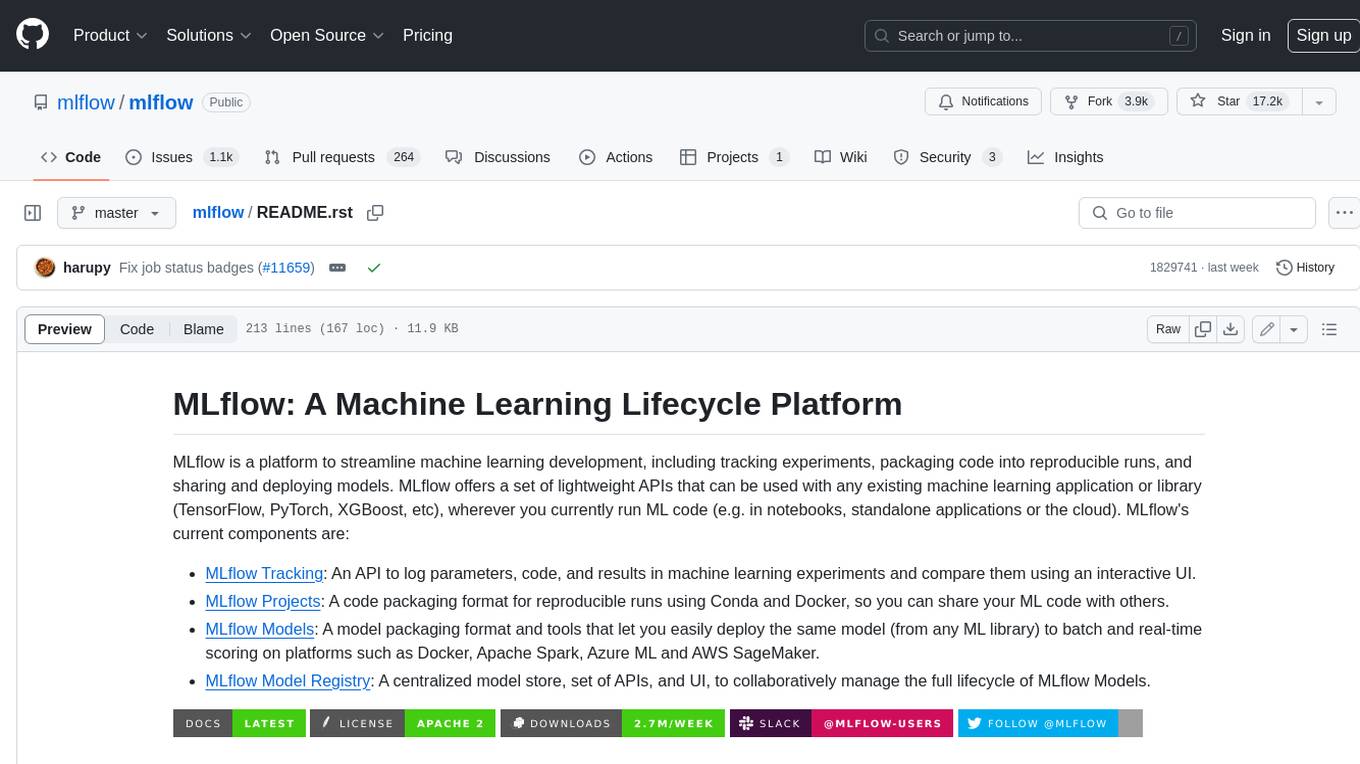
MLflow is a platform to streamline machine learning development, including tracking experiments, packaging code into reproducible runs, and sharing and deploying models. MLflow offers a set of lightweight APIs that can be used with any existing machine learning application or library (TensorFlow, PyTorch, XGBoost, etc), wherever you currently run ML code (e.g. in notebooks, standalone applications or the cloud). MLflow's current components are:
* `MLflow Tracking
tt-metal
TT-NN is a python & C++ Neural Network OP library. It provides a low-level programming model, TT-Metalium, enabling kernel development for Tenstorrent hardware.
burn
Burn is a new comprehensive dynamic Deep Learning Framework built using Rust with extreme flexibility, compute efficiency and portability as its primary goals.
For similar jobs
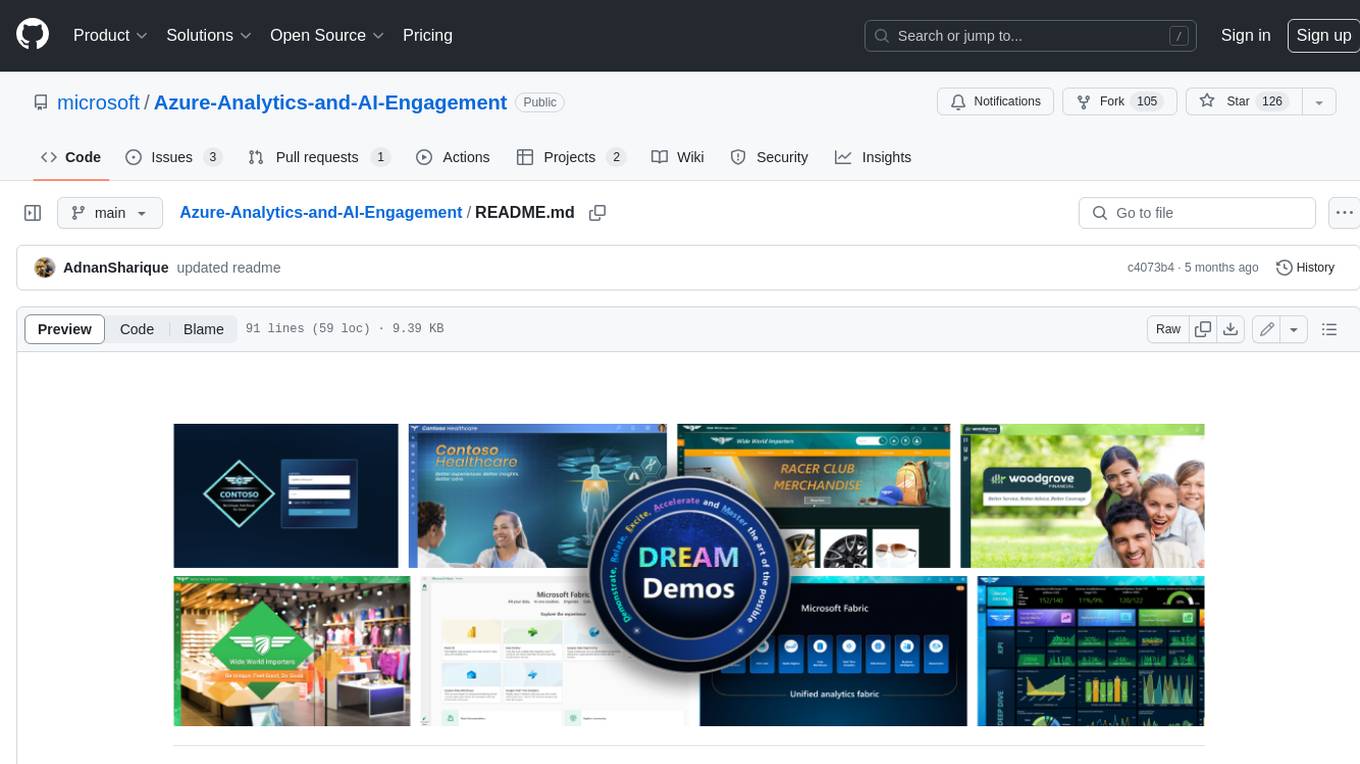
Azure-Analytics-and-AI-Engagement
The Azure-Analytics-and-AI-Engagement repository provides packaged Industry Scenario DREAM Demos with ARM templates (Containing a demo web application, Power BI reports, Synapse resources, AML Notebooks etc.) that can be deployed in a customer’s subscription using the CAPE tool within a matter of few hours. Partners can also deploy DREAM Demos in their own subscriptions using DPoC.
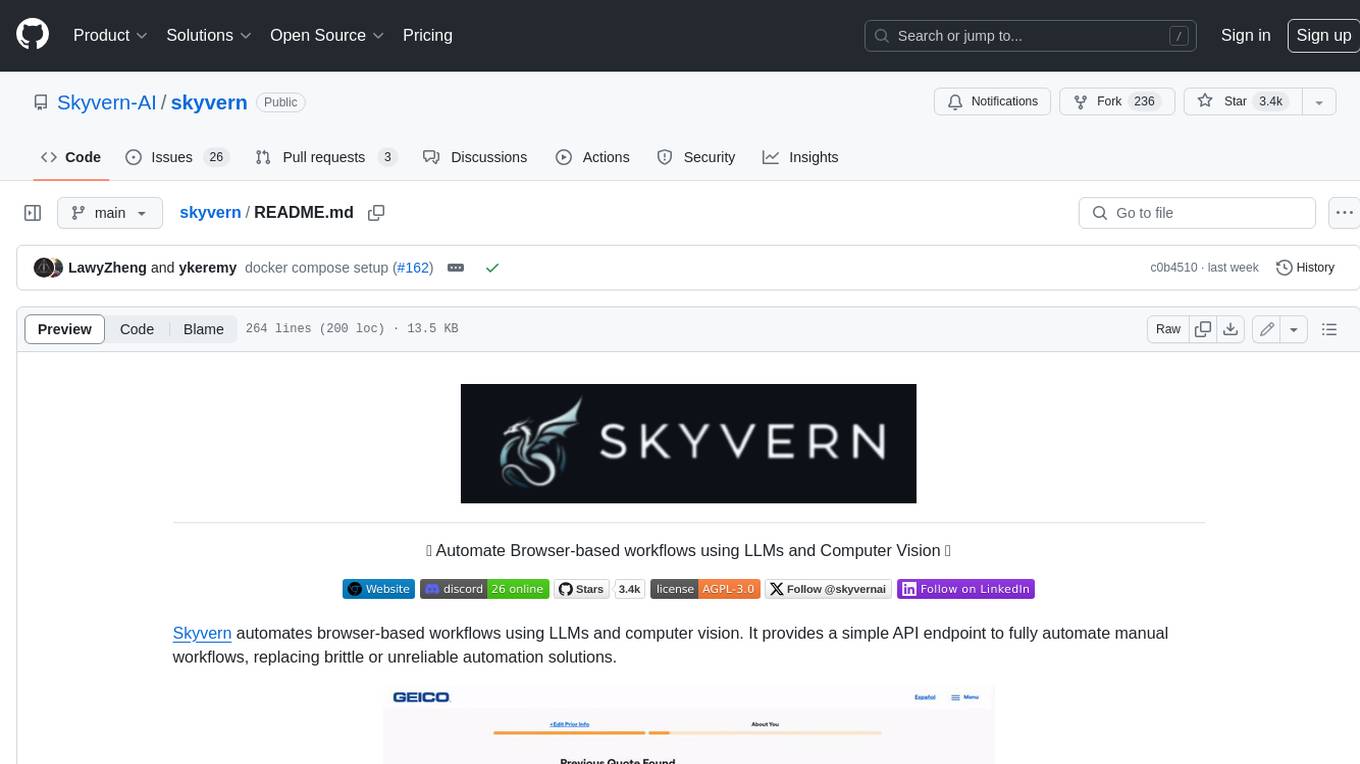
skyvern
Skyvern automates browser-based workflows using LLMs and computer vision. It provides a simple API endpoint to fully automate manual workflows, replacing brittle or unreliable automation solutions. Traditional approaches to browser automations required writing custom scripts for websites, often relying on DOM parsing and XPath-based interactions which would break whenever the website layouts changed. Instead of only relying on code-defined XPath interactions, Skyvern adds computer vision and LLMs to the mix to parse items in the viewport in real-time, create a plan for interaction and interact with them. This approach gives us a few advantages: 1. Skyvern can operate on websites it’s never seen before, as it’s able to map visual elements to actions necessary to complete a workflow, without any customized code 2. Skyvern is resistant to website layout changes, as there are no pre-determined XPaths or other selectors our system is looking for while trying to navigate 3. Skyvern leverages LLMs to reason through interactions to ensure we can cover complex situations. Examples include: 1. If you wanted to get an auto insurance quote from Geico, the answer to a common question “Were you eligible to drive at 18?” could be inferred from the driver receiving their license at age 16 2. If you were doing competitor analysis, it’s understanding that an Arnold Palmer 22 oz can at 7/11 is almost definitely the same product as a 23 oz can at Gopuff (even though the sizes are slightly different, which could be a rounding error!) Want to see examples of Skyvern in action? Jump to #real-world-examples-of- skyvern
pandas-ai
PandasAI is a Python library that makes it easy to ask questions to your data in natural language. It helps you to explore, clean, and analyze your data using generative AI.
vanna
Vanna is an open-source Python framework for SQL generation and related functionality. It uses Retrieval-Augmented Generation (RAG) to train a model on your data, which can then be used to ask questions and get back SQL queries. Vanna is designed to be portable across different LLMs and vector databases, and it supports any SQL database. It is also secure and private, as your database contents are never sent to the LLM or the vector database.
databend
Databend is an open-source cloud data warehouse that serves as a cost-effective alternative to Snowflake. With its focus on fast query execution and data ingestion, it's designed for complex analysis of the world's largest datasets.
Avalonia-Assistant
Avalonia-Assistant is an open-source desktop intelligent assistant that aims to provide a user-friendly interactive experience based on the Avalonia UI framework and the integration of Semantic Kernel with OpenAI or other large LLM models. By utilizing Avalonia-Assistant, you can perform various desktop operations through text or voice commands, enhancing your productivity and daily office experience.
marvin
Marvin is a lightweight AI toolkit for building natural language interfaces that are reliable, scalable, and easy to trust. Each of Marvin's tools is simple and self-documenting, using AI to solve common but complex challenges like entity extraction, classification, and generating synthetic data. Each tool is independent and incrementally adoptable, so you can use them on their own or in combination with any other library. Marvin is also multi-modal, supporting both image and audio generation as well using images as inputs for extraction and classification. Marvin is for developers who care more about _using_ AI than _building_ AI, and we are focused on creating an exceptional developer experience. Marvin users should feel empowered to bring tightly-scoped "AI magic" into any traditional software project with just a few extra lines of code. Marvin aims to merge the best practices for building dependable, observable software with the best practices for building with generative AI into a single, easy-to-use library. It's a serious tool, but we hope you have fun with it. Marvin is open-source, free to use, and made with 💙 by the team at Prefect.
activepieces
Activepieces is an open source replacement for Zapier, designed to be extensible through a type-safe pieces framework written in Typescript. It features a user-friendly Workflow Builder with support for Branches, Loops, and Drag and Drop. Activepieces integrates with Google Sheets, OpenAI, Discord, and RSS, along with 80+ other integrations. The list of supported integrations continues to grow rapidly, thanks to valuable contributions from the community. Activepieces is an open ecosystem; all piece source code is available in the repository, and they are versioned and published directly to npmjs.com upon contributions. If you cannot find a specific piece on the pieces roadmap, please submit a request by visiting the following link: Request Piece Alternatively, if you are a developer, you can quickly build your own piece using our TypeScript framework. For guidance, please refer to the following guide: Contributor's Guide