whispering-ui
Native UI for the Whispering Tiger project - https://github.com/Sharrnah/whispering (live transcription / translation)
Stars: 237
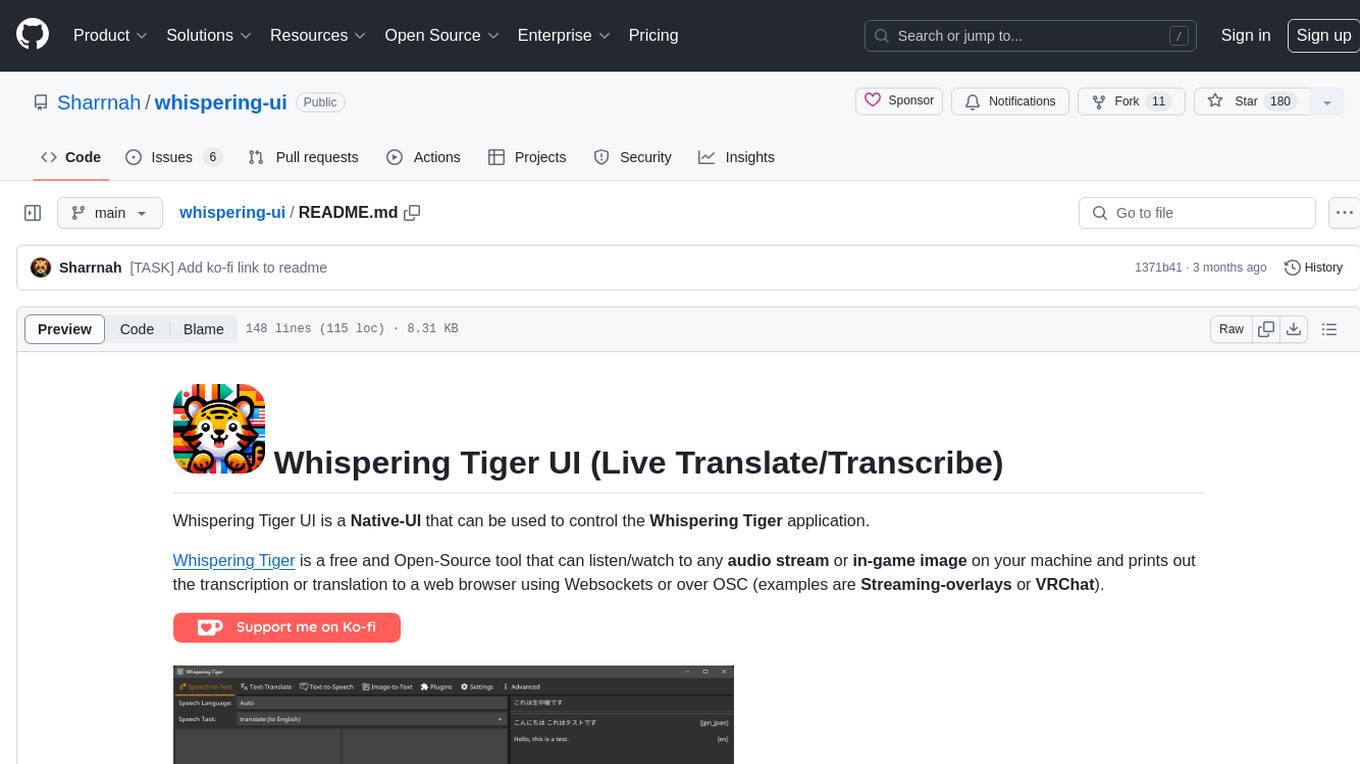
Whispering Tiger UI is a Native-UI tool designed to control the Whispering Tiger application, a free and Open-Source tool that can listen/watch to audio streams or in-game images on your machine and provide transcription or translation to a web browser using Websockets or over OSC. It features a Native-UI for Windows, easy access to all Whispering Tiger features including transcription, translation, text-to-speech, and in-game image recognition. The tool supports loopback audio device, configuration saving/loading, plugin support for additional features, and auto-update functionality. Users can create profiles, configure audio devices, select A.I. devices for speech-to-text, and install/manage plugins for extended functionality.
README:
Whispering Tiger UI is a Native-UI that can be used to control the Whispering Tiger application.
Whispering Tiger is a free and Open-Source tool that can listen/watch to any audio stream or in-game image on your machine and prints out the transcription or translation to a web browser using Websockets or over OSC (examples are Streaming-overlays or VRChat).
- Features
- Download
- Documentation
- Tutorials
- Installation
- Setup
- Advanced Features
- Additional Help (Discord)
- Screenshots
- Native-UI for Windows (and possibly Linux in the future)
- Easy to use for both beginners and advanced users
-
Access to all Whispering Tiger features, which includes:
- Transcription / Translation of audio streams
- Translation of Texts
- Text-to-Speech
- Recognition and Translation of in-game images
- Displaying the results in a web browser or VRChat, using Websockets or OSC
- Loopback audio device support to capture PC audio without additional tools
- Save and load configurations
- Preview if your selected Audio devices are working
-
Plugin support for additional features (Find a list of Plugins here)
- Realtime Subtitles Plugin
- Many Text2Speech Plugins
- Emotion Prediction Plugin
- Currently Playing Song Plugin
- Subtitle Export Plugin
- Retrieval-based Voice Conversion (RVC) Plugin
- Large Language Models Plugin
- and more...
- Auto-Update to the latest version of Whispering Tiger.
Download Latest Version from the Releases Page.
-
Video Tutorial "Whispering Tiger - Live Translation and Transcription":
-
After downloading the latest version from the [Releases], extract it to a folder of your choice on a drive with enough free space.
(Do not run it directly from the zip file, do not run from external drive.)
-
Install CUDA for GPU Acceleration (Optional but recommended for NVIDIA GPUs).
-
Run the Whispering Tiger.exe file.
-
Let it download the latest version of Whispering Tiger. (It will ask to download the Platform.)
-
After the download is finished, you can create a Profile and start using the Whispering Tiger application.
- On the first start, it will start downloading the A.I. Models which can take a while depending on your selected Model size. (currently it does not show the status of the model downloads)
-
Create a Profile by entering a name and clicking on the New button.
-
Websocket IP + Portcan be kept at the default values "127.0.0.1" and "5000".- These are only useful if you want to run multiple instances or have the Backend Platform run on a separate PC.
- If you want to run multiple instances, you need to change the Port for each instance.
-
Select your Audio Input and Output devices. You can test them by speaking into your microphone and clicking on the Test button.
-
You should see the Audio Input bar move when you speak. and hear a test-audio and see the Audio Output bar move when you click on the Test button.

-
See also Audio configuration (TTS to Mic, Game Audio translation, etc.) for more information on specific Audio Setups.
(like when you want to translate Audio of Games, Videos or Streams that are played on your PC instead of using a Microphone as Input.).
-
-
(Optional) use Push to Talk Click into the field and press the keys you want to use for Push to Talk
(press each key separately to configure. When running the Profile, all keys will be required to be pressed at the same time when using Push to Talk)
- To disable autodetect of speech to only use Push to Talk, set
Speech volume LevelandSpeech pause detectionto 0.
- To disable autodetect of speech to only use Push to Talk, set
-
Keep an eye on the estimated Memory consumption in the lower right corner.
It is only a rough estimate and can vary, but it should give you an idea of how much (V-)RAM you need for your selected A.I. Models. and Options.

-
Select the A.I. Device for Speech-to-Text and Text Translation according to your Hardware.
- CUDA (requires an NVIDIA GPU) or CPU.
- CUDA will load the A.I. into V-RAM and will be faster than CPU.
-
Select the Speech-to-Text Size and Text Translation Size.
- The larger the size, the more accurate but also slower the transcription will be.
- The larger the size, the more (V-)RAM it will use.
- Note: The A.I. Model of the selected size and precision will be downloaded automatically when you start the application for the first time.
-
Select the Speech-to-Text Precision and Text Translation Precision
- The higher the precision, the more accurate and the more (V-)RAM is used. (However the accuracy differences are almost negligible).
- Modern GPU's have a better acceleration for
float16. - CPU's only support
float32,int16orint8precision.
Note:
- You can play with the values until you get your desired results.
- If something does not work, check the Log under the Advanced tab. And check for any error.
- Enable Write log to file to save the log to a file.
- Install Plugins using the UI directly, or..
- Install Plugins manually.
- Select your desired Plugin from the list of Plugins here.
- Download the
*.pyfile and place it in the Plugins folder. - Restart the application.
- The Plugin should now be available in the Plugins tab.
Note:
Most Plugins have specific settings that can be configured in the textboxes of the Plugin in the Plugins tab.
- Audio configuration (TTS to Mic, Game Audio translation, etc.)
- Realtime Configuration and speed improvements
For additional Help, you can join
For Tasks:
Click tags to check more tools for each tasksFor Jobs:
Alternative AI tools for whispering-ui
Similar Open Source Tools

whispering-ui
Whispering Tiger UI is a Native-UI tool designed to control the Whispering Tiger application, a free and Open-Source tool that can listen/watch to audio streams or in-game images on your machine and provide transcription or translation to a web browser using Websockets or over OSC. It features a Native-UI for Windows, easy access to all Whispering Tiger features including transcription, translation, text-to-speech, and in-game image recognition. The tool supports loopback audio device, configuration saving/loading, plugin support for additional features, and auto-update functionality. Users can create profiles, configure audio devices, select A.I. devices for speech-to-text, and install/manage plugins for extended functionality.

easydiffusion
Easy Diffusion 3.0 is a user-friendly tool for installing and using Stable Diffusion on your computer. It offers hassle-free installation, clutter-free UI, task queue, intelligent model detection, live preview, image modifiers, multiple prompts file, saving generated images, UI themes, searchable models dropdown, and supports various image generation tasks like 'Text to Image', 'Image to Image', and 'InPainting'. The tool also provides advanced features such as custom models, merge models, custom VAE models, multi-GPU support, auto-updater, developer console, and more. It is designed for both new users and advanced users looking for powerful AI image generation capabilities.

AmigaGPT
AmigaGPT is a versatile ChatGPT client for AmigaOS 3.x, 4.1, and MorphOS. It brings the capabilities of OpenAI’s GPT to Amiga systems, enabling text generation, question answering, and creative exploration. AmigaGPT can generate images using DALL-E, supports speech output, and seamlessly integrates with AmigaOS. Users can customize the UI, choose fonts and colors, and enjoy a native user experience. The tool requires specific system requirements and offers features like state-of-the-art language models, AI image generation, speech capability, and UI customization.
swift-chat
SwiftChat is a fast and responsive AI chat application developed with React Native and powered by Amazon Bedrock. It offers real-time streaming conversations, AI image generation, multimodal support, conversation history management, and cross-platform compatibility across Android, iOS, and macOS. The app supports multiple AI models like Amazon Bedrock, Ollama, DeepSeek, and OpenAI, and features a customizable system prompt assistant. With a minimalist design philosophy and robust privacy protection, SwiftChat delivers a seamless chat experience with various features like rich Markdown support, comprehensive multimodal analysis, creative image suite, and quick access tools. The app prioritizes speed in launch, request, render, and storage, ensuring a fast and efficient user experience. SwiftChat also emphasizes app privacy and security by encrypting API key storage, minimal permission requirements, local-only data storage, and a privacy-first approach.
RealtimeSTT_LLM_TTS
RealtimeSTT is an easy-to-use, low-latency speech-to-text library for realtime applications. It listens to the microphone and transcribes voice into text, making it ideal for voice assistants and applications requiring fast and precise speech-to-text conversion. The library utilizes Voice Activity Detection, Realtime Transcription, and Wake Word Activation features. It supports GPU-accelerated transcription using PyTorch with CUDA support. RealtimeSTT offers various customization options for different parameters to enhance user experience and performance. The library is designed to provide a seamless experience for developers integrating speech-to-text functionality into their applications.
AudioMuse-AI
AudioMuse-AI is a deep learning-based tool for audio analysis and music generation. It provides a user-friendly interface for processing audio data and generating music compositions. The tool utilizes state-of-the-art machine learning algorithms to analyze audio signals and extract meaningful features for music generation. With AudioMuse-AI, users can explore the possibilities of AI in music creation and experiment with different styles and genres. Whether you are a music enthusiast, a researcher, or a developer, AudioMuse-AI offers a versatile platform for audio analysis and music generation.
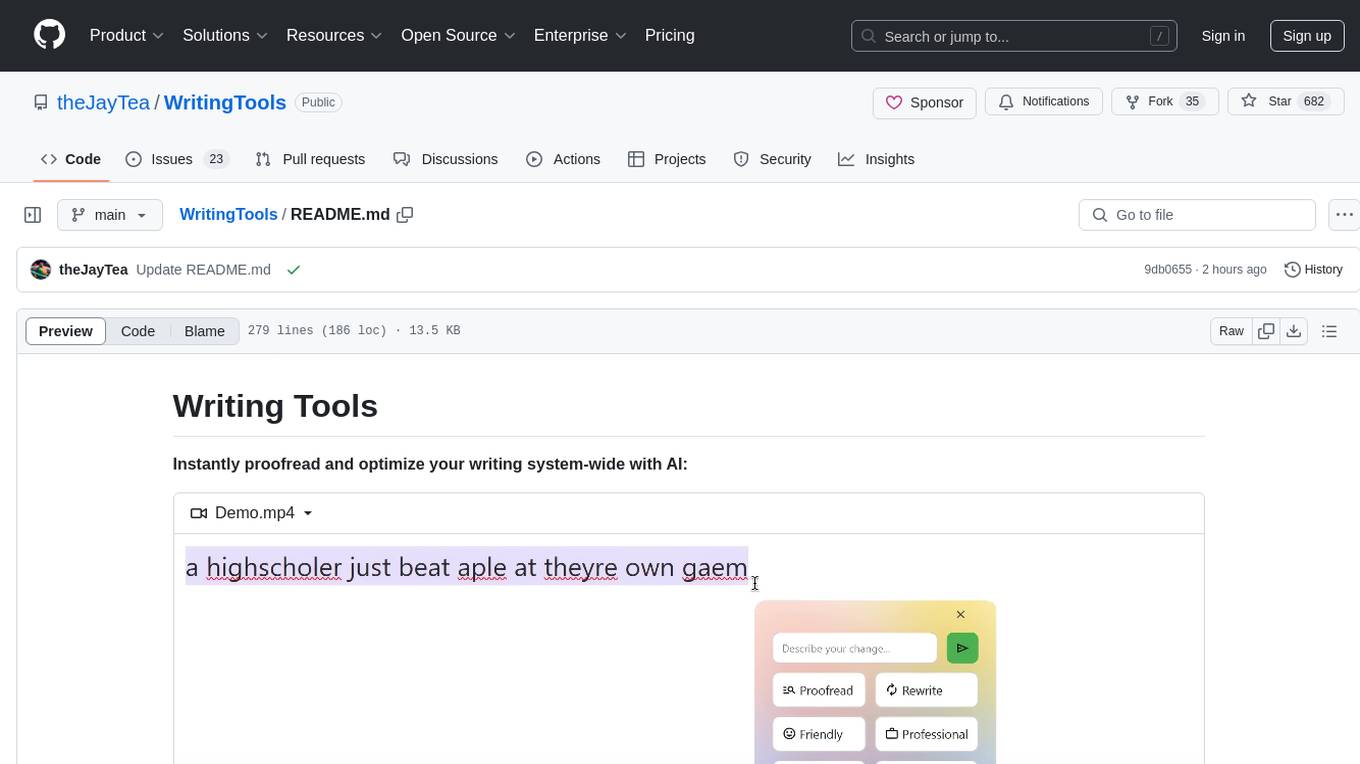
WritingTools
Writing Tools is an Apple Intelligence-inspired application for Windows, Linux, and macOS that supercharges your writing with an AI LLM. It allows users to instantly proofread, optimize text, and summarize content from webpages, YouTube videos, documents, etc. The tool is privacy-focused, open-source, and supports multiple languages. It offers powerful features like grammar correction, content summarization, and LLM chat mode, making it a versatile writing assistant for various tasks.
pocketpal-ai
PocketPal AI is a versatile virtual assistant tool designed to streamline daily tasks and enhance productivity. It leverages artificial intelligence technology to provide personalized assistance in managing schedules, organizing information, setting reminders, and more. With its intuitive interface and smart features, PocketPal AI aims to simplify users' lives by automating routine activities and offering proactive suggestions for optimal time management and task prioritization.
QOwnNotes
QOwnNotes is an open source notepad with Markdown support and todo list manager for GNU/Linux, macOS, and Windows. It allows you to write down thoughts, edit, and search for them later from mobile devices. Notes are stored as plain text markdown files and synced with Nextcloud's/ownCloud's file sync functionality. QOwnNotes offers features like multiple note folders, restoration of older versions and trashed notes, sub-string searching, customizable keyboard shortcuts, markdown highlighting, spellchecking, tabbing support, scripting support, encryption of notes, dark mode theme support, and more. It supports hierarchical note tagging, note subfolders, sharing notes on Nextcloud/ownCloud server, portable mode, Vim mode, distraction-free mode, full-screen mode, typewriter mode, Evernote and Joplin import, and is available in over 60 languages.
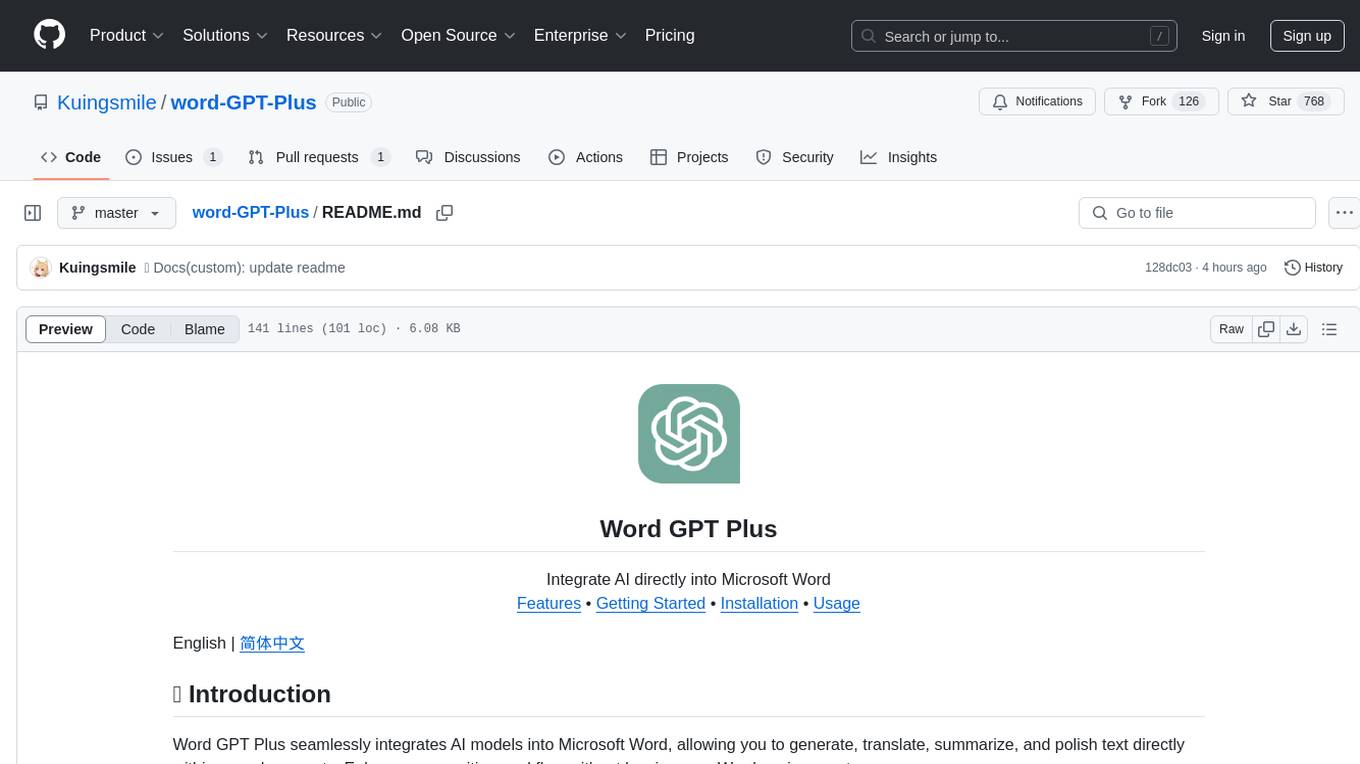
word-GPT-Plus
Word GPT Plus seamlessly integrates AI models into Microsoft Word, allowing users to generate, translate, summarize, and polish text directly within their documents. The tool supports multiple AI models, offers built-in templates for various text-related tasks, and provides customization options for user preferences. Users can install the tool through a hosted service, Docker deployment, or self-hosting, and can easily fill in API keys to access different AI services. Word GPT Plus enhances writing workflows by providing AI-powered assistance without leaving the Word environment.
NotelyVoice
Notely Voice is a free, modern, cross-platform AI voice transcription and note-taking application. It offers powerful Whisper AI Voice to Text capabilities, making it ideal for students, professionals, doctors, researchers, and anyone in need of hands-free note-taking. The app features rich text editing, simple search, smart filtering, organization with folders and tags, advanced speech-to-text, offline capability, seamless integration, audio recording, theming, cross-platform support, and sharing functionality. It includes memory-efficient audio processing, chunking configuration, and utilizes OpenAI Whisper for speech recognition technology. Built with Kotlin, Compose Multiplatform, Coroutines, Android Architecture, ViewModel, Koin, Material 3, Whisper AI, and Native Compose Navigation, Notely follows Android Architecture principles with distinct layers for UI, presentation, domain, and data.
RWKV_APP
RWKV App is an experimental application that enables users to run Large Language Models (LLMs) offline on their edge devices. It offers a privacy-first, on-device LLM experience for everyday devices. Users can engage in multi-turn conversations, text-to-speech, visual understanding, and more, all without requiring an internet connection. The app supports switching between different models, running locally without internet, and exploring various AI tasks such as chat, speech generation, and visual understanding. It is built using Flutter and Dart FFI for cross-platform compatibility and efficient communication with the C++ inference engine. The roadmap includes integrating features into the RWKV Chat app, supporting more model weights, hardware, operating systems, and devices.
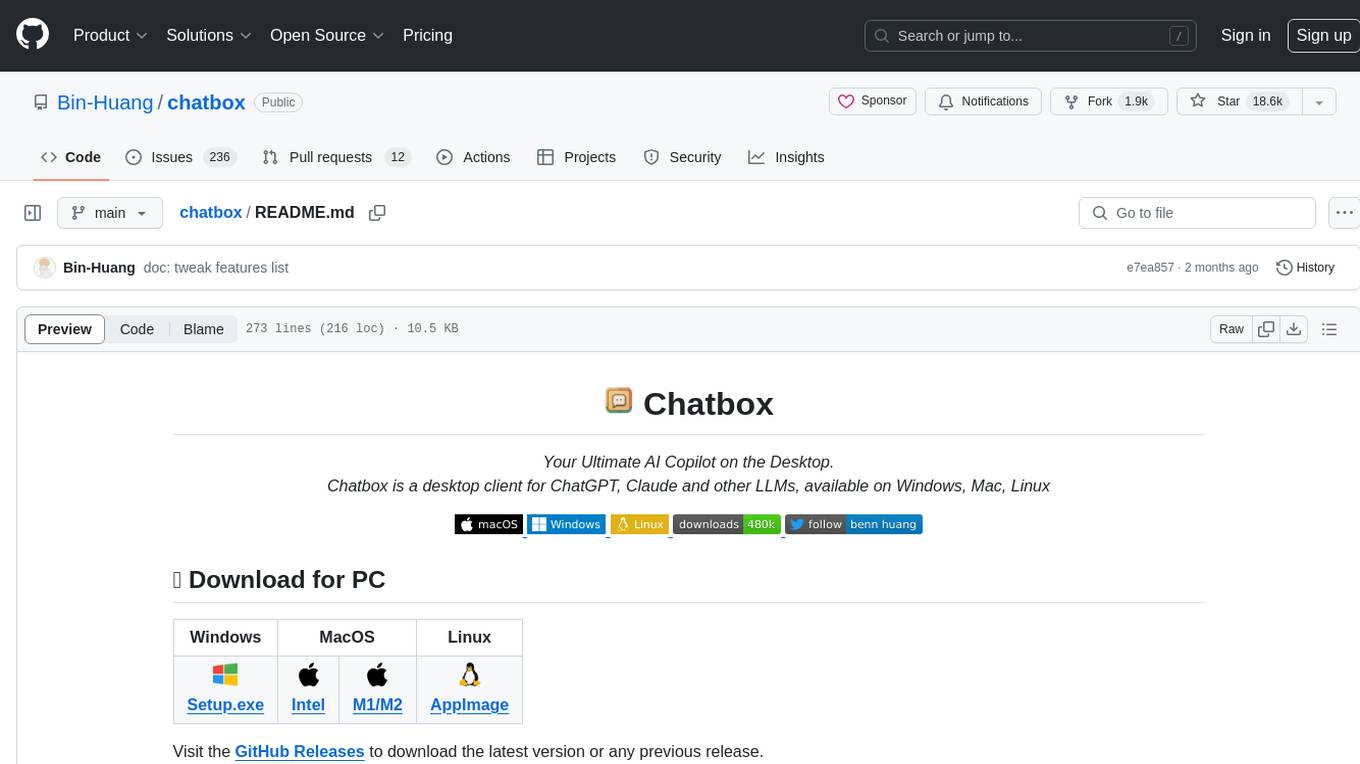
chatbox
Chatbox is a desktop client for ChatGPT, Claude, and other LLMs, providing a user-friendly interface for AI copilot assistance on Windows, Mac, and Linux. It offers features like local data storage, multiple LLM provider support, image generation with Dall-E-3, enhanced prompting, keyboard shortcuts, and more. Users can collaborate, access the tool on various platforms, and enjoy multilingual support. Chatbox is constantly evolving with new features to enhance the user experience.
AiR
AiR is an AI tool built entirely in Rust that delivers blazing speed and efficiency. It features accurate translation and seamless text rewriting to supercharge productivity. AiR is designed to assist non-native speakers by automatically fixing errors and polishing language to sound like a native speaker. The tool is under heavy development with more features on the horizon.
DevoxxGenieIDEAPlugin
Devoxx Genie is a Java-based IntelliJ IDEA plugin that integrates with local and cloud-based LLM providers to aid in reviewing, testing, and explaining project code. It supports features like code highlighting, chat conversations, and adding files/code snippets to context. Users can modify REST endpoints and LLM parameters in settings, including support for cloud-based LLMs. The plugin requires IntelliJ version 2023.3.4 and JDK 17. Building and publishing the plugin is done using Gradle tasks. Users can select an LLM provider, choose code, and use commands like review, explain, or generate unit tests for code analysis.
For similar tasks

whispering-ui
Whispering Tiger UI is a Native-UI tool designed to control the Whispering Tiger application, a free and Open-Source tool that can listen/watch to audio streams or in-game images on your machine and provide transcription or translation to a web browser using Websockets or over OSC. It features a Native-UI for Windows, easy access to all Whispering Tiger features including transcription, translation, text-to-speech, and in-game image recognition. The tool supports loopback audio device, configuration saving/loading, plugin support for additional features, and auto-update functionality. Users can create profiles, configure audio devices, select A.I. devices for speech-to-text, and install/manage plugins for extended functionality.
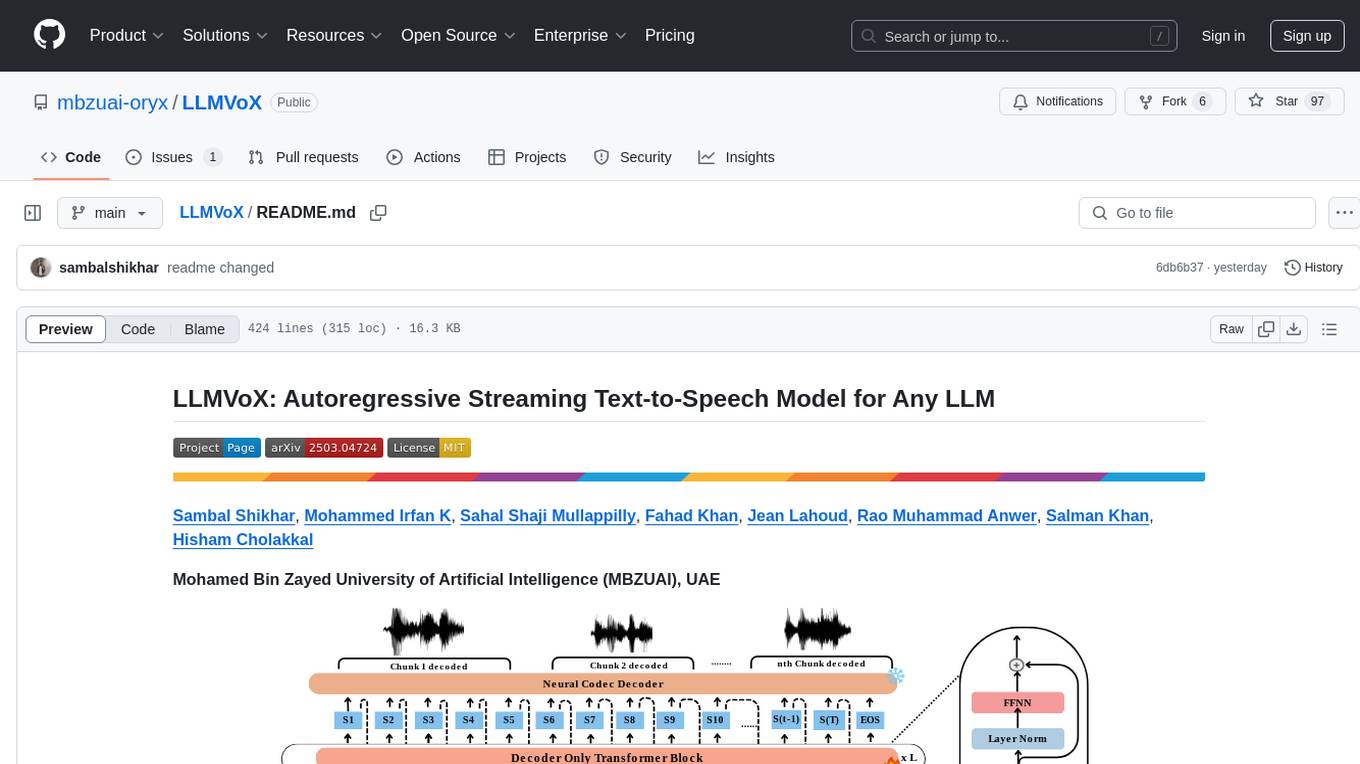
LLMVoX
LLMVoX is a lightweight 30M-parameter, LLM-agnostic, autoregressive streaming Text-to-Speech (TTS) system designed to convert text outputs from Large Language Models into high-fidelity streaming speech with low latency. It achieves significantly lower Word Error Rate compared to speech-enabled LLMs while operating at comparable latency and speech quality. Key features include being lightweight & fast with only 30M parameters, LLM-agnostic for easy integration with existing models, multi-queue streaming for continuous speech generation, and multilingual support for easy adaptation to new languages.
Taiyi-LLM
Taiyi (太一) is a bilingual large language model fine-tuned for diverse biomedical tasks. It aims to facilitate communication between healthcare professionals and patients, provide medical information, and assist in diagnosis, biomedical knowledge discovery, drug development, and personalized healthcare solutions. The model is based on the Qwen-7B-base model and has been fine-tuned using rich bilingual instruction data. It covers tasks such as question answering, biomedical dialogue, medical report generation, biomedical information extraction, machine translation, title generation, text classification, and text semantic similarity. The project also provides standardized data formats, model training details, model inference guidelines, and overall performance metrics across various BioNLP tasks.
For similar jobs
metavoice-src
MetaVoice-1B is a 1.2B parameter base model trained on 100K hours of speech for TTS (text-to-speech). It has been built with the following priorities: * Emotional speech rhythm and tone in English. * Zero-shot cloning for American & British voices, with 30s reference audio. * Support for (cross-lingual) voice cloning with finetuning. * We have had success with as little as 1 minute training data for Indian speakers. * Synthesis of arbitrary length text
suno-api
Suno AI API is an open-source project that allows developers to integrate the music generation capabilities of Suno.ai into their own applications. The API provides a simple and convenient way to generate music, lyrics, and other audio content using Suno.ai's powerful AI models. With Suno AI API, developers can easily add music generation functionality to their apps, websites, and other projects.
bark.cpp
Bark.cpp is a C/C++ implementation of the Bark model, a real-time, multilingual text-to-speech generation model. It supports AVX, AVX2, and AVX512 for x86 architectures, and is compatible with both CPU and GPU backends. Bark.cpp also supports mixed F16/F32 precision and 4-bit, 5-bit, and 8-bit integer quantization. It can be used to generate realistic-sounding audio from text prompts.
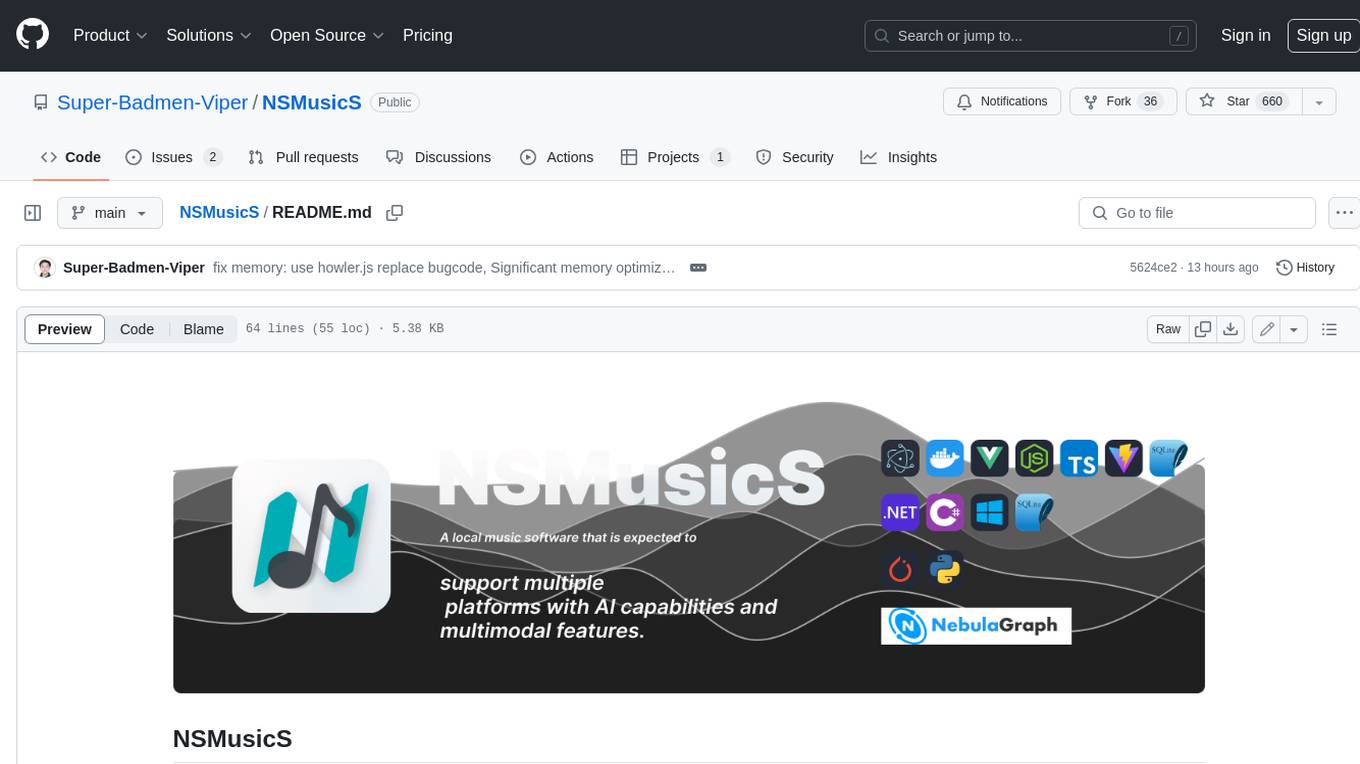
NSMusicS
NSMusicS is a local music software that is expected to support multiple platforms with AI capabilities and multimodal features. The goal of NSMusicS is to integrate various functions (such as artificial intelligence, streaming, music library management, cross platform, etc.), which can be understood as similar to Navidrome but with more features than Navidrome. It wants to become a plugin integrated application that can almost have all music functions.
ai-voice-cloning
This repository provides a tool for AI voice cloning, allowing users to generate synthetic speech that closely resembles a target speaker's voice. The tool is designed to be user-friendly and accessible, with a graphical user interface that guides users through the process of training a voice model and generating synthetic speech. The tool also includes a variety of features that allow users to customize the generated speech, such as the pitch, volume, and speaking rate. Overall, this tool is a valuable resource for anyone interested in creating realistic and engaging synthetic speech.
RVC_CLI
**RVC_CLI: Retrieval-based Voice Conversion Command Line Interface** This command-line interface (CLI) provides a comprehensive set of tools for voice conversion, enabling you to modify the pitch, timbre, and other characteristics of audio recordings. It leverages advanced machine learning models to achieve realistic and high-quality voice conversions. **Key Features:** * **Inference:** Convert the pitch and timbre of audio in real-time or process audio files in batch mode. * **TTS Inference:** Synthesize speech from text using a variety of voices and apply voice conversion techniques. * **Training:** Train custom voice conversion models to meet specific requirements. * **Model Management:** Extract, blend, and analyze models to fine-tune and optimize performance. * **Audio Analysis:** Inspect audio files to gain insights into their characteristics. * **API:** Integrate the CLI's functionality into your own applications or workflows. **Applications:** The RVC_CLI finds applications in various domains, including: * **Music Production:** Create unique vocal effects, harmonies, and backing vocals. * **Voiceovers:** Generate voiceovers with different accents, emotions, and styles. * **Audio Editing:** Enhance or modify audio recordings for podcasts, audiobooks, and other content. * **Research and Development:** Explore and advance the field of voice conversion technology. **For Jobs:** * Audio Engineer * Music Producer * Voiceover Artist * Audio Editor * Machine Learning Engineer **AI Keywords:** * Voice Conversion * Pitch Shifting * Timbre Modification * Machine Learning * Audio Processing **For Tasks:** * Convert Pitch * Change Timbre * Synthesize Speech * Train Model * Analyze Audio
openvino-plugins-ai-audacity
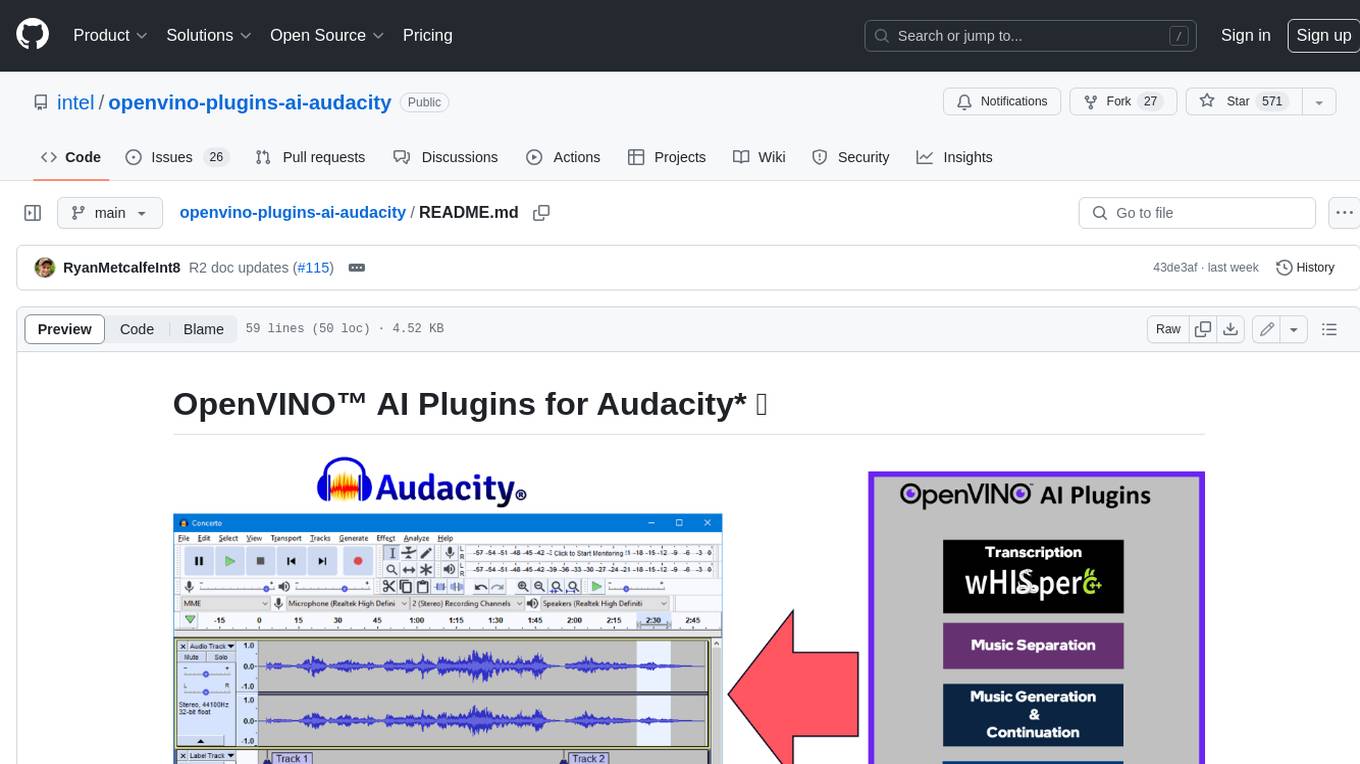
OpenVINO™ AI Plugins for Audacity* are a set of AI-enabled effects, generators, and analyzers for Audacity®. These AI features run 100% locally on your PC -- no internet connection necessary! OpenVINO™ is used to run AI models on supported accelerators found on the user's system such as CPU, GPU, and NPU. * **Music Separation**: Separate a mono or stereo track into individual stems -- Drums, Bass, Vocals, & Other Instruments. * **Noise Suppression**: Removes background noise from an audio sample. * **Music Generation & Continuation**: Uses MusicGen LLM to generate snippets of music, or to generate a continuation of an existing snippet of music. * **Whisper Transcription**: Uses whisper.cpp to generate a label track containing the transcription or translation for a given selection of spoken audio or vocals.
WavCraft
WavCraft is an LLM-driven agent for audio content creation and editing. It applies LLM to connect various audio expert models and DSP function together. With WavCraft, users can edit the content of given audio clip(s) conditioned on text input, create an audio clip given text input, get more inspiration from WavCraft by prompting a script setting and let the model do the scriptwriting and create the sound, and check if your audio file is synthesized by WavCraft.


 Whispering Tiger on Discord


