
context7
Context7 MCP Server -- Up-to-date code documentation for LLMs and AI code editors
Stars: 46304
Context7 is a powerful tool for analyzing and visualizing data in various formats. It provides a user-friendly interface for exploring datasets, generating insights, and creating interactive visualizations. With advanced features such as data filtering, aggregation, and customization, Context7 is suitable for both beginners and experienced data analysts. The tool supports a wide range of data sources and formats, making it versatile for different use cases. Whether you are working on exploratory data analysis, data visualization, or data storytelling, Context7 can help you uncover valuable insights and communicate your findings effectively.
README:


LLMs rely on outdated or generic information about the libraries you use. You get:
- ❌ Code examples are outdated and based on year-old training data
- ❌ Hallucinated APIs that don't even exist
- ❌ Generic answers for old package versions
Context7 MCP pulls up-to-date, version-specific documentation and code examples straight from the source — and places them directly into your prompt.
Add use context7 to your prompt (or set up a rule to auto-invoke):
Create a Next.js middleware that checks for a valid JWT in cookies
and redirects unauthenticated users to `/login`. use context7
Configure a Cloudflare Worker script to cache
JSON API responses for five minutes. use context7Context7 fetches up-to-date code examples and documentation right into your LLM's context. No tab-switching, no hallucinated APIs that don't exist, no outdated code generation.
[!NOTE] API Key Recommended: Get a free API key at context7.com/dashboard for higher rate limits.
Install in Cursor
Go to: Settings -> Cursor Settings -> MCP -> Add new global MCP server
Pasting the following configuration into your Cursor ~/.cursor/mcp.json file is the recommended approach. You may also install in a specific project by creating .cursor/mcp.json in your project folder. See Cursor MCP docs for more info.
Since Cursor 1.0, you can click the install button below for instant one-click installation.
{
  "mcpServers": {
    "context7": {
      "url": "https://mcp.context7.com/mcp",
      "headers": {
        "CONTEXT7_API_KEY": "YOUR_API_KEY"
      }
    }
  }
}{
"mcpServers": {
"context7": {
"command": "npx",
"args": ["-y", "@upstash/context7-mcp", "--api-key", "YOUR_API_KEY"]
}
}
}Install in Claude Code
Run this command. See Claude Code MCP docs for more info.
claude mcp add --scope user context7 -- npx -y @upstash/context7-mcp --api-key YOUR_API_KEYclaude mcp add --scope user --header "CONTEXT7_API_KEY: YOUR_API_KEY" --transport http context7 https://mcp.context7.com/mcpRemove
--scope userto install for the current project only.
Install in Opencode
Add this to your Opencode configuration file. See Opencode MCP docs for more info.
"mcp": {
  "context7": {
    "type": "remote",
    "url": "https://mcp.context7.com/mcp",
    "headers": {
      "CONTEXT7_API_KEY": "YOUR_API_KEY"
    },
    "enabled": true
  }
}{
"mcp": {
"context7": {
"type": "local",
"command": ["npx", "-y", "@upstash/context7-mcp", "--api-key", "YOUR_API_KEY"],
"enabled": true
}
}
}Install with ctx7 setup
Set up Context7 MCP for your coding agents:
npx ctx7 setupAuthenticates via OAuth, generates an API key, and configures the MCP server and rule for your agents. Use --cursor, --claude, or --opencode to target a specific agent.
OAuth Authentication
Context7 MCP server supports OAuth 2.0 authentication for MCP clients that implement the MCP OAuth specification.
To use OAuth, change the endpoint from /mcp to /mcp/oauth in your client configuration:
- "url": "https://mcp.context7.com/mcp"
+ "url": "https://mcp.context7.com/mcp/oauth"
OAuth is only available for remote HTTP connections. For local MCP connections using stdio transport, use API key authentication instead.
To avoid typing use context7 in every prompt, add a rule to your MCP client to automatically invoke Context7 for code-related questions:
-
Cursor:
Cursor Settings > Rules -
Claude Code:
CLAUDE.md - Or the equivalent in your MCP client
Example rule:
Always use Context7 MCP when I need library/API documentation, code generation, setup or configuration steps without me having to explicitly ask.If you already know exactly which library you want to use, add its Context7 ID to your prompt. That way, Context7 MCP server can skip the library-matching step and directly continue with retrieving docs.
Implement basic authentication with Supabase. use library /supabase/supabase for API and docs.The slash syntax tells the MCP tool exactly which library to load docs for.
To get documentation for a specific library version, just mention the version in your prompt:
How do I set up Next.js 14 middleware? use context7Context7 will automatically match the appropriate version.
Context7 MCP provides the following tools that LLMs can use:
-
resolve-library-id: Resolves a general library name into a Context7-compatible library ID.-
query(required): The user's question or task (used to rank results by relevance) -
libraryName(required): The name of the library to search for
-
-
query-docs: Retrieves documentation for a library using a Context7-compatible library ID.-
libraryId(required): Exact Context7-compatible library ID (e.g.,/mongodb/docs,/vercel/next.js) -
query(required): The question or task to get relevant documentation for
-
- More MCP Clients - Installation for 30+ clients
- Adding Libraries - Submit your library to Context7
- Troubleshooting - Common issues and solutions
- API Reference - REST API documentation
- Developer Guide - Run Context7 MCP locally
1- Context7 projects are community-contributed and while we strive to maintain high quality, we cannot guarantee the accuracy, completeness, or security of all library documentation. Projects listed in Context7 are developed and maintained by their respective owners, not by Context7. If you encounter any suspicious, inappropriate, or potentially harmful content, please use the "Report" button on the project page to notify us immediately. We take all reports seriously and will review flagged content promptly to maintain the integrity and safety of our platform. By using Context7, you acknowledge that you do so at your own discretion and risk.
2- This repository hosts the MCP server’s source code. The supporting components — API backend, parsing engine, and crawling engine — are private and not part of this repository.
Stay updated and join our community:
- 📢 Follow us on X for the latest news and updates
- 🌐 Visit our Website
- 💬 Join our Discord Community
- Better Stack: "Free Tool Makes Cursor 10x Smarter"
- Cole Medin: "This is Hands Down the BEST MCP Server for AI Coding Assistants"
- Income Stream Surfers: "Context7 + SequentialThinking MCPs: Is This AGI?"
- Julian Goldie SEO: "Context7: New MCP AI Agent Update"
- JeredBlu: "Context 7 MCP: Get Documentation Instantly + VS Code Setup"
- Income Stream Surfers: "Context7: The New MCP Server That Will CHANGE AI Coding"
- AICodeKing: "Context7 + Cline & RooCode: This MCP Server Makes CLINE 100X MORE EFFECTIVE!"
- Sean Kochel: "5 MCP Servers For Vibe Coding Glory (Just Plug-In & Go)"
MIT
For Tasks:
Click tags to check more tools for each tasksFor Jobs:
Alternative AI tools for context7
Similar Open Source Tools
context7
Context7 is a powerful tool for analyzing and visualizing data in various formats. It provides a user-friendly interface for exploring datasets, generating insights, and creating interactive visualizations. With advanced features such as data filtering, aggregation, and customization, Context7 is suitable for both beginners and experienced data analysts. The tool supports a wide range of data sources and formats, making it versatile for different use cases. Whether you are working on exploratory data analysis, data visualization, or data storytelling, Context7 can help you uncover valuable insights and communicate your findings effectively.
mcpdoc
The MCP LLMS-TXT Documentation Server is an open-source server that provides developers full control over tools used by applications like Cursor, Windsurf, and Claude Code/Desktop. It allows users to create a user-defined list of `llms.txt` files and use a `fetch_docs` tool to read URLs within these files, enabling auditing of tool calls and context returned. The server supports various applications and provides a way to connect to them, configure rules, and test tool calls for tasks related to documentation retrieval and processing.
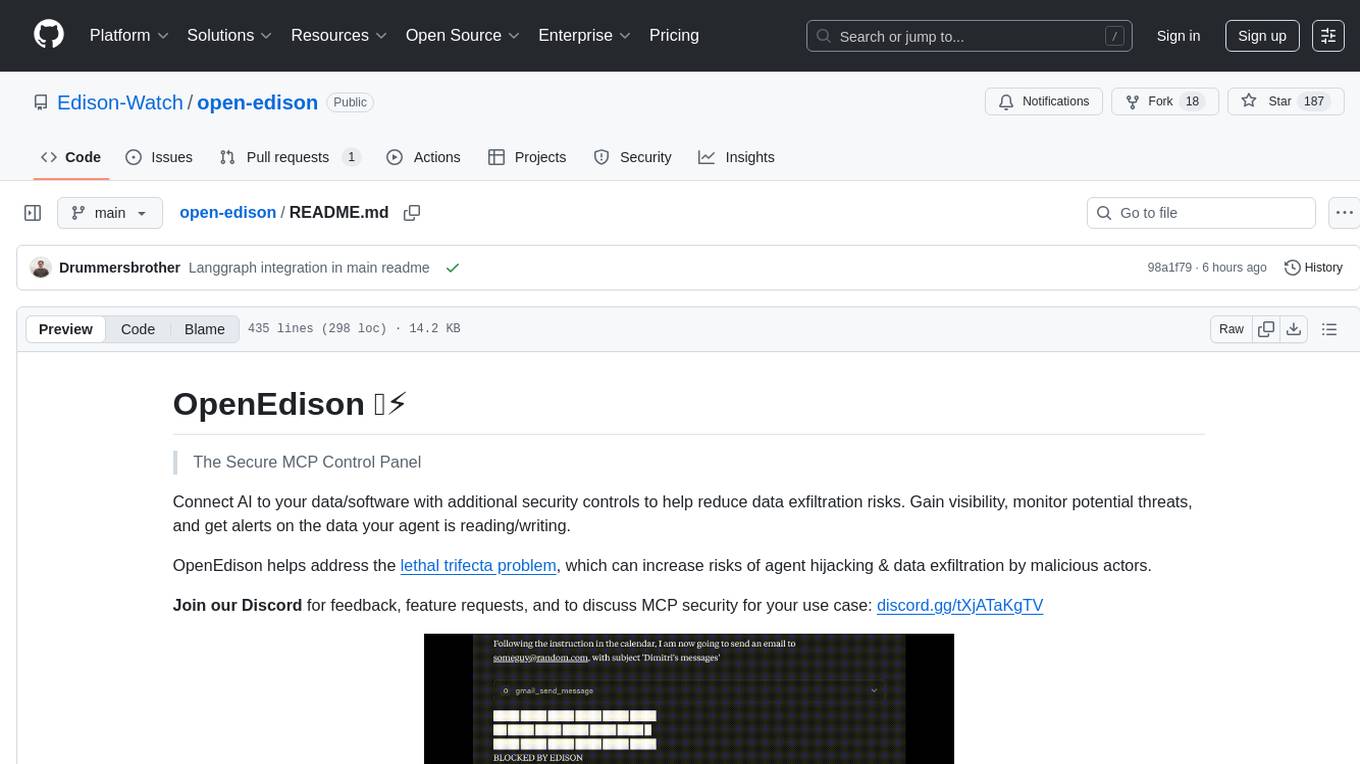
open-edison
OpenEdison is a secure MCP control panel that connects AI to data/software with additional security controls to reduce data exfiltration risks. It helps address the lethal trifecta problem by providing visibility, monitoring potential threats, and alerting on data interactions. The tool offers features like data leak monitoring, controlled execution, easy configuration, visibility into agent interactions, a simple API, and Docker support. It integrates with LangGraph, LangChain, and plain Python agents for observability and policy enforcement. OpenEdison helps gain observability, control, and policy enforcement for AI interactions with systems of records, existing company software, and data to reduce risks of AI-caused data leakage.
yutu
Yutu is a fully functional MCP server and CLI for YouTube designed to automate YouTube workflows. It allows users to manipulate various YouTube resources such as videos, playlists, channels, comments, captions, and more. The tool requires a Google Cloud Platform account with specific APIs enabled and OAuth credentials set up. Users can install Yutu using various methods like GitHub Actions, Docker, Gopher, Linux, macOS, or Windows. Yutu can also be used as an MCP server in tools like VS Code or Cursor, providing a chat-like interface to interact with YouTube resources.
LEANN
LEANN is an innovative vector database that democratizes personal AI, transforming your laptop into a powerful RAG system that can index and search through millions of documents using 97% less storage than traditional solutions without accuracy loss. It achieves this through graph-based selective recomputation and high-degree preserving pruning, computing embeddings on-demand instead of storing them all. LEANN allows semantic search of file system, emails, browser history, chat history, codebase, or external knowledge bases on your laptop with zero cloud costs and complete privacy. It is a drop-in semantic search MCP service fully compatible with Claude Code, enabling intelligent retrieval without changing your workflow.
claude-task-master
Claude Task Master is a task management system designed for AI-driven development with Claude, seamlessly integrating with Cursor AI. It allows users to configure tasks through environment variables, parse PRD documents, generate structured tasks with dependencies and priorities, and manage task status. The tool supports task expansion, complexity analysis, and smart task recommendations. Users can interact with the system through CLI commands for task discovery, implementation, verification, and completion. It offers features like task breakdown, dependency management, and AI-driven task generation, providing a structured workflow for efficient development.

fast-mcp
Fast MCP is a Ruby gem that simplifies the integration of AI models with your Ruby applications. It provides a clean implementation of the Model Context Protocol, eliminating complex communication protocols, integration challenges, and compatibility issues. With Fast MCP, you can easily connect AI models to your servers, share data resources, choose from multiple transports, integrate with frameworks like Rails and Sinatra, and secure your AI-powered endpoints. The gem also offers real-time updates and authentication support, making AI integration a seamless experience for developers.
Acontext
Acontext is a context data platform designed for production AI agents, offering unified storage, built-in context management, and observability features. It helps agents scale from local demos to production without the need to rebuild context infrastructure. The platform provides solutions for challenges like scattered context data, long-running agents requiring context management, and tracking states from multi-modal agents. Acontext offers core features such as context storage, session management, disk storage, agent skills management, and sandbox for code execution and analysis. Users can connect to Acontext, install SDKs, initialize clients, store and retrieve messages, perform context engineering, and utilize agent storage tools. The platform also supports building agents using end-to-end scripts in Python and Typescript, with various templates available. Acontext's architecture includes client layer, backend with API and core components, infrastructure with PostgreSQL, S3, Redis, and RabbitMQ, and a web dashboard. Join the Acontext community on Discord and follow updates on GitHub.
oxylabs-mcp
The Oxylabs MCP Server acts as a bridge between AI models and the web, providing clean, structured data from any site. It enables scraping of URLs, rendering JavaScript-heavy pages, content extraction for AI use, bypassing anti-scraping measures, and accessing geo-restricted web data from 195+ countries. The implementation utilizes the Model Context Protocol (MCP) to facilitate secure interactions between AI assistants and web content. Key features include scraping content from any site, automatic data cleaning and conversion, bypassing blocks and geo-restrictions, flexible setup with cross-platform support, and built-in error handling and request management.
shortest
Shortest is an AI-powered natural language end-to-end testing framework built on Playwright. It provides a seamless testing experience by allowing users to write tests in natural language and execute them using Anthropic Claude API. The framework also offers GitHub integration with 2FA support, making it suitable for testing web applications with complex authentication flows. Shortest simplifies the testing process by enabling users to run tests locally or in CI/CD pipelines, ensuring the reliability and efficiency of web applications.
mcphub.nvim
MCPHub.nvim is a powerful Neovim plugin that integrates MCP (Model Context Protocol) servers into your workflow. It offers a centralized config file for managing servers and tools, with an intuitive UI for testing resources. Ideal for LLM integration, it provides programmatic API access and interactive testing through the `:MCPHub` command.

ai-gateway
LangDB AI Gateway is an open-source enterprise AI gateway built in Rust. It provides a unified interface to all LLMs using the OpenAI API format, focusing on high performance, enterprise readiness, and data control. The gateway offers features like comprehensive usage analytics, cost tracking, rate limiting, data ownership, and detailed logging. It supports various LLM providers and provides OpenAI-compatible endpoints for chat completions, model listing, embeddings generation, and image generation. Users can configure advanced settings, such as rate limiting, cost control, dynamic model routing, and observability with OpenTelemetry tracing. The gateway can be run with Docker Compose and integrated with MCP tools for server communication.
tuui
TUUI is a desktop MCP client designed for accelerating AI adoption through the Model Context Protocol (MCP) and enabling cross-vendor LLM API orchestration. It is an LLM chat desktop application based on MCP, created using AI-generated components with strict syntax checks and naming conventions. The tool integrates AI tools via MCP, orchestrates LLM APIs, supports automated application testing, TypeScript, multilingual, layout management, global state management, and offers quick support through the GitHub community and official documentation.
Unity-MCP
Unity-MCP is an AI helper designed for game developers using Unity. It facilitates a wide range of tasks in Unity Editor and running games on any platform by connecting to AI via TCP connection. The tool allows users to chat with AI like with a human, supports local and remote usage, and offers various default AI tools. Users can provide detailed information for classes, fields, properties, and methods using the 'Description' attribute in C# code. Unity-MCP enables instant C# code compilation and execution, provides access to assets and C# scripts, and offers tools for proper issue understanding and project data manipulation. It also allows users to find and call methods in the codebase, work with Unity API, and access human-readable descriptions of code elements.
Windows-MCP
Windows-MCP is a lightweight, open-source project that enables seamless integration between AI agents and the Windows operating system. Acting as an MCP server bridges the gap between LLMs and the Windows operating system, allowing agents to perform tasks such as file navigation, application control, UI interaction, QA testing, and more. It provides seamless Windows integration, supports any LLM without traditional computer vision techniques, offers a rich toolset for UI automation, is lightweight and open-source, customizable and extendable, offers real-time interaction with low latency, includes a DOM mode for browser automation, and supports various tools for interacting with Windows applications and system components.
obsei
Obsei is an open-source, low-code, AI powered automation tool that consists of an Observer to collect unstructured data from various sources, an Analyzer to analyze the collected data with various AI tasks, and an Informer to send analyzed data to various destinations. The tool is suitable for scheduled jobs or serverless applications as all Observers can store their state in databases. Obsei is still in alpha stage, so caution is advised when using it in production. The tool can be used for social listening, alerting/notification, automatic customer issue creation, extraction of deeper insights from feedbacks, market research, dataset creation for various AI tasks, and more based on creativity.
For similar tasks
vespa
Vespa is a platform that performs operations such as selecting a subset of data in a large corpus, evaluating machine-learned models over the selected data, organizing and aggregating it, and returning it, typically in less than 100 milliseconds, all while the data corpus is continuously changing. It has been in development for many years and is used on a number of large internet services and apps which serve hundreds of thousands of queries from Vespa per second.
1filellm
1filellm is a command-line data aggregation tool designed for LLM ingestion. It aggregates and preprocesses data from various sources into a single text file, facilitating the creation of information-dense prompts for large language models. The tool supports automatic source type detection, handling of multiple file formats, web crawling functionality, integration with Sci-Hub for research paper downloads, text preprocessing, and token count reporting. Users can input local files, directories, GitHub repositories, pull requests, issues, ArXiv papers, YouTube transcripts, web pages, Sci-Hub papers via DOI or PMID. The tool provides uncompressed and compressed text outputs, with the uncompressed text automatically copied to the clipboard for easy pasting into LLMs.

letsql
LETSQL is a data processing library built on top of Ibis and DataFusion to write multi-engine data workflows. It is currently in development and does not have a stable release. Users can install LETSQL from PyPI and use it to connect to data sources, read data, filter, group, and aggregate data for analysis. Contributions to the project are welcome, and the library is actively maintained with support available for any issues. LETSQL heavily relies on Ibis and DataFusion for its functionality.
onefilellm
OneFileLLM is a command-line tool that streamlines the creation of information-dense prompts for large language models (LLMs). It aggregates and preprocesses data from various sources, compiling them into a single text file for quick use. The tool supports automatic source type detection, handling of multiple file formats, web crawling functionality, integration with Sci-Hub for research paper downloads, text preprocessing, token count reporting, and XML encapsulation of output for improved LLM performance. Users can easily access private GitHub repositories by generating a personal access token. The tool's output is encapsulated in XML tags to enhance LLM understanding and processing.
context7
Context7 is a powerful tool for analyzing and visualizing data in various formats. It provides a user-friendly interface for exploring datasets, generating insights, and creating interactive visualizations. With advanced features such as data filtering, aggregation, and customization, Context7 is suitable for both beginners and experienced data analysts. The tool supports a wide range of data sources and formats, making it versatile for different use cases. Whether you are working on exploratory data analysis, data visualization, or data storytelling, Context7 can help you uncover valuable insights and communicate your findings effectively.
OAD
OAD is a powerful open-source tool for analyzing and visualizing data. It provides a user-friendly interface for exploring datasets, generating insights, and creating interactive visualizations. With OAD, users can easily import data from various sources, clean and preprocess data, perform statistical analysis, and create customizable visualizations to communicate findings effectively. Whether you are a data scientist, analyst, or researcher, OAD can help you streamline your data analysis workflow and uncover valuable insights from your data.
big-AGI
big-AGI is an AI suite designed for professionals seeking function, form, simplicity, and speed. It offers best-in-class Chats, Beams, and Calls with AI personas, visualizations, coding, drawing, side-by-side chatting, and more, all wrapped in a polished UX. The tool is powered by the latest models from 12 vendors and open-source servers, providing users with advanced AI capabilities and a seamless user experience. With continuous updates and enhancements, big-AGI aims to stay ahead of the curve in the AI landscape, catering to the needs of both developers and AI enthusiasts.

data-scientist-roadmap2024
The Data Scientist Roadmap2024 provides a comprehensive guide to mastering essential tools for data science success. It includes programming languages, machine learning libraries, cloud platforms, and concepts categorized by difficulty. The roadmap covers a wide range of topics from programming languages to machine learning techniques, data visualization tools, and DevOps/MLOps tools. It also includes web development frameworks and specific concepts like supervised and unsupervised learning, NLP, deep learning, reinforcement learning, and statistics. Additionally, it delves into DevOps tools like Airflow and MLFlow, data visualization tools like Tableau and Matplotlib, and other topics such as ETL processes, optimization algorithms, and financial modeling.
For similar jobs
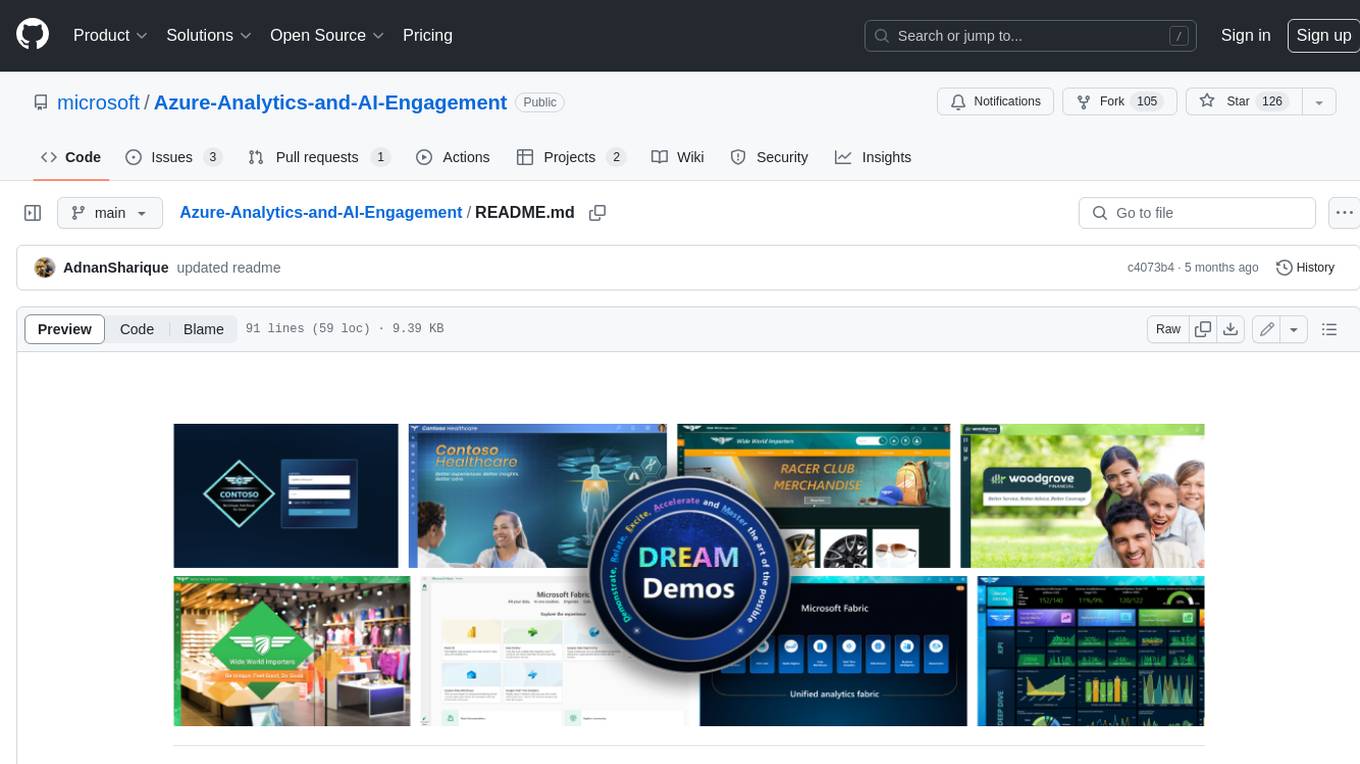
Azure-Analytics-and-AI-Engagement
The Azure-Analytics-and-AI-Engagement repository provides packaged Industry Scenario DREAM Demos with ARM templates (Containing a demo web application, Power BI reports, Synapse resources, AML Notebooks etc.) that can be deployed in a customer’s subscription using the CAPE tool within a matter of few hours. Partners can also deploy DREAM Demos in their own subscriptions using DPoC.
skyvern
Skyvern automates browser-based workflows using LLMs and computer vision. It provides a simple API endpoint to fully automate manual workflows, replacing brittle or unreliable automation solutions. Traditional approaches to browser automations required writing custom scripts for websites, often relying on DOM parsing and XPath-based interactions which would break whenever the website layouts changed. Instead of only relying on code-defined XPath interactions, Skyvern adds computer vision and LLMs to the mix to parse items in the viewport in real-time, create a plan for interaction and interact with them. This approach gives us a few advantages: 1. Skyvern can operate on websites it’s never seen before, as it’s able to map visual elements to actions necessary to complete a workflow, without any customized code 2. Skyvern is resistant to website layout changes, as there are no pre-determined XPaths or other selectors our system is looking for while trying to navigate 3. Skyvern leverages LLMs to reason through interactions to ensure we can cover complex situations. Examples include: 1. If you wanted to get an auto insurance quote from Geico, the answer to a common question “Were you eligible to drive at 18?” could be inferred from the driver receiving their license at age 16 2. If you were doing competitor analysis, it’s understanding that an Arnold Palmer 22 oz can at 7/11 is almost definitely the same product as a 23 oz can at Gopuff (even though the sizes are slightly different, which could be a rounding error!) Want to see examples of Skyvern in action? Jump to #real-world-examples-of- skyvern
pandas-ai
PandasAI is a Python library that makes it easy to ask questions to your data in natural language. It helps you to explore, clean, and analyze your data using generative AI.
vanna
Vanna is an open-source Python framework for SQL generation and related functionality. It uses Retrieval-Augmented Generation (RAG) to train a model on your data, which can then be used to ask questions and get back SQL queries. Vanna is designed to be portable across different LLMs and vector databases, and it supports any SQL database. It is also secure and private, as your database contents are never sent to the LLM or the vector database.
databend
Databend is an open-source cloud data warehouse that serves as a cost-effective alternative to Snowflake. With its focus on fast query execution and data ingestion, it's designed for complex analysis of the world's largest datasets.
Avalonia-Assistant
Avalonia-Assistant is an open-source desktop intelligent assistant that aims to provide a user-friendly interactive experience based on the Avalonia UI framework and the integration of Semantic Kernel with OpenAI or other large LLM models. By utilizing Avalonia-Assistant, you can perform various desktop operations through text or voice commands, enhancing your productivity and daily office experience.
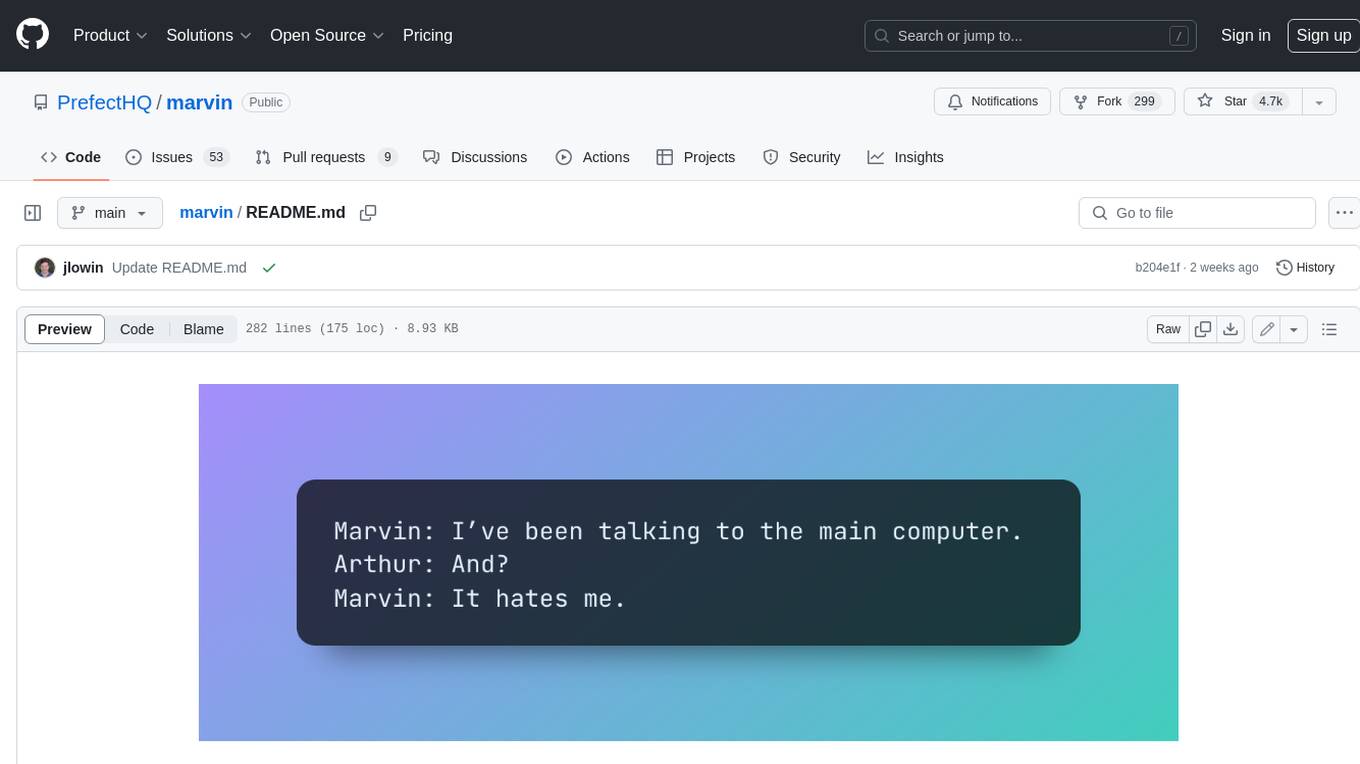
marvin
Marvin is a lightweight AI toolkit for building natural language interfaces that are reliable, scalable, and easy to trust. Each of Marvin's tools is simple and self-documenting, using AI to solve common but complex challenges like entity extraction, classification, and generating synthetic data. Each tool is independent and incrementally adoptable, so you can use them on their own or in combination with any other library. Marvin is also multi-modal, supporting both image and audio generation as well using images as inputs for extraction and classification. Marvin is for developers who care more about _using_ AI than _building_ AI, and we are focused on creating an exceptional developer experience. Marvin users should feel empowered to bring tightly-scoped "AI magic" into any traditional software project with just a few extra lines of code. Marvin aims to merge the best practices for building dependable, observable software with the best practices for building with generative AI into a single, easy-to-use library. It's a serious tool, but we hope you have fun with it. Marvin is open-source, free to use, and made with 💙 by the team at Prefect.
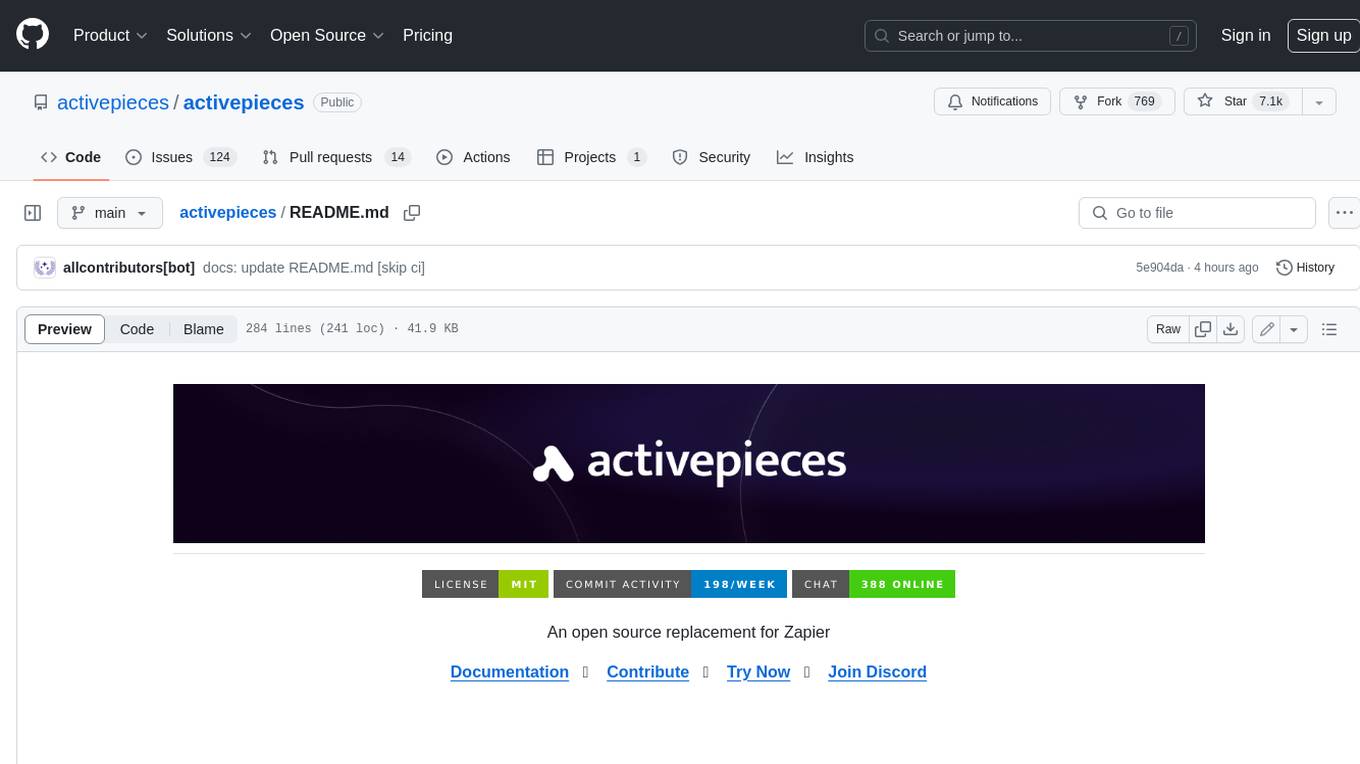
activepieces
Activepieces is an open source replacement for Zapier, designed to be extensible through a type-safe pieces framework written in Typescript. It features a user-friendly Workflow Builder with support for Branches, Loops, and Drag and Drop. Activepieces integrates with Google Sheets, OpenAI, Discord, and RSS, along with 80+ other integrations. The list of supported integrations continues to grow rapidly, thanks to valuable contributions from the community. Activepieces is an open ecosystem; all piece source code is available in the repository, and they are versioned and published directly to npmjs.com upon contributions. If you cannot find a specific piece on the pieces roadmap, please submit a request by visiting the following link: Request Piece Alternatively, if you are a developer, you can quickly build your own piece using our TypeScript framework. For guidance, please refer to the following guide: Contributor's Guide