
UnrealOpenAIPlugin
None
Stars: 153
UnrealOpenAIPlugin is a comprehensive Unreal Engine wrapper for the OpenAI API, supporting various endpoints such as Models, Completions, Chat, Images, Vision, Embeddings, Speech, Audio, Files, Moderations, Fine-tuning, and Functions. It provides support for both C++ and Blueprints, allowing users to interact with OpenAI services seamlessly within Unreal Engine projects. The plugin also includes tutorials, updates, installation instructions, authentication steps, examples of usage, blueprint nodes overview, C++ examples, plugin structure details, documentation references, tests, packaging guidelines, and limitations. Users can leverage this plugin to integrate powerful AI capabilities into their Unreal Engine projects effortlessly.
README:
This is an unofficial community-maintained library.
This plugin is a comprehensive Unreal Engine wrapper for the OpenAI API. It supports all OpenAI endpoints, including:
- Models
- Completions
- Chat
- Images (DALL·E 3, DALL·E 2)
- Vision
- Embeddings
- Batch
- Speech
- Audio
- Files
- Uploads
- Moderations
- Fine-tuning
- Functions
- Debugging requests
All requests are available in both C++ and Blueprints:
void AAPIOverview::CreateImage()
{
    Provider->SetLogEnabled(true);
    Provider->OnRequestError().AddUObject(this, &ThisClass::OnRequestError);
    Provider->OnCreateImageCompleted().AddLambda(
        [](const FImageResponse& Response, const FOpenAIResponseMetadata& Metadata)
        {
            auto* ArtTexture = UImageFuncLib::Texture2DFromBytes(Response.Data[0].B64_JSON);
            UE_LOGFMT(LogAPIOverview, Display, "{0}", Response.Data[0].B64_JSON);
        });

    FOpenAIImage Image;
    Image.Model = UOpenAIFuncLib::OpenAIImageModelToString(EImageModelEnum::DALL_E_3);
    Image.N = 1;
    Image.Prompt = "Bear with beard drinking beer";
    Image.Size = UOpenAIFuncLib::OpenAIImageSizeDalle3ToString(EImageSizeDalle3::Size_1024x1024);
    Image.Response_Format = UOpenAIFuncLib::OpenAIImageFormatToString(EOpenAIImageFormat::B64_JSON);
    Image.Quality = UOpenAIFuncLib::OpenAIImageQualityToString(EOpenAIImageQuality::Standard);
    Image.Style = UOpenAIFuncLib::OpenAIImageStyleToString(EOpenAIImageStyle::Natural);

    Provider->CreateImage(Image, Auth);
}- Unreal Engine 5.5 (master), 5.4, 5.3, 5.2
- Plugin overview and usage example [English subtitles].
- How to use functions.
- DALLE 3 | Text To Speech | Vision [English subtitles].
- Text to speech has been added. Details
- Create a new C++ project in Unreal Engine.
- Create a
Pluginsfolder at the root of your project. - Add the OpenAI plugin to your Unreal Engine
Pluginsfolder. - The easiest way to add plugins is by adding the current plugin as a submodule. Use the following command in the root folder of your project:
git submodule add https://github.com/life-exe/UnrealOpenAIPlugin Plugins/OpenAI
- Alternatively, you can download the source code from the current repository and copy the files to your
Pluginsfolder. - When complete, your Unreal Engine project structure should resemble the following:
- Do the authentication steps
- Generate Visual Studio project files.
- Add
OpenAIplugin to yourYourProject.Build.cs:
public class YourProject : ModuleRules
{
    public YourProject(ReadOnlyTargetRules Target) : base(Target)
    {
        PCHUsage = PCHUsageMode.UseExplicitOrSharedPCHs;

        PublicDependencyModuleNames.AddRange(new string[] { "Core", "CoreUObject", "Engine", "InputCore", "OpenAI" });

        PublicIncludePaths.AddRange(new string[] { "YourProject" });
    }
}- Build your project and run Editor.
- In the Editor, navigate to
Edit->Plugins. Find and activate theOpenAIplugin. - Restart the editor.
- Make sure that your
.uprojectfile contains plugin:
{
    "FileVersion": 3,
    "EngineAssociation": "5.x",
    "Category": "",
    "Description": "",
    "Modules": [
        {
            "Name": "ProjectName",
            "Type": "Runtime",
            "LoadingPhase": "Default",
            "AdditionalDependencies": [
                "Engine"
            ]
        }
    ],
    "Plugins": [
        {
            "Name": "OpenAI",
            "Enabled": true,
            "MarketplaceURL": "com.epicgames.launcher://ue/marketplace/product/97eaf1e101ab4f29b5acbf7dacbd4d16"
        }
    ]
}- Start using the plugin.
- Create a blueprint project.
- Create a
Pluginsfolder in the root of your project. - Download precompiled plugin from the Releases.
- Unzip plugin to the
Pluginsfolder, specifically toPlugins/OpenAI. - Do the authentication steps
- Run the Editor
<YourProjectName>.uproject - In the Editor, navigate to
Edit->Plugins. Find and activate theOpenAIplugin. - Restart the editor.
- Make sure that your
.uprojectfile contains plugin:
{
    "FileVersion": 3,
    "EngineAssociation": "5.x",
    "Category": "",
    "Description": "",
    "Modules": [
        {
            "Name": "ProjectName",
            "Type": "Runtime",
            "LoadingPhase": "Default",
            "AdditionalDependencies": [
                "Engine"
            ]
        }
    ],
    "Plugins": [
        {
            "Name": "OpenAI",
            "Enabled": true,
            "MarketplaceURL": "com.epicgames.launcher://ue/marketplace/product/97eaf1e101ab4f29b5acbf7dacbd4d16"
        }
    ]
}- Start using the plugin.
-
Create an OpenAI account
-
Generate and store your API Key:
sk-xxxxxxxxxxxxxxxxxxxxxxxxxxxxxxxxxxxxxxx -
Record your Organization ID:
org-xxxxxxxxxxxxxxxxxxxxxxxxxxxxxxxxxxxxxxx -
Create a Project ID:
proj_xxxxxxxxxxxxxxxxxxxxxxxxxxxxxxxxxxxxxxx -
At the root of your Unreal Engine project, create a file named
OpenAIAuth.ini(you can usesetup_auth_files.batin the plugin root folder. It will copy.inifiles from template folder) with the following content:
APIKey=sk-xxxxxxxxxxxxxxxxxxxxxxxxxxxxxxxxxxxxxxx
OrganizationID=org-xxxxxxxxxxxxxxxxxxxxxxxxxxxxxxxxxxxxxxx
ProjectID=proj_xxxxxxxxxxxxxxxxxxxxxxxxxxxxxxxxxxxxxxx
- Once completed, your Unreal Engine project structure might look like this:
-
Actually you can left
OrganizationIDempty. It doesn't affect on auth. -
If you haven't created a
ProjectIDdon't putProjectID=proj_xxxxxxxxxxxxxxxxxxxxxxxxxxxxxxxxxxxxxxxin the file. -
Do the authentication steps for services if you need them.
Finally, compile your project and launch the Unreal Editor.
This provides a basic example of request usage with Blueprints.
- Make sure that plugin content activated:
- Open the plugin content folder.
- Open the level:
- Run the game.
- Test the API with the widget examples:
Feel free to modify requests in the widget code to test the API with different parameters:
This is the Chat-GPT implementation with token streaming support.
- Open the plugin content folder.
- Navigate to the
EditorWidgetsfolder. - Right-click on the ChatGPT editor utility widget:
- Start chatting:
- You can save the chat history to a file using the
Dumpbutton. The specific location where the history is saved can be checked in the chat or logs:
You can build your own services (addons, plugins) on top of ChatGPT:
Currently the plugin has two services available by default:
- Weather
- News
I use free API for services. But you need to create accounts to get API keys.
- Weather serivces: https://weatherstack.com. Once your account is created, you will find
API Access Keyon your dashboard. - News service: https://newsapi.org. Once your account is created, you will find
API Keyon your dashboard. - In the root of your Unreal Engine project, create a file called
OnlineServicesAuth.ini(you can usesetup_auth_files.batin the plugin root folder. It will copy.inifiles from template folder) with the following content:
WeatherstackAccessKey=dbe5fcdd54f2196d2cdc5194cf5
NewsApiOrgApiKey=1dec1793ed3940e880cc93b4087fcf96
- Enter your APi keys for each service.
- Compile your project, launch the Unreal Editor, launch ChatGPT editor widget, select the services that you want to use.
- Ask for the weather or latest news somewhere. Example prompts:
What is the weather like in Oslo?
What is the latest news from Microsoft? (2 headlines)
- Always check the logs when you encounter an error.
This blueprint demonstrates all available nodes.
- Open the plugin content folder:
- Open
BP_APIOverviewblueprint. - Check the available nodes: functions and structs:
There are also several nodes that could be useful in other projects. Feel free to copy and paste the plugin code if you need them:
- Open
Plugins\OpenAI\Source\OpenAI\Private\Sample\APIOverview.cppactor - Uncomment the function that executes the request you want to test. Navigate to the function and adjust all the request parameters as needed.
- Compile your project and open Unreal Editor.
- Drop the
AAPIOverviewactor into any level. - Run the game.
- Check the Output Log.
-
OpenAIModule- core classes. -
OpenAIEditorModule- Chat-GPT editor utility widget. -
OpenAITestRunnerModule- unit tests.
I highly recommend reading the OpenAI documentation for a better understanding of how all requests work:
In addition plugin code has its own documentation generated with help of Doxygen:
You can generate the plugin documentation locally by following these steps:
- Update all submodules. You can use the batch script located at the root of the plugin folder:
update_submodules.bat - Ensure that Doxygen is installed on your system.
- Ensure that Python is installed on your system.
- Generate the documentation using the batch script at the root of the plugin folder:
generate_docs.bat - After the generation process, the documentation will be available in the
Documentationfolder at the root of the plugin:Documentation\html\index.html
Unit tests are available in the OpenAITestRunnerModule. You can initiate them using the Session Frontend:
There are also API tests that request a real endpoints. These have stress filters. They are mostly for my personal use to check API changes. But you can use test spec file to learn how to make requests, because testing in software development is a part of documentation:
- Verify that your .uproject file contains the following:
{
    "Name": "OpenAI",
    "Enabled": true
}- Package the project as you always do (kudos if you use a CI solution like Jenkins).
- You can handle authentication in your project as you see fit. However, if you choose to use a file-based method, such as in a plugin, please remember to include the
OpenAIAuth.iniandOnlineServicesAuth.inifiles in your packaged folder:
Build/Windows/<YourProjectName>/OpenAIAuth.iniBuild/Windows/<YourProjectName>/OnlineServicesAuth.ini
If you are having problems loading the file, please check the logs to see where it might be located:
LogOpenAIFuncLib: Error: Failed loading file: C:/_Projects/UE5/OpenAICpp/Build/Windows/OpenAICpp/OpenAIAuth.ini
- OpenAI hosts a variety of different models. Please check the models that are compatible with the particular request.
I would appreciate bug reports and pull-request fixes.
Enjoy! 🚀️
For Tasks:
Click tags to check more tools for each tasksFor Jobs:
Alternative AI tools for UnrealOpenAIPlugin
Similar Open Source Tools

UnrealOpenAIPlugin
UnrealOpenAIPlugin is a comprehensive Unreal Engine wrapper for the OpenAI API, supporting various endpoints such as Models, Completions, Chat, Images, Vision, Embeddings, Speech, Audio, Files, Moderations, Fine-tuning, and Functions. It provides support for both C++ and Blueprints, allowing users to interact with OpenAI services seamlessly within Unreal Engine projects. The plugin also includes tutorials, updates, installation instructions, authentication steps, examples of usage, blueprint nodes overview, C++ examples, plugin structure details, documentation references, tests, packaging guidelines, and limitations. Users can leverage this plugin to integrate powerful AI capabilities into their Unreal Engine projects effortlessly.
aimeos-laravel
Aimeos Laravel is a professional, full-featured, and ultra-fast Laravel ecommerce package that can be easily integrated into existing Laravel applications. It offers a wide range of features including multi-vendor, multi-channel, and multi-warehouse support, fast performance, support for various product types, subscriptions with recurring payments, multiple payment gateways, full RTL support, flexible pricing options, admin backend, REST and GraphQL APIs, modular structure, SEO optimization, multi-language support, AI-based text translation, mobile optimization, and high-quality source code. The package is highly configurable and extensible, making it suitable for e-commerce SaaS solutions, marketplaces, and online shops with millions of vendors.
hydraai
Generate React components on-the-fly at runtime using AI. Register your components, and let Hydra choose when to show them in your App. Hydra development is still early, and patterns for different types of components and apps are still being developed. Join the discord to chat with the developers. Expects to be used in a NextJS project. Components that have function props do not work.
langserve
LangServe helps developers deploy `LangChain` runnables and chains as a REST API. This library is integrated with FastAPI and uses pydantic for data validation. In addition, it provides a client that can be used to call into runnables deployed on a server. A JavaScript client is available in LangChain.js.
ollama-r
The Ollama R library provides an easy way to integrate R with Ollama for running language models locally on your machine. It supports working with standard data structures for different LLMs, offers various output formats, and enables integration with other libraries/tools. The library uses the Ollama REST API and requires the Ollama app to be installed, with GPU support for accelerating LLM inference. It is inspired by Ollama Python and JavaScript libraries, making it familiar for users of those languages. The installation process involves downloading the Ollama app, installing the 'ollamar' package, and starting the local server. Example usage includes testing connection, downloading models, generating responses, and listing available models.
sdfx
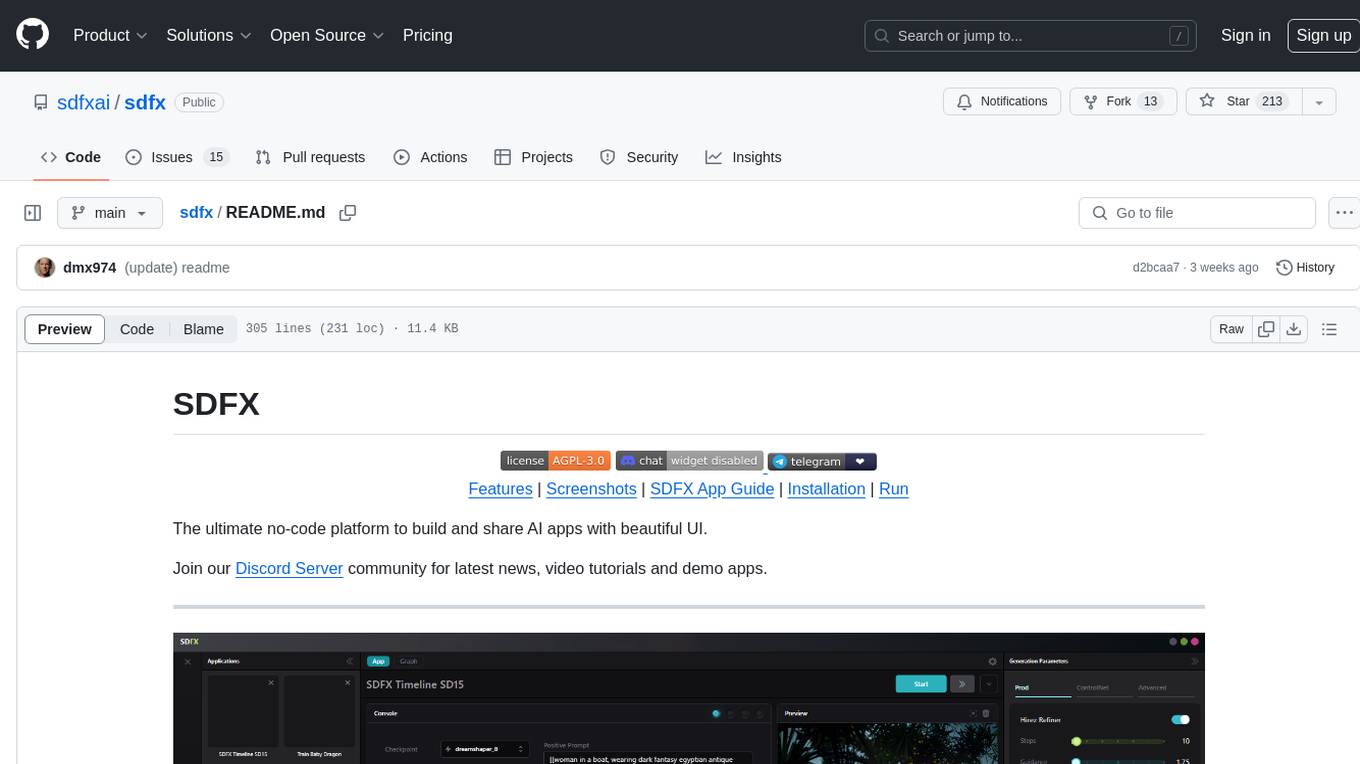
SDFX is the ultimate no-code platform for building and sharing AI apps with beautiful UI. It enables the creation of user-friendly interfaces for complex workflows by combining Comfy workflow with a UI. The tool is designed to merge the benefits of form-based UI and graph-node based UI, allowing users to create intricate graphs with a high-level UI overlay. SDFX is fully compatible with ComfyUI, abstracting the need for installing ComfyUI. It offers features like animated graph navigation, node bookmarks, UI debugger, custom nodes manager, app and template export, image and mask editor, and more. The tool compiles as a native app or web app, making it easy to maintain and add new features.
fragments
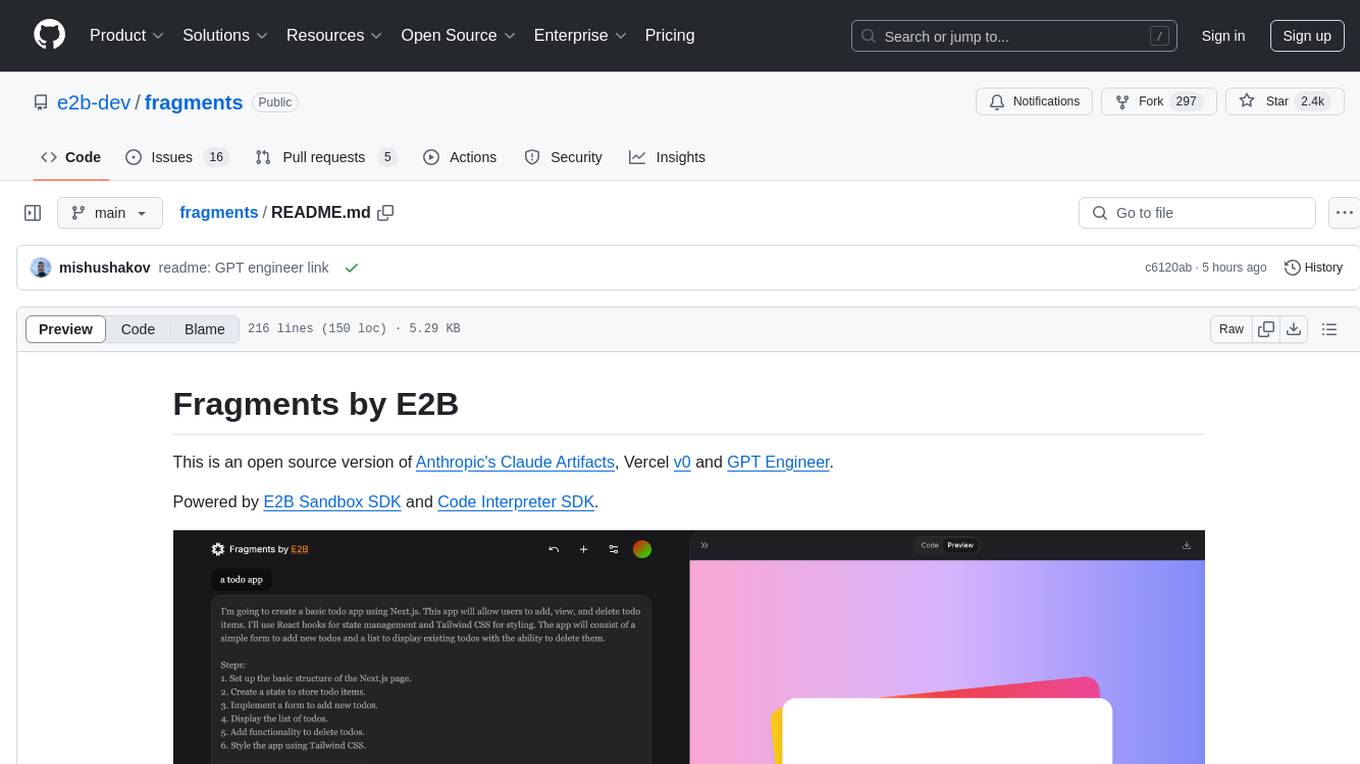
Fragments is an open-source tool that leverages Anthropic's Claude Artifacts, Vercel v0, and GPT Engineer. It is powered by E2B Sandbox SDK and Code Interpreter SDK, allowing secure execution of AI-generated code. The tool is based on Next.js 14, shadcn/ui, TailwindCSS, and Vercel AI SDK. Users can stream in the UI, install packages from npm and pip, and add custom stacks and LLM providers. Fragments enables users to build web apps with Python interpreter, Next.js, Vue.js, Streamlit, and Gradio, utilizing providers like OpenAI, Anthropic, Google AI, and more.
browser
Lightpanda Browser is an open-source headless browser designed for fast web automation, AI agents, LLM training, scraping, and testing. It features ultra-low memory footprint, exceptionally fast execution, and compatibility with Playwright and Puppeteer through CDP. Built for performance, Lightpanda offers Javascript execution, support for Web APIs, and is optimized for minimal memory usage. It is a modern solution for web scraping and automation tasks, providing a lightweight alternative to traditional browsers like Chrome.
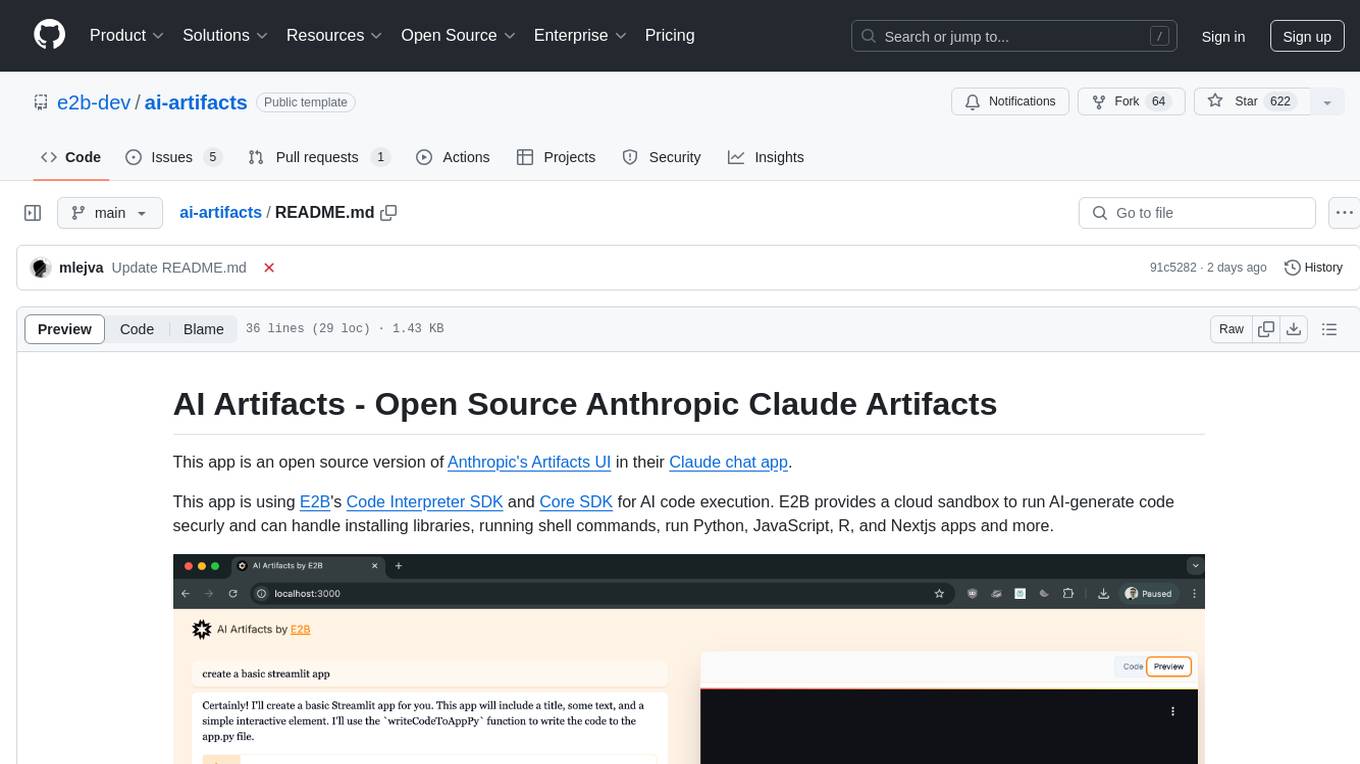
ai-artifacts
AI Artifacts is an open source tool that replicates Anthropic's Artifacts UI in the Claude chat app. It utilizes E2B's Code Interpreter SDK and Core SDK for secure AI code execution in a cloud sandbox environment. Users can run AI-generated code in various languages such as Python, JavaScript, R, and Nextjs apps. The tool also supports running AI-generated Python in Jupyter notebook, Next.js apps, and Streamlit apps. Additionally, it offers integration with Vercel AI SDK for tool calling and streaming responses from the model.

refact-lsp
Refact Agent is a small executable written in Rust as part of the Refact Agent project. It lives inside your IDE to keep AST and VecDB indexes up to date, supporting connection graphs between definitions and usages in popular programming languages. It functions as an LSP server, offering code completion, chat functionality, and integration with various tools like browsers, databases, and debuggers. Users can interact with it through a Text UI in the command line.
lollms
LoLLMs Server is a text generation server based on large language models. It provides a Flask-based API for generating text using various pre-trained language models. This server is designed to be easy to install and use, allowing developers to integrate powerful text generation capabilities into their applications.
react-grab
React Grab is a tool that allows users to select context for coding agents directly from a website by pointing at any element and copying the file name, React component, and HTML source code. It enhances the performance of tools like Cursor, Claude Code, and Copilot by making them run up to 3 times faster and more accurately. Users can install React Grab, connect it to coding agents, and easily copy element contexts for pasting into their coding environment. The tool can be manually installed in various React frameworks and build tools, and it also provides an API for extending functionality with plugins, hooks, actions, themes, and custom agents.
lollms_legacy
Lord of Large Language Models (LoLLMs) Server is a text generation server based on large language models. It provides a Flask-based API for generating text using various pre-trained language models. This server is designed to be easy to install and use, allowing developers to integrate powerful text generation capabilities into their applications. The tool supports multiple personalities for generating text with different styles and tones, real-time text generation with WebSocket-based communication, RESTful API for listing personalities and adding new personalities, easy integration with various applications and frameworks, sending files to personalities, running on multiple nodes to provide a generation service to many outputs at once, and keeping data local even in the remote version.
quivr
Quivr is a personal assistant powered by Generative AI, designed to be a second brain for users. It offers fast and efficient access to data, ensuring security and compatibility with various file formats. Quivr is open source and free to use, allowing users to share their brains publicly or keep them private. The marketplace feature enables users to share and utilize brains created by others, boosting productivity. Quivr's offline mode provides anytime, anywhere access to data. Key features include speed, security, OS compatibility, file compatibility, open source nature, public/private sharing options, a marketplace, and offline mode.
mLoRA
mLoRA (Multi-LoRA Fine-Tune) is an open-source framework for efficient fine-tuning of multiple Large Language Models (LLMs) using LoRA and its variants. It allows concurrent fine-tuning of multiple LoRA adapters with a shared base model, efficient pipeline parallelism algorithm, support for various LoRA variant algorithms, and reinforcement learning preference alignment algorithms. mLoRA helps save computational and memory resources when training multiple adapters simultaneously, achieving high performance on consumer hardware.
screen-pipe
Screen-pipe is a Rust + WASM tool that allows users to turn their screen into actions using Large Language Models (LLMs). It enables users to record their screen 24/7, extract text from frames, and process text and images for tasks like analyzing sales conversations. The tool is still experimental and aims to simplify the process of recording screens, extracting text, and integrating with various APIs for tasks such as filling CRM data based on screen activities. The project is open-source and welcomes contributions to enhance its functionalities and usability.
For similar tasks
generative-ai
This repository contains notebooks, code samples, sample apps, and other resources that demonstrate how to use, develop and manage generative AI workflows using Generative AI on Google Cloud, powered by Vertex AI. For more Vertex AI samples, please visit the Vertex AI samples Github repository.
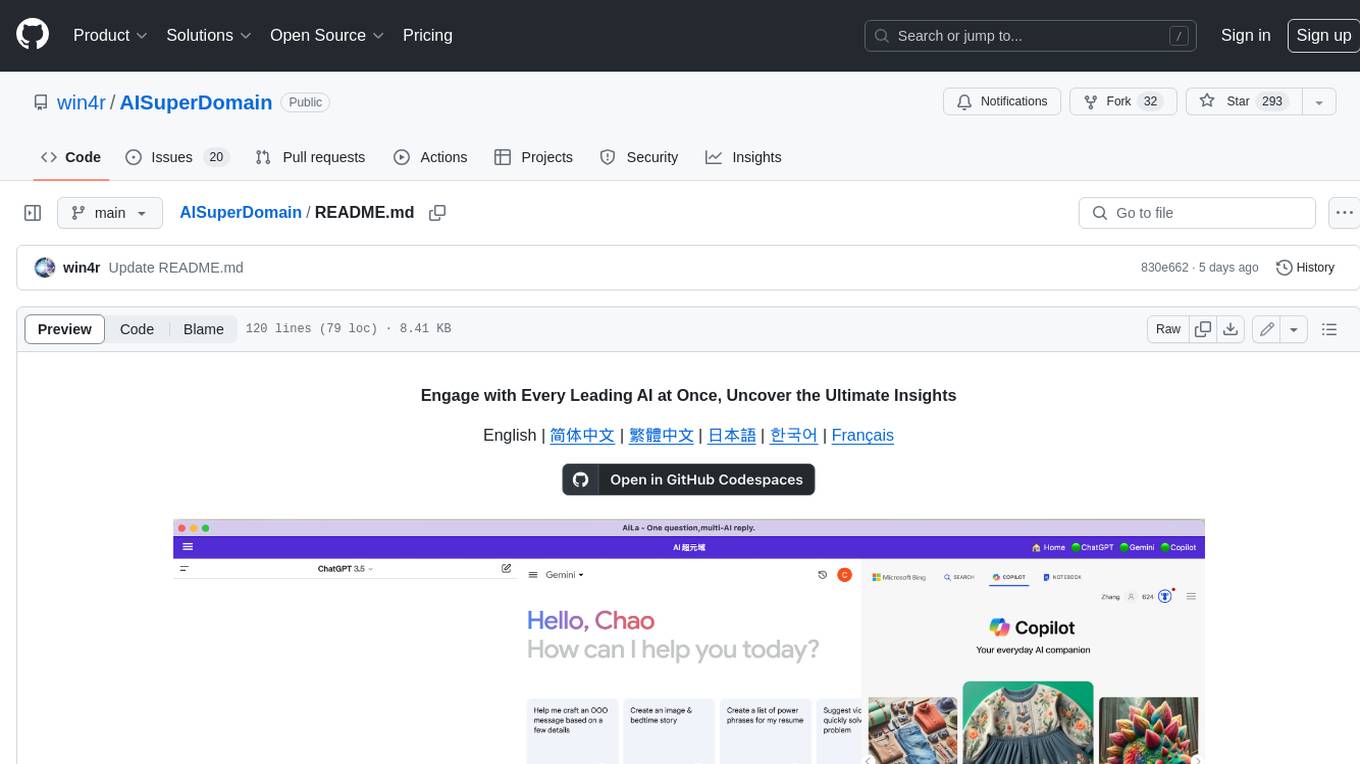
AISuperDomain
Aila Desktop Application is a powerful tool that integrates multiple leading AI models into a single desktop application. It allows users to interact with various AI models simultaneously, providing diverse responses and insights to their inquiries. With its user-friendly interface and customizable features, Aila empowers users to engage with AI seamlessly and efficiently. Whether you're a researcher, student, or professional, Aila can enhance your AI interactions and streamline your workflow.
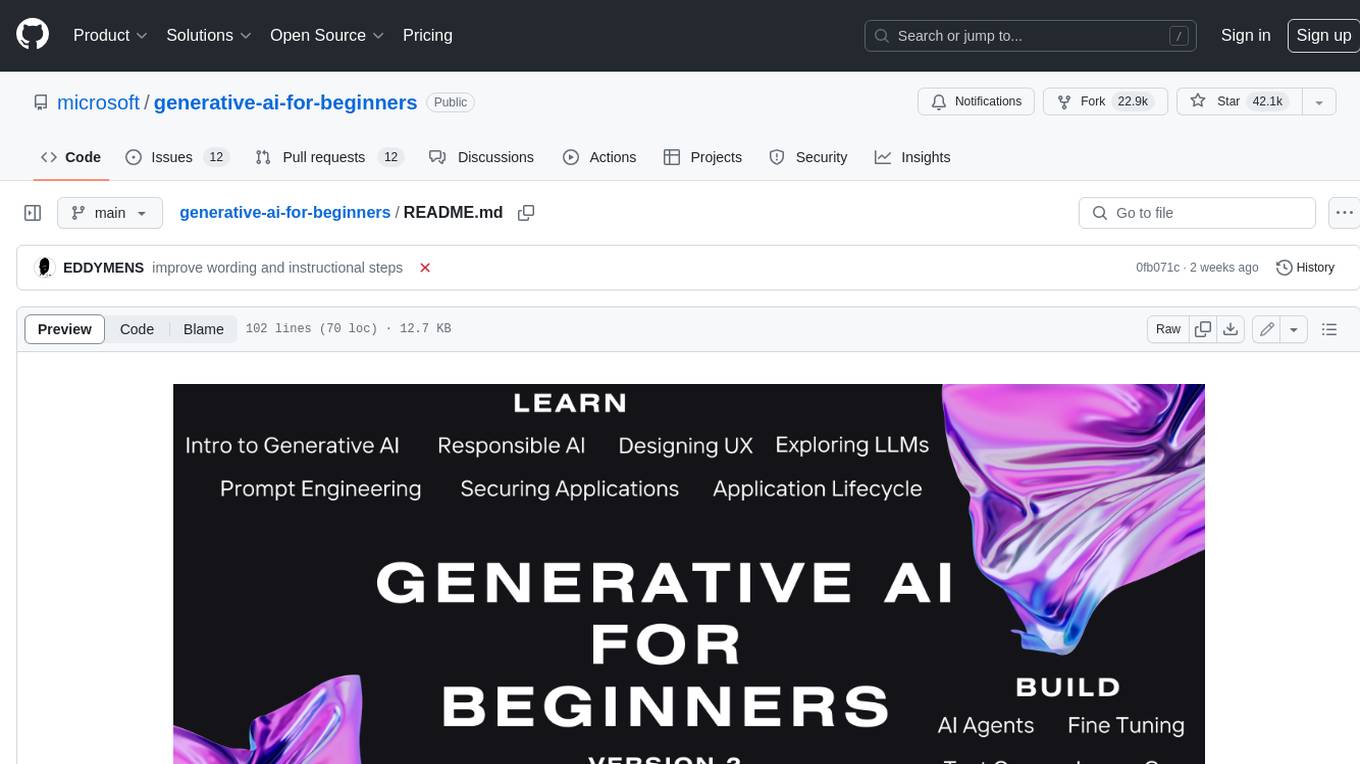
generative-ai-for-beginners
This course has 18 lessons. Each lesson covers its own topic so start wherever you like! Lessons are labeled either "Learn" lessons explaining a Generative AI concept or "Build" lessons that explain a concept and code examples in both **Python** and **TypeScript** when possible. Each lesson also includes a "Keep Learning" section with additional learning tools. **What You Need** * Access to the Azure OpenAI Service **OR** OpenAI API - _Only required to complete coding lessons_ * Basic knowledge of Python or Typescript is helpful - *For absolute beginners check out these Python and TypeScript courses. * A Github account to fork this entire repo to your own GitHub account We have created a **Course Setup** lesson to help you with setting up your development environment. Don't forget to star (🌟) this repo to find it easier later. ## 🧠 Ready to Deploy? If you are looking for more advanced code samples, check out our collection of Generative AI Code Samples in both **Python** and **TypeScript**. ## 🗣️ Meet Other Learners, Get Support Join our official AI Discord server to meet and network with other learners taking this course and get support. ## 🚀 Building a Startup? Sign up for Microsoft for Startups Founders Hub to receive **free OpenAI credits** and up to **$150k towards Azure credits to access OpenAI models through Azure OpenAI Services**. ## 🙏 Want to help? Do you have suggestions or found spelling or code errors? Raise an issue or Create a pull request ## 📂 Each lesson includes: * A short video introduction to the topic * A written lesson located in the README * Python and TypeScript code samples supporting Azure OpenAI and OpenAI API * Links to extra resources to continue your learning ## 🗃️ Lessons | | Lesson Link | Description | Additional Learning | | :-: | :------------------------------------------------------------------------------------------------------------------------------------------: | :---------------------------------------------------------------------------------------------: | ------------------------------------------------------------------------------ | | 00 | Course Setup | **Learn:** How to Setup Your Development Environment | Learn More | | 01 | Introduction to Generative AI and LLMs | **Learn:** Understanding what Generative AI is and how Large Language Models (LLMs) work. | Learn More | | 02 | Exploring and comparing different LLMs | **Learn:** How to select the right model for your use case | Learn More | | 03 | Using Generative AI Responsibly | **Learn:** How to build Generative AI Applications responsibly | Learn More | | 04 | Understanding Prompt Engineering Fundamentals | **Learn:** Hands-on Prompt Engineering Best Practices | Learn More | | 05 | Creating Advanced Prompts | **Learn:** How to apply prompt engineering techniques that improve the outcome of your prompts. | Learn More | | 06 | Building Text Generation Applications | **Build:** A text generation app using Azure OpenAI | Learn More | | 07 | Building Chat Applications | **Build:** Techniques for efficiently building and integrating chat applications. | Learn More | | 08 | Building Search Apps Vector Databases | **Build:** A search application that uses Embeddings to search for data. | Learn More | | 09 | Building Image Generation Applications | **Build:** A image generation application | Learn More | | 10 | Building Low Code AI Applications | **Build:** A Generative AI application using Low Code tools | Learn More | | 11 | Integrating External Applications with Function Calling | **Build:** What is function calling and its use cases for applications | Learn More | | 12 | Designing UX for AI Applications | **Learn:** How to apply UX design principles when developing Generative AI Applications | Learn More | | 13 | Securing Your Generative AI Applications | **Learn:** The threats and risks to AI systems and methods to secure these systems. | Learn More | | 14 | The Generative AI Application Lifecycle | **Learn:** The tools and metrics to manage the LLM Lifecycle and LLMOps | Learn More | | 15 | Retrieval Augmented Generation (RAG) and Vector Databases | **Build:** An application using a RAG Framework to retrieve embeddings from a Vector Databases | Learn More | | 16 | Open Source Models and Hugging Face | **Build:** An application using open source models available on Hugging Face | Learn More | | 17 | AI Agents | **Build:** An application using an AI Agent Framework | Learn More | | 18 | Fine-Tuning LLMs | **Learn:** The what, why and how of fine-tuning LLMs | Learn More |
cog-comfyui
Cog-comfyui allows users to run ComfyUI workflows on Replicate. ComfyUI is a visual programming tool for creating and sharing generative art workflows. With cog-comfyui, users can access a variety of pre-trained models and custom nodes to create their own unique artworks. The tool is easy to use and does not require any coding experience. Users simply need to upload their API JSON file and any necessary input files, and then click the "Run" button. Cog-comfyui will then generate the output image or video file.
ai-notes
Notes on AI state of the art, with a focus on generative and large language models. These are the "raw materials" for the https://lspace.swyx.io/ newsletter. This repo used to be called https://github.com/sw-yx/prompt-eng, but was renamed because Prompt Engineering is Overhyped. This is now an AI Engineering notes repo.
llms-with-matlab
This repository contains example code to demonstrate how to connect MATLAB to the OpenAI™ Chat Completions API (which powers ChatGPT™) as well as OpenAI Images API (which powers DALL·E™). This allows you to leverage the natural language processing capabilities of large language models directly within your MATLAB environment.
xef
xef.ai is a one-stop library designed to bring the power of modern AI to applications and services. It offers integration with Large Language Models (LLM), image generation, and other AI services. The library is packaged in two layers: core libraries for basic AI services integration and integrations with other libraries. xef.ai aims to simplify the transition to modern AI for developers by providing an idiomatic interface, currently supporting Kotlin. Inspired by LangChain and Hugging Face, xef.ai may transmit source code and user input data to third-party services, so users should review privacy policies and take precautions. Libraries are available in Maven Central under the `com.xebia` group, with `xef-core` as the core library. Developers can add these libraries to their projects and explore examples to understand usage.

CushyStudio
CushyStudio is a generative AI platform designed for creatives of any level to effortlessly create stunning images, videos, and 3D models. It offers CushyApps, a collection of visual tools tailored for different artistic tasks, and CushyKit, an extensive toolkit for custom apps development and task automation. Users can dive into the AI revolution, unleash their creativity, share projects, and connect with a vibrant community. The platform aims to simplify the AI art creation process and provide a user-friendly environment for designing interfaces, adding custom logic, and accessing various tools.
For similar jobs
sweep
Sweep is an AI junior developer that turns bugs and feature requests into code changes. It automatically handles developer experience improvements like adding type hints and improving test coverage.
teams-ai
The Teams AI Library is a software development kit (SDK) that helps developers create bots that can interact with Teams and Microsoft 365 applications. It is built on top of the Bot Framework SDK and simplifies the process of developing bots that interact with Teams' artificial intelligence capabilities. The SDK is available for JavaScript/TypeScript, .NET, and Python.
ai-guide
This guide is dedicated to Large Language Models (LLMs) that you can run on your home computer. It assumes your PC is a lower-end, non-gaming setup.
classifai
Supercharge WordPress Content Workflows and Engagement with Artificial Intelligence. Tap into leading cloud-based services like OpenAI, Microsoft Azure AI, Google Gemini and IBM Watson to augment your WordPress-powered websites. Publish content faster while improving SEO performance and increasing audience engagement. ClassifAI integrates Artificial Intelligence and Machine Learning technologies to lighten your workload and eliminate tedious tasks, giving you more time to create original content that matters.
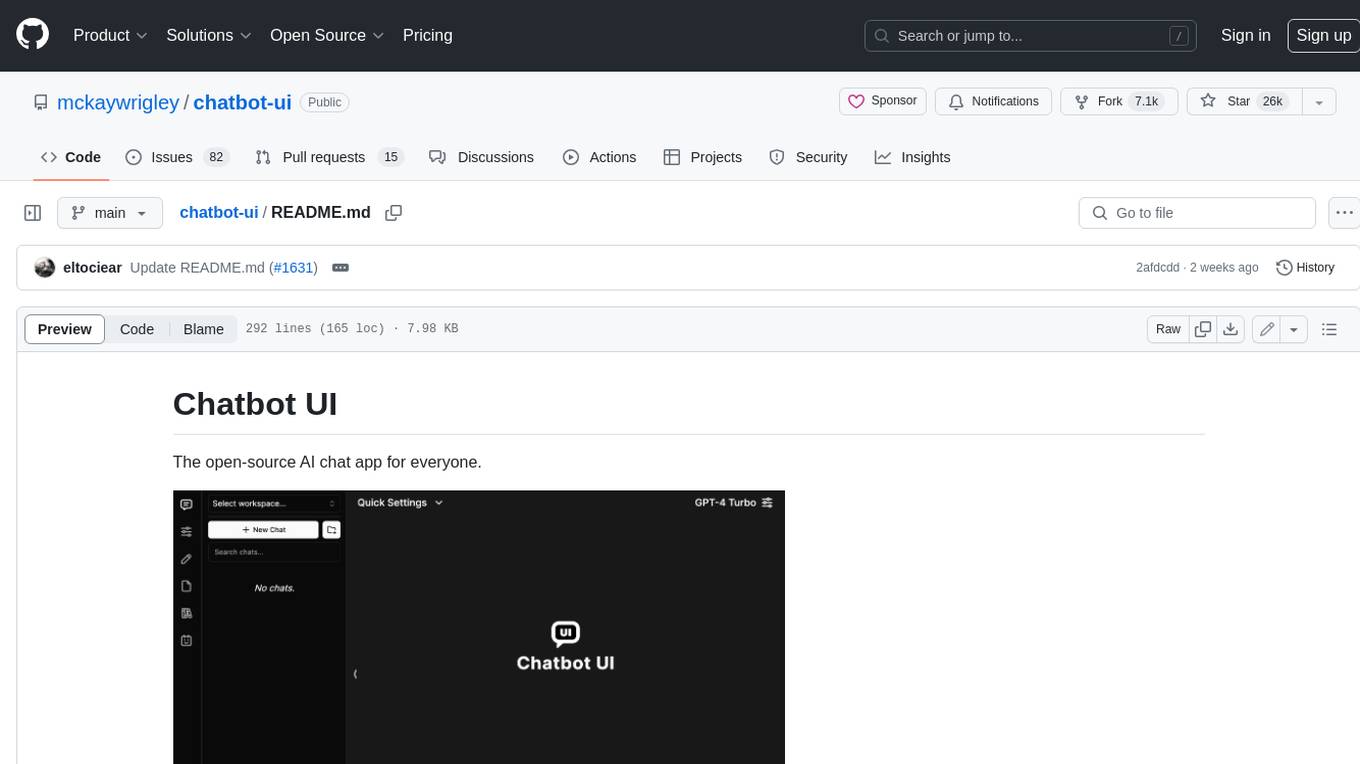
chatbot-ui
Chatbot UI is an open-source AI chat app that allows users to create and deploy their own AI chatbots. It is easy to use and can be customized to fit any need. Chatbot UI is perfect for businesses, developers, and anyone who wants to create a chatbot.
BricksLLM
BricksLLM is a cloud native AI gateway written in Go. Currently, it provides native support for OpenAI, Anthropic, Azure OpenAI and vLLM. BricksLLM aims to provide enterprise level infrastructure that can power any LLM production use cases. Here are some use cases for BricksLLM: * Set LLM usage limits for users on different pricing tiers * Track LLM usage on a per user and per organization basis * Block or redact requests containing PIIs * Improve LLM reliability with failovers, retries and caching * Distribute API keys with rate limits and cost limits for internal development/production use cases * Distribute API keys with rate limits and cost limits for students
uAgents
uAgents is a Python library developed by Fetch.ai that allows for the creation of autonomous AI agents. These agents can perform various tasks on a schedule or take action on various events. uAgents are easy to create and manage, and they are connected to a fast-growing network of other uAgents. They are also secure, with cryptographically secured messages and wallets.
griptape
Griptape is a modular Python framework for building AI-powered applications that securely connect to your enterprise data and APIs. It offers developers the ability to maintain control and flexibility at every step. Griptape's core components include Structures (Agents, Pipelines, and Workflows), Tasks, Tools, Memory (Conversation Memory, Task Memory, and Meta Memory), Drivers (Prompt and Embedding Drivers, Vector Store Drivers, Image Generation Drivers, Image Query Drivers, SQL Drivers, Web Scraper Drivers, and Conversation Memory Drivers), Engines (Query Engines, Extraction Engines, Summary Engines, Image Generation Engines, and Image Query Engines), and additional components (Rulesets, Loaders, Artifacts, Chunkers, and Tokenizers). Griptape enables developers to create AI-powered applications with ease and efficiency.


