
classifai
Supercharge WordPress Content Workflows and Engagement with Artificial Intelligence.
Stars: 668
Supercharge WordPress Content Workflows and Engagement with Artificial Intelligence. Tap into leading cloud-based services like OpenAI, Microsoft Azure AI, Google Gemini and IBM Watson to augment your WordPress-powered websites. Publish content faster while improving SEO performance and increasing audience engagement. ClassifAI integrates Artificial Intelligence and Machine Learning technologies to lighten your workload and eliminate tedious tasks, giving you more time to create original content that matters.
README:
Supercharge WordPress Content Workflows and Engagement with Artificial Intelligence.
You can learn more about ClassifAI's features at ClassifAIPlugin.com and documentation at the ClassifAI documentation site.
Tap into leading cloud-based services like OpenAI, Microsoft Azure AI, Google Gemini and IBM Watson to augment your WordPress-powered websites. Publish content faster while improving SEO performance and increasing audience engagement. ClassifAI integrates Artificial Intelligence and Machine Learning technologies to lighten your workload and eliminate tedious tasks, giving you more time to create original content that matters.
- Generate a summary of post content and store it as an excerpt using OpenAI's ChatGPT API, Microsoft Azure's OpenAI service, Google's Gemini API, xAI's Grok or locally using Ollama
- Generate key takeaways from post content and render at the top of a post using OpenAI's ChatGPT API, Microsoft Azure's OpenAI service or locally using Ollama
- Generate titles from post content using OpenAI's ChatGPT API, Microsoft Azure's OpenAI service, Google's Gemini API, xAI's Grok or locally using Ollama
- Expand or condense text content using OpenAI's ChatGPT API, Microsoft Azure's OpenAI service, Google's Gemini API, xAI's Grok or locally using Ollama
- Draft a full length article using OpenAI's ChatGPT API, Microsoft Azure's OpenAI service or locally using Ollama
- Generate new images on demand to use in-content or as a featured image using OpenAI's Image Generation API, Google AI's Imagen API, Together AI's API or locally using Stable Diffusion
- Generate transcripts of audio files using OpenAI's Audio Transcription API or ElevenLabs Speech to Text API
- Moderate incoming comments for sensitive content using OpenAI's Moderation API
- Convert text content into audio and output a "read-to-me" feature on the front-end to play this audio using Microsoft Azure's Text to Speech API, Amazon Polly, OpenAI's Text to Speech API or ElevenLabs' Text to Speech API
- Classify post content using IBM Watson's Natural Language Understanding API, OpenAI's Embedding API, Microsoft Azure's OpenAI service or locally using Ollama
- Create a smart 404 page that has a recommended results section that suggests relevant content to the user based on the page URL they were trying to access using either OpenAI's Embedding API or Microsoft Azure's OpenAI service in combination with ElasticPress
- Find similar terms to merge together using either OpenAI's Embedding API or Microsoft Azure's OpenAI service in combination with ElasticPress. Note this only compares top-level terms and if you merge a term that has children, these become top-level terms as per default WordPress behavior
- Suggest related content based on the currently viewed post using OpenAI's Embedding API
- Generate image alt text using Microsoft Azure's AI Vision API, OpenAI's ChatGPT API, xAI's Grok or locally using Ollama
- Generate image tags and extract text from images using Microsoft Azure's AI Vision API, OpenAI's ChatGPT API or locally using Ollama
- Smartly crop images using Microsoft Azure's AI Vision API
- Scan PDF files for embedded text and save for use in post meta using Microsoft Azure's AI Vision API
- Bulk classify content with WP-CLI
- Modification of your
robots.txtfile to block the most common AI data scraping bots from indexing your site
| Tagging | Recommended Content | Excerpt Generation | Comment Moderation |
|---|---|---|---|
 |
 |
 |
 |
| Audio Transcripts | Title Generation | Expand or Condense Text | Text to Speech |
|---|---|---|---|
 |
 |
 |
 |
| Key Takeaways | Content Generation | ||
|---|---|---|---|
 |
 |
| Alt Text | Smart Cropping | Tagging | Generate Images |
|---|---|---|---|
 |
 |
 |
 |
- PHP 7.4+
- WordPress 6.7+
- To utilize the NLU Language Processing functionality, you will need an active IBM Watson account.
- To utilize the ChatGPT, Embeddings, Text to Speech or Speech to Text Language Processing functionality or Image Generation functionality, you will need an active OpenAI account.
- To utilize the ElevenLabs Speech to Text Language Processing functionality, you will need an active ElevenLabs account.
- To utilize the Azure AI Vision Image Processing functionality or Text to Speech Language Processing functionality, you will need an active Microsoft Azure account.
- To utilize the Azure OpenAI Language Processing functionality, you will need an active Microsoft Azure account and you will need to apply for OpenAI access.
- To utilize the Google Gemini Language Processing functionality or Image Generation functionality, you will need an active Google Gemini account.
- To utilize the Together AI Image Generation functionality, you will need an active Together AI account.
- To utilize the AWS Language Processing functionality, you will need an active AWS account.
- To utilize the Ollama Language or Image Processing functionality, you will need to install Ollama and download the appropriate models.
- To utilize the Stable Diffusion Image Processing functionality, you will need to install Stable Diffusion and download the appropriate models.
- To utilize the Smart 404 feature, you will need an active OpenAI account or Microsoft Azure account with OpenAI access and you will need to use ElasticPress 5.0.0+ and Elasticsearch 7.0+.
- To utilize the Term Cleanup feature, you will need an active OpenAI account or Microsoft Azure account with OpenAI access. For better performance, you will need ElasticPress 5.0.0+ and Elasticsearch 7.0+.
Note that there is no cost to using ClassifAI itself. Both IBM Watson and Microsoft Azure have free plans for some of their AI services, but above those free plans there are paid levels as well. So if you expect to process a high volume of content, then you'll want to review the pricing plans for these services to understand if you'll incur any costs. For the most part, both services' free plans are quite generous and should at least allow for testing ClassifAI to better understand its featureset and could at best allow for totally free usage. OpenAI has a limited trial option that can be used for testing but will require a valid paid plan after that.
IBM Watson's Natural Language Understanding ("NLU"), which is one of the providers that powers the classification feature, has a "lite" pricing tier that offers 30,000 free NLU items per month.
OpenAI, which is one of the providers that powers the classification, title generation, excerpt generation, content resizing, audio transcripts generation, text to speech, moderation and image generation features, has a limited free trial and then requires a pay per usage plan.
Microsoft Azure AI Vision, which is one of the providers that powers the descriptive text generator, image tags generator, image cropping, image text extraction and PDF text extraction features, has a "free" pricing tier that offers 20 transactions per minute and 5,000 transactions per month.
Microsoft Azure AI Speech, which is one of the providers that powers the text to speech feature, has a "free" pricing tier that offers 0.5 million characters per month.
Microsoft Azure OpenAI, which is one of the providers that powers the title generation, excerpt generation and content resizing features, has a pay per usage plan.
Google Gemini, which is one of the providers that powers the title generation, excerpt generation and content resizing features, has a "free" pricing tier that offers 60 queries per minute. To utilize the image generation feature, you will need a paid account.
git clone https://github.com/10up/classifai.git && cd classifaicomposer install && npm install && npm run build
ClassifAI releases can be installed via Composer.
Instruct Composer to install ClassifAI into the plugins directory by adding or modifying the "extra" section of your project's composer.json file to match the following:
"extra": {
    "installer-paths": {
        "plugins/{$name}": [
            "type:wordpress-plugin"
        ]
    }
}
Add this repository to composer.json, specifying a release version, as shown below:
"repositories": [
    {
        "type": "package",
        "package": {
            "name": "10up/classifai",
            "version": "3.7.0",
            "type": "wordpress-plugin",
            "dist": {
                "url": "https://github.com/10up/classifai/archive/refs/tags/3.7.0.zip",
                "type": "zip"
            }
        }
    }
]
Finally, require the plugin, using the version number you specified in the previous step:
"require": {
    "10up/classifai": "3.7.0"
}
After you run composer update, ClassifAI will be installed in the plugins directory with no build steps needed.
ClassifAI is a sophisticated solution that we want organizations of all shapes and sizes to count on. To keep adopters apprised of major updates and beta testing opportunities, gather feedback, support auto updates, and prioritize common use cases, we're asking for a little bit of information in exchange for a free key. Your information will be kept confidential.
- Register for a free ClassifAI account here.
- Check for an email from
ClassifAI Teamwhich contains the registration key. - Note that the email will be sent from
[email protected], so please whitelist this email address if needed.
- In the
Registered Emailfield, enter the email you used for registration. - In the
Registration Keyfield, enter the registration key from the email in step 1 above.
- Register for an IBM Cloud account or sign into your existing one.
- Check for an email from
IBM Cloudand click theConfirm Accountlink. - Log into your account (accepting the privacy policy) and create a new Natural Language Understanding Resource if you do not already have one. It may take a minute for your account to fully populate with the default resource group to use.
- Click
Managein the left hand menu, thenShow credentialson the Manage page to view the credentials for this resource.
2. Configure IBM Watson API Keys under Tools > ClassifAI > Language Processing > Classification > Settings
- Select IBM Watson NLU in the provider dropdown.
The credentials screen will show either an API key or a username/password combination.
- In the
API URLfield enter the URL - Enter your API Key in the
API Keyfield.
- In the
API URLfield enter the URL - Enter the
usernamevalue into theAPI Username. - Enter the
passwordinto theAPI Keyfield.
IBM Watson endpoint urls with watsonplatform.net were deprecated on 26 May 2021. The pattern for the new endpoint URLs is api.{location}.{offering}.watson.cloud.ibm.com. For example, Watson's NLU service offering endpoint will be like: api.{location}.natural-language-understanding.watson.cloud.ibm.com
For more information, see https://cloud.ibm.com/docs/watson?topic=watson-endpoint-change.
IBM Watson's Categories, Keywords, Concepts & Entities can each be stored in existing WordPress taxonomies or a custom Watson taxonomy.
3. Configure Post Types to classify and IBM Watson Features to enable under ClassifAI > Language Processing > Classification > Settings
- Choose which public post types to classify when saved.
- Choose whether to assign category, keyword, entity, and concept as well as the thresholds and taxonomies used for each.
- Sign up for an OpenAI account or sign into your existing one.
- If creating a new account, complete the verification process (requires confirming your email and phone number).
- Log into your account and go to the API key page.
- Click
Create new secret keyand copy the key that is shown.
2. Configure OpenAI API Keys under Tools > ClassifAI > Language Processing > Title Generation, Excerpt Generation, Content Generation or Content Resizing > Settings
- Select OpenAI ChatGPT in the provider dropdown.
- Enter your API Key copied from the above step into the
API Keyfield.
- For each feature, set any options as needed.
- Save settings. An error will show if API authentication fails.
- To test excerpt generation, edit (or create) an item that supports excerpts. Note: only the block editor is supported.
- Ensure this item has content saved.
- Open the Excerpt panel in the sidebar and click on
Generate Excerpt. - To test title generation, edit (or create) an item that supports titles.
- Ensure this item has content saved.
- Open the Summary panel in the sidebar and click on
Generate titles. - To test content generation, edit (or create) an item.
- Add a title to this item.
- Open the Summary panel in the sidebar and click on
Generate content. - To test content resizing, edit (or create) an item. Note: only the block editor is supported.
- Add a paragraph block with some content.
- With this block selected, select the AI icon in the toolbar and choose to either expand or condense the text.
- In the modal that pops up, select one of the options.
- Register for a Microsoft Azure account or sign into your existing one.
- Request access to Azure OpenAI, if not already granted.
- Log into your account and create a new Azure OpenAI resource if you do not already have one.
- Copy the name you chose for the deployment when deploying the resource in the previous step.
- Click
Keys and Endpointin the left hand Resource Management menu to get the endpoint for this resource. - Click the copy icon next to
KEY 1to copy the API Key credential for this resource.
2. Configure API Keys under Tools > ClassifAI > Language Processing > Title Generation, Excerpt Generation, Content Generation or Content Resizing > Settings
- Select Azure OpenAI in the provider dropdown.
- Enter your endpoint you copied from the above step into the
Endpoint URLfield. - Enter your API Key copied from the above step into the
API keyfield. - Enter your deployment name copied from the above step into the
Deployment namefield.
- Turn on the "Enable" toggle in the screen above.
- Set the other options as needed.
- Save settings. An error will show if API authentication fails.
- To test excerpt generation, edit (or create) an item that supports excerpts.
- Ensure this item has content saved.
- Open the Excerpt panel in the sidebar and click on
Generate Excerpt. - To test title generation, edit (or create) an item that supports titles.
- Ensure this item has content saved.
- Open the Summary panel in the sidebar and click on
Generate titles. - To test content generation, edit (or create) an item.
- Add a title to this item.
- Open the Summary panel in the sidebar and click on
Generate content. - To test content resizing, edit (or create) an item. Note: only the block editor is supported.
- Add a paragraph block with some content.
- With this block selected, select the AI icon in the toolbar and choose to either expand or condense the text.
- In the modal that pops up, select one of the options.
- Sign up for a Google account or sign into your existing one.
- Go to Google AI Gemini website and click on the Get API key button or go to the API key page directly.
- Note that if this page doesn't work, it's likely that Gemini is not enabled in your workspace. Contact your workspace administrator to get this enabled.
- Click
Create API keyand copy the key that is shown.
2. Configure API Keys under Tools > ClassifAI > Language Processing > Title Generation, Excerpt Generation or Content Resizing > Settings
- Select Google AI (Gemini API) in the provider dropdown.
- Enter your API Key copied from the above step into the
API Keyfield.
- Turn on the "Enable" toggle in the screen above.
- Set the other options as needed.
- Save settings. An error will show if API authentication fails.
- To test excerpt generation, edit (or create) an item that supports excerpts.
- Ensure this item has content saved.
- Open the Excerpt panel in the sidebar and click on
Generate Excerpt. - To test title generation, edit (or create) an item that supports titles.
- Ensure this item has content saved.
- Open the Summary panel in the sidebar and click on
Generate titles. - To test content resizing, edit (or create) an item. Note: only the block editor is supported.
- Add a paragraph block with some content.
- With this block selected, select the AI icon in the toolbar and choose to either expand or condense the text.
- In the modal that pops up, select one of the options.
- Sign up for an OpenAI account or sign into your existing one.
- If creating a new account, complete the verification process (requires confirming your email and phone number).
- Log into your account and go to the API key page.
- Click
Create new secret keyand copy the key that is shown.
2. Configure OpenAI API Keys under Tools > ClassifAI > Language Processing > Classification > Settings
- Select OpenAI Embeddings in the provider dropdown.
- Enter your API Key copied from the above step into the
API Keyfield.
- Choose to automatically classify content.
- Set the other options as needed.
- Save settings. An error will show if API authentication fails.
- Create one or more terms within the taxonomy (or taxonomies) chosen in settings.
- Create a new piece of content that matches the post type and post status chosen in settings.
- Open the taxonomy panel in the sidebar and see terms that were auto-applied.
Note that OpenAI can create a transcript for audio files that meet the following requirements:
- The file must be presented in mp3, mp4, mpeg, wav, or ogg format
- The file size must be less than 25 megabytes (MB)
- Sign up for an OpenAI account or sign into your existing one.
- If creating a new account, complete the verification process (requires confirming your email and phone number).
- Log into your account and go to the API key page.
- Click
Create new secret keyand copy the key that is shown.
2. Configure OpenAI API Keys under Tools > ClassifAI > Language Processing > Audio Transcripts Generation > Settings
- Select OpenAI Embeddings in the provider dropdown.
- Enter your API Key copied from the above step into the
API Keyfield.
- Choose to enable the ability to automatically generate transcripts from supported audio files.
- Choose which user roles have access to this ability.
- Save settings. An error will show if API authentication fails.
- Upload a new audio file.
- Check to make sure the transcript was stored in the Description field.
Note that ElevenLabs can create a transcript for audio files that meet the following requirements:
- The file must be presented in mp3, mp4, mpeg, wav, or ogg format
- The file size must be less than 100 megabytes (MB)
- Sign up for an ElevenLabs account or sign into your existing one.
- Log into your account and go to the API key page.
- Click
Create Keycreate a new API key and ensure you turn on access to the Speech to Text endpoint and turn on Read access to the Models endpoint.
2. Configure ElevenLabs API Keys under Tools > ClassifAI > Language Processing > Audio Transcripts Generation > Settings
- Select ElevenLabs Audio Transcription in the Provider dropdown.
- Enter your API Key copied from the above step into the
API Keyfield. - Select the model you want to use for the transcription after saving and verifying the connection.
- Choose to enable the ability to automatically generate transcripts from supported audio files.
- Choose which user roles have access to this ability.
- Save settings. An error will show if API authentication fails.
- Upload a new audio file.
- Check to make sure the transcript was stored in the Description field.
- Register for a Microsoft Azure account or sign into your existing one.
- Log into your account and create a new Speech Service if you do not already have one. It may take a minute for your account to fully populate with the default resource group to use.
- Click
Keys and Endpointin the left hand Resource Management menu to view theLocation/Regionfor this resource. - Click the copy icon next to
KEY 1to copy the API Key credential for this resource.
2. Configure Microsoft Azure API and Key under Tools > ClassifAI > Language Processing > Text to Speech > Settings
- Select Microsoft Azure AI Speech in the provider dropdown.
- In the
Endpoint URLfield, enter the following URL, replacingLOCATIONwith theLocation/Regionyou found above:https://LOCATION.tts.speech.microsoft.com/. - In the
API Keyfield, enter yourKEY 1copied from above. - Click Save Settings.
- If connected successfully, a new dropdown with the label "Voices" will be displayed.
- Select a voice as per your choice.
- Select a post type that should use this service.
- Assuming the post type selected is "post", create a new post and publish it.
- After a few seconds, a "Preview" button will appear under the ClassifAI settings panel.
- Click the button to preview the generated speech audio for the post.
- View the post on the front-end and see a read-to-me feature has been added
- Sign up for an OpenAI account or sign into your existing one.
- If creating a new account, complete the verification process (requires confirming your email and phone number).
- Log into your account and go to the API key page.
- Click
Create new secret keyand copy the key that is shown.
2. Configure OpenAI API Keys under Tools > ClassifAI > Language Processing > Text to Speech > Settings
- Select OpenAI Text to Speech in the provider dropdown.
- Enter your API Key copied from the above step into the
API Keyfield.
- Assuming the post type selected is "post", create a new post and publish it.
- After a few seconds, a "Preview" button will appear under the ClassifAI settings panel.
- Click the button to preview the generated speech audio for the post.
- View the post on the front-end and see a read-to-me feature has been added
- Register for a AWS account or sign into your existing one.
- Sign in to the AWS Management Console and open the IAM console at https://console.aws.amazon.com/iam/
- Create IAM User (If you don't have any IAM user)
- In the navigation pane, choose Users and then click Create user
- On the Specify user details page, under User details, in User name, enter the name for the new user.
- Click Next
- On the Set permissions page, under Permissions options, select Attach policies directly
- Under Permissions policies, search for the policy polly and select AmazonPollyFullAccess Policy
- Click Next
- On the Review and create page, Review all of the choices you made up to this point. When you are ready to proceed, Click Create user.
- In the navigation pane, choose Users
- Choose the name of the user for which you want to create access keys, and then choose the Security credentials tab.
- In the Access keys section, click Create access key.
- On the Access key best practices & alternatives page, select Application running outside AWS
- Click Next
- On the Retrieve access key page, choose Show to reveal the value of your user's secret access key.
- Copy and save the credentials in a secure location on your computer or click "Download .csv file" to save the access key ID and secret access key to a
.csvfile.
2. Configure AWS credentials under Tools > ClassifAI > Language Processing > Text to Speech > Settings
- Select Amazon Polly in the provider dropdown.
- In the
AWS access keyfield, enter theAccess keycopied from above. - In the
AWS secret access keyfield, enter yourSecret access keycopied from above. - In the
AWS Regionfield, enter your AWS region value eg:us-east-1 - Click Save Settings.
- If connected successfully, a new dropdown with the label "Voices" will be displayed.
- Select a voice and voice engine as per your choice.
- Select a post type that should use this service.
- Assuming the post type selected is "post", create a new post and publish it.
- After a few seconds, a "Preview" button will appear under the ClassifAI settings panel.
- Click the button to preview the generated speech audio for the post.
- View the post on the front-end and see a read-to-me feature has been added
- Sign up for an ElevenLabs account or sign into your existing one.
- Log into your account and go to the API key page.
- Click
Create Keycreate a new API key and ensure you turn on access to the Text to Speech endpoint and turn on Read access to the Models and Voices endpoint.
2. Configure ElevenLabs API Keys under Tools > ClassifAI > Language Processing > Text to Speech > Settings
- Select ElevenLabs in the Provider dropdown.
- Enter your API Key copied from the above step into the
API Keyfield. - Select the model and voice you want to use for the text to speech after saving and verifying the connection.
- Assuming the post type selected is "post", create a new post and publish it.
- After a few seconds, a "Preview" button will appear under the ClassifAI settings panel.
- Click the button to preview the generated speech audio for the post.
- View the post on the front-end and see a read-to-me feature has been added
- This Feature is powered by either OpenAI or Azure OpenAI.
- Once you've chosen a Provider, you'll need to create an account and get authentication details.
- When setting things up on the Azure side, ensure you choose either the
text-embedding-3-smallortext-embedding-3-largemodel. The Feature will not work with other models.
- When setting things up on the Azure side, ensure you choose either the
- Select the proper Provider in the provider dropdown.
- Enter your authentication details.
- Configure any other settings as desired.
Once the Smart 404 Feature is configured, you can then proceed to get ElasticPress set up to index the data.
If on a standard WordPress installation:
- Install and activate the ElasticPress plugin.
- Set your Elasticsearch URL in the ElasticPress settings (
ElasticPress > Settings). - Go to the
ElasticPress > Syncsettings page and trigger a sync, ensuring this is set to run a sync from scratch. This will send over the new schema to Elasticsearch and index all content, including creating vector embeddings for each post.
If on a WordPress VIP hosted environment:
- Enable Enterprise Search
-
Run the VIP-CLI
indexcommand. This sends the new schema to Elasticsearch and indexes all content, including creating vector embeddings for each post. Note you may need to use the--setupflag to ensure the schema is created correctly.
At this point all of your content should be indexed, along with the embeddings data. You'll then need to update your 404 template to display the recommended results.
The Smart 404 Feature comes with a few helper functions that can be used to display the recommended results on your 404 page:
- Directly display the results using the
Classifai\render_smart_404_results()function. - Get the data and then display it in your own way using the
Classifai\get_smart_404_results()function.
You will need to directly integrate these functions into your 404 template where desired. The plugin does not automatically display the results on the 404 page for you.
Both functions support the following arguments. If any argument is not provided, the default value set on the settings page will be used:
-
$index(string) - The ElasticPress index to search in. Default ispost. -
$num(int) - Maximum number of results to display. Default is5. -
$num_candidates(int) - Maximum number of results to search over. Default is5000. -
$rescore(bool) - Whether to run a rescore query or not. Can give better results but often is slower. Default isfalse. -
$score_function(string) - The vector scoring function to use. Default iscosine. Options arecosine,dot_product,l1_normandl2_norm.
The Classifai\render_smart_404_results() function also supports the following additional arguments:
-
$fallback(bool) - Whether to run a fallback WordPress query if no results are found in Elasticsearch. These results will then be rendered. Default istrue.
Examples:
// Render the results.
Classifai\render_smart_404_results(
  [
    'index'          => 'post',
    'num'            => 3,
    'num_candidates' => 1000,
    'rescore'        => true,
    'fallback'       => true,
    'score_function' => 'dot_product',
  ]
);
// Get the results.
$results = Classifai\get_smart_404_results(
[
'index' => 'post',
'num' => 10,
'num_candidates' => 8000,
'rescore' => false,
'score_function' => 'cosine',
]
);
ob_start();
// Render the results.
foreach ( $results as $result ) {
?>
<div>
<?php if ( has_post_thumbnail( $result->ID ) ) : ?>
<figure>
<a href="<?php echo esc_url( get_permalink( $result->ID ) ); ?>">
<?php echo wp_kses_post( get_the_post_thumbnail( $result->ID ) ); ?>
</a>
</figure>
<?php endif; ?>
<a href="<?php echo esc_url( get_permalink( $result->ID ) ); ?>">
<?php echo esc_html( $result->post_title ); ?>
</a>
</div>
<?php
}
$output = ob_get_clean();
echo $output;If you want to quickly test things locally, ensure you have Docker installed (Docker Desktop recommended) and then run the following command:
docker run -p 9200:9200 -d --name elasticsearch \
  -e "discovery.type=single-node" \
  -e "xpack.security.enabled=false" \
  -e "xpack.security.http.ssl.enabled=false" \
  -e "xpack.license.self_generated.type=basic" \
  docker.elastic.co/elasticsearch/elasticsearch:7.9.0
This will download, install and start Elasticsearch v7.9.0 to your local machine. You can then access Elasticsearch at http://localhost:9200, which is the same URL you can use to configure ElasticPress with. It is recommended that you change the Content Items per Index Cycle setting in ElasticPress to 20 to ensure indexing doesn't timeout. Also be aware of API rate limits on the OpenAI Embeddings API.
- This Feature is powered by either OpenAI or Azure OpenAI.
- Once you've chosen a Provider, you'll need to create an account and get authentication details.
- When setting things up on the Azure side, ensure you choose either the
text-embedding-3-smallortext-embedding-3-largemodel. The Feature will not work with other models.
- When setting things up on the Azure side, ensure you choose either the
- Select the proper Provider in the provider dropdown.
- Enter your authentication details.
- Configure any other settings as desired.
It is recommended to use ElasticPress with this Feature, especially if processing more than 500 terms, as performance will be significantly better. Once the Term Cleanup Feature is configured, you can then proceed to get ElasticPress set up to index the data.
If on a standard WordPress installation:
- Install and activate the ElasticPress plugin.
- Set your Elasticsearch URL in the ElasticPress settings (
ElasticPress > Settings). - Enable the term index feature.
- Go to the
ElasticPress > Syncsettings page and trigger a sync, ensuring this is set to run a sync from scratch. This will send over the new schema to Elasticsearch and index all content, including creating vector embeddings for each term.
If on a WordPress VIP hosted environment:
- Enable Enterprise Search.
-
Enable the term index. Example command:
vip @example-app.develop -- wp vip-search activate-feature terms. -
Run the VIP-CLI
indexcommand. This sends the new schema to Elasticsearch and indexes all content, including creating vector embeddings for each term. Note you may need to use the--setupflag to ensure the schema is created correctly.
Once configured, the plugin will add a new submenu under the Tools menu called Term Cleanup.
- Go to the Term Cleanup page, click on your desired taxonomy, then click on the "Find similar" button.
- This initializes a background process that will compare each term to find ones that are similar.
- Once done, all the results will be displayed.
- You can then skip or merge the potential duplicate terms from the settings page.
Note that Azure AI Vision can analyze and crop images that meet the following requirements:
- The image must be presented in JPEG, PNG, GIF, or BMP format
- The file size of the image must be less than 4 megabytes (MB)
- The dimensions of the image must be greater than 50 x 50 pixels
- The file must be externally accessible via URL (i.e. local sites and setups that block direct file access will not work out of the box)
- Register for a Microsoft Azure account or sign into your existing one.
- Log into your account and create a new Azure AI Vision Service if you do not already have one. It may take a minute for your account to fully populate with the default resource group to use.
- Click
Keys and Endpointin the left hand Resource Management menu to view theEndpointURL for this resource. - Click the copy icon next to
KEY 1to copy the API Key credential for this resource.
2. Configure Microsoft Azure API and Key under Tools > ClassifAI > Image Processing > Descriptive Text Generator, Image Tags Generator, Image Cropping, Image Text Extraction or PDF Text Extraction > Settings
- Select Microsoft Azure AI Vision in the provider dropdown.
- In the
Endpoint URLfield, enter yourAPI endpoint. - In the
API Keyfield, enter yourKEY 1.
- For features that have thresholds or taxonomy settings, set those as needed.
- Image tagging uses Azure's Describe Image
- Sign up for an OpenAI account or sign into your existing one.
- If creating a new account, complete the verification process (requires confirming your email and phone number).
- Log into your account and go to the API key page.
- Click
Create new secret keyand copy the key that is shown.
2. Configure OpenAI API Keys under Tools > ClassifAI > Image Processing > Image Generation > Settings
- Select OpenAI Images in the provider dropdown.
- Enter your API Key copied from the above step into the
API Keyfield.
- Choose to add the ability to generate images.
- If image generation is configured, set the other options as needed.
- Save settings. An error will show if API authentication fails.
- Create a new content item
- Insert an Image block or choose to add a featured image and choose a new item from the Media Library
- In the media modal that opens, click on the
Generate imagetab - Enter in a prompt to generate an image
- Once images are generated, choose one or more images to import into your media library
- Choose one image to insert into the content
- Sign up for a Google account or sign into your existing one.
- Go to Google AI Gemini website and click on the Get API key button or go to the API key page directly.
- Note that if this page doesn't work, it's likely that Gemini is not enabled in your workspace. Contact your workspace administrator to get this enabled.
- Click
Create API keyand copy the key that is shown.
- Select Google AI Imagen in the provider dropdown.
- Enter your API Key copied from the above step into the
API Keyfield.
- Turn on the Image Generation Feature.
- Configure other options as needed.
- Create a new content item
- Insert an Image block or choose to add a featured image and choose a new item from the Media Library
- In the media modal that opens, click on the
Generate imagetab - Enter in a prompt to generate an image
- Once images are generated, choose one or more images to import into your media library
- Choose one image to insert into the content
- Sign up for a Together AI account or sign into your existing one.
- Within your account settings, find the API Keys section or go to the API key page directly.
- Copy the exisintg key or create a new one and copy it.
- Select Together AI in the Provider dropdown.
- Enter your API Key copied from the above step into the
API Keyfield. - Save the settings which will validate the API key.
- Once valid, the models will be available to select from. Choose the image generation model you want to use.
- Turn on the Image Generation Feature.
- Configure other options as needed.
- Create a new content item
- Insert an Image block or choose to add a featured image and choose a new item from the Media Library
- In the media modal that opens, click on the
Generate imagetab - Enter in a prompt to generate an image
- Once images are generated, choose one or more images to import into your media library
- Choose one image to insert into the content
- Sign up for an OpenAI account or sign into your existing one.
- If creating a new account, complete the verification process (requires confirming your email and phone number).
- Log into your account and go to the API key page.
- Click
Create new secret keyand copy the key that is shown.
2. Configure OpenAI API Keys under Tools > ClassifAI > Language Processing > Moderation > > Settings
- Select OpenAI Moderation in the provider dropdown.
- Enter your API Key copied from the above step into the
API Keyfield.
- Turn on the "Enable" toggle in the screen above.
- Select "Comments" in the "Content to moderate" section.
- Sign up for an OpenAI account or sign into your existing one.
- If creating a new account, complete the verification process (requires confirming your email and phone number).
- Log into your account and go to the API key page.
- Click
Create new secret keyand copy the key that is shown.
2. Configure OpenAI API Keys under Tools > ClassifAI > Recommendation Service > Recommended Content > Settings
- Select OpenAI Embeddings in the provider dropdown.
- Enter your API Key copied from the above step into the
API Keyfield. - Once valid credentials are saved, embeddings will be generated for all existing posts that don't have embeddings already.
- Edit an existing page and add in the new Recommended Content block.
- This defaults to rendering 3 items that meet the threshold criteria set. This can be changed to render more or less. Note though that only items that meet the threshold will be used, so less items may be shown than selected. If no items meet the threshold, the block will instead pull from the most recent posts.
- This block will render using the template selected in the settings. This template can be modified in the block editor.
Some of the Features in ClassifAI can be set up to use locally hosted LLMs. This has the benefit of complete privacy and data control, as well as being able to be run without any cost. The trade-offs here are performance isn't as great and results may also be less accurate.
Right now, text generation and image analysis are powered by Ollama, a tool that allows you to host and run LLMs locally. Image generation is powered by Stable Diffusion, a tool that allows you to host and run image generation models locally.
To set up Ollama, follow the steps below:
- Install Ollama on your local machine.
- By default Ollama runs at
http://localhost:11434/.
- Decide which models you want to use. This will depend on the Feature you are setting up. For instance, if you want to use Image Processing Features, ensure you install a Vision model. If you want to use the Classification Feature, ensure you install an Embedding model. All other Features should work with standard models.
- Install the model locally by running
ollama pull <model-name>in your terminal.
- Once Ollama is running and the model is installed, you can proceed to use it as a Provider for the desired Feature.
- Note that when using locally hosted LLMs, performance may be slower than using cloud-based services, especially for initial requests. Results may also be less accurate but these are the trade-offs for privacy and data control.
To set up Stable Diffusion, follow the steps below:
- Install Stable Diffusion on your local machine.
- By default Stable Diffusion runs at
http://localhost:7860/.
- Decide which model you want to use to generate images. There are many models available with various trade-offs between quality, speed and size.
- Install the model locally by downloading it and placing it in the
models/Stable-diffusiondirectory.
- Once Stable Diffusion is running and the model is installed, you can proceed to use it as a Provider for Image Generation.
- Note that when using locally hosted LLMs, performance may be slower than using cloud-based services, especially for initial requests. Results may also be lower quality but these are the trade-offs for privacy and data control.
- Check out the ClassifAI docs.
The ClassifAI documentation site is built using WP Hooks Documentor. Follow these steps to build and run the documentation site locally:
# Install dependencies and build the plugin
npm i && npm run build:docs
This will:
- Install all required dependencies
- Process all hook documentation from the codebase
- Generate the documentation site in the
./docsdirectory
# Navigate to docs directory and start the server
cd ./docs && npm run serve
The documentation site will be available at http://localhost:3000.
The documentation site will automatically deploy to GitHub Pages when changes are merged into the trunk branch. You can view the live documentation at https://10up.github.io/classifai/.
ClassifAI connects your WordPress site directly to your account with specific service provider(s) (e.g. Microsoft Azure AI, IBM Watson, OpenAI), so no data is gathered by 10up. The data gathered in our registration form is used simply to stay in touch with users so we can provide product updates and news. More information is available in the Privacy Policy on ClassifAIplugin.com.
What are the Categories, Keywords, Concepts, and Entities within the NLU Language Processing feature?
Categories are five levels of hierarchies that IBM Watson can identify from your text. Keywords are specific terms from your text that IBM Watson is able to identify. Concepts are high-level concepts that are not necessarily directly referenced in your text. Entities are people, companies, locations, and classifications that are made by IBM Watson from your text.
Whatever options you have selected in the Category, Keyword, Entity, and Concept taxonomy dropdowns in the NLU classification settings can be viewed within Classic Editor metaboxes and the Block Editor side panel. They can also be viewed in the All Posts and All Pages table list views by utilizing the Screen Options to enable those columns if they're not already appearing in your table list view.
We recommend that you are transparent with your users that AI tools are being used. This can be done by adding a notice to your site's Privacy Policy or similar page. Sample copy is provided below:
This site makes use of Artificial Intelligence tools to help with tasks like language processing, image processing, and content recommendations.
When a post is sent to OpenAI (e.g. to generate a title or excerpt), is the post content fed into OpenAI and used for other customers?
According to OpenAI, they do not train their models on any data that is sent via API requests (see https://openai.com/enterprise-privacy). OpenAI may keep the data for up to 30 days to identify abuse, though you can request zero data retention (ZDR) with a qualifying use-case.
Active: 10up is actively working on this, and we expect to continue work for the foreseeable future including keeping tested up to the most recent version of WordPress. Bug reports, feature requests, questions, and pull requests are welcome.
A complete listing of all notable changes to ClassifAI are documented in CHANGELOG.md.
Please read CODE_OF_CONDUCT.md for details on our code of conduct, CONTRIBUTING.md for details on the process for submitting pull requests to us, and CREDITS.md for a listing of maintainers, contributors, and libraries for ClassifAI.
For Tasks:
Click tags to check more tools for each tasksFor Jobs:
Alternative AI tools for classifai
Similar Open Source Tools

classifai
Supercharge WordPress Content Workflows and Engagement with Artificial Intelligence. Tap into leading cloud-based services like OpenAI, Microsoft Azure AI, Google Gemini and IBM Watson to augment your WordPress-powered websites. Publish content faster while improving SEO performance and increasing audience engagement. ClassifAI integrates Artificial Intelligence and Machine Learning technologies to lighten your workload and eliminate tedious tasks, giving you more time to create original content that matters.
Open_Data_QnA
Open Data QnA is a Python library that allows users to interact with their PostgreSQL or BigQuery databases in a conversational manner, without needing to write SQL queries. The library leverages Large Language Models (LLMs) to bridge the gap between human language and database queries, enabling users to ask questions in natural language and receive informative responses. It offers features such as conversational querying with multiturn support, table grouping, multi schema/dataset support, SQL generation, query refinement, natural language responses, visualizations, and extensibility. The library is built on a modular design and supports various components like Database Connectors, Vector Stores, and Agents for SQL generation, validation, debugging, descriptions, embeddings, responses, and visualizations.
vertex-ai-creative-studio
GenMedia Creative Studio is an application showcasing the capabilities of Google Cloud Vertex AI generative AI creative APIs. It includes features like Gemini for prompt rewriting and multimodal evaluation of generated images. The app is built with Mesop, a Python-based UI framework, enabling rapid development of web and internal apps. The Experimental folder contains stand-alone applications and upcoming features demonstrating cutting-edge generative AI capabilities, such as image generation, prompting techniques, and audio/video tools.
coral-cloud
Coral Cloud Resorts is a sample hospitality application that showcases Data Cloud, Agents, and Prompts. It provides highly personalized guest experiences through smart automation, content generation, and summarization. The app requires licenses for Data Cloud, Agents, Prompt Builder, and Einstein for Sales. Users can activate features, deploy metadata, assign permission sets, import sample data, and troubleshoot common issues. Additionally, the repository offers integration with modern web development tools like Prettier, ESLint, and pre-commit hooks for code formatting and linting.
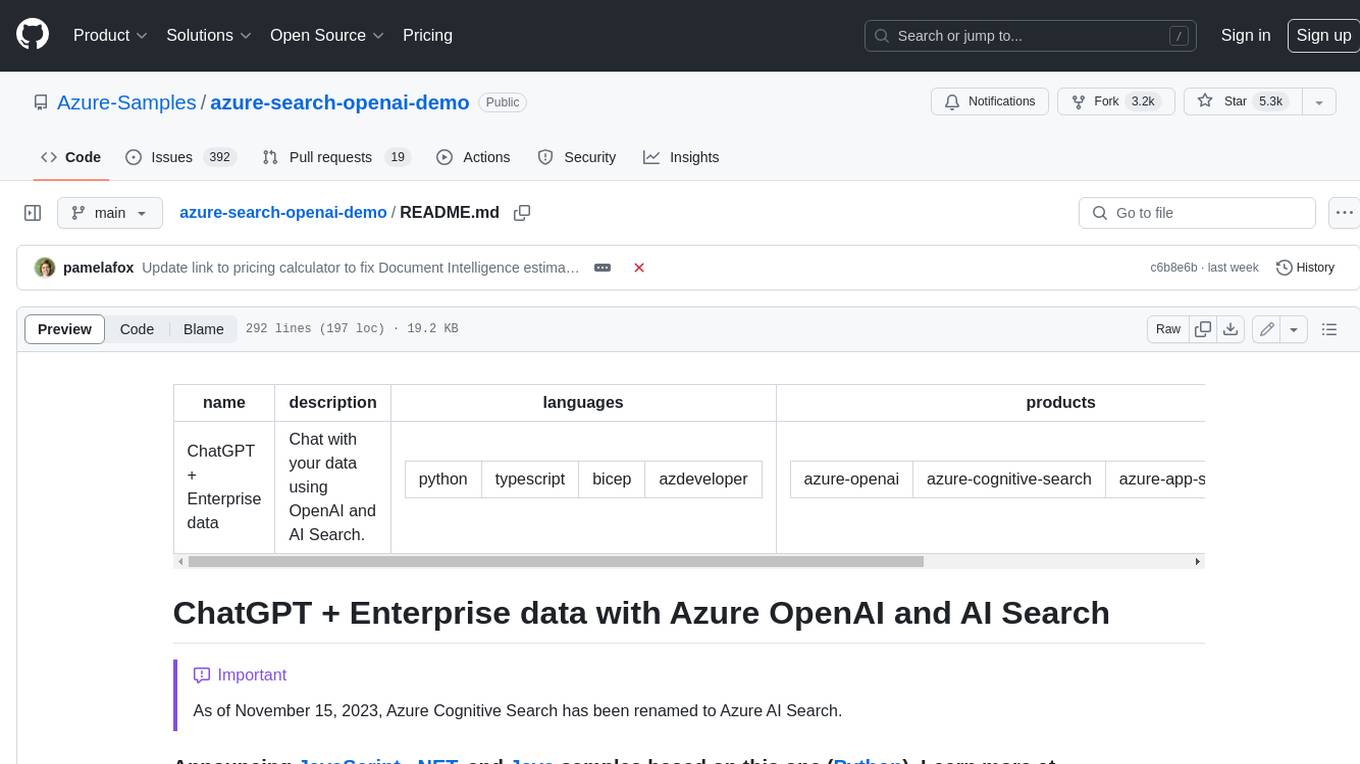
azure-search-openai-demo
This sample demonstrates a few approaches for creating ChatGPT-like experiences over your own data using the Retrieval Augmented Generation pattern. It uses Azure OpenAI Service to access a GPT model (gpt-35-turbo), and Azure AI Search for data indexing and retrieval. The repo includes sample data so it's ready to try end to end. In this sample application we use a fictitious company called Contoso Electronics, and the experience allows its employees to ask questions about the benefits, internal policies, as well as job descriptions and roles.
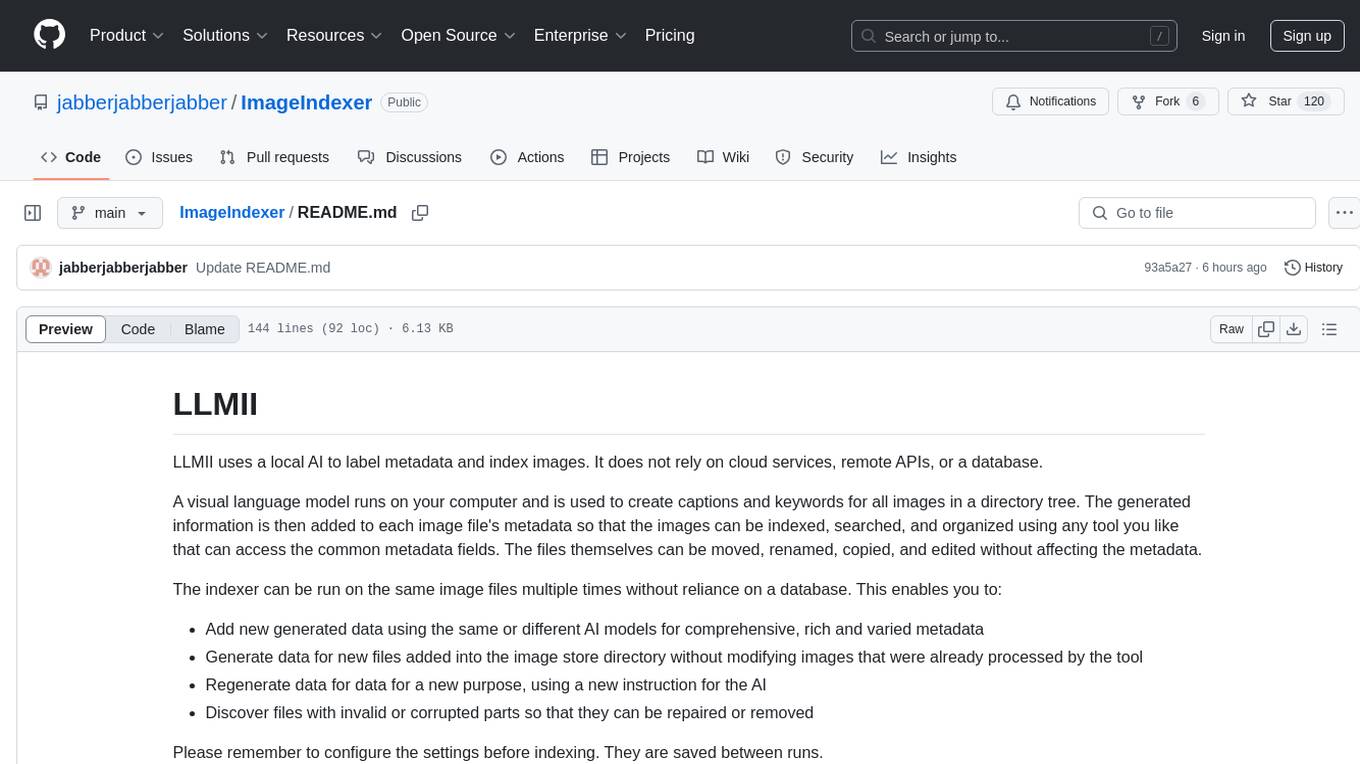
ImageIndexer
LLMII is a tool that uses a local AI model to label metadata and index images without relying on cloud services or remote APIs. It runs a visual language model on your computer to generate captions and keywords for images, enhancing their metadata for indexing, searching, and organization. The tool can be run multiple times on the same image files, allowing for adding new data, regenerating data, and discovering files with issues. It supports various image formats, offers a user-friendly GUI, and can utilize GPU acceleration for faster processing. LLMII requires Python 3.8 or higher and operates directly on image file metadata fields like MWG:Keyword and XMP:Identifier.
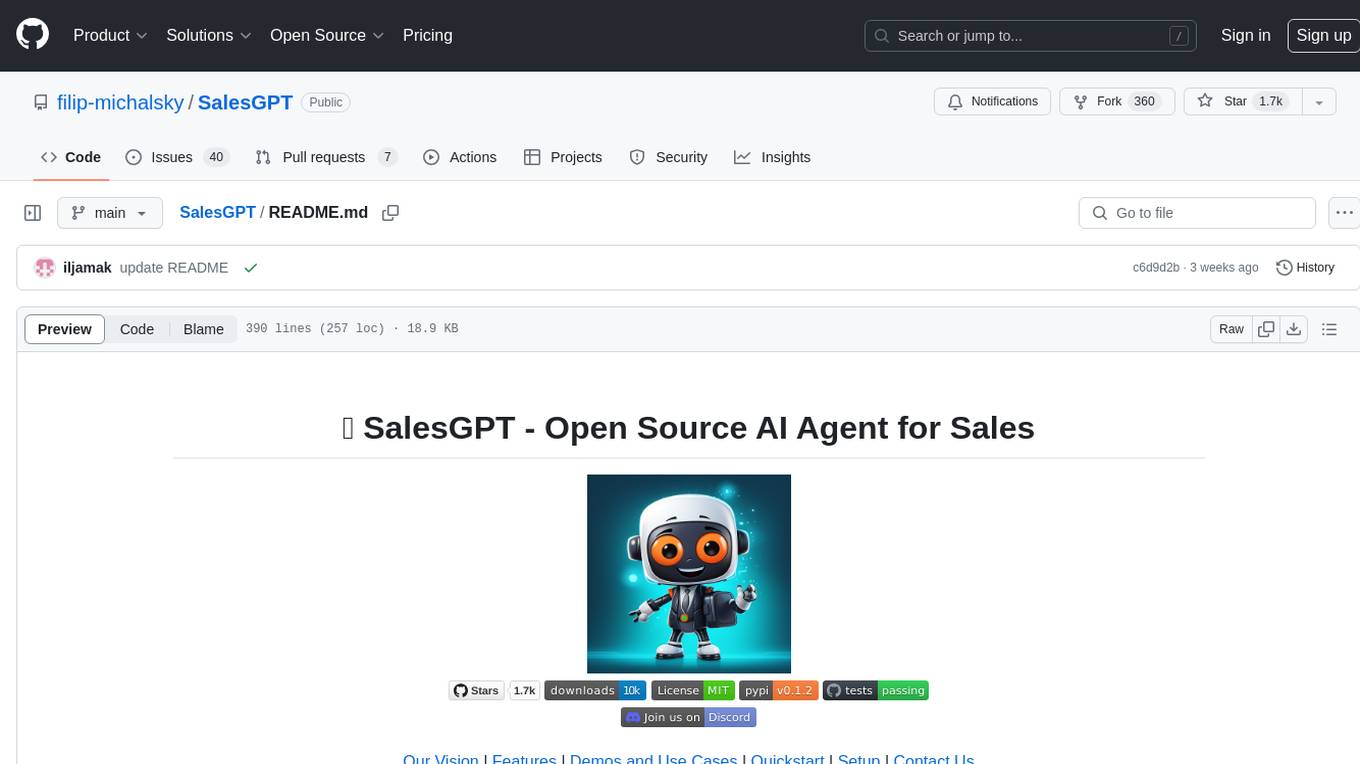
SalesGPT
SalesGPT is an open-source AI agent designed for sales, utilizing context-awareness and LLMs to work across various communication channels like voice, email, and texting. It aims to enhance sales conversations by understanding the stage of the conversation and providing tools like product knowledge base to reduce errors. The agent can autonomously generate payment links, handle objections, and close sales. It also offers features like automated email communication, meeting scheduling, and integration with various LLMs for customization. SalesGPT is optimized for low latency in voice channels and ensures human supervision where necessary. The tool provides enterprise-grade security and supports LangSmith tracing for monitoring and evaluation of intelligent agents built on LLM frameworks.
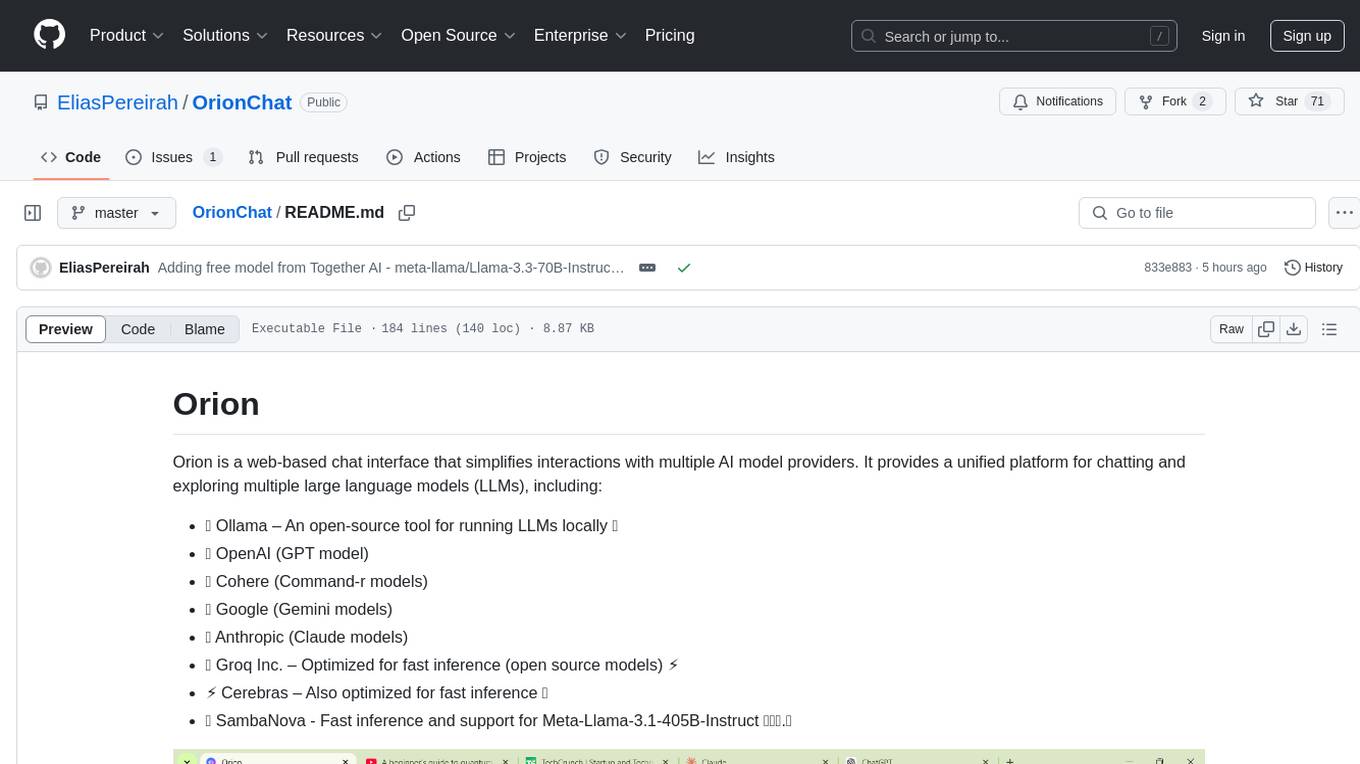
OrionChat
Orion is a web-based chat interface that simplifies interactions with multiple AI model providers. It provides a unified platform for chatting and exploring various large language models (LLMs) such as Ollama, OpenAI (GPT model), Cohere (Command-r models), Google (Gemini models), Anthropic (Claude models), Groq Inc., Cerebras, and SambaNova. Users can easily navigate and assess different AI models through an intuitive, user-friendly interface. Orion offers features like browser-based access, code execution with Google Gemini, text-to-speech (TTS), speech-to-text (STT), seamless integration with multiple AI models, customizable system prompts, language translation tasks, document uploads for analysis, and more. API keys are stored locally, and requests are sent directly to official providers' APIs without external proxies.
devika
Devika is an advanced AI software engineer that can understand high-level human instructions, break them down into steps, research relevant information, and write code to achieve the given objective. Devika utilizes large language models, planning and reasoning algorithms, and web browsing abilities to intelligently develop software. Devika aims to revolutionize the way we build software by providing an AI pair programmer who can take on complex coding tasks with minimal human guidance. Whether you need to create a new feature, fix a bug, or develop an entire project from scratch, Devika is here to assist you.
litlytics
LitLytics is an affordable analytics platform leveraging LLMs for automated data analysis. It simplifies analytics for teams without data scientists, generates custom pipelines, and allows customization. Cost-efficient with low data processing costs. Scalable and flexible, works with CSV, PDF, and plain text data formats.
testzeus-hercules
Hercules is the world’s first open-source testing agent designed to handle the toughest testing tasks for modern web applications. It turns simple Gherkin steps into fully automated end-to-end tests, making testing simple, reliable, and efficient. Hercules adapts to various platforms like Salesforce and is suitable for CI/CD pipelines. It aims to democratize and disrupt test automation, making top-tier testing accessible to everyone. The tool is transparent, reliable, and community-driven, empowering teams to deliver better software. Hercules offers multiple ways to get started, including using PyPI package, Docker, or building and running from source code. It supports various AI models, provides detailed installation and usage instructions, and integrates with Nuclei for security testing and WCAG for accessibility testing. The tool is production-ready, open core, and open source, with plans for enhanced LLM support, advanced tooling, improved DOM distillation, community contributions, extensive documentation, and a bounty program.
CyberScraper-2077
CyberScraper 2077 is an advanced web scraping tool powered by AI, designed to extract data from websites with precision and style. It offers a user-friendly interface, supports multiple data export formats, operates in stealth mode to avoid detection, and promises lightning-fast scraping. The tool respects ethical scraping practices, including robots.txt and site policies. With upcoming features like proxy support and page navigation, CyberScraper 2077 is a futuristic solution for data extraction in the digital realm.
aimeos-typo3
Aimeos is a professional, full-featured, and high-performance e-commerce extension for TYPO3. It can be installed in an existing TYPO3 website within 5 minutes and can be adapted, extended, overwritten, and customized to meet specific needs.
Sentient
Sentient is a personal, private, and interactive AI companion developed by Existence. The project aims to build a completely private AI companion that is deeply personalized and context-aware of the user. It utilizes automation and privacy to create a true companion for humans. The tool is designed to remember information about the user and use it to respond to queries and perform various actions. Sentient features a local and private environment, MBTI personality test, integrations with LinkedIn, Reddit, and more, self-managed graph memory, web search capabilities, multi-chat functionality, and auto-updates for the app. The project is built using technologies like ElectronJS, Next.js, TailwindCSS, FastAPI, Neo4j, and various APIs.
crawlee-python
Crawlee-python is a web scraping and browser automation library that covers crawling and scraping end-to-end, helping users build reliable scrapers fast. It allows users to crawl the web for links, scrape data, and store it in machine-readable formats without worrying about technical details. With rich configuration options, users can customize almost any aspect of Crawlee to suit their project's needs.
burpference
Burpference is an open-source extension designed to capture in-scope HTTP requests and responses from Burp's proxy history and send them to a remote LLM API in JSON format. It automates response capture, integrates with APIs, optimizes resource usage, provides color-coded findings visualization, offers comprehensive logging, supports native Burp reporting, and allows flexible configuration. Users can customize system prompts, API keys, and remote hosts, and host models locally to prevent high inference costs. The tool is ideal for offensive web application engagements to surface findings and vulnerabilities.
For similar tasks

classifai
Supercharge WordPress Content Workflows and Engagement with Artificial Intelligence. Tap into leading cloud-based services like OpenAI, Microsoft Azure AI, Google Gemini and IBM Watson to augment your WordPress-powered websites. Publish content faster while improving SEO performance and increasing audience engagement. ClassifAI integrates Artificial Intelligence and Machine Learning technologies to lighten your workload and eliminate tedious tasks, giving you more time to create original content that matters.
openai-edge-tts
This project provides a local, OpenAI-compatible text-to-speech (TTS) API using `edge-tts`. It emulates the OpenAI TTS endpoint (`/v1/audio/speech`), enabling users to generate speech from text with various voice options and playback speeds, just like the OpenAI API. `edge-tts` uses Microsoft Edge's online text-to-speech service, making it completely free. The project supports multiple audio formats, adjustable playback speed, and voice selection options, providing a flexible and customizable TTS solution for users.
lollms-webui
LoLLMs WebUI (Lord of Large Language Multimodal Systems: One tool to rule them all) is a user-friendly interface to access and utilize various LLM (Large Language Models) and other AI models for a wide range of tasks. With over 500 AI expert conditionings across diverse domains and more than 2500 fine tuned models over multiple domains, LoLLMs WebUI provides an immediate resource for any problem, from car repair to coding assistance, legal matters, medical diagnosis, entertainment, and more. The easy-to-use UI with light and dark mode options, integration with GitHub repository, support for different personalities, and features like thumb up/down rating, copy, edit, and remove messages, local database storage, search, export, and delete multiple discussions, make LoLLMs WebUI a powerful and versatile tool.
daily-poetry-image
Daily Chinese ancient poetry and AI-generated images powered by Bing DALL-E-3. GitHub Action triggers the process automatically. Poetry is provided by Today's Poem API. The website is built with Astro.
InvokeAI
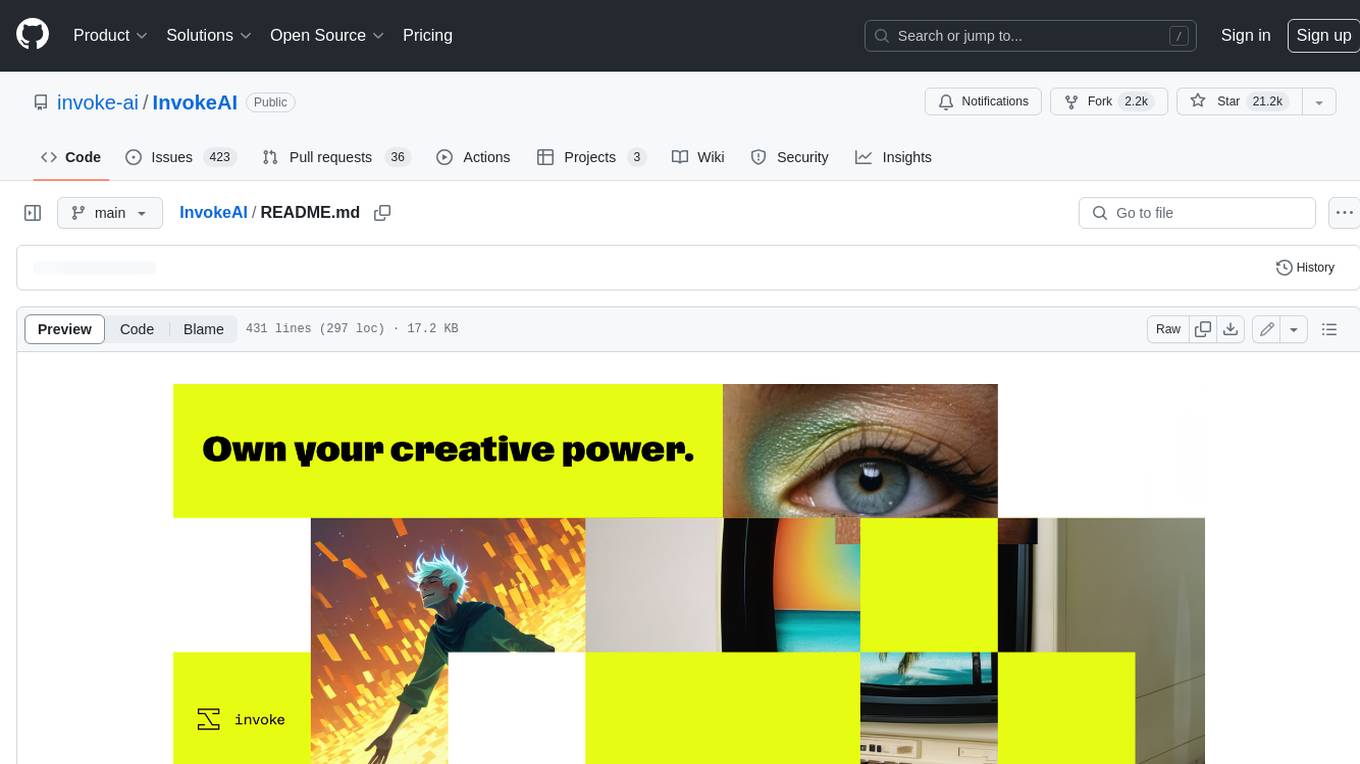
InvokeAI is a leading creative engine built to empower professionals and enthusiasts alike. Generate and create stunning visual media using the latest AI-driven technologies. InvokeAI offers an industry leading Web Interface, interactive Command Line Interface, and also serves as the foundation for multiple commercial products.
LocalAI
LocalAI is a free and open-source OpenAI alternative that acts as a drop-in replacement REST API compatible with OpenAI (Elevenlabs, Anthropic, etc.) API specifications for local AI inferencing. It allows users to run LLMs, generate images, audio, and more locally or on-premises with consumer-grade hardware, supporting multiple model families and not requiring a GPU. LocalAI offers features such as text generation with GPTs, text-to-audio, audio-to-text transcription, image generation with stable diffusion, OpenAI functions, embeddings generation for vector databases, constrained grammars, downloading models directly from Huggingface, and a Vision API. It provides a detailed step-by-step introduction in its Getting Started guide and supports community integrations such as custom containers, WebUIs, model galleries, and various bots for Discord, Slack, and Telegram. LocalAI also offers resources like an LLM fine-tuning guide, instructions for local building and Kubernetes installation, projects integrating LocalAI, and a how-tos section curated by the community. It encourages users to cite the repository when utilizing it in downstream projects and acknowledges the contributions of various software from the community.
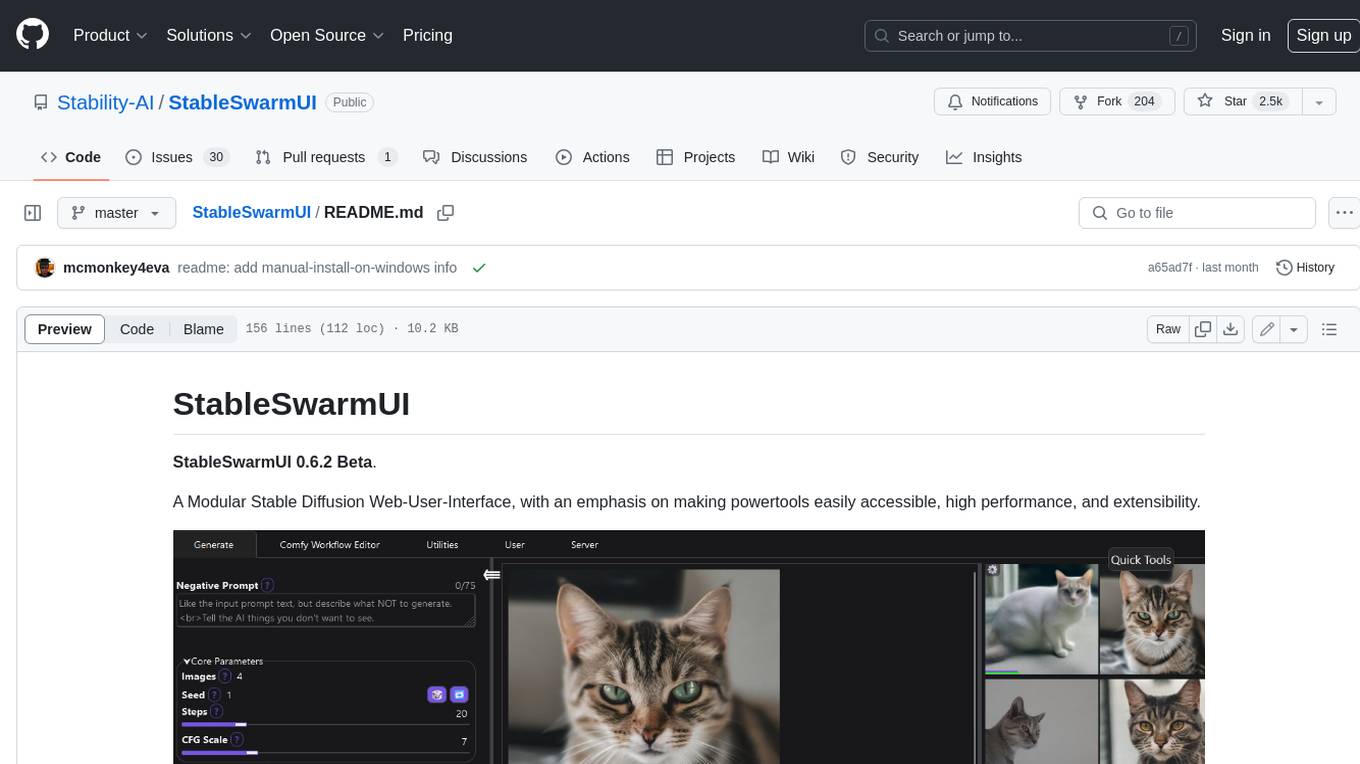
StableSwarmUI
StableSwarmUI is a modular Stable Diffusion web user interface that emphasizes making power tools easily accessible, high performance, and extensible. It is designed to be a one-stop-shop for all things Stable Diffusion, providing a wide range of features and capabilities to enhance the user experience.
civitai
Civitai is a platform where people can share their stable diffusion models (textual inversions, hypernetworks, aesthetic gradients, VAEs, and any other crazy stuff people do to customize their AI generations), collaborate with others to improve them, and learn from each other's work. The platform allows users to create an account, upload their models, and browse models that have been shared by others. Users can also leave comments and feedback on each other's models to facilitate collaboration and knowledge sharing.
For similar jobs
sweep
Sweep is an AI junior developer that turns bugs and feature requests into code changes. It automatically handles developer experience improvements like adding type hints and improving test coverage.
teams-ai
The Teams AI Library is a software development kit (SDK) that helps developers create bots that can interact with Teams and Microsoft 365 applications. It is built on top of the Bot Framework SDK and simplifies the process of developing bots that interact with Teams' artificial intelligence capabilities. The SDK is available for JavaScript/TypeScript, .NET, and Python.
ai-guide
This guide is dedicated to Large Language Models (LLMs) that you can run on your home computer. It assumes your PC is a lower-end, non-gaming setup.

classifai
Supercharge WordPress Content Workflows and Engagement with Artificial Intelligence. Tap into leading cloud-based services like OpenAI, Microsoft Azure AI, Google Gemini and IBM Watson to augment your WordPress-powered websites. Publish content faster while improving SEO performance and increasing audience engagement. ClassifAI integrates Artificial Intelligence and Machine Learning technologies to lighten your workload and eliminate tedious tasks, giving you more time to create original content that matters.
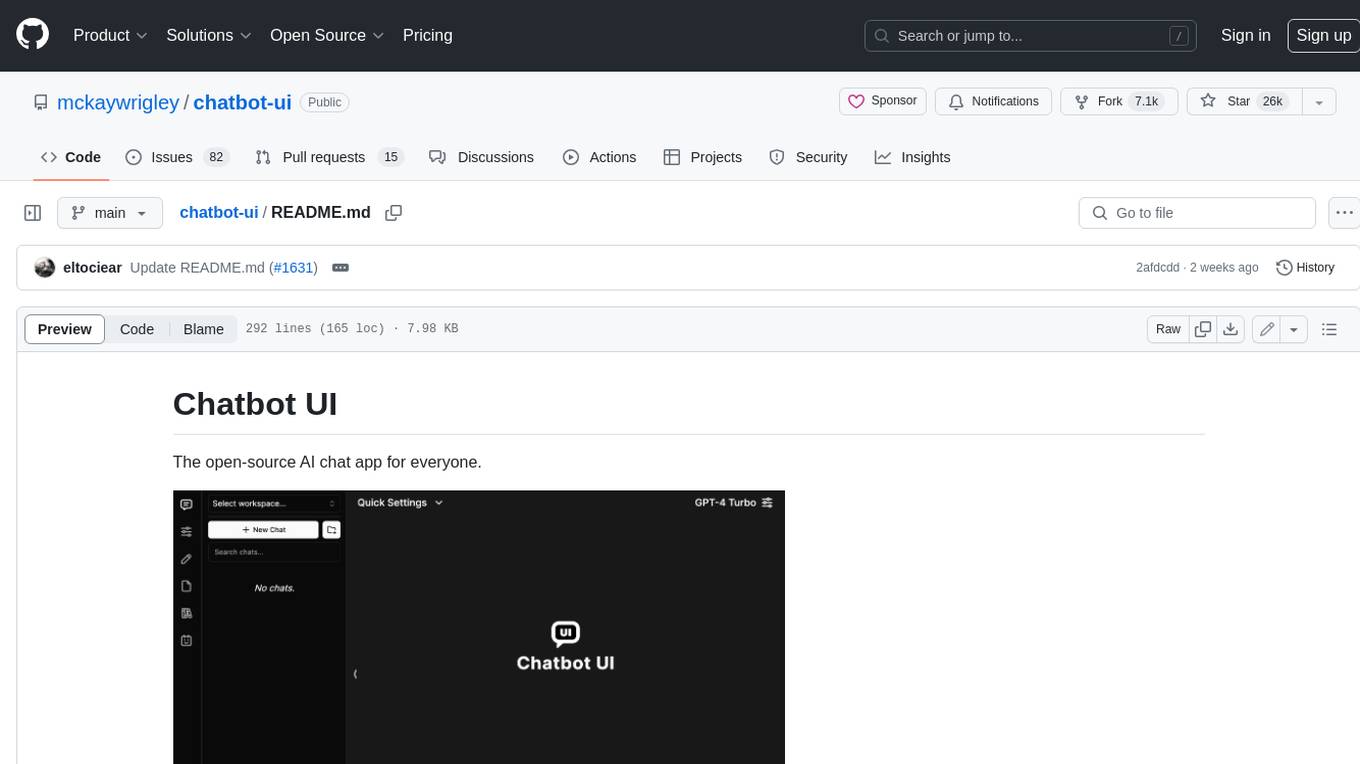
chatbot-ui
Chatbot UI is an open-source AI chat app that allows users to create and deploy their own AI chatbots. It is easy to use and can be customized to fit any need. Chatbot UI is perfect for businesses, developers, and anyone who wants to create a chatbot.
BricksLLM
BricksLLM is a cloud native AI gateway written in Go. Currently, it provides native support for OpenAI, Anthropic, Azure OpenAI and vLLM. BricksLLM aims to provide enterprise level infrastructure that can power any LLM production use cases. Here are some use cases for BricksLLM: * Set LLM usage limits for users on different pricing tiers * Track LLM usage on a per user and per organization basis * Block or redact requests containing PIIs * Improve LLM reliability with failovers, retries and caching * Distribute API keys with rate limits and cost limits for internal development/production use cases * Distribute API keys with rate limits and cost limits for students
uAgents
uAgents is a Python library developed by Fetch.ai that allows for the creation of autonomous AI agents. These agents can perform various tasks on a schedule or take action on various events. uAgents are easy to create and manage, and they are connected to a fast-growing network of other uAgents. They are also secure, with cryptographically secured messages and wallets.
griptape
Griptape is a modular Python framework for building AI-powered applications that securely connect to your enterprise data and APIs. It offers developers the ability to maintain control and flexibility at every step. Griptape's core components include Structures (Agents, Pipelines, and Workflows), Tasks, Tools, Memory (Conversation Memory, Task Memory, and Meta Memory), Drivers (Prompt and Embedding Drivers, Vector Store Drivers, Image Generation Drivers, Image Query Drivers, SQL Drivers, Web Scraper Drivers, and Conversation Memory Drivers), Engines (Query Engines, Extraction Engines, Summary Engines, Image Generation Engines, and Image Query Engines), and additional components (Rulesets, Loaders, Artifacts, Chunkers, and Tokenizers). Griptape enables developers to create AI-powered applications with ease and efficiency.


