
LLMUnity
Create characters in Unity with LLMs!
Stars: 1002
LLM for Unity enables seamless integration of Large Language Models (LLMs) within the Unity engine, allowing users to create intelligent characters for immersive player interactions. The tool supports major LLM models, runs locally without internet access, offers fast inference on CPU and GPU, and is easy to set up with a single line of code. It is free for both personal and commercial use, tested on Unity 2021 LTS, 2022 LTS, and 2023. Users can build multiple AI characters efficiently, use remote servers for processing, and customize model settings for text generation.
README:
LLM for Unity enables seamless integration of Large Language Models (LLMs) within the Unity engine.
It allows to create intelligent characters that your players can interact with for an immersive experience.
The package also features a Retrieval-Augmented Generation (RAG) system that allows to performs semantic search across your data, which can be used to enhance the character's knowledge.
LLM for Unity is built on top of the awesome llama.cpp library.
- 💻 Cross-platform! Windows, Linux, macOS, iOS, Android and VisionOS
- 🏠 Runs locally without internet access. No data ever leave the game!
- ⚡ Blazing fast inference on CPU and GPU (Nvidia, AMD, Apple Metal)
- 🤗 Supports all major LLM models
- 🔧 Easy to setup, call with a single line of code
- 💰 Free to use for both personal and commercial purposes
🧪 Tested on Unity: 2021 LTS, 2022 LTS, 2023, Unity 6
🚦 Upcoming Releases
- ⭐ Star the repo, leave us a review and spread the word about the project!
- Join us at Discord and say hi.
- Contribute by submitting feature requests, bugs or even your own PR.
-
this work to allow even cooler features!
- Verbal Verdict
- I, Chatbot: AISYLUM
- Nameless Souls of the Void
- Murder in Aisle 4
- Finicky Food Delivery AI
- AI Emotional Girlfriend
- Case Closed
- MaiMai AI Agent System
Contact us to add your project!
Method 1: Install using the asset store
- Open the LLM for Unity asset page and click
Add to My Assets - Open the Package Manager in Unity:
Window > Package Manager - Select the
Packages: My Assetsoption from the drop-down - Select the
LLM for Unitypackage, clickDownloadand thenImport
Method 2: Install using the GitHub repo:
- Open the Package Manager in Unity:
Window > Package Manager - Click the
+button and selectAdd package from git URL - Use the repository URL
https://github.com/undreamai/LLMUnity.gitand clickAdd
First you will setup the LLM for your game 🏎:
- Create an empty GameObject.
In the GameObject Inspector clickAdd Componentand select the LLM script. - Download one of the default models with the
Download Modelbutton (~GBs).
Or load your own .gguf model with theLoad modelbutton (see LLM model management).
Then you can setup each of your characters as follows 🙋♀️:
- Create an empty GameObject for the character.
In the GameObject Inspector clickAdd Componentand select the LLMCharacter script. - Define the role of your AI in the
Prompt. You can define the name of the AI (AI Name) and the player (Player Name). - (Optional) Select the LLM constructed above in the
LLMfield if you have more than one LLM GameObjects.
You can also adjust the LLM and character settings according to your preference (see Options).
In your script you can then use it as follows 🦄:
using LLMUnity;

public class MyScript {
  public LLMCharacter llmCharacter;

  void HandleReply(string reply){
    // do something with the reply from the model
    Debug.Log(reply);
  }

  void Game(){
    // your game function
    ...
    string message = "Hello bot!";
    _ = llmCharacter.Chat(message, HandleReply);
    ...
  }
}
You can also specify a function to call when the model reply has been completed.
This is useful if the Stream option is enabled for continuous output from the model (default behaviour):
  void ReplyCompleted(){
    // do something when the reply from the model is complete
    Debug.Log("The AI replied");
  }

  void Game(){
    // your game function
    ...
    string message = "Hello bot!";
    _ = llmCharacter.Chat(message, HandleReply, ReplyCompleted);
    ...
  }
To stop the chat without waiting for its completion you can use:
llmCharacter.CancelRequests();- Finally, in the Inspector of the GameObject of your script, select the LLMCharacter GameObject created above as the llmCharacter property.
That's all ✨!
You can also:
Build a mobile app
For mobile apps you can use models with up to 1-2 billion parameters ("Tiny models" in the LLM model manager).
Larger models will typically not work due to the limited mobile hardware.
iOS iOS can be built with the default player settings.
Android
On Android you need to specify the IL2CPP scripting backend and the ARM64 as the target architecture in the player settings.
These settings can be accessed from the Edit > Project Settings menu within the Player > Other Settings section.

Since mobile app sizes are typically small, you can download the LLM models the first time the app launches.
This functionality can be enabled with the Download on Build option.
In your project you can wait until the model download is complete with:
await LLM.WaitUntilModelSetup();You can also receive calls during the download with the download progress:
await LLM.WaitUntilModelSetup(SetProgress);

void SetProgress(float progress){
  string progressPercent = ((int)(progress * 100)).ToString() + "%";
  Debug.Log($"Download progress: {progressPercent}");
}
This is useful to present a progress bar or something similar. The MobileDemo is an example application for Android / iOS.
Restrict the output of the LLM / Function calling
To restrict the output of the LLM you can use a GBNF grammar, read more here.
The grammar can be saved in a .gbnf file and loaded at the LLMCharacter with the Load Grammar button (Advanced options).
For instance to receive replies in json format you can use the json.gbnf grammar.
Alternatively you can set the grammar directly with code:
llmCharacter.grammarString = "your grammar here";For function calling you can define similarly a grammar that allows only the function names as output, and then call the respective function.
You can look into the FunctionCalling sample for an example implementation.
Access / Save / Load your chat history
The chat history of a `LLMCharacter` is retained in the `chat` variable that is a list of `ChatMessage` objects.The ChatMessage is a struct that defines the `role` of the message and the `content`.
The first element of the list is always the system prompt and then alternating messages with the player prompt and the AI reply.
You can modify the chat history directly in this list.
To automatically save / load your chat history, you can specify the Save parameter of the LLMCharacter to the filename (or relative path) of your choice.
The file is saved in the persistentDataPath folder of Unity.
This also saves the state of the LLM which means that the previously cached prompt does not need to be recomputed.
To manually save your chat history, you can use:
llmCharacter.Save("filename");and to load the history:
llmCharacter.Load("filename");where filename the filename or relative path of your choice.
Process the prompt at the beginning of your app for faster initial processing time
  void WarmupCompleted(){
    // do something when the warmup is complete
    Debug.Log("The AI is nice and ready");
  }

  void Game(){
    // your game function
    ...
    _ = llmCharacter.Warmup(WarmupCompleted);
    ...
  }
Decide whether or not to add the message to the chat/prompt history
The last argument of the Chat function is a boolean that specifies whether to add the message to the history (default: true):
  void Game(){
    // your game function
    ...
    string message = "Hello bot!";
    _ = llmCharacter.Chat(message, HandleReply, ReplyCompleted, false);
    ...
  }
Use pure text completion
  void Game(){
    // your game function
    ...
    string message = "The cat is away";
    _ = llmCharacter.Complete(message, HandleReply, ReplyCompleted);
    ...
  }
Wait for the reply before proceeding to the next lines of code
For this you can use the async/await functionality:
  async void Game(){
    // your game function
    ...
    string message = "Hello bot!";
    string reply = await llmCharacter.Chat(message, HandleReply, ReplyCompleted);
    Debug.Log(reply);
    ...
  }
Add a LLM / LLMCharacter component programmatically
using UnityEngine;
using LLMUnity;

public class MyScript : MonoBehaviour
{
    LLM llm;
    LLMCharacter llmCharacter;

    async void Start()
    {
        // disable gameObject so that theAwake is not called immediately
        gameObject.SetActive(false);

        // Add an LLM object
        llm = gameObject.AddComponent<LLM>();
        // set the model using the filename of the model.
        // The model needs to be added to the LLM model manager (see LLM model management) by loading or downloading it.
        // Otherwise the model file can be copied directly inside the StreamingAssets folder.
        llm.SetModel("Phi-3-mini-4k-instruct-q4.gguf");
        // optional: you can also set loras in a similar fashion and set their weights (if needed)
        llm.AddLora("my-lora.gguf");
        llm.SetLoraWeight(0.5f);
        // optional: you can set the chat template of the model if it is not correctly identified
        // You can find a list of chat templates in the ChatTemplate.templates.Keys
        llm.SetTemplate("phi-3");
        // optional: set number of threads
        llm.numThreads = -1;
        // optional: enable GPU by setting the number of model layers to offload to it
        llm.numGPULayers = 10;

        // Add an LLMCharacter object
        llmCharacter = gameObject.AddComponent<LLMCharacter>();
        // set the LLM object that handles the model
        llmCharacter.llm = llm;
        // set the character prompt
        llmCharacter.SetPrompt("A chat between a curious human and an artificial intelligence assistant.");
        // set the AI and player name
        llmCharacter.AIName = "AI";
        llmCharacter.playerName = "Human";
        // optional: set streaming to false to get the complete result in one go
        // llmCharacter.stream = true;
        // optional: set a save path
        // llmCharacter.save = "AICharacter1";
        // optional: enable the save cache to avoid recomputation when loading a save file (requires ~100 MB)
        // llmCharacter.saveCache = true;
        // optional: set a grammar
        // await llmCharacter.SetGrammar("json.gbnf");

        // re-enable gameObject
        gameObject.SetActive(true);
    }
}
Use a remote server
You can use a remote server to carry out the processing and implement characters that interact with it.
Create the server
To create the server:
- Create a project with a GameObject using the
LLMscript as described above - Enable the
Remoteoption of theLLMand optionally configure the server parameters: port, API key, SSL certificate, SSL key - Build and run to start the server
Alternatively you can use a server binary for easier deployment:
- Run the above scene from the Editor and copy the command from the Debug messages (starting with "Server command:")
- Download the server binaries and DLLs and extract them into the same folder
- Find the architecture you are interested in from the folder above e.g. for Windows and CUDA use the
windows-cuda-cu12.2.0.
You can also check the architecture that works for your system from the Debug messages (starting with "Using architecture"). - From command line change directory to the architecture folder selected and start the server by running the command copied from above.
In both cases you'll need to enable 'Allow Downloads Over HTTP' in the project settings.
Create the characters
Create a second project with the game characters using the LLMCharacter script as described above.
Enable the Remote option and configure the host with the IP address (starting with "http://") and port of the server.
Compute embeddings using a LLM
The Embeddings function can be used to obtain the emdeddings of a phrase:
List<float> embeddings = await llmCharacter.Embeddings("hi, how are you?");A detailed documentation on function level can be found here:
LLM for Unity implements a super-fast similarity search functionality with a Retrieval-Augmented Generation (RAG) system.
It is based on the LLM functionality, and the Approximate Nearest Neighbors (ANN) search from the usearch library.
Semantic search works as follows.
Building the data You provide text inputs (a phrase, paragraph, document) to add to the data.
Each input is split into chunks (optional) and encoded into embeddings with a LLM.
Searching You can then search for a query text input.
The input is again encoded and the most similar text inputs or chunks in the data are retrieved.
To use semantic serch:
- create a GameObject for the LLM as described above. Download one of the provided RAG models or load your own (good options can be found at the MTEB leaderboard).
- create an empty GameObject. In the GameObject Inspector click
Add Componentand select theRAGscript. - In the Search Type dropdown of the RAG select your preferred search method.
SimpleSearchis a simple brute-force search, whileDBSearchis a fast ANN method that should be preferred in most cases. - In the Chunking Type dropdown of the RAG you can select a method for splitting the inputs into chunks. This is useful to have a more consistent meaning within each data part. Chunking methods for splitting according to tokens, words and sentences are provided.
Alternatively, you can create the RAG from code (where llm is your LLM):
  RAG rag = gameObject.AddComponent<RAG>();
  rag.Init(SearchMethods.DBSearch, ChunkingMethods.SentenceSplitter, llm);
In your script you can then use it as follows 🦄:
using LLMUnity;

public class MyScript : MonoBehaviour
{
  RAG rag;

  async void Game(){
    ...
    string[] inputs = new string[]{
      "Hi! I'm a search system.",
      "the weather is nice. I like it.",
      "I'm a RAG system"
    };
    // add the inputs to the RAG
    foreach (string input in inputs) await rag.Add(input);
    // get the 2 most similar inputs and their distance (dissimilarity) to the search query
    (string[] results, float[] distances) = await rag.Search("hello!", 2);
    // to get the most similar text parts (chnuks) you can enable the returnChunks option
    rag.ReturnChunks(true);
    (results, distances) = await rag.Search("hello!", 2);
    ...
  }
}
You can also add / search text inputs for groups of data e.g. for a specific character or scene:
    // add the inputs to the RAG for a group of data e.g. an orc character
    foreach (string input in inputs) await rag.Add(input, "orc");
    // get the 2 most similar inputs for the group of data e.g. the orc character
    (string[] results, float[] distances) = await rag.Search("how do you feel?", 2, "orc");
...

You can save the RAG state (stored in the `Assets/StreamingAssets` folder):
``` c#
rag.Save("rag.zip");
and load it from disk:
await rag.Load("rag.zip");You can use the RAG to feed relevant data to the LLM based on a user message:
  string message = "How is the weather?";
  (string[] similarPhrases, float[] distances) = await rag.Search(message, 3);

  string prompt = "Answer the user query based on the provided data.\n\n";
  prompt += $"User query: {message}\n\n";
  prompt += $"Data:\n";
  foreach (string similarPhrase in similarPhrases) prompt += $"\n- {similarPhrase}";

  _ = llmCharacter.Chat(prompt, HandleReply, ReplyCompleted);
The RAG sample includes an example RAG implementation as well as an example RAG-LLM integration.
That's all ✨!
LLM for Unity uses a model manager that allows to load or download LLMs and ship them directly in your game.
The model manager can be found as part of the LLM GameObject:

You can download models with the Download model button.
LLM for Unity includes different state of the art models built-in for different model sizes, quantised with the Q4_K_M method.
Alternative models can be downloaded from HuggingFace in the .gguf format.
You can download a model locally and load it with the Load model button, or copy the URL in the Download model > Custom URL field to directly download it.
If a HuggingFace model does not provide a gguf file, it can be converted to gguf with this online converter.
The chat template used for constructing the prompts is determined automatically from the model (if a relevant entry exists) or the model name.
If incorrecly identified, you can select another template from the chat template dropdown.
Models added in the model manager are copied to the game during the building process.
You can omit a model from being built in by deselecting the "Build" checkbox.
To remove the model (but not delete it from disk) you can click the bin button.
The the path and URL (if downloaded) of each added model is diplayed in the expanded view of the model manager access with the >> button:

You can create lighter builds by selecting the Download on Build option.
Using this option the models will be downloaded the first time the game starts instead of copied in the build.
If you have loaded a model locally you need to set its URL through the expanded view, otherwise it will be copied in the build.
❕ Before using any model make sure you check their license ❕
The Samples~ folder contains several examples of interaction 🤖:
- SimpleInteraction: Simple interaction with an AI character
- MultipleCharacters: Simple interaction using multiple AI characters
- FunctionCalling: Function calling sample with structured output from the LLM
- RAG: Semantic search using a Retrieval Augmented Generation (RAG) system. Includes example using a RAG to feed information to a LLM
- MobileDemo: Example mobile app for Android / iOS with an initial screen displaying the model download progress
- ChatBot: Interaction between a player and a AI with a UI similar to a messaging app (see image below)
- KnowledgeBaseGame: Simple detective game using a knowledge base to provide information to the LLM based on google/mysteryofthreebots
To install a sample:
- Open the Package Manager:
Window > Package Manager - Select the
LLM for UnityPackage. From theSamplesTab, clickImportnext to the sample you want to install.
The samples can be run with the Scene.unity scene they contain inside their folder.
In the scene, select the LLM GameObject and click the Download Model button to download a default model or Load model to load your own model (see LLM model management).
Save the scene, run and enjoy!
Details on the different parameters are provided as Unity Tooltips. Previous documentation can be found here (deprecated).
The license of LLM for Unity is MIT (LICENSE.md) and uses third-party software with MIT and Apache licenses. Some models included in the asset define their own license terms, please review them before using each model. Third-party licenses can be found in the (Third Party Notices.md).
For Tasks:
Click tags to check more tools for each tasksFor Jobs:
Alternative AI tools for LLMUnity
Similar Open Source Tools

LLMUnity
LLM for Unity enables seamless integration of Large Language Models (LLMs) within the Unity engine, allowing users to create intelligent characters for immersive player interactions. The tool supports major LLM models, runs locally without internet access, offers fast inference on CPU and GPU, and is easy to set up with a single line of code. It is free for both personal and commercial use, tested on Unity 2021 LTS, 2022 LTS, and 2023. Users can build multiple AI characters efficiently, use remote servers for processing, and customize model settings for text generation.
vscode-pddl
The vscode-pddl extension provides comprehensive support for Planning Domain Description Language (PDDL) in Visual Studio Code. It enables users to model planning domains, validate them, industrialize planning solutions, and run planners. The extension offers features like syntax highlighting, auto-completion, plan visualization, plan validation, plan happenings evaluation, search debugging, and integration with Planning.Domains. Users can create PDDL files, run planners, visualize plans, and debug search algorithms efficiently within VS Code.
smartcat
Smartcat is a CLI interface that brings language models into the Unix ecosystem, allowing power users to leverage the capabilities of LLMs in their daily workflows. It features a minimalist design, seamless integration with terminal and editor workflows, and customizable prompts for specific tasks. Smartcat currently supports OpenAI, Mistral AI, and Anthropic APIs, providing access to a range of language models. With its ability to manipulate file and text streams, integrate with editors, and offer configurable settings, Smartcat empowers users to automate tasks, enhance code quality, and explore creative possibilities.
SirChatalot
A Telegram bot that proves you don't need a body to have a personality. It can use various text and image generation APIs to generate responses to user messages. For text generation, the bot can use: * OpenAI's ChatGPT API (or other compatible API). Vision capabilities can be used with GPT-4 models. Function calling can be used with Function calling. * Anthropic's Claude API. Vision capabilities can be used with Claude 3 models. Function calling can be used with tool use. * YandexGPT API Bot can also generate images with: * OpenAI's DALL-E * Stability AI * Yandex ART This bot can also be used to generate responses to voice messages. Bot will convert the voice message to text and will then generate a response. Speech recognition can be done using the OpenAI's Whisper model. To use this feature, you need to install the ffmpeg library. This bot is also support working with files, see Files section for more details. If function calling is enabled, bot can generate images and search the web (limited).
LLPhant
LLPhant is a comprehensive PHP Generative AI Framework designed to be simple yet powerful, compatible with Symfony and Laravel. It supports various LLMs like OpenAI, Anthropic, Mistral, Ollama, and services compatible with OpenAI API. The framework enables tasks such as semantic search, chatbots, personalized content creation, text summarization, personal shopper creation, autonomous AI agents, and coding tool assistance. It provides tools for generating text, images, speech-to-text transcription, and customizing system messages for question answering. LLPhant also offers features for embeddings, vector stores, document stores, and question answering with various query transformations and reranking techniques.
LLPhant
LLPhant is a comprehensive PHP Generative AI Framework that provides a simple and powerful way to build apps. It supports Symfony and Laravel and offers a wide range of features, including text generation, chatbots, text summarization, and more. LLPhant is compatible with OpenAI and Ollama and can be used to perform a variety of tasks, including creating semantic search, chatbots, personalized content, and text summarization.
blinkid-android
The BlinkID Android SDK is a comprehensive solution for implementing secure document scanning and extraction. It offers powerful capabilities for extracting data from a wide range of identification documents. The SDK provides features for integrating document scanning into Android apps, including camera requirements, SDK resource pre-bundling, customizing the UX, changing default strings and localization, troubleshooting integration difficulties, and using the SDK through various methods. It also offers options for completely custom UX with low-level API integration. The SDK size is optimized for different processor architectures, and API documentation is available for reference. For any questions or support, users can contact the Microblink team at help.microblink.com.
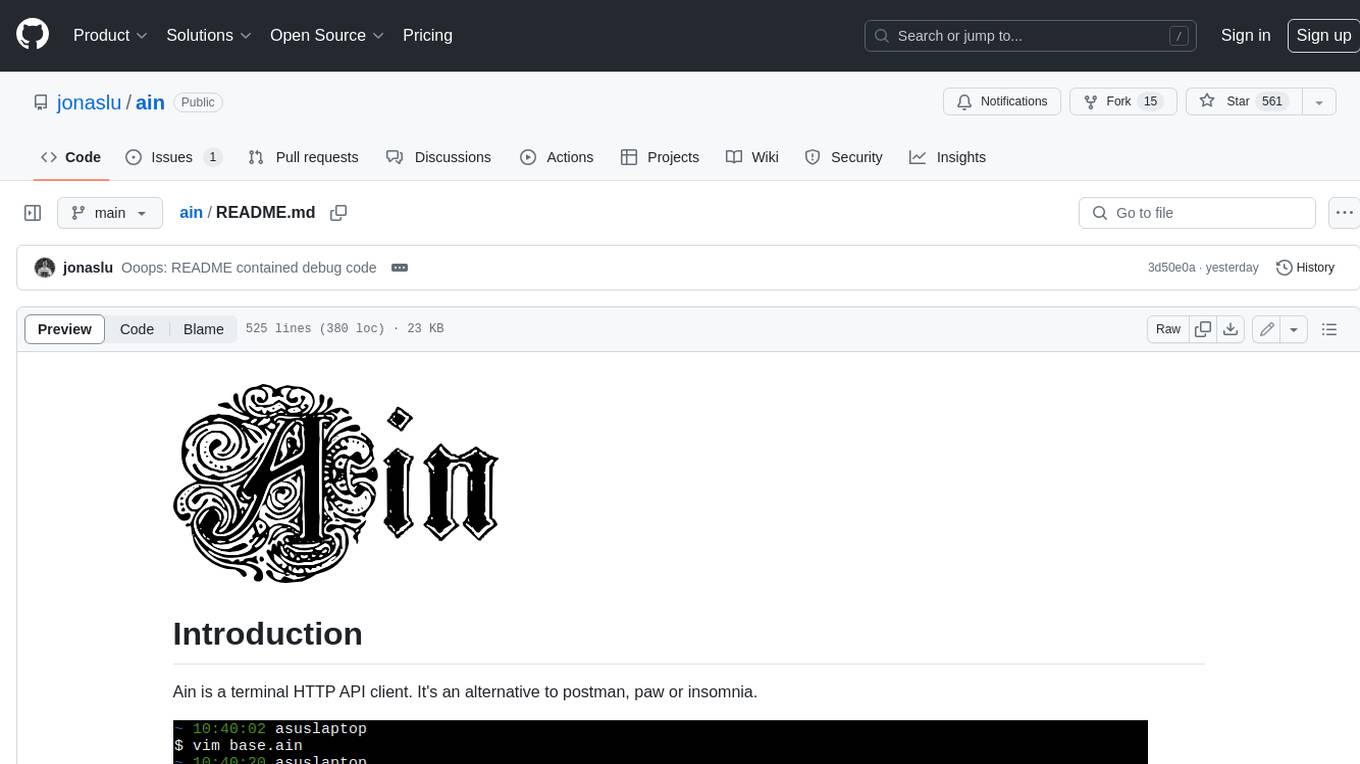
ain
Ain is a terminal HTTP API client designed for scripting input and processing output via pipes. It allows flexible organization of APIs using files and folders, supports shell-scripts and executables for common tasks, handles url-encoding, and enables sharing the resulting curl, wget, or httpie command-line. Users can put things that change in environment variables or .env-files, and pipe the API output for further processing. Ain targets users who work with many APIs using a simple file format and uses curl, wget, or httpie to make the actual calls.
vectorflow
VectorFlow is an open source, high throughput, fault tolerant vector embedding pipeline. It provides a simple API endpoint for ingesting large volumes of raw data, processing, and storing or returning the vectors quickly and reliably. The tool supports text-based files like TXT, PDF, HTML, and DOCX, and can be run locally with Kubernetes in production. VectorFlow offers functionalities like embedding documents, running chunking schemas, custom chunking, and integrating with vector databases like Pinecone, Qdrant, and Weaviate. It enforces a standardized schema for uploading data to a vector store and supports features like raw embeddings webhook, chunk validation webhook, S3 endpoint, and telemetry. The tool can be used with the Python client and provides detailed instructions for running and testing the functionalities.
paper-qa
PaperQA is a minimal package for question and answering from PDFs or text files, providing very good answers with in-text citations. It uses OpenAI Embeddings to embed and search documents, and includes a process of embedding docs, queries, searching for top passages, creating summaries, using an LLM to re-score and select relevant summaries, putting summaries into prompt, and generating answers. The tool can be used to answer specific questions related to scientific research by leveraging citations and relevant passages from documents.
SpeziLLM
The Spezi LLM Swift Package includes modules that help integrate LLM-related functionality in applications. It provides tools for local LLM execution, usage of remote OpenAI-based LLMs, and LLMs running on Fog node resources within the local network. The package contains targets like SpeziLLM, SpeziLLMLocal, SpeziLLMLocalDownload, SpeziLLMOpenAI, and SpeziLLMFog for different LLM functionalities. Users can configure and interact with local LLMs, OpenAI LLMs, and Fog LLMs using the provided APIs and platforms within the Spezi ecosystem.
vectara-answer
Vectara Answer is a sample app for Vectara-powered Summarized Semantic Search (or question-answering) with advanced configuration options. For examples of what you can build with Vectara Answer, check out Ask News, LegalAid, or any of the other demo applications.
py-vectara-agentic
The `vectara-agentic` Python library is designed for developing powerful AI assistants using Vectara and Agentic-RAG. It supports various agent types, includes pre-built tools for domains like finance and legal, and enables easy creation of custom AI assistants and agents. The library provides tools for summarizing text, rephrasing text, legal tasks like summarizing legal text and critiquing as a judge, financial tasks like analyzing balance sheets and income statements, and database tools for inspecting and querying databases. It also supports observability via LlamaIndex and Arize Phoenix integration.
LongRAG
This repository contains the code for LongRAG, a framework that enhances retrieval-augmented generation with long-context LLMs. LongRAG introduces a 'long retriever' and a 'long reader' to improve performance by using a 4K-token retrieval unit, offering insights into combining RAG with long-context LLMs. The repo provides instructions for installation, quick start, corpus preparation, long retriever, and long reader.
garak
Garak is a free tool that checks if a Large Language Model (LLM) can be made to fail in a way that is undesirable. It probes for hallucination, data leakage, prompt injection, misinformation, toxicity generation, jailbreaks, and many other weaknesses. Garak's a free tool. We love developing it and are always interested in adding functionality to support applications.
ai2-scholarqa-lib
Ai2 Scholar QA is a system for answering scientific queries and literature review by gathering evidence from multiple documents across a corpus and synthesizing an organized report with evidence for each claim. It consists of a retrieval component and a three-step generator pipeline. The retrieval component fetches relevant evidence passages using the Semantic Scholar public API and reranks them. The generator pipeline includes quote extraction, planning and clustering, and summary generation. The system is powered by the ScholarQA class, which includes components like PaperFinder and MultiStepQAPipeline. It requires environment variables for Semantic Scholar API and LLMs, and can be run as local docker containers or embedded into another application as a Python package.
For similar tasks

LLMUnity
LLM for Unity enables seamless integration of Large Language Models (LLMs) within the Unity engine, allowing users to create intelligent characters for immersive player interactions. The tool supports major LLM models, runs locally without internet access, offers fast inference on CPU and GPU, and is easy to set up with a single line of code. It is free for both personal and commercial use, tested on Unity 2021 LTS, 2022 LTS, and 2023. Users can build multiple AI characters efficiently, use remote servers for processing, and customize model settings for text generation.
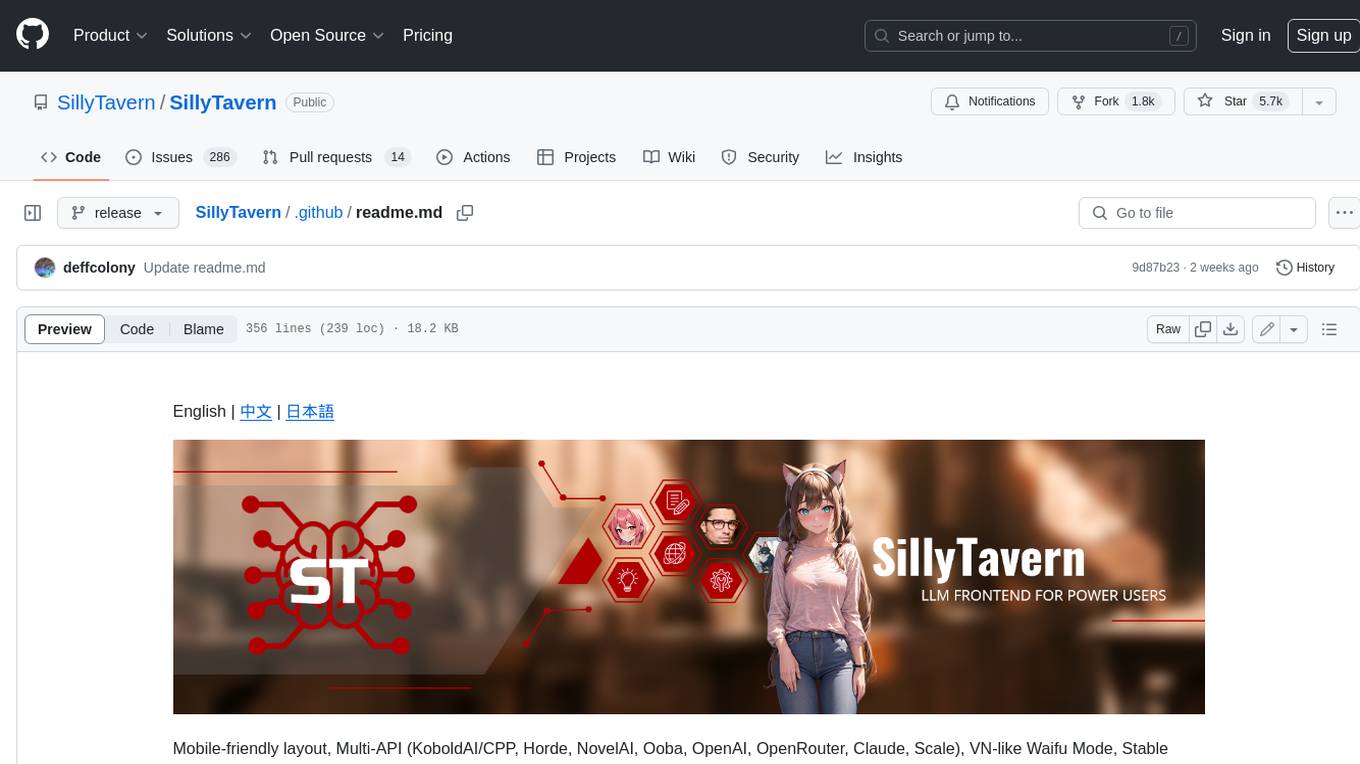
SillyTavern
SillyTavern is a user interface you can install on your computer (and Android phones) that allows you to interact with text generation AIs and chat/roleplay with characters you or the community create. SillyTavern is a fork of TavernAI 1.2.8 which is under more active development and has added many major features. At this point, they can be thought of as completely independent programs.
agnai
Agnaistic is an AI roleplay chat tool that allows users to interact with personalized characters using their favorite AI services. It supports multiple AI services, persona schema formats, and features such as group conversations, user authentication, and memory/lore books. Agnaistic can be self-hosted or run using Docker, and it provides a range of customization options through its settings.json file. The tool is designed to be user-friendly and accessible, making it suitable for both casual users and developers.
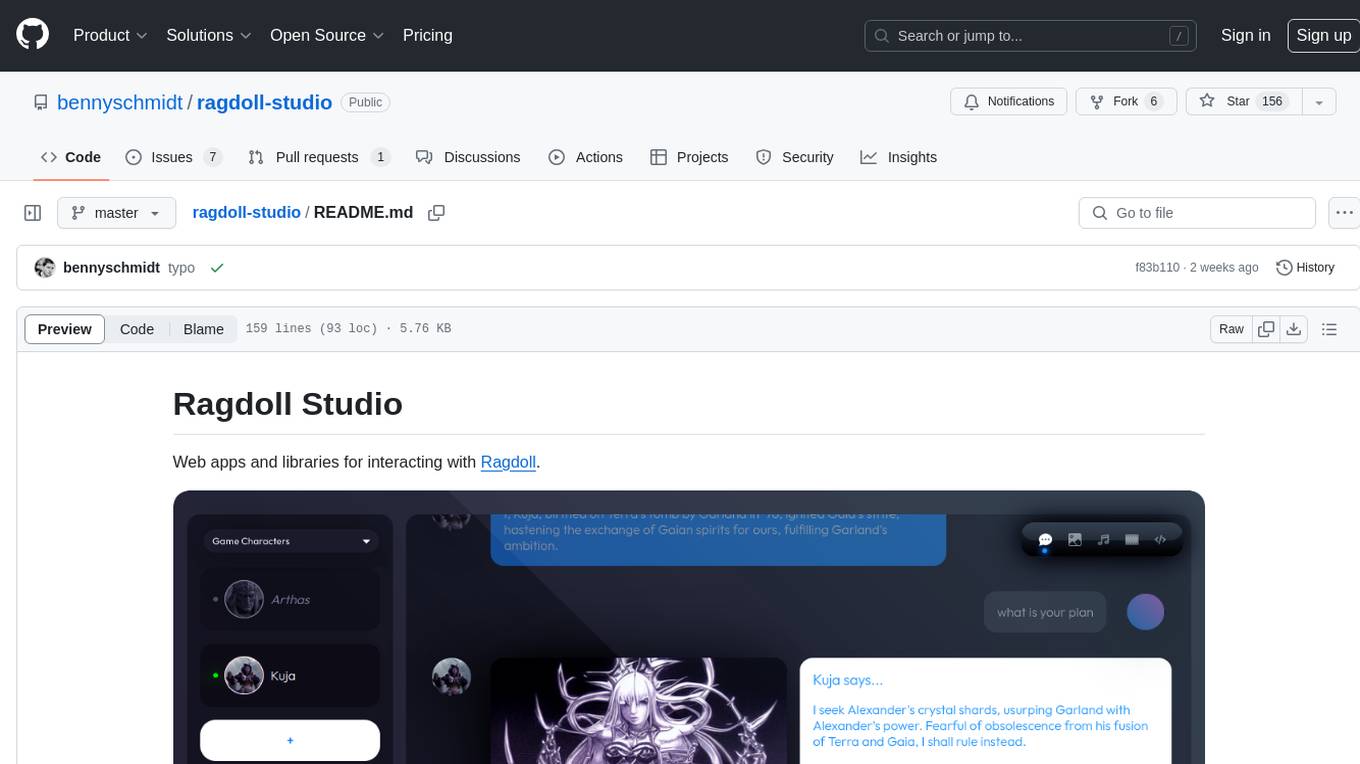
ragdoll-studio
Ragdoll Studio is a platform offering web apps and libraries for interacting with Ragdoll, enabling users to go beyond fine-tuning and create flawless creative deliverables, rich multimedia, and engaging experiences. It provides various modes such as Story Mode for creating and chatting with characters, Vector Mode for producing vector art, Raster Mode for producing raster art, Video Mode for producing videos, Audio Mode for producing audio, and 3D Mode for producing 3D objects. Users can export their content in various formats and share their creations on the community site. The platform consists of a Ragdoll API and a front-end React application for seamless usage.
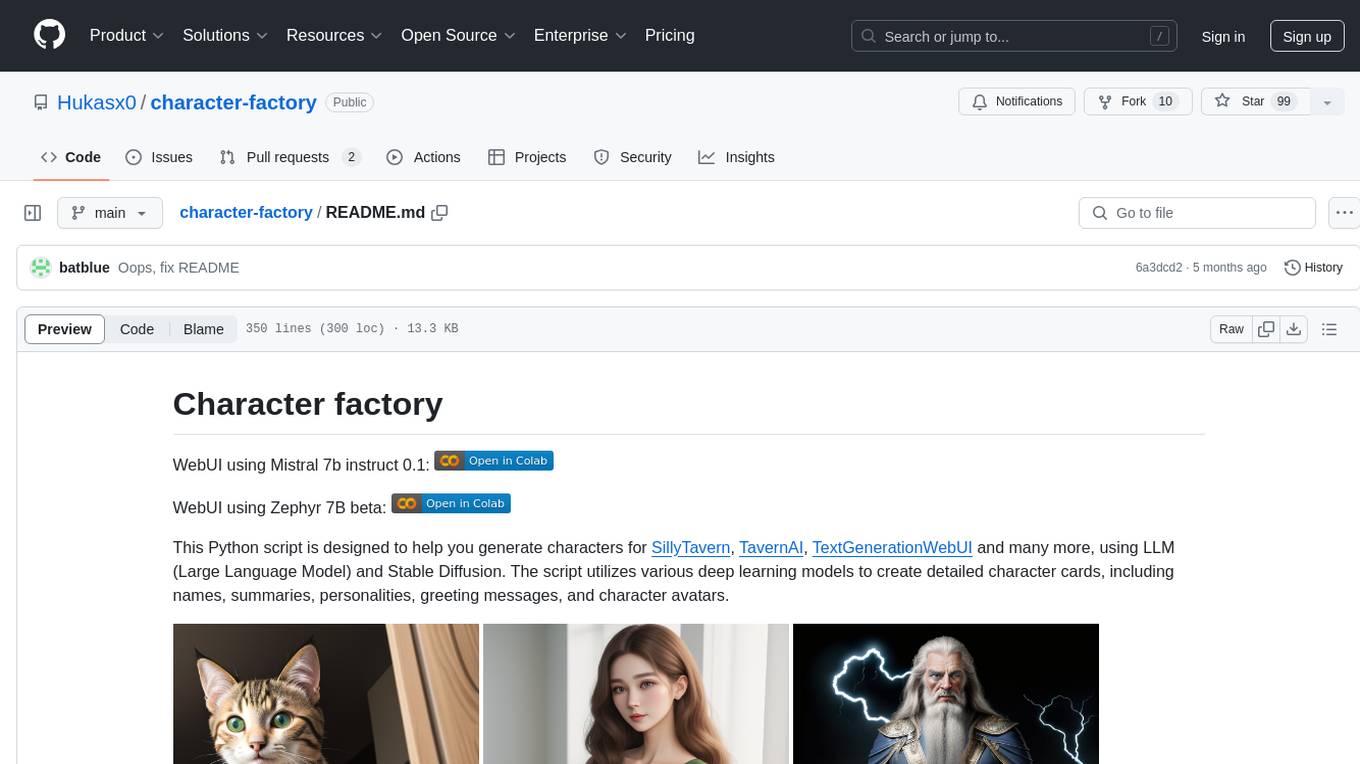
character-factory
Character Factory is a Python script designed to generate detailed character cards for SillyTavern, TavernAI, TextGenerationWebUI, and more using Large Language Model (LLM) and Stable Diffusion. It streamlines character generation by leveraging deep learning models to create names, summaries, personalities, greeting messages, and avatars for characters. The tool provides an easy way to create unique and imaginative characters for storytelling, chatting, and other purposes.
ai-anime-art-generator
AI Anime Art Generator is an AI-driven cutting-edge tool for anime arts creation. Perfect for beginners to easily create stunning anime art without any prior experience. It allows users to create detailed character designs, custom avatars for social media, and explore new artistic styles and ideas. Built on Next.js, TailwindCSS, Google Analytics, Vercel, Replicate, CloudFlare R2, and Clerk.
TavernAI
TavernAI is an atmospheric frontend tool for chat and storywriting, compatible with various backends. It offers features like character creation, online character database, group chat, story mode, world info, message swiping, configurable settings, interface themes, backgrounds, message editing, GPT-4.5, and Claude picture recognition. The tool supports backends like Kobold series, Oobabooga's Text Generation Web UI, OpenAI, NovelAI, and Claude. Users can easily install TavernAI on different operating systems and start using it for interactive storytelling and chat experiences.
Character-Engine-Discord
Character Engine is a Discord bot that aggregates various online platforms to create AI-driven characters using Discord Webhooks and LLM chatbots. It allows users to bring life and joy to their server by spawning characters, exploring embedded characters, and configuring settings on a per-server, per-channel, and per-character basis.
For similar jobs
promptflow
**Prompt flow** is a suite of development tools designed to streamline the end-to-end development cycle of LLM-based AI applications, from ideation, prototyping, testing, evaluation to production deployment and monitoring. It makes prompt engineering much easier and enables you to build LLM apps with production quality.
deepeval
DeepEval is a simple-to-use, open-source LLM evaluation framework specialized for unit testing LLM outputs. It incorporates various metrics such as G-Eval, hallucination, answer relevancy, RAGAS, etc., and runs locally on your machine for evaluation. It provides a wide range of ready-to-use evaluation metrics, allows for creating custom metrics, integrates with any CI/CD environment, and enables benchmarking LLMs on popular benchmarks. DeepEval is designed for evaluating RAG and fine-tuning applications, helping users optimize hyperparameters, prevent prompt drifting, and transition from OpenAI to hosting their own Llama2 with confidence.
MegaDetector
MegaDetector is an AI model that identifies animals, people, and vehicles in camera trap images (which also makes it useful for eliminating blank images). This model is trained on several million images from a variety of ecosystems. MegaDetector is just one of many tools that aims to make conservation biologists more efficient with AI. If you want to learn about other ways to use AI to accelerate camera trap workflows, check out our of the field, affectionately titled "Everything I know about machine learning and camera traps".
leapfrogai
LeapfrogAI is a self-hosted AI platform designed to be deployed in air-gapped resource-constrained environments. It brings sophisticated AI solutions to these environments by hosting all the necessary components of an AI stack, including vector databases, model backends, API, and UI. LeapfrogAI's API closely matches that of OpenAI, allowing tools built for OpenAI/ChatGPT to function seamlessly with a LeapfrogAI backend. It provides several backends for various use cases, including llama-cpp-python, whisper, text-embeddings, and vllm. LeapfrogAI leverages Chainguard's apko to harden base python images, ensuring the latest supported Python versions are used by the other components of the stack. The LeapfrogAI SDK provides a standard set of protobuffs and python utilities for implementing backends and gRPC. LeapfrogAI offers UI options for common use-cases like chat, summarization, and transcription. It can be deployed and run locally via UDS and Kubernetes, built out using Zarf packages. LeapfrogAI is supported by a community of users and contributors, including Defense Unicorns, Beast Code, Chainguard, Exovera, Hypergiant, Pulze, SOSi, United States Navy, United States Air Force, and United States Space Force.
llava-docker
This Docker image for LLaVA (Large Language and Vision Assistant) provides a convenient way to run LLaVA locally or on RunPod. LLaVA is a powerful AI tool that combines natural language processing and computer vision capabilities. With this Docker image, you can easily access LLaVA's functionalities for various tasks, including image captioning, visual question answering, text summarization, and more. The image comes pre-installed with LLaVA v1.2.0, Torch 2.1.2, xformers 0.0.23.post1, and other necessary dependencies. You can customize the model used by setting the MODEL environment variable. The image also includes a Jupyter Lab environment for interactive development and exploration. Overall, this Docker image offers a comprehensive and user-friendly platform for leveraging LLaVA's capabilities.

carrot
The 'carrot' repository on GitHub provides a list of free and user-friendly ChatGPT mirror sites for easy access. The repository includes sponsored sites offering various GPT models and services. Users can find and share sites, report errors, and access stable and recommended sites for ChatGPT usage. The repository also includes a detailed list of ChatGPT sites, their features, and accessibility options, making it a valuable resource for ChatGPT users seeking free and unlimited GPT services.
TrustLLM
TrustLLM is a comprehensive study of trustworthiness in LLMs, including principles for different dimensions of trustworthiness, established benchmark, evaluation, and analysis of trustworthiness for mainstream LLMs, and discussion of open challenges and future directions. Specifically, we first propose a set of principles for trustworthy LLMs that span eight different dimensions. Based on these principles, we further establish a benchmark across six dimensions including truthfulness, safety, fairness, robustness, privacy, and machine ethics. We then present a study evaluating 16 mainstream LLMs in TrustLLM, consisting of over 30 datasets. The document explains how to use the trustllm python package to help you assess the performance of your LLM in trustworthiness more quickly. For more details about TrustLLM, please refer to project website.
AI-YinMei
AI-YinMei is an AI virtual anchor Vtuber development tool (N card version). It supports fastgpt knowledge base chat dialogue, a complete set of solutions for LLM large language models: [fastgpt] + [one-api] + [Xinference], supports docking bilibili live broadcast barrage reply and entering live broadcast welcome speech, supports Microsoft edge-tts speech synthesis, supports Bert-VITS2 speech synthesis, supports GPT-SoVITS speech synthesis, supports expression control Vtuber Studio, supports painting stable-diffusion-webui output OBS live broadcast room, supports painting picture pornography public-NSFW-y-distinguish, supports search and image search service duckduckgo (requires magic Internet access), supports image search service Baidu image search (no magic Internet access), supports AI reply chat box [html plug-in], supports AI singing Auto-Convert-Music, supports playlist [html plug-in], supports dancing function, supports expression video playback, supports head touching action, supports gift smashing action, supports singing automatic start dancing function, chat and singing automatic cycle swing action, supports multi scene switching, background music switching, day and night automatic switching scene, supports open singing and painting, let AI automatically judge the content.


