shipstation
Generate landing pages, html templates, portfolios and more using state of the art AI tools. Works most of the times. Works really really well sometimes!
Stars: 68
ShipStation is an AI-based website and agents generation platform that optimizes landing page websites and generic connect-anything-to-anything services. It enables seamless communication between service providers and integration partners, offering features like user authentication, project management, code editing, payment integration, and real-time progress tracking. The project architecture includes server-side (Node.js) and client-side (React with Vite) components. Prerequisites include Node.js, npm or yarn, Anthropic API key, Supabase account, Tavily API key, and Razorpay account. Setup instructions involve cloning the repository, setting up Supabase, configuring environment variables, and starting the backend and frontend servers. Users can access the application through the browser, sign up or log in, create landing pages or portfolios, and get websites stored in an S3 bucket. Deployment to Heroku involves building the client project, committing changes, and pushing to the main branch. Contributions to the project are encouraged, and the license encourages doing good.
README:
ShipStation, https://shipstation.ai is an AI based code generation platform. Currently, it is optimised for generating simple landing pages, portfolios, email templates, etc. with more complex features to follow.
- User authentication (login/signup) via SupaBase
- Dashboard to generate new projects
- View previously generated projects with code editor to edit the generated website
- Option to use personal Anthropic API key for free usage
- Integrated payment options via PayPal and Razorpay for purchasing credits.
- Real-time progress tracking during website generation on websocket
The project is a full stack application
- Server-side (Node.js) - located in the
serverfolder. - Client-side (React with Vite) - located in the
clientfolder.
- Node.js (v20 or later recommended)
- npm or yarn
- Anthropic API key
- Supabase account (for auth and more)
- Tavily API key
- Paypal account (for payment integration) or can use Razorpay or skip it all together
Clone the repository and follow the instructions below:
git clone https://github.com/daytimedrinkingclub/shipstation.git- Create a new project in Supabase
- Copy SQL from the server/setup.sql file and run it in the SQL editor https://supabase.com/dashboard/project/[your-project-id]/sql/new
Ensure all environment variables are properly set in both .env files. Refer to the .env.template files for the required variables.
There are three env files that need to be created:
- Backend .env from .env.template in root folder.
- Frontend .env.local from .env.template in client directory
- Frontend .env.production from .env.template in client directory. This will be used while creating production build
- Install server dependencies:
npm install- Setup environments: Copy
.env.templateto.envand fill in the required environment variables. Read the comments in the template file for more details. - Start the backend server from the repo directory
npm run dev- In a new terminal, navigate to the client directory and install the frontend dependencies
cd client
npm install- Start the frontend dev server from the client directory
npm run dev- Build the client if needed for deployment
cd client
npm run build- Access the application through the browser (default:
http://localhost:5173) - Sign up or log in to your account
- Choose between creating a landing page or portfolio
- Add the details for getting a website as output.
The websites are stored in s3 bucket and served on the path https://shipstation.ai/site/website-slug
- Build the client project
cd client
npm run build- Commit the changes
- Push to the main branch
- Heroku will automatically detect the changes and deploy the app
Since you came here looking for it, it was also waiting for you to contribute to the project. As for the next rabbithole, visit https://freeaifinder.com We all are limited by the desire to learn things and energy to validate. Thankfully, we are making it easier for you.
Contributions are welcome! Please feel free to submit a Pull Request.
Do good, be good.
For Tasks:
Click tags to check more tools for each tasksFor Jobs:
Alternative AI tools for shipstation
Similar Open Source Tools

shipstation
ShipStation is an AI-based website and agents generation platform that optimizes landing page websites and generic connect-anything-to-anything services. It enables seamless communication between service providers and integration partners, offering features like user authentication, project management, code editing, payment integration, and real-time progress tracking. The project architecture includes server-side (Node.js) and client-side (React with Vite) components. Prerequisites include Node.js, npm or yarn, Anthropic API key, Supabase account, Tavily API key, and Razorpay account. Setup instructions involve cloning the repository, setting up Supabase, configuring environment variables, and starting the backend and frontend servers. Users can access the application through the browser, sign up or log in, create landing pages or portfolios, and get websites stored in an S3 bucket. Deployment to Heroku involves building the client project, committing changes, and pushing to the main branch. Contributions to the project are encouraged, and the license encourages doing good.
FlowTest
FlowTestAI is the world’s first GenAI powered OpenSource Integrated Development Environment (IDE) designed for crafting, visualizing, and managing API-first workflows. It operates as a desktop app, interacting with the local file system, ensuring privacy and enabling collaboration via version control systems. The platform offers platform-specific binaries for macOS, with versions for Windows and Linux in development. It also features a CLI for running API workflows from the command line interface, facilitating automation and CI/CD processes.
coral-cloud
Coral Cloud Resorts is a sample hospitality application that showcases Data Cloud, Agents, and Prompts. It provides highly personalized guest experiences through smart automation, content generation, and summarization. The app requires licenses for Data Cloud, Agents, Prompt Builder, and Einstein for Sales. Users can activate features, deploy metadata, assign permission sets, import sample data, and troubleshoot common issues. Additionally, the repository offers integration with modern web development tools like Prettier, ESLint, and pre-commit hooks for code formatting and linting.
raggenie
RAGGENIE is a low-code RAG builder tool designed to simplify the creation of conversational AI applications. It offers out-of-the-box plugins for connecting to various data sources and building conversational AI on top of them, including integration with pre-built agents for actions. The tool is open-source under the MIT license, with a current focus on making it easy to build RAG applications and future plans for maintenance, monitoring, and transitioning applications from pilots to production.
dream-team
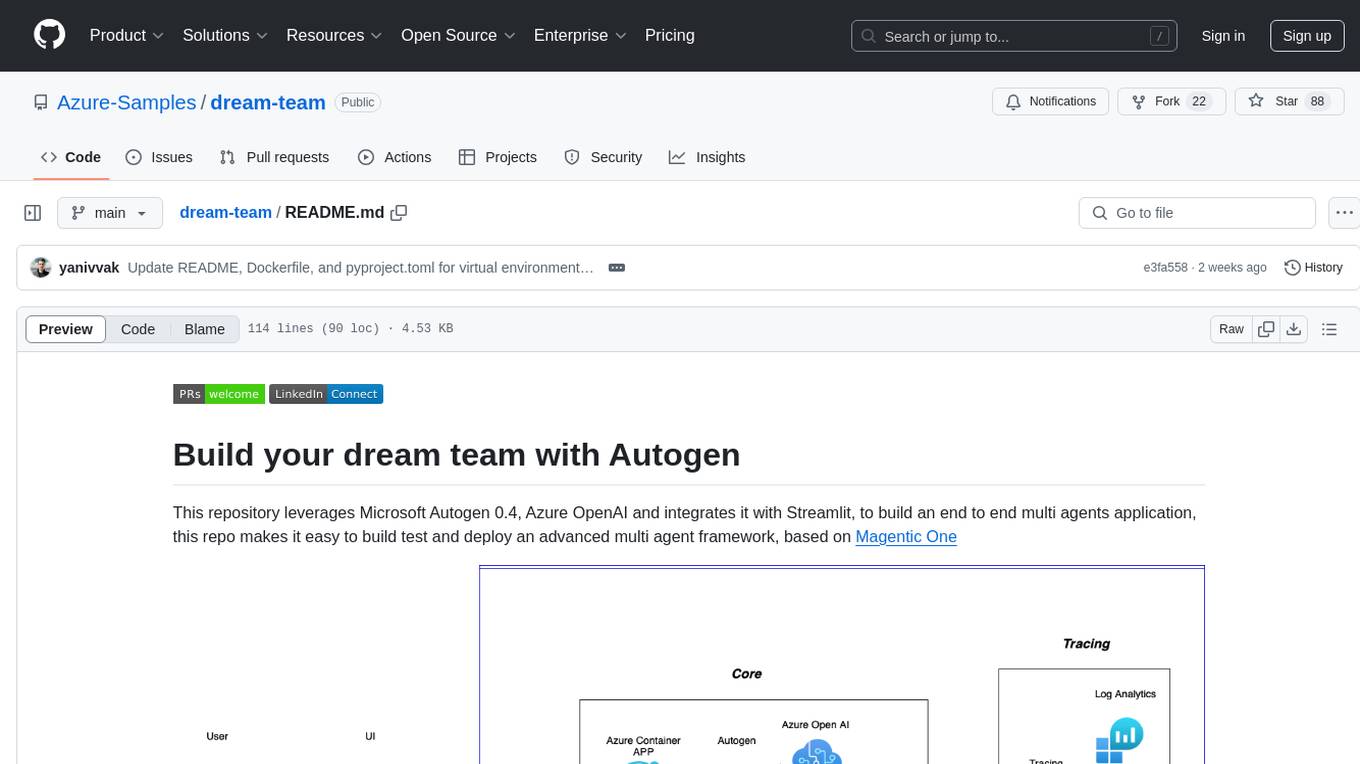
Build your dream team with Autogen is a repository that leverages Microsoft Autogen 0.4, Azure OpenAI, and Streamlit to create an end-to-end multi-agent application. It provides an advanced multi-agent framework based on Magentic One, with features such as a friendly UI, single-line deployment, secure code execution, managed identities, and observability & debugging tools. Users can deploy Azure resources and the app with simple commands, work locally with virtual environments, install dependencies, update configurations, and run the application. The repository also offers resources for learning more about building applications with Autogen.
firebase-ios-sdk
This repository contains the source code for all Apple platform Firebase SDKs except FirebaseAnalytics. Firebase is an app development platform with tools to help you build, grow, and monetize your app. It provides installation methods like Standard pod install, Swift Package Manager, Installing from the GitHub repo, and Experimental Carthage. Development requires Xcode 16.2 or later, and supports CocoaPods and Swift Package Manager. The repository includes instructions for adding a new Firebase Pod, managing headers and imports, code formatting, running unit tests, running sample apps, and generating coverage reports. Specific component instructions are provided for Firebase AI Logic, Firebase Auth, Firebase Database, Firebase Dynamic Links, Firebase Performance Monitoring, Firebase Storage, and Push Notifications. Firebase also offers beta support for macOS, Catalyst, and tvOS, with community support for visionOS and watchOS.
genai-for-marketing
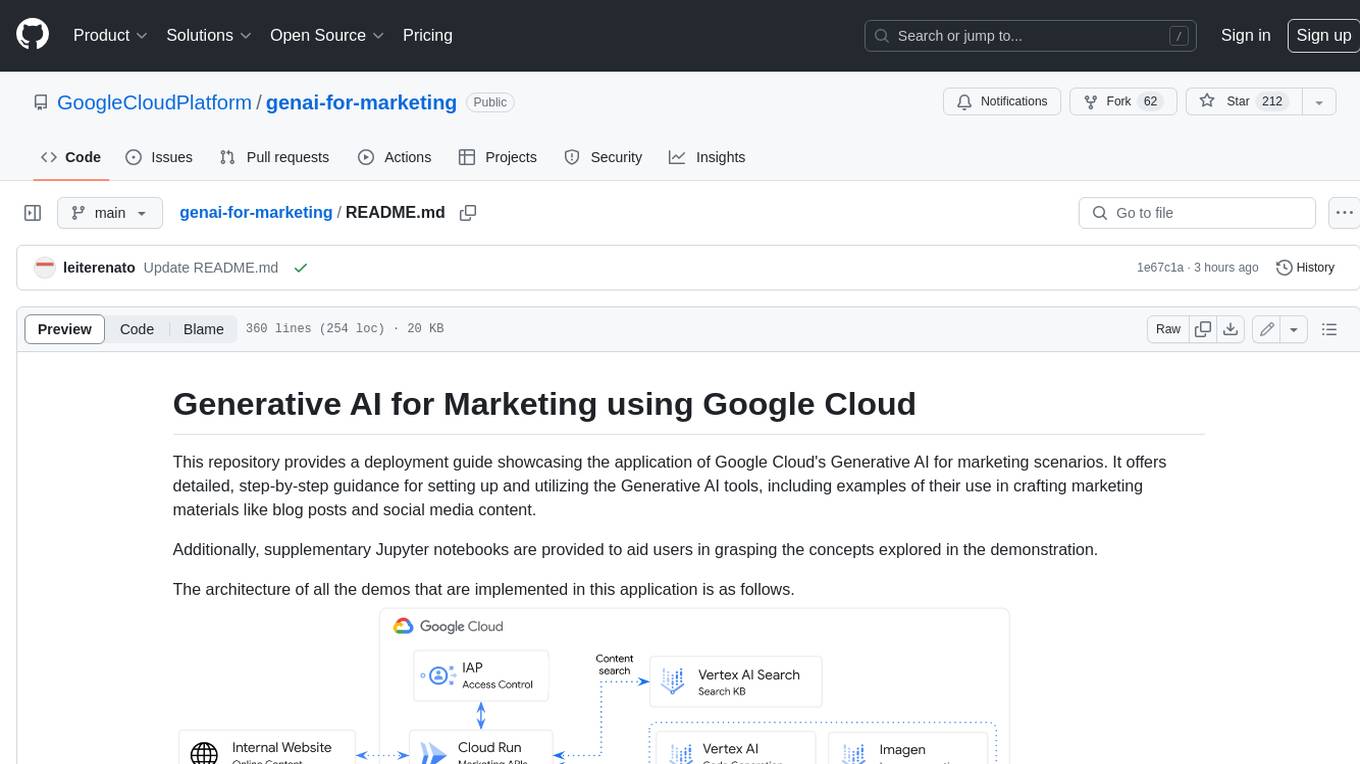
This repository provides a deployment guide for utilizing Google Cloud's Generative AI tools in marketing scenarios. It includes step-by-step instructions, examples of crafting marketing materials, and supplementary Jupyter notebooks. The demos cover marketing insights, audience analysis, trendspotting, content search, content generation, and workspace integration. Users can access and visualize marketing data, analyze trends, improve search experience, and generate compelling content. The repository structure includes backend APIs, frontend code, sample notebooks, templates, and installation scripts.
fuji-web
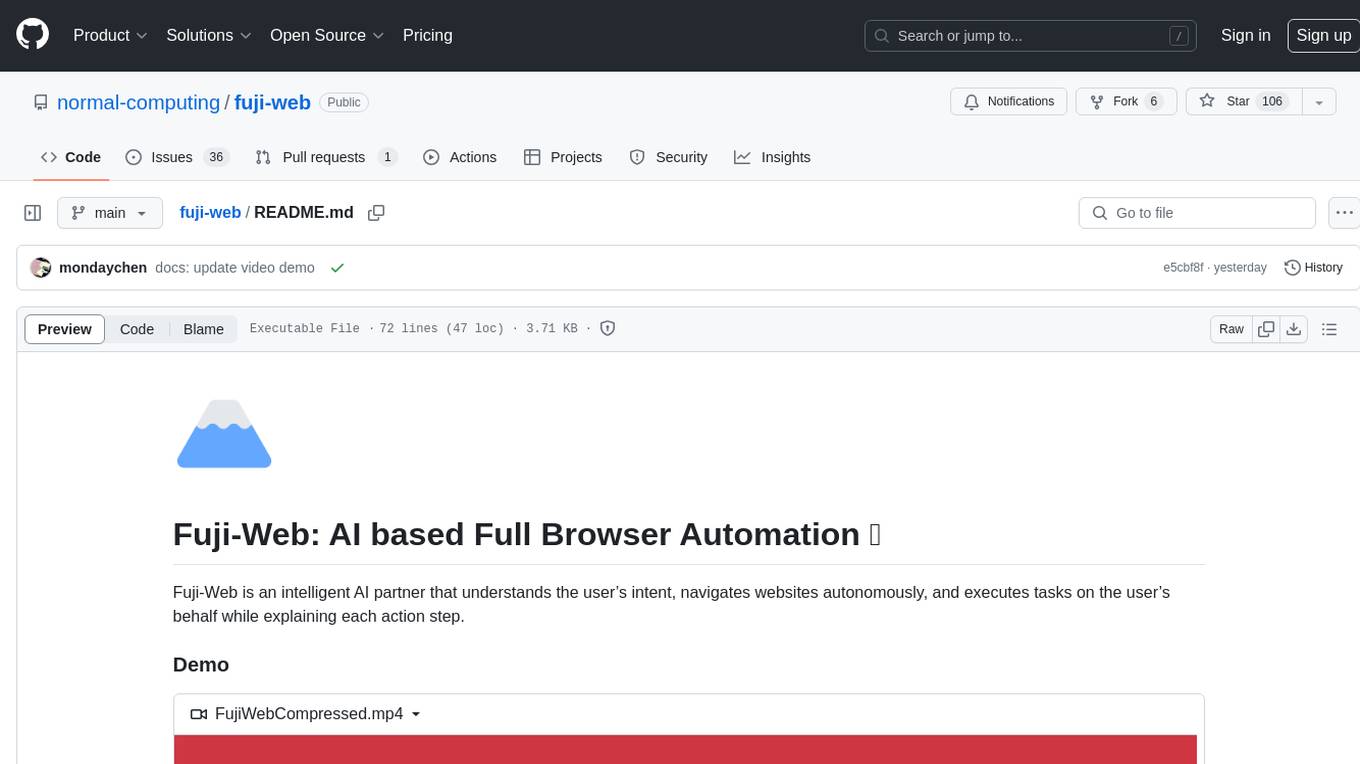
Fuji-Web is an intelligent AI partner designed for full browser automation. It autonomously navigates websites and performs tasks on behalf of the user while providing explanations for each action step. Users can easily install the extension in their browser, access the Fuji icon to input tasks, and interact with the tool to streamline web browsing tasks. The tool aims to enhance user productivity by automating repetitive web actions and providing a seamless browsing experience.
vespa
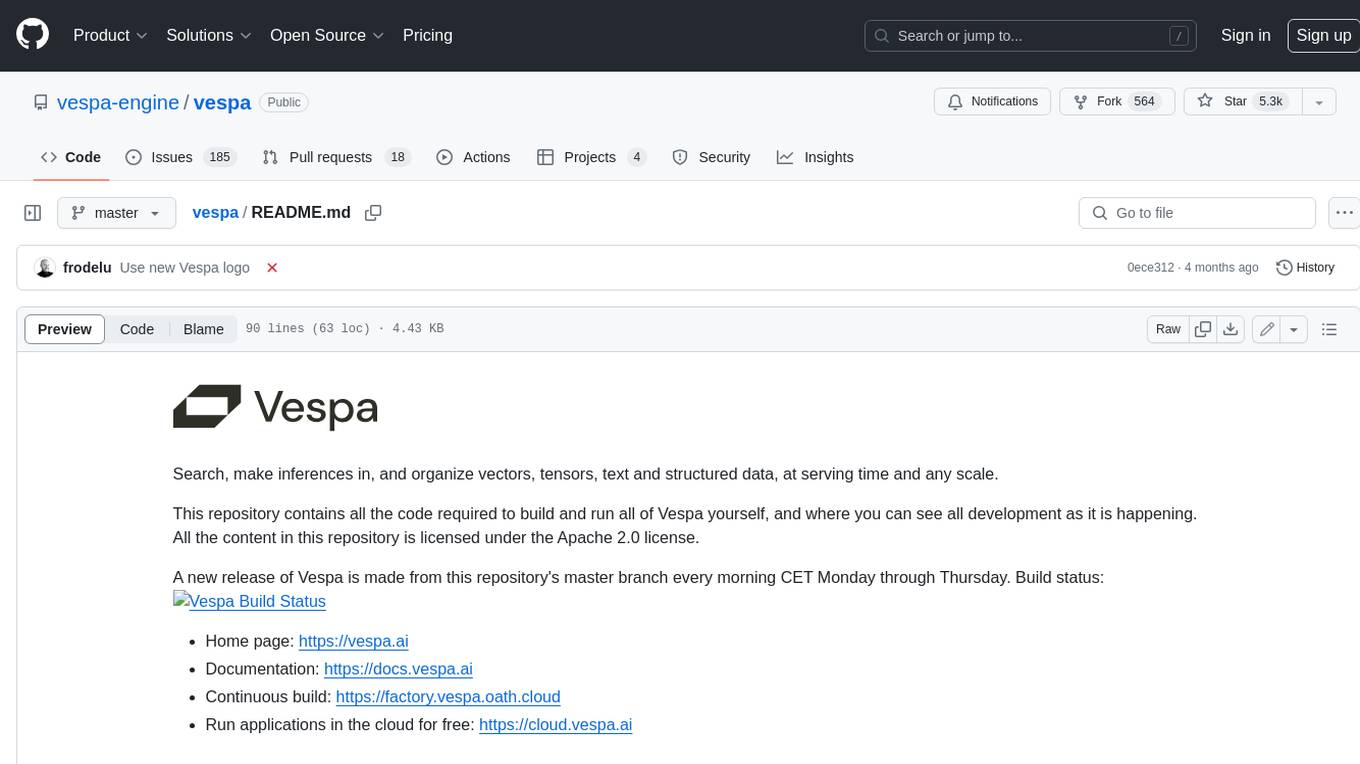
Vespa is a platform that performs operations such as selecting a subset of data in a large corpus, evaluating machine-learned models over the selected data, organizing and aggregating it, and returning it, typically in less than 100 milliseconds, all while the data corpus is continuously changing. It has been in development for many years and is used on a number of large internet services and apps which serve hundreds of thousands of queries from Vespa per second.
azure-search-openai-demo
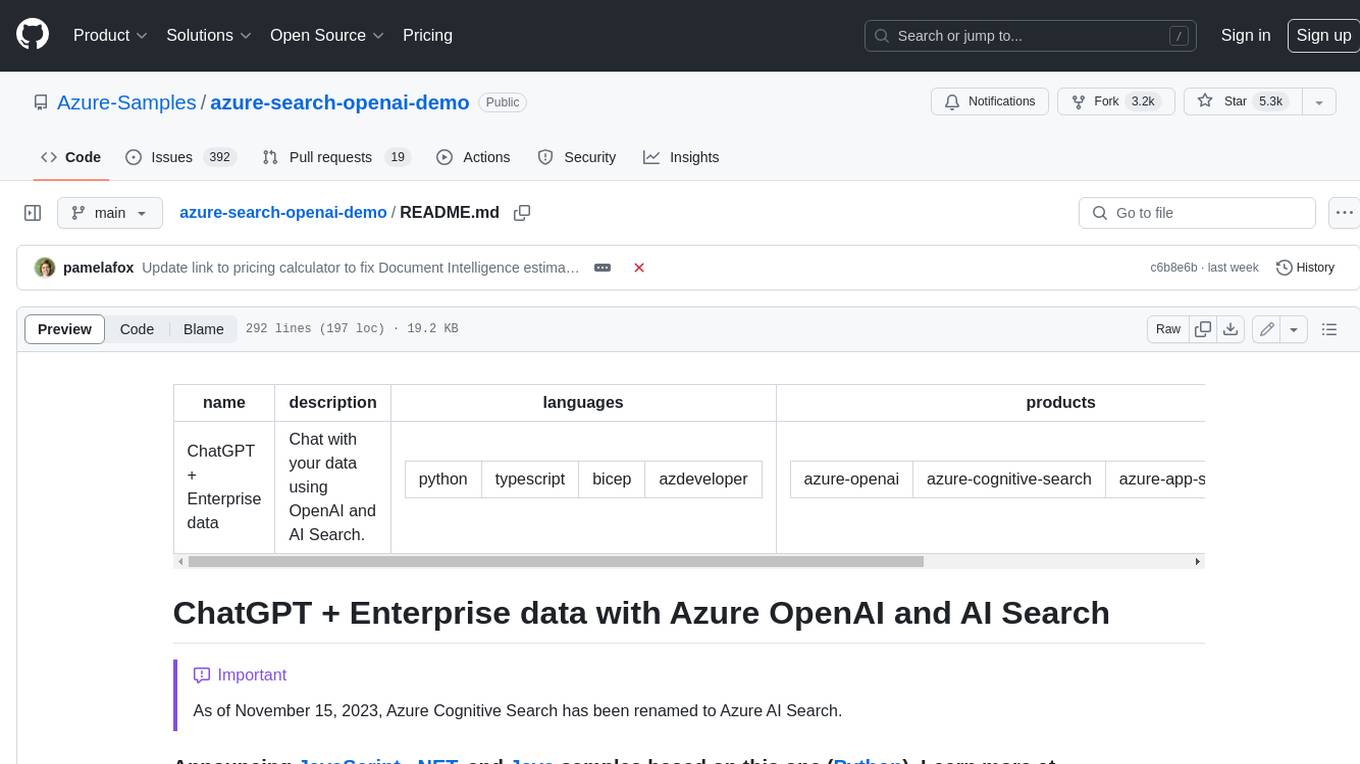
This sample demonstrates a few approaches for creating ChatGPT-like experiences over your own data using the Retrieval Augmented Generation pattern. It uses Azure OpenAI Service to access a GPT model (gpt-35-turbo), and Azure AI Search for data indexing and retrieval. The repo includes sample data so it's ready to try end to end. In this sample application we use a fictitious company called Contoso Electronics, and the experience allows its employees to ask questions about the benefits, internal policies, as well as job descriptions and roles.
vertex-ai-creative-studio
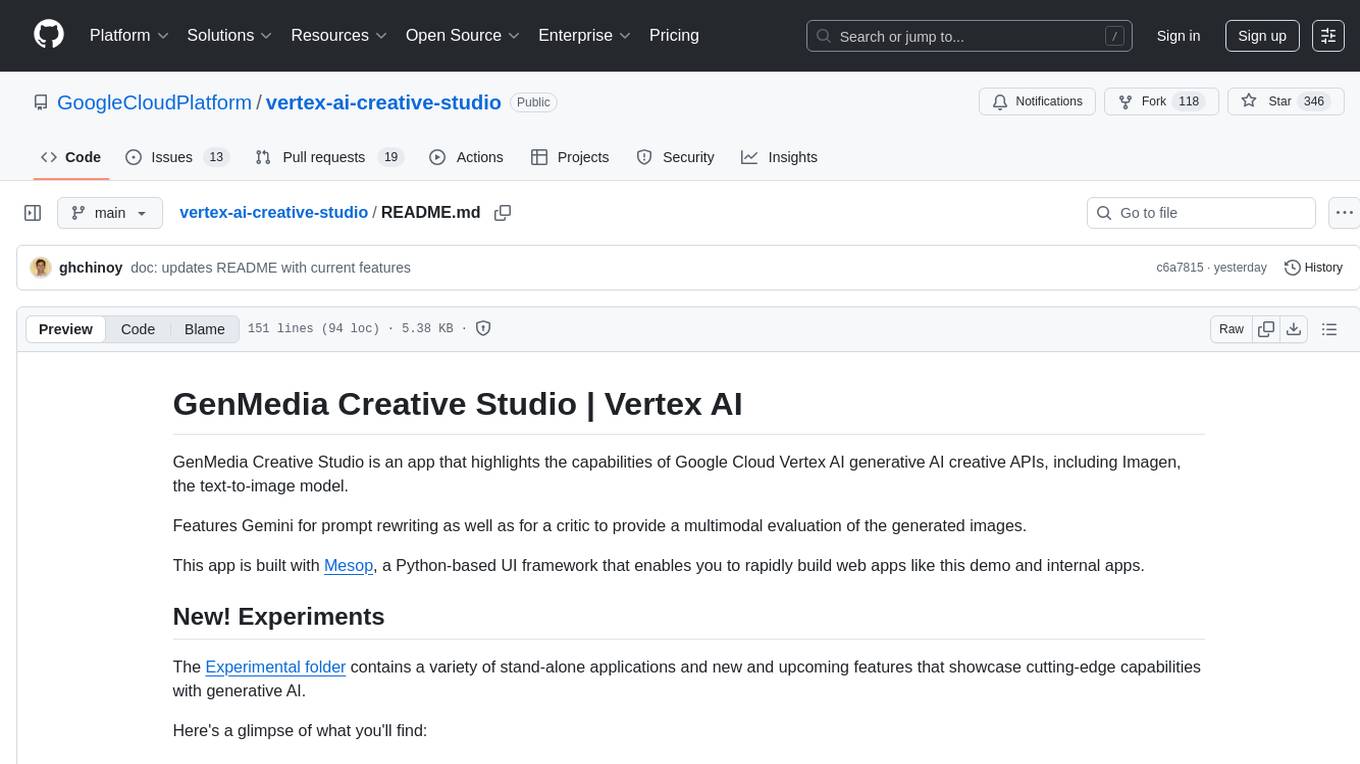
GenMedia Creative Studio is an application showcasing the capabilities of Google Cloud Vertex AI generative AI creative APIs. It includes features like Gemini for prompt rewriting and multimodal evaluation of generated images. The app is built with Mesop, a Python-based UI framework, enabling rapid development of web and internal apps. The Experimental folder contains stand-alone applications and upcoming features demonstrating cutting-edge generative AI capabilities, such as image generation, prompting techniques, and audio/video tools.
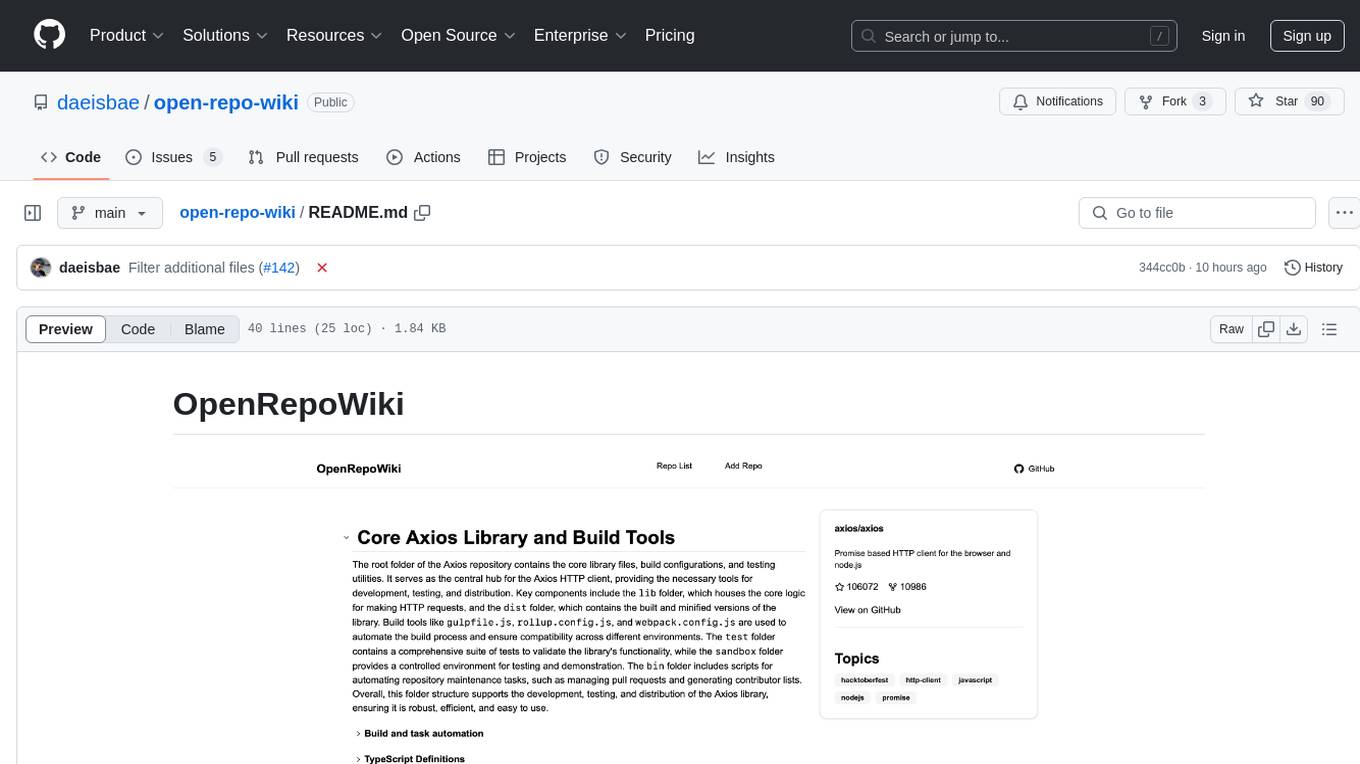
open-repo-wiki
OpenRepoWiki is a tool designed to automatically generate a comprehensive wiki page for any GitHub repository. It simplifies the process of understanding the purpose, functionality, and core components of a repository by analyzing its code structure, identifying key files and functions, and providing explanations. The tool aims to assist individuals who want to learn how to build various projects by providing a summarized overview of the repository's contents. OpenRepoWiki requires certain dependencies such as Google AI Studio or Deepseek API Key, PostgreSQL for storing repository information, Github API Key for accessing repository data, and Amazon S3 for optional usage. Users can configure the tool by setting up environment variables, installing dependencies, building the server, and running the application. It is recommended to consider the token usage and opt for cost-effective options when utilizing the tool.
agentok
Agentok Studio is a tool built upon AG2, a powerful agent framework from Microsoft, offering intuitive visual tools to streamline the creation and management of complex agent-based workflows. It simplifies the process for creators and developers by generating native Python code with minimal dependencies, enabling users to create self-contained code that can be executed anywhere. The tool is currently under development and not recommended for production use, but contributions are welcome from the community to enhance its capabilities and functionalities.
conversational-agent-langchain
This repository contains a Rest-Backend for a Conversational Agent that allows embedding documents, semantic search, QA based on documents, and document processing with Large Language Models. It uses Aleph Alpha and OpenAI Large Language Models to generate responses to user queries, includes a vector database, and provides a REST API built with FastAPI. The project also features semantic search, secret management for API keys, installation instructions, and development guidelines for both backend and frontend components.
devika
Devika is an advanced AI software engineer that can understand high-level human instructions, break them down into steps, research relevant information, and write code to achieve the given objective. Devika utilizes large language models, planning and reasoning algorithms, and web browsing abilities to intelligently develop software. Devika aims to revolutionize the way we build software by providing an AI pair programmer who can take on complex coding tasks with minimal human guidance. Whether you need to create a new feature, fix a bug, or develop an entire project from scratch, Devika is here to assist you.
serverless-chat-langchainjs
This sample shows how to build a serverless chat experience with Retrieval-Augmented Generation using LangChain.js and Azure. The application is hosted on Azure Static Web Apps and Azure Functions, with Azure Cosmos DB for MongoDB vCore as the vector database. You can use it as a starting point for building more complex AI applications.
For similar tasks

shipstation
ShipStation is an AI-based website and agents generation platform that optimizes landing page websites and generic connect-anything-to-anything services. It enables seamless communication between service providers and integration partners, offering features like user authentication, project management, code editing, payment integration, and real-time progress tracking. The project architecture includes server-side (Node.js) and client-side (React with Vite) components. Prerequisites include Node.js, npm or yarn, Anthropic API key, Supabase account, Tavily API key, and Razorpay account. Setup instructions involve cloning the repository, setting up Supabase, configuring environment variables, and starting the backend and frontend servers. Users can access the application through the browser, sign up or log in, create landing pages or portfolios, and get websites stored in an S3 bucket. Deployment to Heroku involves building the client project, committing changes, and pushing to the main branch. Contributions to the project are encouraged, and the license encourages doing good.
brainwave
Brainwave is a modern animated SaaS generative AI landing page tool built using React JS, Vite JS, Javascript, and Tailwind CSS. It provides a visually appealing interface with features like AI chatbot, generative AI, modern animations, and onboarding section. Users can easily deploy the tool on Netlify and contribute to the project. The tool utilizes framer-motion, react-just-parallax, react-router-dom, scroll-lock, typewriter-effect, and other dependencies for enhanced functionality and user experience.
Azure-Analytics-and-AI-Engagement
The Azure-Analytics-and-AI-Engagement repository provides packaged Industry Scenario DREAM Demos with ARM templates (Containing a demo web application, Power BI reports, Synapse resources, AML Notebooks etc.) that can be deployed in a customer’s subscription using the CAPE tool within a matter of few hours. Partners can also deploy DREAM Demos in their own subscriptions using DPoC.
MetaGPT
MetaGPT is a multi-agent framework that enables GPT to work in a software company, collaborating to tackle more complex tasks. It assigns different roles to GPTs to form a collaborative entity for complex tasks. MetaGPT takes a one-line requirement as input and outputs user stories, competitive analysis, requirements, data structures, APIs, documents, etc. Internally, MetaGPT includes product managers, architects, project managers, and engineers. It provides the entire process of a software company along with carefully orchestrated SOPs. MetaGPT's core philosophy is "Code = SOP(Team)", materializing SOP and applying it to teams composed of LLMs.
MateCat
Matecat is an enterprise-level, web-based CAT tool designed to make post-editing and outsourcing easy and to provide a complete set of features to manage and monitor translation projects.
AIlice
AIlice is a fully autonomous, general-purpose AI agent that aims to create a standalone artificial intelligence assistant, similar to JARVIS, based on the open-source LLM. AIlice achieves this goal by building a "text computer" that uses a Large Language Model (LLM) as its core processor. Currently, AIlice demonstrates proficiency in a range of tasks, including thematic research, coding, system management, literature reviews, and complex hybrid tasks that go beyond these basic capabilities. AIlice has reached near-perfect performance in everyday tasks using GPT-4 and is making strides towards practical application with the latest open-source models. We will ultimately achieve self-evolution of AI agents. That is, AI agents will autonomously build their own feature expansions and new types of agents, unleashing LLM's knowledge and reasoning capabilities into the real world seamlessly.

free-for-life
A massive list including a huge amount of products and services that are completely free! ⭐ Star on GitHub • 🤝 Contribute # Table of Contents * APIs, Data & ML * Artificial Intelligence * BaaS * Code Editors * Code Generation * DNS * Databases * Design & UI * Domains * Email * Font * For Students * Forms * Linux Distributions * Messaging & Streaming * PaaS * Payments & Billing * SSL
For similar jobs
promptflow
**Prompt flow** is a suite of development tools designed to streamline the end-to-end development cycle of LLM-based AI applications, from ideation, prototyping, testing, evaluation to production deployment and monitoring. It makes prompt engineering much easier and enables you to build LLM apps with production quality.
deepeval
DeepEval is a simple-to-use, open-source LLM evaluation framework specialized for unit testing LLM outputs. It incorporates various metrics such as G-Eval, hallucination, answer relevancy, RAGAS, etc., and runs locally on your machine for evaluation. It provides a wide range of ready-to-use evaluation metrics, allows for creating custom metrics, integrates with any CI/CD environment, and enables benchmarking LLMs on popular benchmarks. DeepEval is designed for evaluating RAG and fine-tuning applications, helping users optimize hyperparameters, prevent prompt drifting, and transition from OpenAI to hosting their own Llama2 with confidence.
MegaDetector
MegaDetector is an AI model that identifies animals, people, and vehicles in camera trap images (which also makes it useful for eliminating blank images). This model is trained on several million images from a variety of ecosystems. MegaDetector is just one of many tools that aims to make conservation biologists more efficient with AI. If you want to learn about other ways to use AI to accelerate camera trap workflows, check out our of the field, affectionately titled "Everything I know about machine learning and camera traps".
leapfrogai
LeapfrogAI is a self-hosted AI platform designed to be deployed in air-gapped resource-constrained environments. It brings sophisticated AI solutions to these environments by hosting all the necessary components of an AI stack, including vector databases, model backends, API, and UI. LeapfrogAI's API closely matches that of OpenAI, allowing tools built for OpenAI/ChatGPT to function seamlessly with a LeapfrogAI backend. It provides several backends for various use cases, including llama-cpp-python, whisper, text-embeddings, and vllm. LeapfrogAI leverages Chainguard's apko to harden base python images, ensuring the latest supported Python versions are used by the other components of the stack. The LeapfrogAI SDK provides a standard set of protobuffs and python utilities for implementing backends and gRPC. LeapfrogAI offers UI options for common use-cases like chat, summarization, and transcription. It can be deployed and run locally via UDS and Kubernetes, built out using Zarf packages. LeapfrogAI is supported by a community of users and contributors, including Defense Unicorns, Beast Code, Chainguard, Exovera, Hypergiant, Pulze, SOSi, United States Navy, United States Air Force, and United States Space Force.
llava-docker
This Docker image for LLaVA (Large Language and Vision Assistant) provides a convenient way to run LLaVA locally or on RunPod. LLaVA is a powerful AI tool that combines natural language processing and computer vision capabilities. With this Docker image, you can easily access LLaVA's functionalities for various tasks, including image captioning, visual question answering, text summarization, and more. The image comes pre-installed with LLaVA v1.2.0, Torch 2.1.2, xformers 0.0.23.post1, and other necessary dependencies. You can customize the model used by setting the MODEL environment variable. The image also includes a Jupyter Lab environment for interactive development and exploration. Overall, this Docker image offers a comprehensive and user-friendly platform for leveraging LLaVA's capabilities.

carrot
The 'carrot' repository on GitHub provides a list of free and user-friendly ChatGPT mirror sites for easy access. The repository includes sponsored sites offering various GPT models and services. Users can find and share sites, report errors, and access stable and recommended sites for ChatGPT usage. The repository also includes a detailed list of ChatGPT sites, their features, and accessibility options, making it a valuable resource for ChatGPT users seeking free and unlimited GPT services.
TrustLLM
TrustLLM is a comprehensive study of trustworthiness in LLMs, including principles for different dimensions of trustworthiness, established benchmark, evaluation, and analysis of trustworthiness for mainstream LLMs, and discussion of open challenges and future directions. Specifically, we first propose a set of principles for trustworthy LLMs that span eight different dimensions. Based on these principles, we further establish a benchmark across six dimensions including truthfulness, safety, fairness, robustness, privacy, and machine ethics. We then present a study evaluating 16 mainstream LLMs in TrustLLM, consisting of over 30 datasets. The document explains how to use the trustllm python package to help you assess the performance of your LLM in trustworthiness more quickly. For more details about TrustLLM, please refer to project website.
AI-YinMei
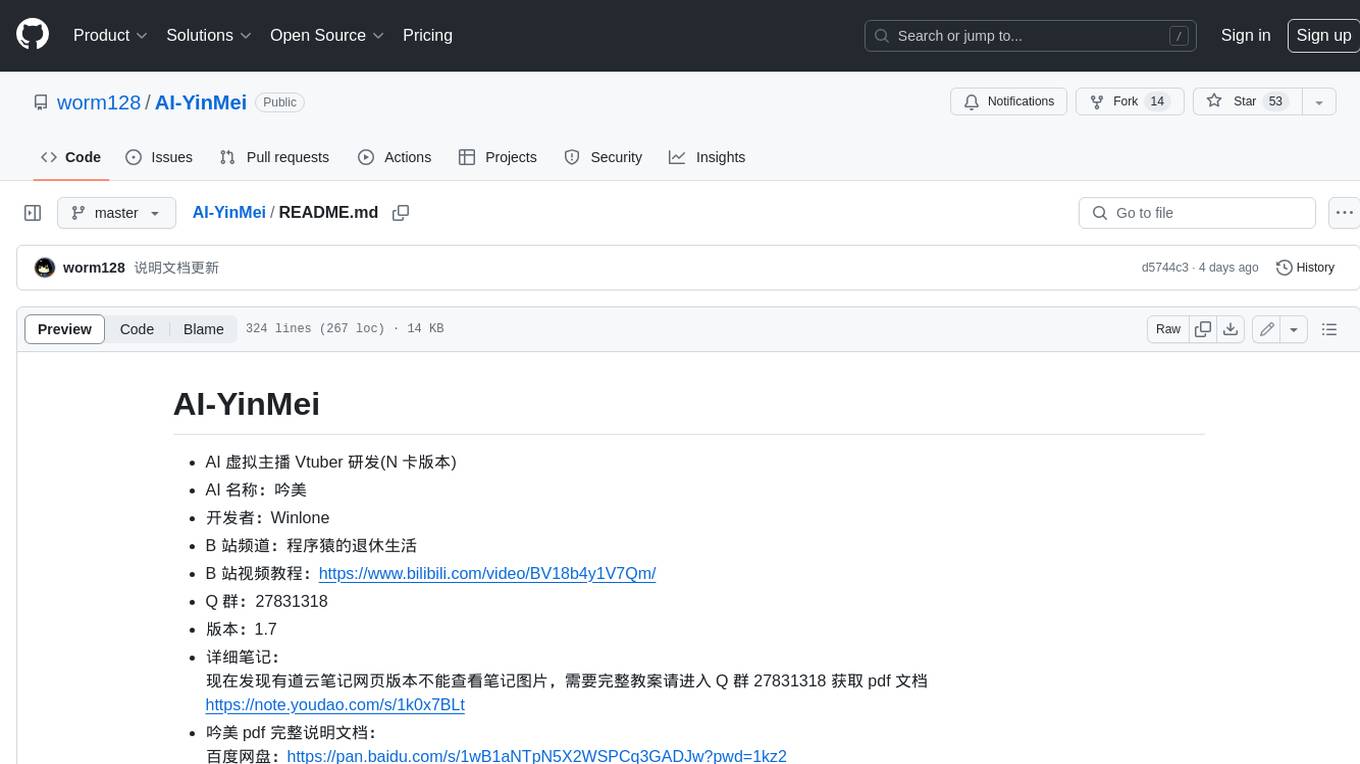
AI-YinMei is an AI virtual anchor Vtuber development tool (N card version). It supports fastgpt knowledge base chat dialogue, a complete set of solutions for LLM large language models: [fastgpt] + [one-api] + [Xinference], supports docking bilibili live broadcast barrage reply and entering live broadcast welcome speech, supports Microsoft edge-tts speech synthesis, supports Bert-VITS2 speech synthesis, supports GPT-SoVITS speech synthesis, supports expression control Vtuber Studio, supports painting stable-diffusion-webui output OBS live broadcast room, supports painting picture pornography public-NSFW-y-distinguish, supports search and image search service duckduckgo (requires magic Internet access), supports image search service Baidu image search (no magic Internet access), supports AI reply chat box [html plug-in], supports AI singing Auto-Convert-Music, supports playlist [html plug-in], supports dancing function, supports expression video playback, supports head touching action, supports gift smashing action, supports singing automatic start dancing function, chat and singing automatic cycle swing action, supports multi scene switching, background music switching, day and night automatic switching scene, supports open singing and painting, let AI automatically judge the content.
