
web-ui
Run AI Agent in your browser.
Stars: 10408
WebUI is a user-friendly tool built on Gradio that enhances website accessibility for AI agents. It supports various Large Language Models (LLMs) and allows custom browser integration for seamless interaction. The tool eliminates the need for re-login and authentication challenges, offering high-definition screen recording capabilities.
README:


This project builds upon the foundation of the browser-use, which is designed to make websites accessible for AI agents.
We would like to officially thank WarmShao for his contribution to this project.
WebUI: is built on Gradio and supports most of browser-use functionalities. This UI is designed to be user-friendly and enables easy interaction with the browser agent.
Expanded LLM Support: We've integrated support for various Large Language Models (LLMs), including: Google, OpenAI, Azure OpenAI, Anthropic, DeepSeek, Ollama etc. And we plan to add support for even more models in the future.
Custom Browser Support: You can use your own browser with our tool, eliminating the need to re-login to sites or deal with other authentication challenges. This feature also supports high-definition screen recording.
Persistent Browser Sessions: You can choose to keep the browser window open between AI tasks, allowing you to see the complete history and state of AI interactions.
Your browser does not support playing this video!
- Python 3.11 or higher
- Git (for cloning the repository)
Read the quickstart guide or follow the steps below to get started.
git clone https://github.com/browser-use/web-ui.git
cd web-uiWe recommend using uv for managing the Python environment.
Using uv (recommended):
uv venv --python 3.11Activate the virtual environment:
- Windows (Command Prompt):
.venv\Scripts\activate- Windows (PowerShell):
.\.venv\Scripts\Activate.ps1- macOS/Linux:
source .venv/bin/activateInstall Python packages:
uv pip install -r requirements.txtInstall Browsers in Playwright: You can install specific browsers by running:
playwright install --with-deps chromiumTo install all browsers:
playwright install- Create a copy of the example environment file:
- Windows (Command Prompt):
copy .env.example .env- macOS/Linux/Windows (PowerShell):
cp .env.example .env- Open
.envin your preferred text editor and add your API keys and other settings
- Docker and Docker Compose installed
- Docker Desktop (For Windows/macOS)
- Docker Engine and Docker Compose (For Linux)
- Clone the repository:
git clone https://github.com/browser-use/web-ui.git
cd web-ui- Create and configure environment file:
- Windows (Command Prompt):
copy .env.example .env- macOS/Linux/Windows (PowerShell):
cp .env.example .envEdit .env with your preferred text editor and add your API keys
- Run with Docker:
# Build and start the container with default settings (browser closes after AI tasks)
docker compose up --build
# Or run with persistent browser (browser stays open between AI tasks)
CHROME_PERSISTENT_SESSION=true docker compose up --build- Access the Application:
- Web Interface: Open
http://localhost:7788in your browser - VNC Viewer (for watching browser interactions): Open
http://localhost:6080/vnc.html- Default VNC password: "youvncpassword"
- Can be changed by setting
VNC_PASSWORDin your.envfile
-
Run the WebUI:
After completing the installation steps above, start the application:
python webui.py --ip 127.0.0.1 --port 7788
- WebUI options:
-
--ip: The IP address to bind the WebUI to. Default is127.0.0.1. -
--port: The port to bind the WebUI to. Default is7788. -
--theme: The theme for the user interface. Default isOcean.- Default: The standard theme with a balanced design.
- Soft: A gentle, muted color scheme for a relaxed viewing experience.
- Monochrome: A grayscale theme with minimal color for simplicity and focus.
- Glass: A sleek, semi-transparent design for a modern appearance.
- Origin: A classic, retro-inspired theme for a nostalgic feel.
- Citrus: A vibrant, citrus-inspired palette with bright and fresh colors.
- Ocean (default): A blue, ocean-inspired theme providing a calming effect.
-
--dark-mode: Enables dark mode for the user interface.
-
-
Access the WebUI: Open your web browser and navigate to
http://127.0.0.1:7788. -
Using Your Own Browser(Optional):
- Set
CHROME_PATHto the executable path of your browser andCHROME_USER_DATAto the user data directory of your browser. LeaveCHROME_USER_DATAempty if you want to use local user data.- Windows
 CHROME_PATH="C:\Program Files\Google\Chrome\Application\chrome.exe"
 CHROME_USER_DATA="C:\Users\YourUsername\AppData\Local\Google\Chrome\User Data"
Note: Replace
YourUsernamewith your actual Windows username for Windows systems. - Mac
 CHROME_PATH="/Applications/Google Chrome.app/Contents/MacOS/Google Chrome"
 CHROME_USER_DATA="/Users/YourUsername/Library/Application Support/Google/Chrome"
- Windows
- Close all Chrome windows
- Open the WebUI in a non-Chrome browser, such as Firefox or Edge. This is important because the persistent browser context will use the Chrome data when running the agent.
- Check the "Use Own Browser" option within the Browser Settings.
- Set
-
Keep Browser Open(Optional):
- Set
CHROME_PERSISTENT_SESSION=truein the.envfile.
- Set
-
Environment Variables:
- All configuration is done through the
.envfile - Available environment variables:
# LLM API Keys
OPENAI_API_KEY=your_key_here
ANTHROPIC_API_KEY=your_key_here
GOOGLE_API_KEY=your_key_here

# Browser Settings
CHROME_PERSISTENT_SESSION=true   # Set to true to keep browser open between AI tasks
RESOLUTION=1920x1080x24         # Custom resolution format: WIDTHxHEIGHTxDEPTH
RESOLUTION_WIDTH=1920           # Custom width in pixels
RESOLUTION_HEIGHT=1080          # Custom height in pixels

# VNC Settings
VNC_PASSWORD=your_vnc_password  # Optional, defaults to "vncpassword"
- All configuration is done through the
-
Platform Support:
- Supports both AMD64 and ARM64 architectures
- For ARM64 systems (e.g., Apple Silicon Macs), the container will automatically use the appropriate image
-
Browser Persistence Modes:
-
Default Mode (CHROME_PERSISTENT_SESSION=false):
- Browser opens and closes with each AI task
- Clean state for each interaction
- Lower resource usage
-
Persistent Mode (CHROME_PERSISTENT_SESSION=true):
- Browser stays open between AI tasks
- Maintains history and state
- Allows viewing previous AI interactions
- Set in
.envfile or via environment variable when starting container
-
-
Viewing Browser Interactions:
- Access the noVNC viewer at
http://localhost:6080/vnc.html - Enter the VNC password (default: "vncpassword" or what you set in VNC_PASSWORD)
- Direct VNC access available on port 5900 (mapped to container port 5901)
- You can now see all browser interactions in real-time
- Access the noVNC viewer at
-
Container Management:
# Start with persistent browser
CHROME_PERSISTENT_SESSION=true docker compose up -d

# Start with default mode (browser closes after tasks)
docker compose up -d

# View logs
docker compose logs -f

# Stop the container
docker compose down
- [x] 2025/01/26: Thanks to @vvincent1234. Now browser-use-webui can combine with DeepSeek-r1 to engage in deep thinking!
- [x] 2025/01/10: Thanks to @casistack. Now we have Docker Setup option and also Support keep browser open between tasks.Video tutorial demo.
- [x] 2025/01/06: Thanks to @richard-devbot. A New and Well-Designed WebUI is released. Video tutorial demo.
For Tasks:
Click tags to check more tools for each tasksFor Jobs:
Alternative AI tools for web-ui
Similar Open Source Tools
web-ui
WebUI is a user-friendly tool built on Gradio that enhances website accessibility for AI agents. It supports various Large Language Models (LLMs) and allows custom browser integration for seamless interaction. The tool eliminates the need for re-login and authentication challenges, offering high-definition screen recording capabilities.
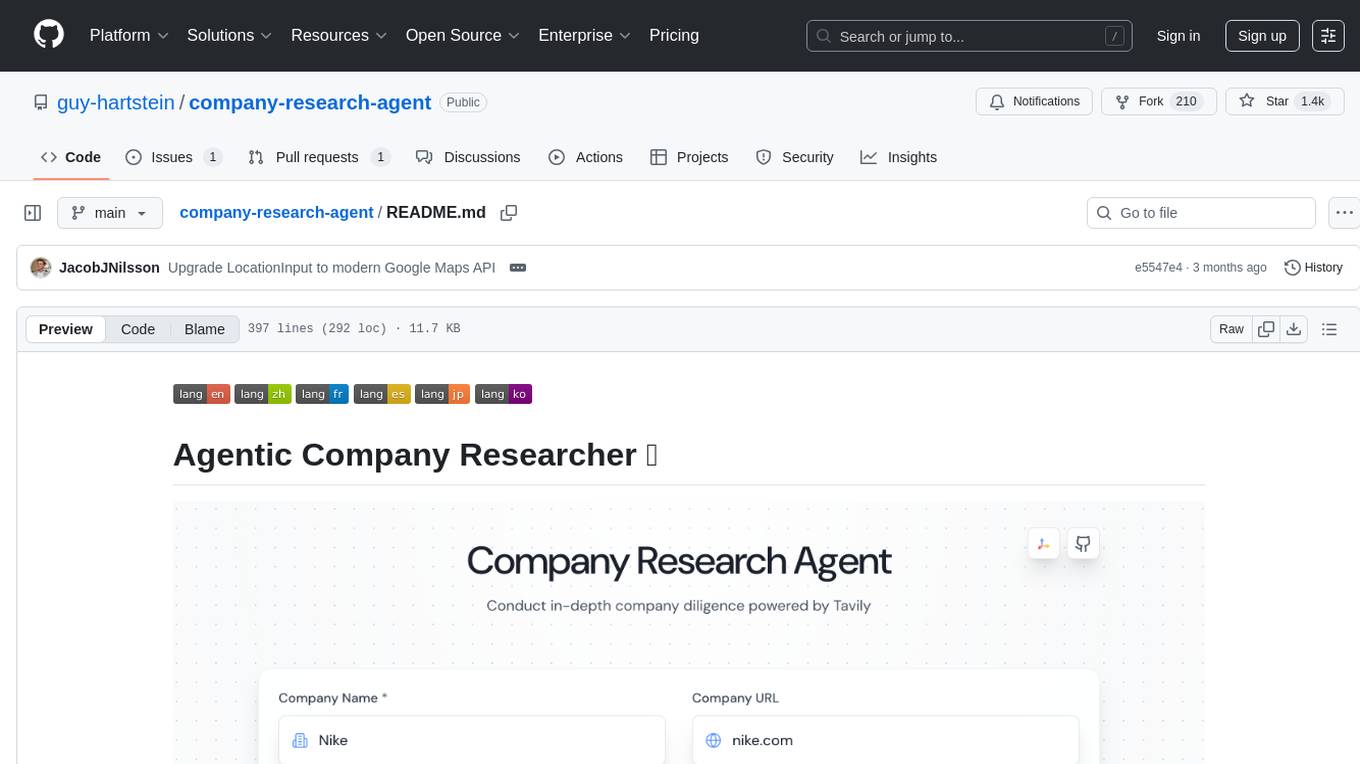
company-research-agent
Agentic Company Researcher is a multi-agent tool that generates comprehensive company research reports by utilizing a pipeline of AI agents to gather, curate, and synthesize information from various sources. It features multi-source research, AI-powered content filtering, real-time progress streaming, dual model architecture, modern React frontend, and modular architecture. The tool follows an agentic framework with specialized research and processing nodes, leverages separate models for content generation, uses a content curation system for relevance scoring and document processing, and implements a real-time communication system via WebSocket connections. Users can set up the tool quickly using the provided setup script or manually, and it can also be deployed using Docker and Docker Compose. The application can be used for local development and deployed to various cloud platforms like AWS Elastic Beanstalk, Docker, Heroku, and Google Cloud Run.
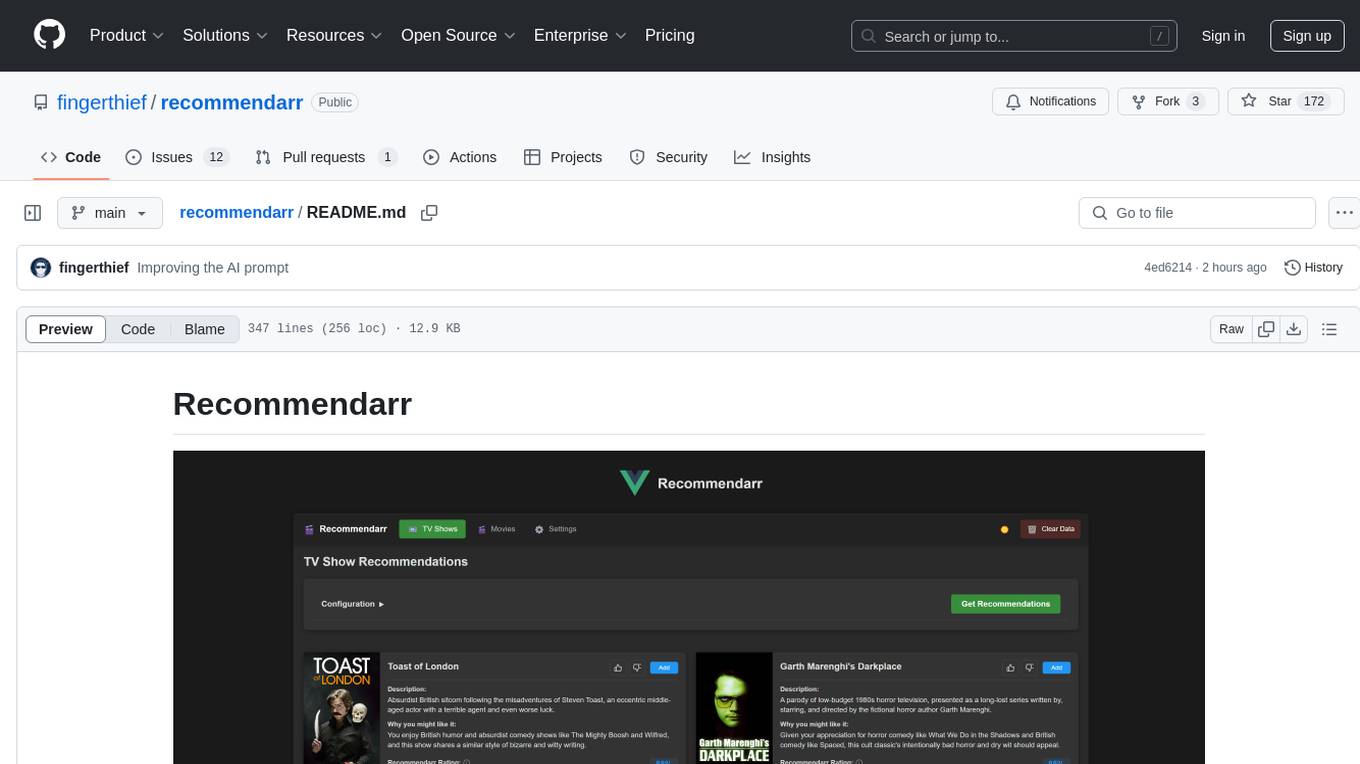
recommendarr
Recommendarr is a tool that generates personalized TV show and movie recommendations based on your Sonarr, Radarr, Plex, and Jellyfin libraries using AI. It offers AI-powered recommendations, media server integration, flexible AI support, watch history analysis, customization options, and dark/light mode toggle. Users can connect their media libraries and watch history services, configure AI service settings, and get personalized recommendations based on genre, language, and mood/vibe preferences. The tool works with any OpenAI-compatible API and offers various recommended models for different cost options and performance levels. It provides personalized suggestions, detailed information, filter options, watch history analysis, and one-click adding of recommended content to Sonarr/Radarr.
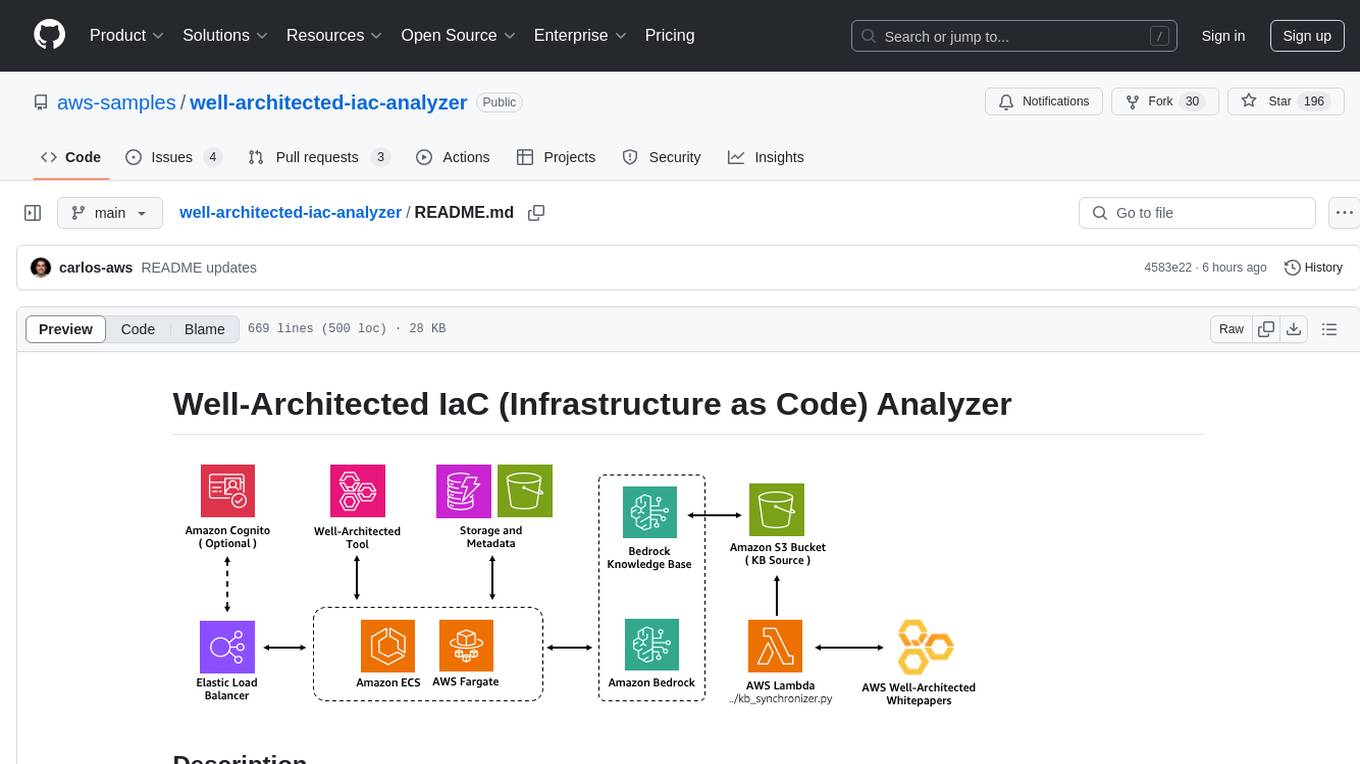
well-architected-iac-analyzer
Well-Architected Infrastructure as Code (IaC) Analyzer is a project demonstrating how generative AI can evaluate infrastructure code for alignment with best practices. It features a modern web application allowing users to upload IaC documents, complete IaC projects, or architecture diagrams for assessment. The tool provides insights into infrastructure code alignment with AWS best practices, offers suggestions for improving cloud architecture designs, and can generate IaC templates from architecture diagrams. Users can analyze CloudFormation, Terraform, or AWS CDK templates, architecture diagrams in PNG or JPEG format, and complete IaC projects with supporting documents. Real-time analysis against Well-Architected best practices, integration with AWS Well-Architected Tool, and export of analysis results and recommendations are included.
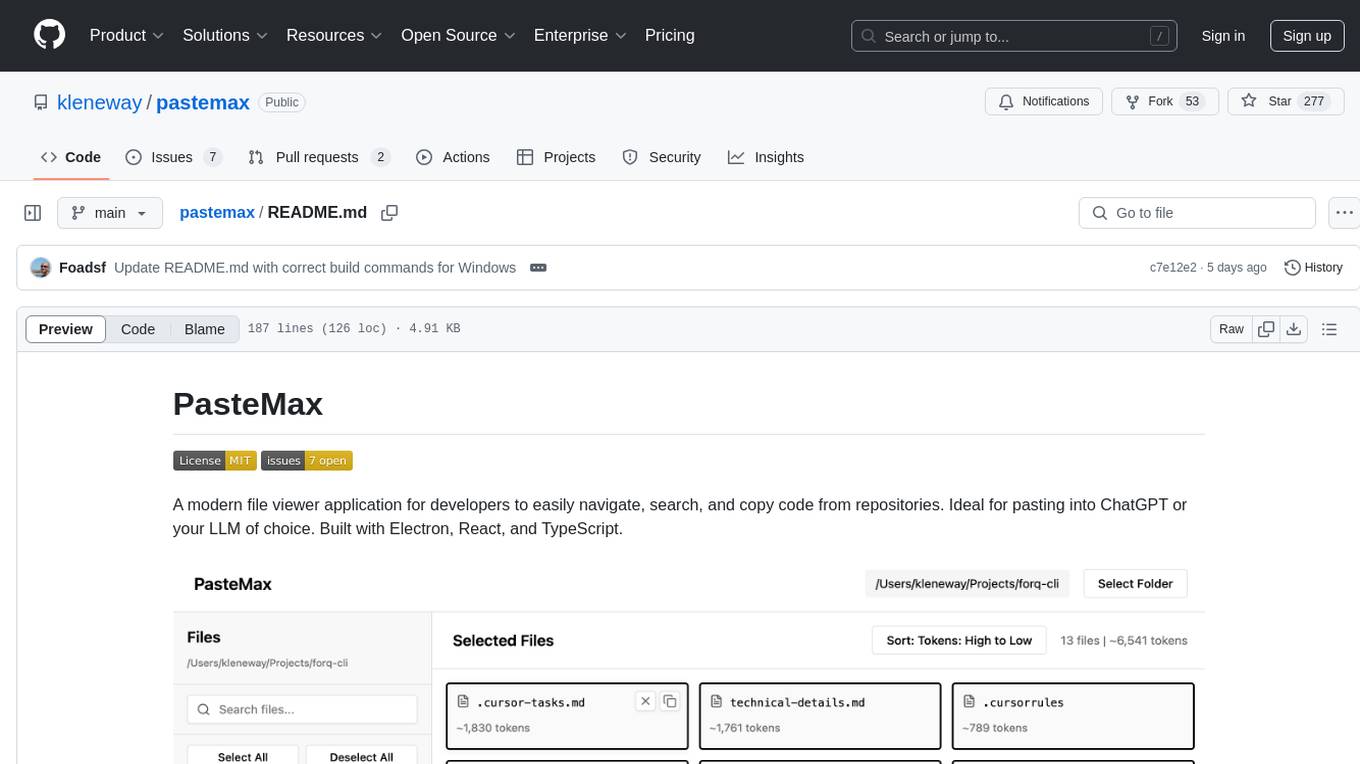
pastemax
PasteMax is a modern file viewer application designed for developers to easily navigate, search, and copy code from repositories. It provides features such as file tree navigation, token counting, search capabilities, selection management, sorting options, dark mode, binary file detection, and smart file exclusion. Built with Electron, React, and TypeScript, PasteMax is ideal for pasting code into ChatGPT or other language models. Users can download the application or build it from source, and customize file exclusions. Troubleshooting steps are provided for common issues, and contributions to the project are welcome under the MIT License.

Zero
Zero is an open-source AI email solution that allows users to self-host their email app while integrating external services like Gmail. It aims to modernize and enhance emails through AI agents, offering features like open-source transparency, AI-driven enhancements, data privacy, self-hosting freedom, unified inbox, customizable UI, and developer-friendly extensibility. Built with modern technologies, Zero provides a reliable tech stack including Next.js, React, TypeScript, TailwindCSS, Node.js, Drizzle ORM, and PostgreSQL. Users can set up Zero using standard setup or Dev Container setup for VS Code users, with detailed environment setup instructions for Better Auth, Google OAuth, and optional GitHub OAuth. Database setup involves starting a local PostgreSQL instance, setting up database connection, and executing database commands for dependencies, tables, migrations, and content viewing.
Groqqle
Groqqle 2.1 is a revolutionary, free AI web search and API that instantly returns ORIGINAL content derived from source articles, websites, videos, and even foreign language sources, for ANY target market of ANY reading comprehension level! It combines the power of large language models with advanced web and news search capabilities, offering a user-friendly web interface, a robust API, and now a powerful Groqqle_web_tool for seamless integration into your projects. Developers can instantly incorporate Groqqle into their applications, providing a powerful tool for content generation, research, and analysis across various domains and languages.
pentagi
PentAGI is an innovative tool for automated security testing that leverages cutting-edge artificial intelligence technologies. It is designed for information security professionals, researchers, and enthusiasts who need a powerful and flexible solution for conducting penetration tests. The tool provides secure and isolated operations in a sandboxed Docker environment, fully autonomous AI-powered agent for penetration testing steps, a suite of 20+ professional security tools, smart memory system for storing research results, web intelligence for gathering information, integration with external search systems, team delegation system, comprehensive monitoring and reporting, modern interface, API integration, persistent storage, scalable architecture, self-hosted solution, flexible authentication, and quick deployment through Docker Compose.
comfyui-web-viewer
The ComfyUI Web Viewer by vrch.ai is a real-time AI-generated interactive art framework that integrates realtime streaming into ComfyUI workflows. It supports keyboard control nodes, OSC control nodes, sound input nodes, and more, accessible from any device with a web browser. It enables real-time interaction with AI-generated content, ideal for interactive visual projects and enhancing ComfyUI workflows with efficient content management and display.
llm_aided_ocr
The LLM-Aided OCR Project is an advanced system that enhances Optical Character Recognition (OCR) output by leveraging natural language processing techniques and large language models. It offers features like PDF to image conversion, OCR using Tesseract, error correction using LLMs, smart text chunking, markdown formatting, duplicate content removal, quality assessment, support for local and cloud-based LLMs, asynchronous processing, detailed logging, and GPU acceleration. The project provides detailed technical overview, text processing pipeline, LLM integration, token management, quality assessment, logging, configuration, and customization. It requires Python 3.12+, Tesseract OCR engine, PDF2Image library, PyTesseract, and optional OpenAI or Anthropic API support for cloud-based LLMs. The installation process involves setting up the project, installing dependencies, and configuring environment variables. Users can place a PDF file in the project directory, update input file path, and run the script to generate post-processed text. The project optimizes processing with concurrent processing, context preservation, and adaptive token management. Configuration settings include choosing between local or API-based LLMs, selecting API provider, specifying models, and setting context size for local LLMs. Output files include raw OCR output and LLM-corrected text. Limitations include performance dependency on LLM quality and time-consuming processing for large documents.
chunkr
Chunkr is an open-source document intelligence API that provides a production-ready service for document layout analysis, OCR, and semantic chunking. It allows users to convert PDFs, PPTs, Word docs, and images into RAG/LLM-ready chunks. The API offers features such as layout analysis, OCR with bounding boxes, structured HTML and markdown output, and VLM processing controls. Users can interact with Chunkr through a Python SDK, enabling them to upload documents, process them, and export results in various formats. The tool also supports self-hosted deployment options using Docker Compose or Kubernetes, with configurations for different AI models like OpenAI, Google AI Studio, and OpenRouter. Chunkr is dual-licensed under the GNU Affero General Public License v3.0 (AGPL-3.0) and a commercial license, providing flexibility for different usage scenarios.
search_with_ai
Build your own conversation-based search with AI, a simple implementation with Node.js & Vue3. Live Demo Features: * Built-in support for LLM: OpenAI, Google, Lepton, Ollama(Free) * Built-in support for search engine: Bing, Sogou, Google, SearXNG(Free) * Customizable pretty UI interface * Support dark mode * Support mobile display * Support local LLM with Ollama * Support i18n * Support Continue Q&A with contexts.
AutoAgent
AutoAgent is a fully-automated and zero-code framework that enables users to create and deploy LLM agents through natural language alone. It is a top performer on the GAIA Benchmark, equipped with a native self-managing vector database, and allows for easy creation of tools, agents, and workflows without any coding. AutoAgent seamlessly integrates with a wide range of LLMs and supports both function-calling and ReAct interaction modes. It is designed to be dynamic, extensible, customized, and lightweight, serving as a personal AI assistant.
aiaio
aiaio (AI-AI-O) is a lightweight, privacy-focused web UI for interacting with AI models. It supports both local and remote LLM deployments through OpenAI-compatible APIs. The tool provides features such as dark/light mode support, local SQLite database for conversation storage, file upload and processing, configurable model parameters through UI, privacy-focused design, responsive design for mobile/desktop, syntax highlighting for code blocks, real-time conversation updates, automatic conversation summarization, customizable system prompts, WebSocket support for real-time updates, Docker support for deployment, multiple API endpoint support, and multiple system prompt support. Users can configure model parameters and API settings through the UI, handle file uploads, manage conversations, and use keyboard shortcuts for efficient interaction. The tool uses SQLite for storage with tables for conversations, messages, attachments, and settings. Contributions to the project are welcome under the Apache License 2.0.
hound
Hound is a security audit automation pipeline for AI-assisted code review that mirrors how expert auditors think, learn, and collaborate. It features graph-driven analysis, sessionized audits, provider-agnostic models, belief system and hypotheses, precise code grounding, and adaptive planning. The system employs a senior/junior auditor pattern where the Scout actively navigates the codebase and annotates knowledge graphs while the Strategist handles high-level planning and vulnerability analysis. Hound is optimized for small-to-medium sized projects like smart contract applications and is language-agnostic.
ChatIDE
ChatIDE is an AI assistant that integrates with your IDE, allowing you to converse with OpenAI's ChatGPT or Anthropic's Claude within your development environment. It provides a seamless way to access AI-powered assistance while coding, enabling you to get real-time help, generate code snippets, debug errors, and brainstorm ideas without leaving your IDE.
For similar tasks
Fay
Fay is an open-source digital human framework that offers different versions for various purposes. The '带货完整版' is suitable for online and offline salespersons. The '助理完整版' serves as a human-machine interactive digital assistant that can also control devices upon command. The 'agent版' is designed to be an autonomous agent capable of making decisions and contacting its owner. The framework provides updates and improvements across its different versions, including features like emotion analysis integration, model optimizations, and compatibility enhancements. Users can access detailed documentation for each version through the provided links.
hume-python-sdk
The Hume AI Python SDK allows users to integrate Hume APIs directly into their Python applications. Users can access complete documentation, quickstart guides, and example notebooks to get started. The SDK is designed to provide support for Hume's expressive communication platform built on scientific research. Users are encouraged to create an account at beta.hume.ai and stay updated on changes through Discord. The SDK may undergo breaking changes to improve tooling and ensure reliable releases in the future.
deid-examples
This repository contains examples demonstrating how to use the Private AI REST API for identifying and replacing Personally Identifiable Information (PII) in text. The API supports over 50 entity types, such as Credit Card information and Social Security numbers, across 50 languages. Users can access documentation and the API reference on Private AI's website. The examples include common API call scenarios and use cases in both Python and JavaScript, with additional content related to PrivateGPT for secure work with Language Models (LLMs).
web-ui
WebUI is a user-friendly tool built on Gradio that enhances website accessibility for AI agents. It supports various Large Language Models (LLMs) and allows custom browser integration for seamless interaction. The tool eliminates the need for re-login and authentication challenges, offering high-definition screen recording capabilities.
git-mcp
GitMCP is a free, open-source service that transforms any GitHub project into a remote Model Context Protocol (MCP) endpoint, allowing AI assistants to access project documentation effortlessly. It empowers AI with semantic search capabilities, requires zero setup, is completely free and private, and serves as a bridge between GitHub repositories and AI assistants.
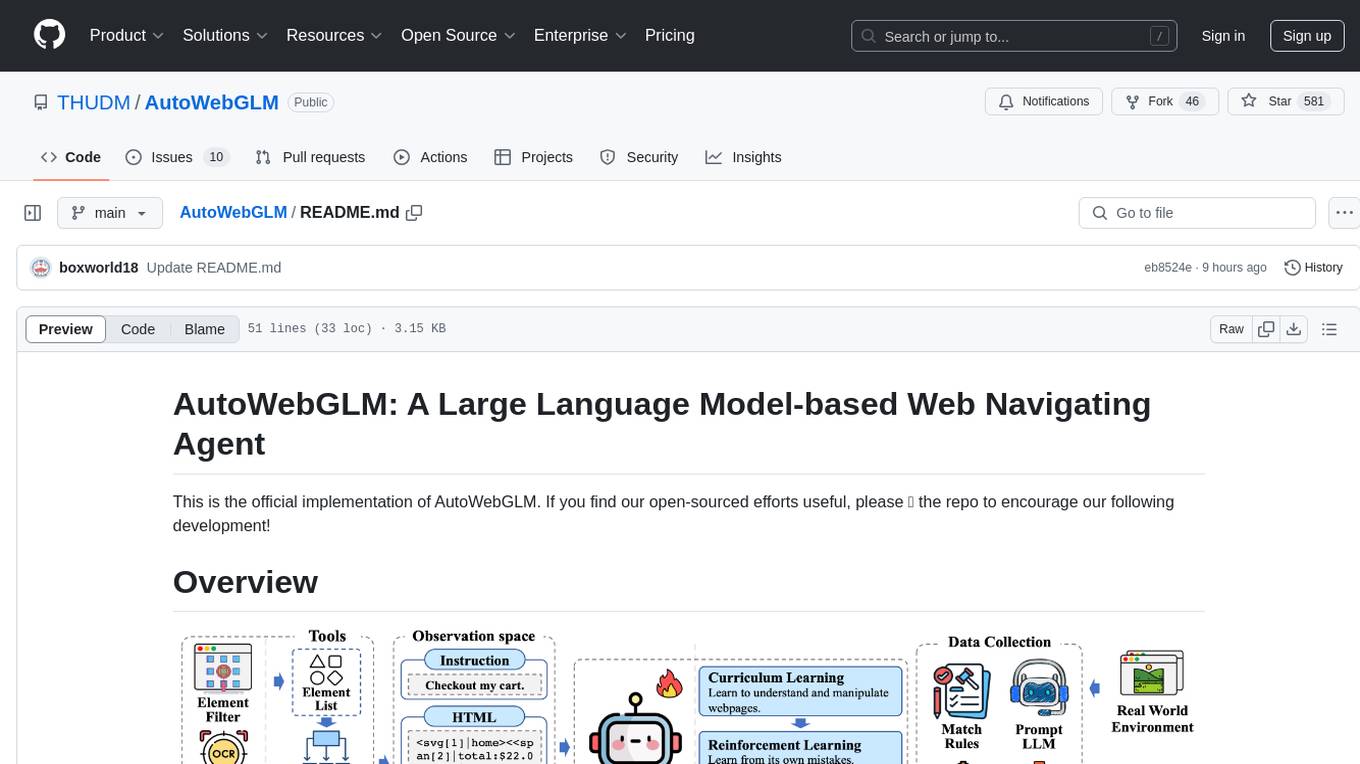
AutoWebGLM
AutoWebGLM is a project focused on developing a language model-driven automated web navigation agent. It extends the capabilities of the ChatGLM3-6B model to navigate the web more efficiently and address real-world browsing challenges. The project includes features such as an HTML simplification algorithm, hybrid human-AI training, reinforcement learning, rejection sampling, and a bilingual web navigation benchmark for testing AI web navigation agents.
AIO-Video-Downloader
AIO Video Downloader is an open-source Android application built on the robust yt-dlp backend with the help of youtubedl-android. It aims to be the most powerful download manager available, offering a clean and efficient interface while unlocking advanced downloading capabilities with minimal setup. With support for 1000+ sites and virtually any downloadable content across the web, AIO delivers a seamless yet powerful experience that balances speed, flexibility, and simplicity.
browser-use-webui
Browser-Use WebUI is a project that enhances the original browser-use tool by providing a brand new web interface, expanded LLM support for various Large Language Models, custom browser support for using your own browser with the tool, and a customized agent with optimized prompts. The tool aims to make websites accessible for AI agents and offers user-friendly interaction with the browser agent, eliminating the need for re-login to sites and dealing with authentication challenges. It also supports high-definition screen recording.
For similar jobs
sweep
Sweep is an AI junior developer that turns bugs and feature requests into code changes. It automatically handles developer experience improvements like adding type hints and improving test coverage.
teams-ai
The Teams AI Library is a software development kit (SDK) that helps developers create bots that can interact with Teams and Microsoft 365 applications. It is built on top of the Bot Framework SDK and simplifies the process of developing bots that interact with Teams' artificial intelligence capabilities. The SDK is available for JavaScript/TypeScript, .NET, and Python.
ai-guide
This guide is dedicated to Large Language Models (LLMs) that you can run on your home computer. It assumes your PC is a lower-end, non-gaming setup.

classifai
Supercharge WordPress Content Workflows and Engagement with Artificial Intelligence. Tap into leading cloud-based services like OpenAI, Microsoft Azure AI, Google Gemini and IBM Watson to augment your WordPress-powered websites. Publish content faster while improving SEO performance and increasing audience engagement. ClassifAI integrates Artificial Intelligence and Machine Learning technologies to lighten your workload and eliminate tedious tasks, giving you more time to create original content that matters.
chatbot-ui
Chatbot UI is an open-source AI chat app that allows users to create and deploy their own AI chatbots. It is easy to use and can be customized to fit any need. Chatbot UI is perfect for businesses, developers, and anyone who wants to create a chatbot.
BricksLLM
BricksLLM is a cloud native AI gateway written in Go. Currently, it provides native support for OpenAI, Anthropic, Azure OpenAI and vLLM. BricksLLM aims to provide enterprise level infrastructure that can power any LLM production use cases. Here are some use cases for BricksLLM: * Set LLM usage limits for users on different pricing tiers * Track LLM usage on a per user and per organization basis * Block or redact requests containing PIIs * Improve LLM reliability with failovers, retries and caching * Distribute API keys with rate limits and cost limits for internal development/production use cases * Distribute API keys with rate limits and cost limits for students
uAgents
uAgents is a Python library developed by Fetch.ai that allows for the creation of autonomous AI agents. These agents can perform various tasks on a schedule or take action on various events. uAgents are easy to create and manage, and they are connected to a fast-growing network of other uAgents. They are also secure, with cryptographically secured messages and wallets.
griptape
Griptape is a modular Python framework for building AI-powered applications that securely connect to your enterprise data and APIs. It offers developers the ability to maintain control and flexibility at every step. Griptape's core components include Structures (Agents, Pipelines, and Workflows), Tasks, Tools, Memory (Conversation Memory, Task Memory, and Meta Memory), Drivers (Prompt and Embedding Drivers, Vector Store Drivers, Image Generation Drivers, Image Query Drivers, SQL Drivers, Web Scraper Drivers, and Conversation Memory Drivers), Engines (Query Engines, Extraction Engines, Summary Engines, Image Generation Engines, and Image Query Engines), and additional components (Rulesets, Loaders, Artifacts, Chunkers, and Tokenizers). Griptape enables developers to create AI-powered applications with ease and efficiency.