
dravid
dravid (drd) cli is an AI powered cli coding framework
Stars: 114
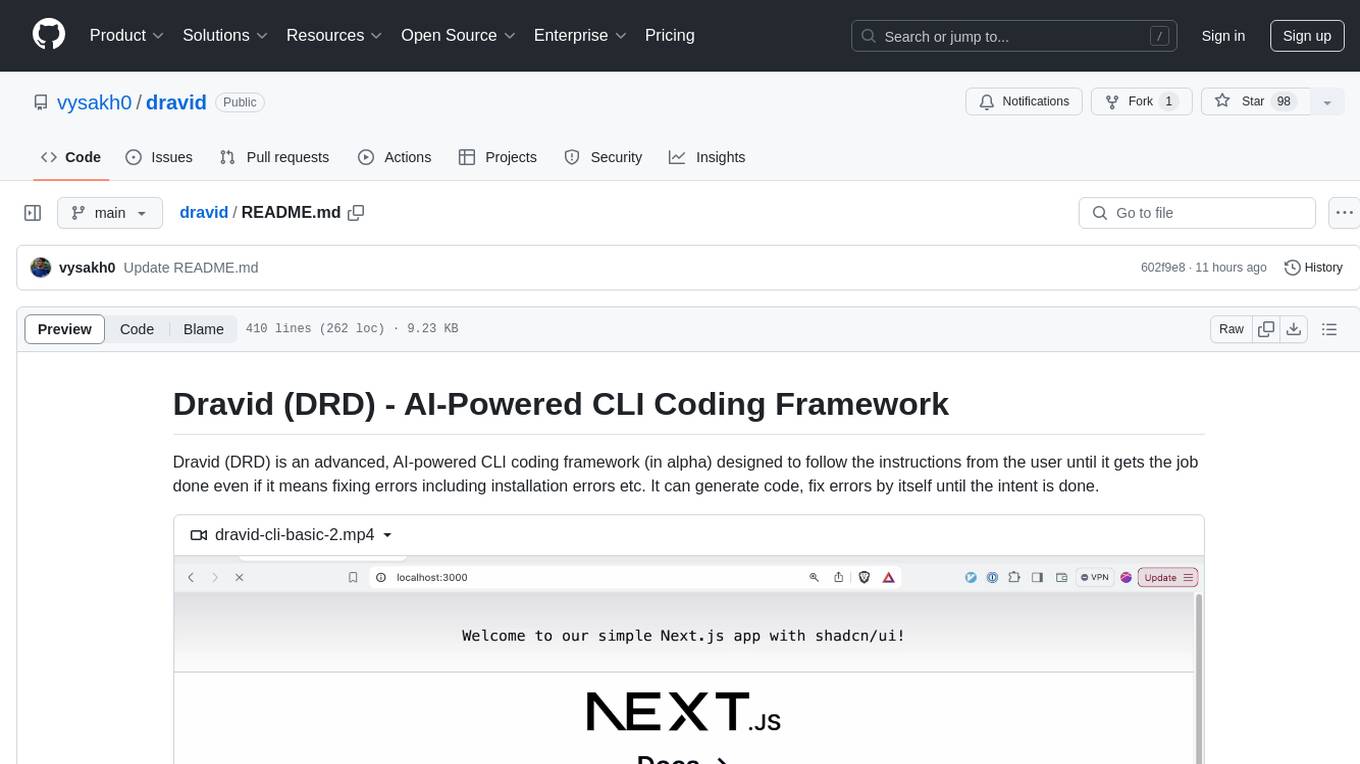
Dravid (DRD) is an advanced, AI-powered CLI coding framework designed to follow user instructions until the job is completed, including fixing errors. It can generate code, fix errors, handle image queries, manage file operations, integrate with external APIs, and provide a development server with error handling. Dravid is extensible and requires Python 3.7+ and CLAUDE_API_KEY. Users can interact with Dravid through CLI commands for various tasks like creating projects, asking questions, generating content, handling metadata, and file-specific queries. It supports use cases like Next.js project development, working with existing projects, exploring new languages, Ruby on Rails project development, and Python project development. Dravid's project structure includes directories for source code, CLI modules, API interaction, utility functions, AI prompt templates, metadata management, and tests. Contributions are welcome, and development setup involves cloning the repository, installing dependencies with Poetry, setting up environment variables, and using Dravid for project enhancements.
README:
Dravid (DRD) is an advanced, AI-powered CLI coding framework (in alpha) designed to follow user instructions until the job is done, even if it means fixing errors, including installation issues. It can generate code and fix errors autonomously until the intended result is achieved.
- Always try in a new directory for a fresh project.
- For existing projects, create a separate git branch or a sandbox environment. Monitor the generated commands. Git add or commit when you get results.
- Your file content will be sent to the CLAUDE API LLM for response. Do not include sensitive files in the project.
- Don't use hardcoded API_KEYS. Use .env and ensure it's part of .gitignore so the tool can skip reading it.
- Please use version 0.8.0 or higher. You can check the version with drd --version.
- If possible try in a docker instance.
- As shown in the video, when initializing a project where system dependencies don't exist, Dravid will attempt to fix them one by one, even if those fixes result in their own errors
https://github.com/user-attachments/assets/07784a9e-8de6-4161-9e83-8cad1fa04ae6
- If you have a dev server with import or reference errors, requiring dependency installation or fixes, Dravid will monitor your dev or test server and autofix. This is particularly useful for existing projects where you want to fix tests or refactor the entire project.
https://github.com/user-attachments/assets/14350e4d-6cec-4922-997f-f34e9f716189
You can also initialize Dravid in your existing project. See the Usage section for more details.
- AI-powered CLI for efficient coding and project management
- Image query handling capabilities
- Robust file operations and metadata management
- Integration with external APIs (Dravid API)
- Built-in development server with file monitoring
- Comprehensive error handling and reporting
- Extensible architecture for easy feature additions
- Python 3.7+
- pip (Python package installer)
- CLAUDE_API_KEY (environment variable should be set)
To install Dravid, run the following command:
pip install dravid
To upgrade for latest fixes
pip install --upgrade dravid
Always create a fresh directory before trying to create a new project.
After installation, you can use the drd command directly from your terminal. Here are some common usage examples:
NOTE: for better results, go step by step and communicate clearly. You can also define project_guidelines.txt which will be referenced in the main query, you can use this to instruct on how the code should be generated etc.
Also, any png or jpg files that will be generated and needs to be replaced will have placeholder prefix, so you know that it has to be replaced.
Execute a Dravid command:
drd "create a nextjs project"
The above command loads project context or project guidelines if they exist, along with any relevant file content in its context.
When you have larger string or if you want to copy paste a error stack with double quotes etc, please use this.
drd <<EOF
Fix this error:
....
EOF
Ask questions or generate content:
drd --ask "how is the weather"
Generate a file directly:
drd --ask "create a MIT LICENSE file, just the file, don't respond with anything else" >> LICENSE
--ask is much faster than the execute command because it doesn't load project context or project guidelines (you can create your own project_guidelines.txt)
Use image references in your queries:
drd "make the home image similar to the image" --image "~/Downloads/reference.png"
You can run the development server with automatic error fixing.
This command will start your dev server (as in the drd.json) and then continually fix any errors and then restart, you can sitback and sip coffee :)
drd --hf
or
drd --hot-fix
You can also pass custom cmd options to --hf then it will pick that command over the dev server command.
This useful especially if you have test runners.
If you have 100 test cases, and 10 of the file, you can set this command to identify errors and automatically fix
drd --hf --cmd "npm run test:watch"
or
drd --hf --command "poetry run test:watch"
It would work with any languages or frameworks, make sure that the command is a continually running one not the usual test script which exits out after tests passes or fails.
To use Dravid cli in an existing project you would have to initialize metadata (drd.json)
This script will ignore files in your .gitgnore and recursively read and give description for each of the file
drd --meta-init
or
drd --i
Note: make sure to include as many things in .gitignore that are not relevant. This would make multiple LLM calls.
When you have added some files or removed files on your own for some reason and you want Dravid to know about it, you have to run this:
drd --meta-add "modified the about page"
or
drd --a "added users api"
This would update the drd.json
Ask for suggestions on specific files:
drd --ask "can you suggest how to refactor this file" --file "src/main.py"
For more detailed usage instructions and options, use the help command:
drd --help
-
Create a simple Next.js app:
drd "create a simple nextjs app" -
Include shadcn components:
drd "include shadcn components like button, input, select etc" -
Modify home page based on a reference image:
drd "make the home page similar to the image" --image ~/Downloads/reference.png -
Create additional pages with consistent layout:
drd "whatever links like Company, About, Services etc that you see in Nav link you can convert them into links and page on its own and with some sample content. All these new pages should have the same layout as the home page" -
Auto-fix errors and start development server:
drd --hf
Initialize Dravid in an existing project:
drd --i
This creates a drd.json based on the existing folder structure, allowing you to start using Dravid in that project.
-
Create a simple Elixir project (even if Elixir is not installed):
drd "create a simple elixir project"Dravid will auto-fix any errors, including installing necessary dependencies.
-
Handle specific errors:
drd <<EOF
Your error trace in "file"
EOF
-
Create a new Rails project:
drd "create a new Ruby on Rails project with PostgreSQL database" -
Generate a scaffold for a resource:
drd "generate a scaffold for a Blog model with title and content fields" -
Set up authentication:
drd "add Devise gem for user authentication" -
Create a custom controller and views:
drd "create a controller for static pages with home, about, and contact actions, including corresponding views" -
Implement a feature based on an image:
drd "implement a comment section for blog posts similar to the image" --image ~/Downloads/comment_section.png -
Run migrations and start the server:
drd "run database migrations and start the Rails server" -
Auto-fix any errors:
drd --hf
-
Set up a new Python project with virtual environment:
drd "create a new Python project with poetry for dependency management" -
Create a simple Flask web application:
drd "create a basic Flask web application with a home route and a simple API endpoint" -
Add database integration:
drd "add SQLAlchemy ORM to the Flask app and create a User model" -
Implement user authentication:
drd "implement JWT-based authentication for the Flask API" -
Create a data processing script:
drd "create a Python script that processes CSV files using pandas and generates a summary report" -
Add unit tests:
drd "add pytest-based unit tests for the existing functions in the project" -
Generate project documentation:
drd "generate Sphinx documentation for the project, including docstrings for all functions and classes" -
Auto-fix any errors or missing dependencies:
drd --hf
-
src/drd/: Main source code directory-
cli/: Command-line interface modules -
api/: API interaction and parsing modules -
utils/: Utility functions and helpers -
prompts/: AI prompt templates -
metadata/: Project metadata management
-
-
tests/: Test suite for the project
We welcome contributions to Dravid! Please see our Contributing Guide for more details on how to get started.
To install Dravid, you need Python 3.7+ and Poetry. Follow these steps:
-
Clone the repository:
git clone https://github.com/vysakh0/dravid.git cd dravid -
Install dependencies using Poetry:
poetry install -
Set up environment variables: Create a
.envfile in the project root and add your API keys:CLAUDE_API_KEY=your_claude_api_key_here -
You can use Dravid to add features or functionalities to the project. As this project uses drd.json and has used Dravid to build Dravid.
poetry run drd "refactor api_utils"
or
poetry run drd "add tests for utils/utils"
poetry run drd --ask "who are you"
https://github.com/user-attachments/assets/2bcd2969-2746-4115-a879-18b8333a3053
https://github.com/user-attachments/assets/15112577-0d45-44be-b564-74bee548ac66
https://github.com/user-attachments/assets/25b82c1f-e357-405b-9b85-2488a2d2b771
After adding some functionalities, if you want to test how it works, I suggest creating a directory
called myapp or testapp or test-app in the root of this project. These folder names are already in .gitignore.
cd myapp
poetry run drd "create a simple elixir project"
To run the test suite:
poetry run test
This project is licensed under the MIT License - see the LICENSE file for details.
- Special thanks to the creators of the Claude AI model, which powers many of Dravid's capabilities
For questions, suggestions, or issues, please open an issue on the GitHub repository or contact the maintainers directly.
Happy coding with Dravid!
For Tasks:
Click tags to check more tools for each tasksFor Jobs:
Alternative AI tools for dravid
Similar Open Source Tools

dravid
Dravid (DRD) is an advanced, AI-powered CLI coding framework designed to follow user instructions until the job is completed, including fixing errors. It can generate code, fix errors, handle image queries, manage file operations, integrate with external APIs, and provide a development server with error handling. Dravid is extensible and requires Python 3.7+ and CLAUDE_API_KEY. Users can interact with Dravid through CLI commands for various tasks like creating projects, asking questions, generating content, handling metadata, and file-specific queries. It supports use cases like Next.js project development, working with existing projects, exploring new languages, Ruby on Rails project development, and Python project development. Dravid's project structure includes directories for source code, CLI modules, API interaction, utility functions, AI prompt templates, metadata management, and tests. Contributions are welcome, and development setup involves cloning the repository, installing dependencies with Poetry, setting up environment variables, and using Dravid for project enhancements.
ai-starter-kit
SambaNova AI Starter Kits is a collection of open-source examples and guides designed to facilitate the deployment of AI-driven use cases for developers and enterprises. The kits cover various categories such as Data Ingestion & Preparation, Model Development & Optimization, Intelligent Information Retrieval, and Advanced AI Capabilities. Users can obtain a free API key using SambaNova Cloud or deploy models using SambaStudio. Most examples are written in Python but can be applied to any programming language. The kits provide resources for tasks like text extraction, fine-tuning embeddings, prompt engineering, question-answering, image search, post-call analysis, and more.
seer
Seer is a service that provides AI capabilities to Sentry by running inference on Sentry issues and providing user insights. It is currently in early development and not yet compatible with self-hosted Sentry instances. The tool requires access to internal Sentry resources and is intended for internal Sentry employees. Users can set up the environment, download model artifacts, integrate with local Sentry, run evaluations for Autofix AI agent, and deploy to a sandbox staging environment. Development commands include applying database migrations, creating new migrations, running tests, and more. The tool also supports VCRs for recording and replaying HTTP requests.
jaison-core
J.A.I.son is a Python project designed for generating responses using various components and applications. It requires specific plugins like STT, T2T, TTSG, and TTSC to function properly. Users can customize responses, voice, and configurations. The project provides a Discord bot, Twitch events and chat integration, and VTube Studio Animation Hotkeyer. It also offers features for managing conversation history, training AI models, and monitoring conversations.
llm-subtrans
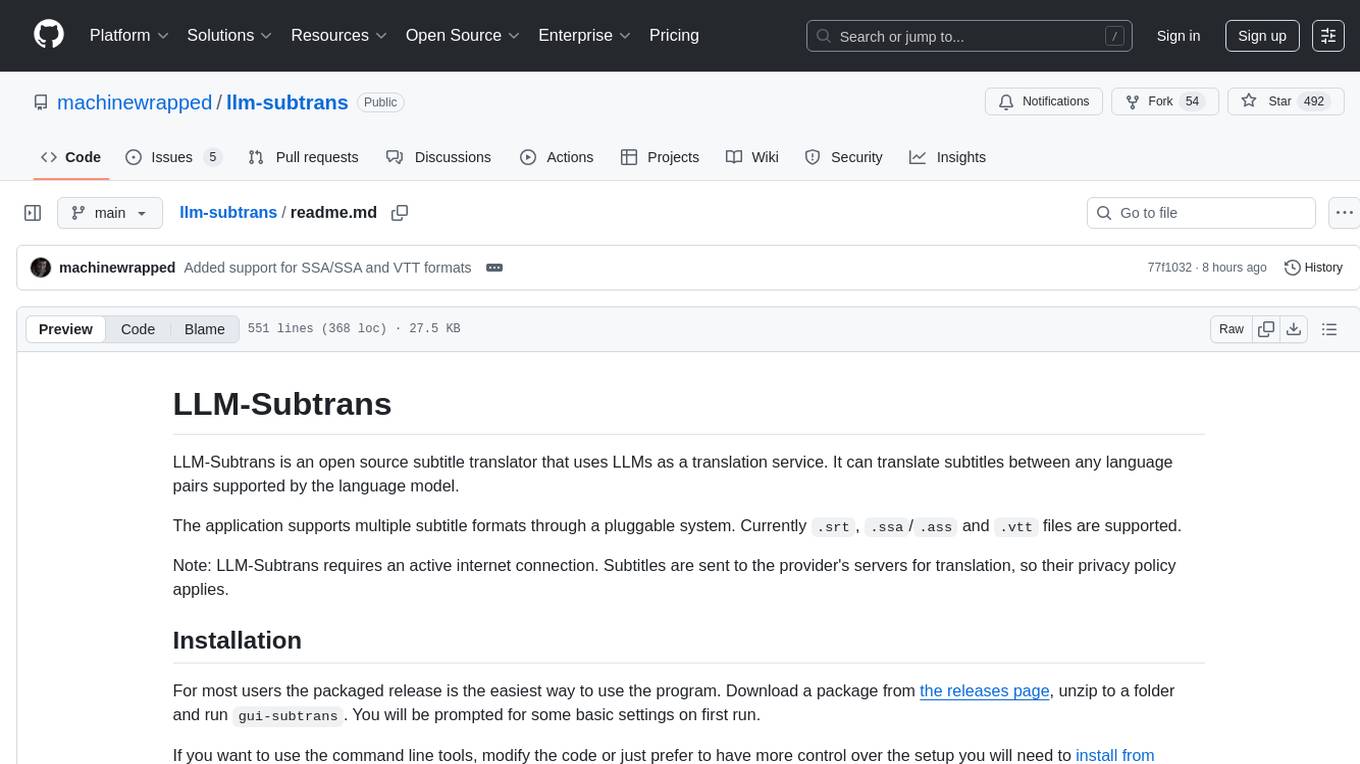
LLM-Subtrans is an open source subtitle translator that utilizes LLMs as a translation service. It supports translating subtitles between any language pairs supported by the language model. The application offers multiple subtitle formats support through a pluggable system, including .srt, .ssa/.ass, and .vtt files. Users can choose to use the packaged release for easy usage or install from source for more control over the setup. The tool requires an active internet connection as subtitles are sent to translation service providers' servers for translation.
CLI
Bito CLI provides a command line interface to the Bito AI chat functionality, allowing users to interact with the AI through commands. It supports complex automation and workflows, with features like long prompts and slash commands. Users can install Bito CLI on Mac, Linux, and Windows systems using various methods. The tool also offers configuration options for AI model type, access key management, and output language customization. Bito CLI is designed to enhance user experience in querying AI models and automating tasks through the command line interface.
dockershrink
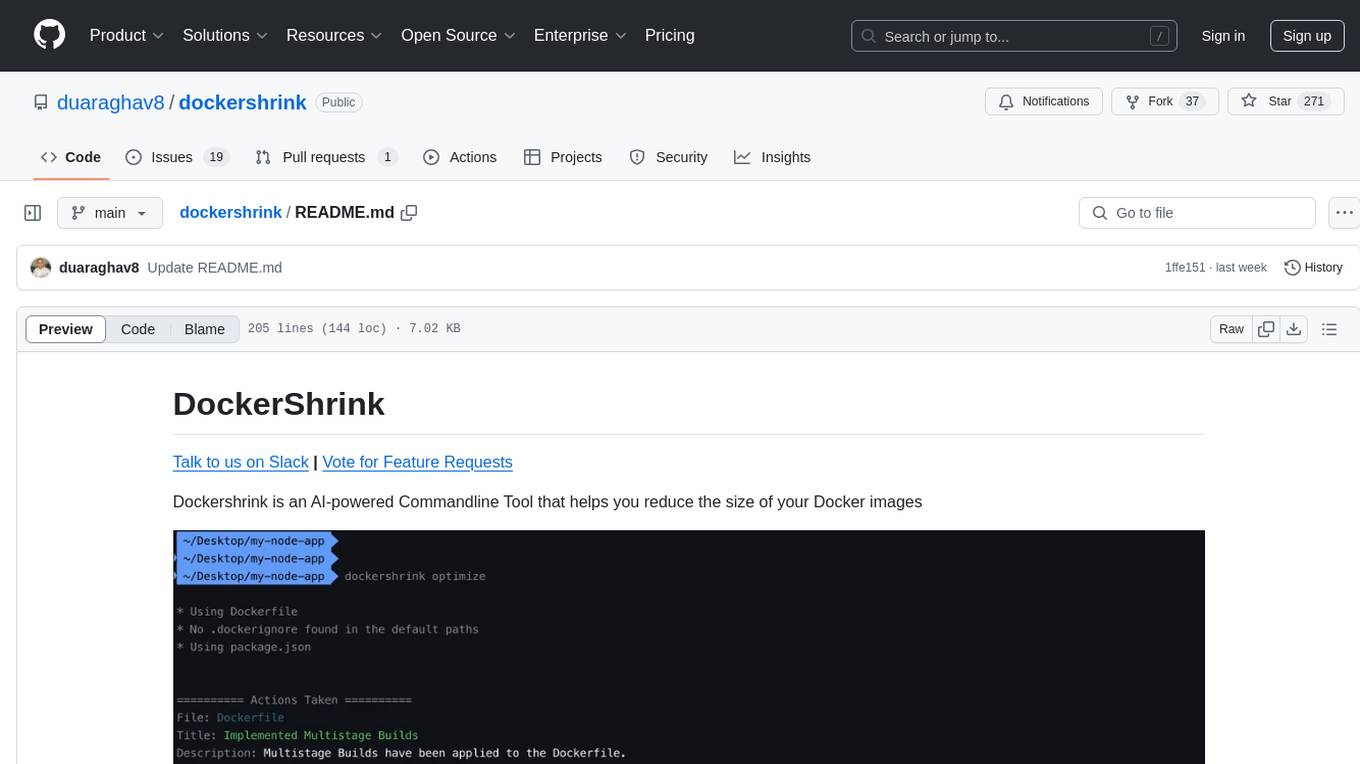
Dockershrink is an AI-powered Commandline Tool designed to help reduce the size of Docker images. It combines traditional Rule-based analysis with Generative AI techniques to optimize Image configurations. The tool supports NodeJS applications and aims to save costs on storage, data transfer, and build times while increasing developer productivity. By automatically applying advanced optimization techniques, Dockershrink simplifies the process for engineers and organizations, resulting in significant savings and efficiency improvements.
describer
Describer is a tool that analyzes codebases using AI to generate architectural overviews, documentation, explanations, bug reports, and more. It scans all files in a directory and uses Google's Gemini AI to provide insights such as markdown architectural overviews, codebase summaries, code pattern analysis, codebase structure documentation, bug identification, and test idea generation. The tool respects .gitignore rules by default but allows users to include/exclude specific files or patterns for analysis.
fasttrackml
FastTrackML is an experiment tracking server focused on speed and scalability, fully compatible with MLFlow. It provides a user-friendly interface to track and visualize your machine learning experiments, making it easy to compare different models and identify the best performing ones. FastTrackML is open source and can be easily installed and run with pip or Docker. It is also compatible with the MLFlow Python package, making it easy to integrate with your existing MLFlow workflows.
gpt-subtrans
GPT-Subtrans is an open-source subtitle translator that utilizes large language models (LLMs) as translation services. It supports translation between any language pairs that the language model supports. Note that GPT-Subtrans requires an active internet connection, as subtitles are sent to the provider's servers for translation, and their privacy policy applies.
webwhiz
WebWhiz is an open-source tool that allows users to train ChatGPT on website data to build AI chatbots for customer queries. It offers easy integration, data-specific responses, regular data updates, no-code builder, chatbot customization, fine-tuning, and offline messaging. Users can create and train chatbots in a few simple steps by entering their website URL, automatically fetching and preparing training data, training ChatGPT, and embedding the chatbot on their website. WebWhiz can crawl websites monthly, collect text data and metadata, and process text data using tokens. Users can train custom data, but bringing custom open AI keys is not yet supported. The tool has no limitations on context size but may limit the number of pages based on the chosen plan. WebWhiz SDK is available on NPM, CDNs, and GitHub, and users can self-host it using Docker or manual setup involving MongoDB, Redis, Node, Python, and environment variables setup. For any issues, users can contact [email protected].
starter-monorepo
Starter Monorepo is a template repository for setting up a monorepo structure in your project. It provides a basic setup with configurations for managing multiple packages within a single repository. This template includes tools for package management, versioning, testing, and deployment. By using this template, you can streamline your development process, improve code sharing, and simplify dependency management across your project. Whether you are working on a small project or a large-scale application, Starter Monorepo can help you organize your codebase efficiently and enhance collaboration among team members.
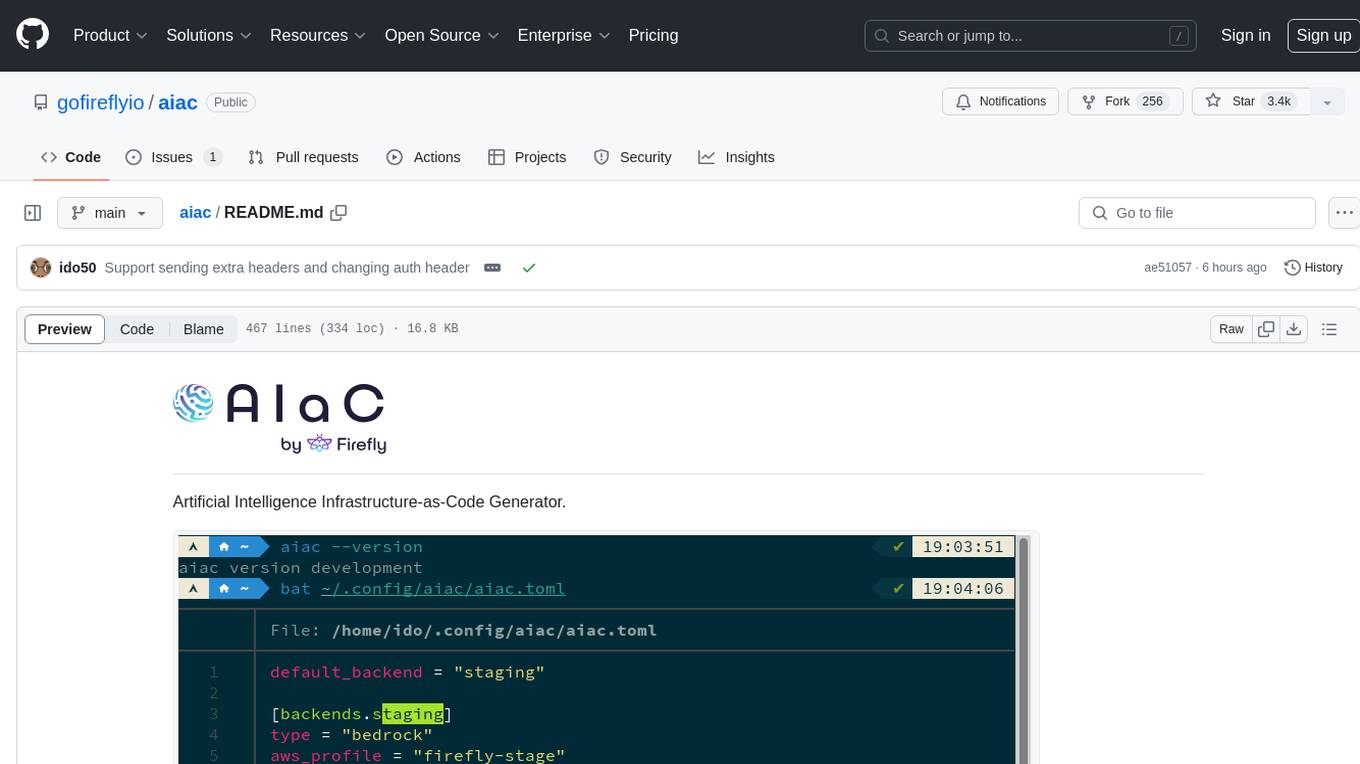
aiac
AIAC is a library and command line tool to generate Infrastructure as Code (IaC) templates, configurations, utilities, queries, and more via LLM providers such as OpenAI, Amazon Bedrock, and Ollama. Users can define multiple 'backends' targeting different LLM providers and environments using a simple configuration file. The tool allows users to ask a model to generate templates for different scenarios and composes an appropriate request to the selected provider, storing the resulting code to a file and/or printing it to standard output.
qrev
QRev is an open-source alternative to Salesforce, offering AI agents to scale sales organizations infinitely. It aims to provide digital workers for various sales roles or a superagent named Qai. The tech stack includes TypeScript for frontend, NodeJS for backend, MongoDB for app server database, ChromaDB for vector database, SQLite for AI server SQL relational database, and Langchain for LLM tooling. The tool allows users to run client app, app server, and AI server components. It requires Node.js and MongoDB to be installed, and provides detailed setup instructions in the README file.

aider-composer
Aider Composer is a VSCode extension that integrates Aider into your development workflow. It allows users to easily add and remove files, toggle between read-only and editable modes, review code changes, use different chat modes, and reference files in the chat. The extension supports multiple models, code generation, code snippets, and settings customization. It has limitations such as lack of support for multiple workspaces, Git repository features, linting, testing, voice features, in-chat commands, and configuration options.
AgentIQ
AgentIQ is a flexible library designed to seamlessly integrate enterprise agents with various data sources and tools. It enables true composability by treating agents, tools, and workflows as simple function calls. With features like framework agnosticism, reusability, rapid development, profiling, observability, evaluation system, user interface, and MCP compatibility, AgentIQ empowers developers to move quickly, experiment freely, and ensure reliability across agent-driven projects.
For similar tasks

dravid
Dravid (DRD) is an advanced, AI-powered CLI coding framework designed to follow user instructions until the job is completed, including fixing errors. It can generate code, fix errors, handle image queries, manage file operations, integrate with external APIs, and provide a development server with error handling. Dravid is extensible and requires Python 3.7+ and CLAUDE_API_KEY. Users can interact with Dravid through CLI commands for various tasks like creating projects, asking questions, generating content, handling metadata, and file-specific queries. It supports use cases like Next.js project development, working with existing projects, exploring new languages, Ruby on Rails project development, and Python project development. Dravid's project structure includes directories for source code, CLI modules, API interaction, utility functions, AI prompt templates, metadata management, and tests. Contributions are welcome, and development setup involves cloning the repository, installing dependencies with Poetry, setting up environment variables, and using Dravid for project enhancements.
ChatDBG
ChatDBG is an AI-based debugging assistant for C/C++/Python/Rust code that integrates large language models into a standard debugger (`pdb`, `lldb`, `gdb`, and `windbg`) to help debug your code. With ChatDBG, you can engage in a dialog with your debugger, asking open-ended questions about your program, like `why is x null?`. ChatDBG will _take the wheel_ and steer the debugger to answer your queries. ChatDBG can provide error diagnoses and suggest fixes. As far as we are aware, ChatDBG is the _first_ debugger to automatically perform root cause analysis and to provide suggested fixes.
AiR
AiR is an AI tool built entirely in Rust that delivers blazing speed and efficiency. It features accurate translation and seamless text rewriting to supercharge productivity. AiR is designed to assist non-native speakers by automatically fixing errors and polishing language to sound like a native speaker. The tool is under heavy development with more features on the horizon.
thread
Thread is an AI-powered Jupyter alternative that integrates an AI copilot into your editing experience. It offers a familiar Jupyter Notebook editing experience with features like natural language code edits, generating cells to answer questions, context-aware chat sidebar, and automatic error explanations or fixes. The tool aims to enhance code editing and data exploration by providing a more interactive and intuitive experience for users. Thread can be used for free with Ollama or your own API key, and it runs locally for convenience and privacy.
chatgpt-arcana.el
ChatGPT-Arcana is an Emacs package that allows users to interact with ChatGPT directly from Emacs, enabling tasks such as chatting with GPT, operating on code or text, generating eshell commands from natural language, fixing errors, writing commit messages, and creating agents for web search and code evaluation. The package requires an API key from OpenAI's GPT-3 model and offers various interactive functions for enhancing productivity within Emacs.
aide
Aide is an Open Source AI-native code editor that combines the powerful features of VS Code with advanced AI capabilities. It provides a combined chat + edit flow, proactive agents for fixing errors, inline editing widget, intelligent code completion, and AST navigation. Aide is designed to be an intelligent coding companion, helping users write better code faster while maintaining control over the development process.
nodejs-todo-api-boilerplate
An LLM-powered code generation tool that relies on the built-in Node.js API Typescript Template Project to easily generate clean, well-structured CRUD module code from text description. It orchestrates 3 LLM micro-agents (`Developer`, `Troubleshooter` and `TestsFixer`) to generate code, fix compilation errors, and ensure passing E2E tests. The process includes module code generation, DB migration creation, seeding data, and running tests to validate output. By cycling through these steps, it guarantees consistent and production-ready CRUD code aligned with vertical slicing architecture.
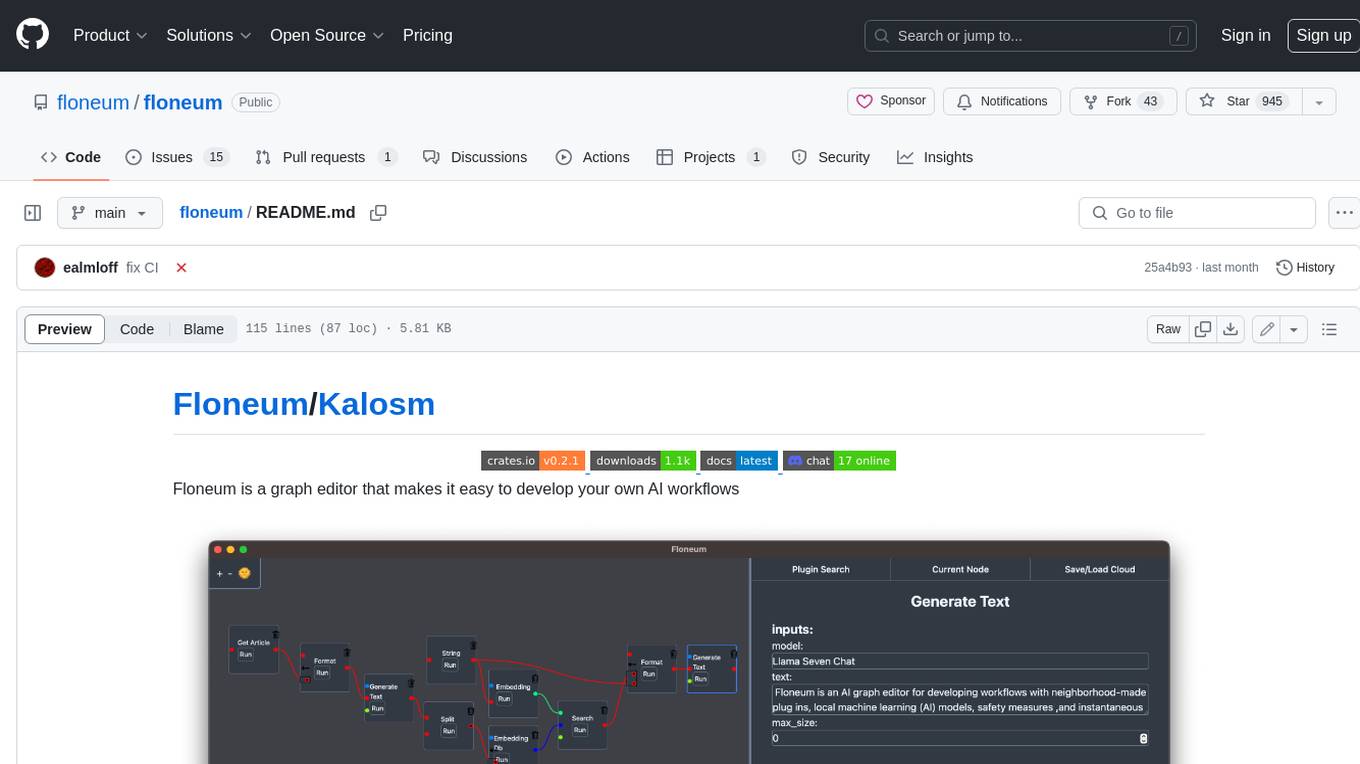
floneum
Floneum is a graph editor that makes it easy to develop your own AI workflows. It uses large language models (LLMs) to run AI models locally, without any external dependencies or even a GPU. This makes it easy to use LLMs with your own data, without worrying about privacy. Floneum also has a plugin system that allows you to improve the performance of LLMs and make them work better for your specific use case. Plugins can be used in any language that supports web assembly, and they can control the output of LLMs with a process similar to JSONformer or guidance.
For similar jobs
sweep
Sweep is an AI junior developer that turns bugs and feature requests into code changes. It automatically handles developer experience improvements like adding type hints and improving test coverage.
teams-ai
The Teams AI Library is a software development kit (SDK) that helps developers create bots that can interact with Teams and Microsoft 365 applications. It is built on top of the Bot Framework SDK and simplifies the process of developing bots that interact with Teams' artificial intelligence capabilities. The SDK is available for JavaScript/TypeScript, .NET, and Python.
ai-guide
This guide is dedicated to Large Language Models (LLMs) that you can run on your home computer. It assumes your PC is a lower-end, non-gaming setup.
classifai
Supercharge WordPress Content Workflows and Engagement with Artificial Intelligence. Tap into leading cloud-based services like OpenAI, Microsoft Azure AI, Google Gemini and IBM Watson to augment your WordPress-powered websites. Publish content faster while improving SEO performance and increasing audience engagement. ClassifAI integrates Artificial Intelligence and Machine Learning technologies to lighten your workload and eliminate tedious tasks, giving you more time to create original content that matters.
chatbot-ui
Chatbot UI is an open-source AI chat app that allows users to create and deploy their own AI chatbots. It is easy to use and can be customized to fit any need. Chatbot UI is perfect for businesses, developers, and anyone who wants to create a chatbot.
BricksLLM
BricksLLM is a cloud native AI gateway written in Go. Currently, it provides native support for OpenAI, Anthropic, Azure OpenAI and vLLM. BricksLLM aims to provide enterprise level infrastructure that can power any LLM production use cases. Here are some use cases for BricksLLM: * Set LLM usage limits for users on different pricing tiers * Track LLM usage on a per user and per organization basis * Block or redact requests containing PIIs * Improve LLM reliability with failovers, retries and caching * Distribute API keys with rate limits and cost limits for internal development/production use cases * Distribute API keys with rate limits and cost limits for students
uAgents
uAgents is a Python library developed by Fetch.ai that allows for the creation of autonomous AI agents. These agents can perform various tasks on a schedule or take action on various events. uAgents are easy to create and manage, and they are connected to a fast-growing network of other uAgents. They are also secure, with cryptographically secured messages and wallets.
griptape
Griptape is a modular Python framework for building AI-powered applications that securely connect to your enterprise data and APIs. It offers developers the ability to maintain control and flexibility at every step. Griptape's core components include Structures (Agents, Pipelines, and Workflows), Tasks, Tools, Memory (Conversation Memory, Task Memory, and Meta Memory), Drivers (Prompt and Embedding Drivers, Vector Store Drivers, Image Generation Drivers, Image Query Drivers, SQL Drivers, Web Scraper Drivers, and Conversation Memory Drivers), Engines (Query Engines, Extraction Engines, Summary Engines, Image Generation Engines, and Image Query Engines), and additional components (Rulesets, Loaders, Artifacts, Chunkers, and Tokenizers). Griptape enables developers to create AI-powered applications with ease and efficiency.