
SirChatalot
SirChatalot is a Telegram bot leveraging ChatGPT, Claude or YandexGPT. It uses Whisper for speech-to-text and DALL-E, Stability AI or YandexART for image creation. It can use vision capabilities or tools/functions.
Stars: 65
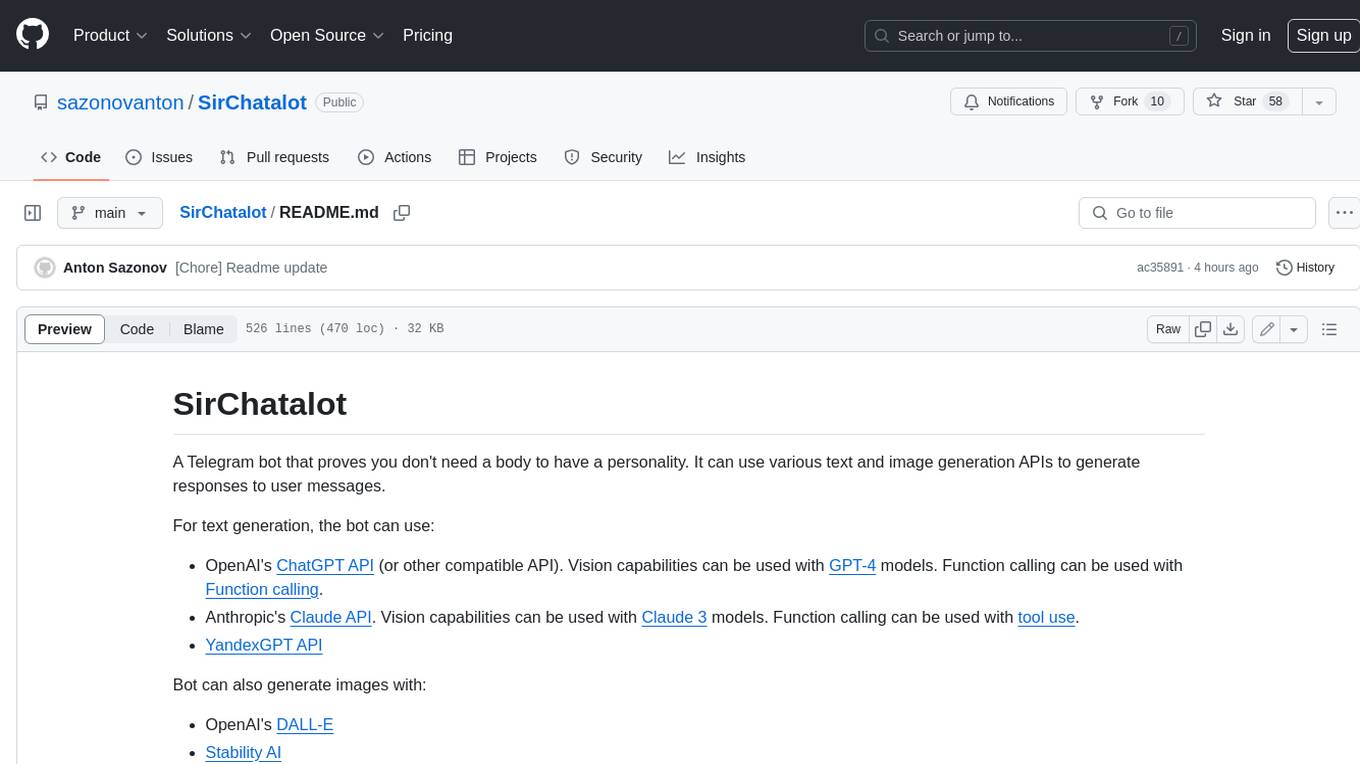
A Telegram bot that proves you don't need a body to have a personality. It can use various text and image generation APIs to generate responses to user messages. For text generation, the bot can use: * OpenAI's ChatGPT API (or other compatible API). Vision capabilities can be used with GPT-4 models. Function calling can be used with Function calling. * Anthropic's Claude API. Vision capabilities can be used with Claude 3 models. Function calling can be used with tool use. * YandexGPT API Bot can also generate images with: * OpenAI's DALL-E * Stability AI * Yandex ART This bot can also be used to generate responses to voice messages. Bot will convert the voice message to text and will then generate a response. Speech recognition can be done using the OpenAI's Whisper model. To use this feature, you need to install the ffmpeg library. This bot is also support working with files, see Files section for more details. If function calling is enabled, bot can generate images and search the web (limited).
README:
A Telegram bot that proves you don't need a body to have a personality. It can use various text and image generation APIs to generate responses to user messages.
For text generation, the bot can use:
- OpenAI's ChatGPT API (or other compatible API). Vision capabilities can be used with GPT-4 models. Function calling can be used with Function calling.
- Anthropic's Claude API. Vision capabilities can be used with Claude 3 models. Function calling can be used with tool use.
- YandexGPT API.
- Any other OpenAI compatible API.
Bot can also generate images with:
- OpenAI's DALL-E
- Stability AI
- Yandex ART
This bot can also be used to generate responses to voice messages. Bot will convert voice message to text and then it will generate a response. Speech recognition is done using the OpenAI's Whisper model. To use this feature, you need to install the ffmpeg library.
If function calling is enabled, bot can generate images and search the web by itself.
- Getting Started
- Configuration
- Using Claude
- Using YandexGPT
- Vision
- Image generation
- Web Search
- Function calling
- Using OpenAI compatible APIs
- Styles
- Files
- Running the Bot
- Whitelisting users
- Banning Users
- Safety practices
- Rate limiting users
- Using Docker
- Read messages
- Warinings
- License
- Acknowledgements
- Create a bot using the BotFather and get the token.
- Clone the repository.
- Install the required packages by running the command
pip install -r requirements.txt. - Install the ffmpeg library for voice message support (for converting .ogg files to other format) and test it calling
ffmpeg --versionin the terminal. - Create a
.configfile in thedatadirectory using the example files (config.example.*) there as a template. Don't forget to set access codes if you want to restrict access to the bot (you will be added to whitelist when you use one of them (learn more)). - You can run the bot by running the command
python3 main.pyor by using Docker withdocker compose up -d(learn more here).
Bot is designed to talk to you in a style of a knight in the middle ages by default. You can change that in the ./data/.config file (SystemMessage).
There are also some additional styles that you can choose from: Alice, Bob, Charlie and Diana. You can change style from chat by sending a message with /style command, but your current session will be dropped.
Styles can be set up in the ./data/chat_modes.ini file. You can add your own styles there or change the existing ones.
whitelist.txt, banlist.txt, .config, chat_modes.ini, are stored in the ./data directory. Logs rotate every day and are stored in the ./logs directory.
The bot requires a configuration file to run. The configuration file should be in INI file format. Example configuration file is in the ./data directory.
File should contain (for OpenAI API):
[Telegram]
Token = 0000000000:xxxxxxxxxxxxxxxxxxxxxxxxxxxxxxxxxxx
AccessCodes = whitelistcode,secondwhitelistcode
RateLimitTime = 3600
GeneralRateLimit = 100
TextEngine = OpenAI

[Logging]
LogLevel = WARNING
LogChats = False

[OpenAI]
SecretKey = xxxxxxxxxxxxxxxxxxxxxxxxxxxxxxxxxxxxxxxxxxxxxxxxxxx
ChatModel = gpt-3.5-turbo
ChatModelPromptPrice = 0.0015
ChatModelCompletionPrice = 0.002
WhisperModel = whisper-1
WhisperModelPrice = 0.006
Temperature = 0.7
MaxTokens = 3997
MinLengthTokens = 100
AudioFormat = wav
SystemMessage = You are a helpful assistant named Sir Chat-a-lot, who answers in a style of a knight in the middle ages.
MaxSessionLength = 15
ChatDeletion = False
EndUserID = True
Moderation = False
Vision = False
ImageSize = 512
FunctionCalling = False
DeleteImageAfterAnswer = False
ImageDescriptionOnDelete = False
SummarizeTooLong = False

[Files]
Enabled = True
MaxFileSizeMB = 10
MaxSummaryTokens = 1000
MaxFileLength = 10000
DeleteAfterProcessing = True
Telegram:
- Telegram.Token: The token for the Telegram bot.
- Telegram.AccessCodes: A comma-separated list of access codes that can be used to add users to the whitelist. If no access codes are provided, anyone who not in the banlist will be able to use the bot.
- Telegram.RateLimitTime: The time in seconds to calculate user rate-limit. Optional.
- Telegram.GeneralRateLimit: The maximum number of messages that can be sent by a user in the
Telegram.RateLimitTimeperiod. Applied to all users. Optional. - Telegram.TextEngine: The text engine to use. Optional, default is
OpenAI. Other options areYandexGPTandClaude. - Logging.LogLevel: The logging level. Optional, default is
WARNING. - Logging.LogChats: If set to
True, bot will log all chats. Optional, default isFalse.
OpenAI:
- OpenAI.SecretKey: The secret key for the OpenAI API.
- OpenAI.ChatModel: The model to use for generating responses (learn more about OpenAI models here).
- OpenAI.ChatModelPrice: The price of the model to use for generating responses (per 1000 tokens, in USD).
- OpenAI.WhisperModel: The model to use for speech recognition (Speect-to-text can be powered by
whisper-1for now). - OpenAI.WhisperModelPrice: The price of the model to use for speech recognition (per minute, in USD).
- OpenAI.Temperature: The temperature to use for generating responses.
- OpenAI.MaxTokens: The maximum number of tokens to use for generating responses.
- OpenAI.MinLengthTokens: The minimum number of tokens to use for generating responses. Optional, default 100.
- OpenAI.AudioFormat: The audio format to convert voice messages (
ogg) to (can bewav,mp3or other supported by Whisper). Stated whithout a dot. - OpenAI.SystemMessage: The message that will shape your bot's personality.
- OpenAI.MaxSessionLength: The maximum number of user messages in a session (can be used to reduce tokens used). Optional.
- OpenAI.ChatDeletion: Whether to delete the user's history if conversation is too long. Optional.
- OpenAI.EndUserID: Whether to add the user's ID to the API request. Optional.
- OpenAI.Moderation: Whether to use the OpenAI's moderation engine. Optional.
- OpenAI.Vision: Whether to use vision capabilities of GPT-4 models. Default:
False. See Vision. - OpenAI.ImageSize: Maximum size of images. If image is bigger than that it will be resized. Default:
512 - OpenAI.DeleteImageAfterAnswer: Whether to delete image after it was seen by model. Enable it to keep cost of API usage low. Default:
False. - OpenAI.ImageDescriptionOnDelete: Whether to replace image with it description after it was deleted (see
OpenAI.DeleteImageAfterAnswer). Default:False. - OpenAI.FunctionCalling: Whether to use function calling capabilities (see section Function calling). Default:
False. - OpenAI.SummarizeTooLong: Whether to summarize first set of messages if session is too long instead of deleting it. Default:
False.
Files:
- Files.Enabled: Whether to enable files support. Optional. Default:
True. - Files.MaxFileSizeMB: The maximum file size in megabytes. Optional. Default:
20. - Files.MaxSummaryTokens: The maximum number of tokens to use for generating summaries. Optional. Default:
OpenAI.MaxTokens/2. - Files.MaxFileLength: The maximum number of tokens to use for generating summaries. Optional. Default:
10000. - Files.DeleteAfterProcessing: Whether to delete files after processing. Optional. Deafult:
True.
Configuration should be stored in the ./data/.config file. Use the config.example file in the ./data directory as a template.
Claude and YandexGPT configurations are different, see Using Claude and Using YandexGPT sections for more details.
Claude is a family of large language models developed by Anthropic. You should get access to it first.
You need to install Anthropic's Python SDK beforehand by running:
pip install anthropicTo use Claude, you need to change the Telegram.TextEngine field to Claude or Anthropic in the ./data/.config file and replace the OpenAI section with Anthropic section:
[Telegram]
Token = 111111111:xxxxxxxxxxxxxxxxxxxxxxxxxxxxxxxxxxx
AccessCodes = 123456789
TextEngine = Claude

[Anthropic]
SecretKey = sk-ant-******
ChatModel = claude-3-haiku-20240307
ChatModelPromptPrice = 0.00025
ChatModelCompletionPrice = 0.00125
Temperature = 0.7
MaxTokens = 1500
SystemMessage = You are a librarian named Bob whom one may met in tavern. You a chatting with user via Telegram messenger.
Vision = True
ImageSize = 768
DeleteImageAfterAnswer = False
ImageDescriptionOnDelete = False
SummarizeTooLong = True
FunctionCalling = False- Anthropic.SecretKey: The secret key for the Anthropic API.
- Anthropic.ChatModel: The model to use for generating responses (
claude-3-haiku-20240307by default). - Anthropic.ChatModelPromptPrice: The price of the model to use for generating responses (per 1000 tokens, in USD).
- Anthropic.ChatModelCompletionPrice: The price of the model to use for generating responses (per 1000 tokens, in USD).
- Anthropic.Temperature: The temperature to use for generating responses.
- Anthropic.MaxTokens: The maximum number of tokens to use for generating responses.
- Anthropic.SystemMessage: The message that will shape your bot's personality.
- Anthropic.Vision: Whether to use vision capabilities of Claude 3 models. Default:
False. - Anthropic.ImageSize: Maximum size of images. If image is bigger than that it will be resized. Default:
512 - Anthropic.DeleteImageAfterAnswer: Whether to delete image after it was seen by model. Enable it to keep cost of API usage low. Default:
False. - Anthropic.ImageDescriptionOnDelete: Whether to replace image with it description after it was deleted (see
OpenAI.DeleteImageAfterAnswer). Default:False. - Anthropic.SummarizeTooLong: Whether to summarize first set of messages if session is too long instead of deleting it. Default:
False. - Anthropic.FunctionCalling: Whether to use function calling capabilities (see section Function calling). Default:
False.
You can find Claude models here.
You can also set up HTTP proxy for API requests in the ./data/.config file (tested) like this:
[Anthropic]
...
Proxy = http://login:password@proxy:port
...
Example of configuration for using Claude API is in the ./data/config.claude.example file.
YandexGPT is in Preview, you should request access to it.
You should have a service Yandex Cloud account to use YandexGPT (https://yandex.cloud/en/docs/yandexgpt/quickstart). Service account should have access to the YandexGPT API and role ai.languageModels.user or higher.
To use YandexGPT, you need to set the Telegram.TextEngine field to YandexGPT in the ./data/.config file:
[Telegram]
Token = 111111111:xxxxxxxxxxxxxxxxxxxxxxxxxxxxxxxxxxx
AccessCodes = 123456789
TextEngine = YandexGPT

[YandexGPT]
SecretKey=******
CatalogID=******
ChatModel=gpt://<CatalogID>/yandexgpt/latest
Temperature=700
MaxTokens=1500
SystemMessage=You are a helpful assistant named Sir Chatalot.
SummarizeTooLong = True
RequestLogging = False- YandexGPT.SecretKey: The secret key for the Yandex Cloud.
- YandexGPT.CatalogID: The catalog ID for the Yandex Cloud.
- YandexGPT.Endpoint: The endpoint for the Yandex GPT API. Optional, default is
https://llm.api.cloud.yandex.net/foundationModels/v1/completion. - YandexGPT.ChatModel: The model to use for generating responses (learn more here). You can use
gpt://<CatalogID>/yandexgpt-lite/latestor justyandexgpt-lite/latest(default) for the latest model in the default catalog. - YandexGPT.ChatModelCompletionPrice: The price of the model to use for generating responses (per 1000 tokens, in USD).
- YandexGPT.ChatModelPromptPrice: The price of the model to use for generating responses (per 1000 tokens, in USD).
- YandexGPT.SummarisationModel: The model to use for summarisation. Optional, default is
summarization/latest. - YandexGPT.Temperature: The temperature to use for generating responses.
- YandexGPT.MaxTokens: The maximum number of tokens to use for generating responses.
- YandexGPT.SystemMessage: The message that will shape your bot's personality.
- YandexGPT.SummarizeTooLong: Whether to summarize first set of messages if session is too long instead of deleting it. Default:
False. - YandexGPT.RequestLogging: Whether to disable logging of API requests by the Yandex Cloud (learn more here). Default:
False.
Bot can understand images with OpenAI GPT-4 or Claude 3 models.
To use this functionality you should make some changes in configuration file (change OpenAI to Anthropic if you use Claude).
Example:
...
[OpenAI]
ChatModel = gpt-4-vision-preview
ChatModelPromptPrice = 0.01
ChatModelCompletionPrice = 0.03
...
Vision = True
ImageSize = 512
DeleteImageAfterAnswer = False
ImageDescriptionOnDelete = False
...
Check if you have an access to GPT-4V or Claude 3 models with vision capabilities.
OpenAI models can be found here and prices can be found here.
Claude 3 models and prices can be found here.
Beware that right now functionalty for calculating cost of usage is not working for images, so you should pay attenion to that.
You can use function calling capabilities with some OpenAI or Claude models.
This way model will decide what function to call by itself. For example, you can ask the bot to generate an image and it will do it.
Right now image generation and some web tools are supported.
To use this functionality you should make some changes in configuration file. Example (OpenAI, for Claude change OpenAI to Anthropic):
...
[OpenAI]
FunctionCalling = True
...
Don't forget to enable Image generation (see Image generation).
This feature is experimental, please submit an issue if you find a problem.
You can generate images. Right now only DALL-E and Stability AI are supported.
To generate an image, send the bot a message with the /imagine <text> command. The bot will then generate an image based on the text prompt. Images are not stored on the server and processed as base64 strings.
Also if FunctionCalling is set to True in the ./data/.config file (see Function calling), you can generate images with function calling just by asking the bot to do it.
RateLimitCount, RateLimitTime and ImageGenerationPrice parameters are not required, default values for them are zero. So if not set rate limit will not be applied and price will be zero.
To use this functionality with Dall-E you should make some changes in configuration file. Example:
...
[ImageGeneration]
Engine = dalle
APIKey = ******
Model = dall-e-3
RateLimitCount = 16
RateLimitTime = 3600
ImageGenerationPrice = 0.04
...
If you want to use OpenAI text engine and image generation you can omit APIKey field in the ImageGeneration section. Key will be taken from the OpenAI section.
For OpenAI you can also set BaseURL field in the ImageGeneration section. If it was set in OpenAI section, it will be used instead, to override it you cat set ImageGeneration.BaseURL to None.
Parameters set in ImageGeneration have priority over OpenAI section for image generation.
Alternatively you can set up DALL-E in OpenAI section of the ./data/.config file (deprecated, support can be removed in the future).
If config has section ImageGeneration it will be used instead and this method will be ignored.
...
ImageGeneration = False
ImageGenModel = dall-e-3
ImageGenerationSize = 1024x1024
ImageGenerationStyle = vivid
ImageGenerationPrice = 0.04
...To use this functionality with Stability AI you should make some changes in configuration file. Example:
[ImageGeneration]
Engine = stability
ImageGenURL = https://api.stability.ai/v2beta/stable-image/generate/core
APIKey = ******
ImageGenerationRatio = 1:1
RateLimitCount = 16
RateLimitTime = 3600
ImageGenerationPrice = 0.04
You can also set NegativePrompt (str) and Seed (int) parameters in the ImageGeneration section if you want to use them.
ImageGenURL and ImageGenerationRatio are not required, default values (in example) are used if they are not set.
To use this functionality with Yandex ART you should add a section in the configuration file. Example:
[ImageGeneration]
Engine = yandex
APIKey = ******
ImageGenModel = yandex-art/latest
CatalogID = ******
RateLimitCount = 5
RateLimitTime = 3600
ImageGenModel can also have a value art://<CatalogID>/yandex-art/latest.
You can also set ImageGenerationPrice (float) parameter in the ImageGeneration section if you want to use it. Also you can fix seed for image generation by setting Seed (int) parameter.
Service Yandex Foundation Models is on Preview, stage so it can be unstable.
YandexART API demands IAM token for requests. Service account should have access to the Yandex ART API and role ai.imageGeneration.user or higher.
Learn more about Yandex ART here (ru).
[!WARNING] There can be some changes in the way Yandex ART API works, so it can be unstable.
You can use web search capabilities with function calling.
Right now only Google search is supported (via Google Search API).
To enable web search you should make some changes in configuration file. Example:
...

[Web]
SearchEngine = google
APIKey = ******
CSEID = ******
URLSummary = False
TrimLength = 3000
...
Keep in mind that you should also set FunctionCalling to True in the ./data/.config file (see Function calling).
If SearchEngine is not set, web search functionality will not be enabled.
SirChatalot will only have information about the first 5 results (title, link and description).
It can try to open only links provided (or from history), but will not walk through the pages when using web search.
URLSummary parameter is used to tell the bot to summarize the content of the page.
TrimLength is used to limit the length of the parsed text (context can be lost).
You can use APIs compatible with OpenAI's API. To do that, you need to set endpoint in the OpenAI section of the ./data/.config file:
[OpenAI]
...
APIBase = https://openrouter.ai/api/v1
SecretKey = sk-or-v1-***
ChatModel = openai/gpt-3.5-turbo-0125
Temperature = 0.7
Moderation = False
...
Also it is possible to set APIType and APIVersion.
All this values are optional.
[!NOTE]
Tested with LocalAI and OpenRouter, also should be possible to use with Ollama and LM Studio.
Bot supports different styles that can be triggered with /style command.
You can add your own style in the ./data/chat_modes.ini file or change the existing ones. Styles are stored in the INI file format.
Example:
[Alice]
Description = Empathetic and friendly
SystemMessage = You are a empathetic and friendly woman named Alice, who answers helpful, funny and a bit flirty.

[Bob]
Description = Brief and informative
SystemMessage = You are a helpful assistant named Bob, who is informative and explains everything succinctly with fewer words.
Here is a list of the fields in this example:
- Alice or Bob: The name of the style.
- Description: Short description of the style. Is used in message that is shown when
/stylecommand is called. - SystemMessage: The message that will shape your bot's personality. You will need some prompt engineering to make it work properly.
Bot supports working with files (limited). You can send a file to the bot and it will send back a response based on the file's extracted text.
To use this functionality you should make some changes in configuration file. Example:
...
[Files]
Enabled = True
MaxFileSizeMB = 10
MaxSummaryTokens = 1000
MaxFileLength = 10000
DeleteAfterProcessing = True
...
Currently supported file types: .docx, .doc, .pptx, .ppt, .pdf, .txt.
If you use Linux - install catdoc for .doc and .ppt files support and test it calling catdoc in the terminal. .doc and .ppt files support won't work without it.
If you use Windows - install comtypes for .doc and .ppt files support with pip install comtypes.
Files temporarily stored in the ./data/files directory. After successful processing, they are deleted if other behavior is not specified in the ./data/.config file.
Maximum file size to work with is 20 MB (python-telegram-bot limitation), you can set your own limit in the ./data/.config file (in MB), but it will be limited by the python-telegram-bot limit.
If file is too large, the bot will attempt to summarize it to the length of MaxTokens/2. You can set your own limit in the ./data/.config file (in tokens - one token is ~4 characters).
You can also limit max file lenght (in characters) by setting the Files.MaxFileLength field in the ./data/.config file (in tokens). It can be set because sumarization is made with API requests and it can be expensive.
Summarisation will happen by chunks of size Files.MaxSummaryTokens until the whole file is processed. Summary for chunks will be combined into one summary (maximum 3 itterations, then text is just cut).
By default this functionality is disabled.
[!WARNING] Files support will be changed in the future. Current implementation will be removed.
To run the bot, simply run the command python3 main.py. The bot will start and will wait for messages.
The bot has the following commands:
-
/start: starts the conversation with the bot. -
/help: shows the help message. -
/delete: deletes the conversation history. -
/statistics: shows the bot usage. -
/style: changes the style of the bot from chat. -
/limit: shows the current rate-limit for the user. -
/imagine <text>: generates an image based on the text. You can use it only ifOpenAI.ImageGenerationis set toTrue(see Image generation). - Any other message (including voice message) will generate a response from the bot.
Users need to be whitelisted to use the bot. To whitelist yourself, send an access code to the bot using the /start command. The bot will then add you to the whitelist and will send a message to you confirming that you have been added to the whitelist.
Access code should be changed in the ./data/.config file (see Configuration).
Codes are shown in terminal when the bot is started.
To restrict access to the bot, you should provide an access code (or multiple codes) in the ./data/.config file.
If no access codes are provided, anyone who not in the banlist will be able to use the bot.
Bot is doing authorization by Telegram ID that is stored in the ./data/whitelist.txt file.
To add yourself to the whitelist, send the bot a message with one of the access codes (see Configuration). You will be added to the whitelist authomatically.
Alternatively, you can add users to the whitelist manually. To do that, add the user's Telegram ID to the ./data/whitelist.txt file (each ID should be on a separate line). Example:
132456
789123To ban a user you should add their Telegram ID to the ./data/banlist.txt file. Each ID should be on a separate line. Example:
123456
789123
Banlist has a higher priority than the whitelist.
If a user is on the banlist, they will not be able to use the bot and the will see a message saying that they have been banned.
To prevent the bot from being used for purposes that violate the OpenAI's usage policy, you can use:
- Moderation: Moderation will filter out messages that can violate the OpenAI's usage policy with free OpenAI's Moderation API. In this case, message is sent to the Moderation API and if it is flagged, it is not sent to the OpenAI's API. If you want to use it, set
OpenAI.Moderationtotruein the./data/.configfile (see Configuration). User will be notified if their message is flagged. - End-user IDs: End-user IDs will be added to the API request if
OpenAI.EndUserIDis set totruein the./data/.configfile (see Configuration). Sending end-user IDs in your requests can be a useful tool to help OpenAI monitor and detect abuse. This allows OpenAI to provide your team with more actionable feedback in the event of bot abuse. End-user ID is a hashed Telegram ID of the user. - Rate limiting: Rate limiting will limit the number of messages a user can send to the bot. If you want to use it, set
Telegram.GeneralRateLimitto a number of messages a user can send to the bot in a time period in the./data/.configfile (see Configuration). - Banlist: Banlist will prevent users from using the bot. If you want to use it, add user's Telegram ID to the
./data/banlist.txtfile (see Banning Users). - Whitelist: Whitelist will allow only whitelisted users to use the bot. If you want to use it, add user's Telegram ID to the
./data/whitelist.txtfile (see Whitelisting Users).
To limit the number of messages a user can send to the bot, add their Telegram ID and limit to the ./data/rates.txt file. Each ID should be on a separate line.
Example:
123456789,10
987654321,500
111111,0
Rate limit is a number of messages a user can send to the bot in a time period. In example user with ID 123456789 has 10 and user 987654321 has 500 messages limit. User 111111 has no limit (overriding GeneralRateLimit).
Time period (in seconds) can be set in the ./data/.config file in RateLimitTime variable in Telegram section (see Configuration). If no time period is provided, limit is not applied.
General rate limit can be set in the ./data/.config file in GeneralRateLimit variable in Telegram section (see Configuration). To override general rate limit for a user, set their limit in the rates.txt file.
Users can check your limit by sending the bot a message with the /limit command.
You can use Docker to run the bot.
First, you need to install Docker.
You can do it with installation script.
curl -fsSL https://get.docker.com -o get-docker.sh
sh get-docker.sh
Set it up to start on boot and add your user to the docker group so you can run Docker commands without sudo:
sudo systemctl enable docker
sudo usermod -aG docker $USER
Then, you need to build the bot image.
Run the following command in the root directory of the project after configuring the bot (see Configuration):
docker compose up -dThis will build the image and run the container.
To rebuild the image add --build flag to the command:
docker compose up -d --buildTo stop the container, run the following command:
docker compose down If you are using custom docker-compose file, you can specify it with -f flag:
docker compose -f docker-compose.yml up -d --buildTo stop the container:
docker compose -f docker-compose.yml downYou can read user messages for moderation purposes with read_messages.py.
Call it from projects chatutils directory with:
python3 read_messages.py- Use this bot at your own risk. I am not responsible for any damage caused by this bot.
- The bot stores the whitelist in plain text.
- The bot stores chat history in as a pickle file.
- Configurations are stored in plain text.
- The bot can store messages in a log file in a event of an error or if logger level set to
DEBUG. - The bot will store messages if
Logging.LogChatsset toTruein the./data/.configfile. - The bot temporarily stores voice messages in
./data/voicedirectory. - The bot is not designed to be used in production environments. It is not secure and was build as a proof of concept.
- The bot can work with files. If file was not processed or
Files.DeleteAfterProcessingis set toFalsein the./data/.configfile (see Configuration), the file will be stored in./data/filesdirectory. - If message is flagged by the OpenAI Moderation API, it will not be sent to the OpenAI's API, but it will be stored in
./data/moderation.txtfile for manual review. - Functionalty for calculating cost of usage can be inaccurate for images with Dall-E.
This project is licensed under GPLv3. See the LICENSE file for more details.
- OpenAI ChatGPT API - The API used for generating responses.
- OpenAI Whisper API - The API used for speech recognition.
- OpenAI DALL-E API - The API used for generating images.
- Yandex GPT API - The API used for generating responses.
- Anthropic Claude API - The API used for generating responses.
- python-telegram-bot - The library used for interacting with the Telegram API.
- FFmpeg - The library used for converting voice messages.
- pydub - The library used for finding the duration of voice messages.
For Tasks:
Click tags to check more tools for each tasksFor Jobs:
Alternative AI tools for SirChatalot
Similar Open Source Tools

SirChatalot
A Telegram bot that proves you don't need a body to have a personality. It can use various text and image generation APIs to generate responses to user messages. For text generation, the bot can use: * OpenAI's ChatGPT API (or other compatible API). Vision capabilities can be used with GPT-4 models. Function calling can be used with Function calling. * Anthropic's Claude API. Vision capabilities can be used with Claude 3 models. Function calling can be used with tool use. * YandexGPT API Bot can also generate images with: * OpenAI's DALL-E * Stability AI * Yandex ART This bot can also be used to generate responses to voice messages. Bot will convert the voice message to text and will then generate a response. Speech recognition can be done using the OpenAI's Whisper model. To use this feature, you need to install the ffmpeg library. This bot is also support working with files, see Files section for more details. If function calling is enabled, bot can generate images and search the web (limited).
safety-tooling
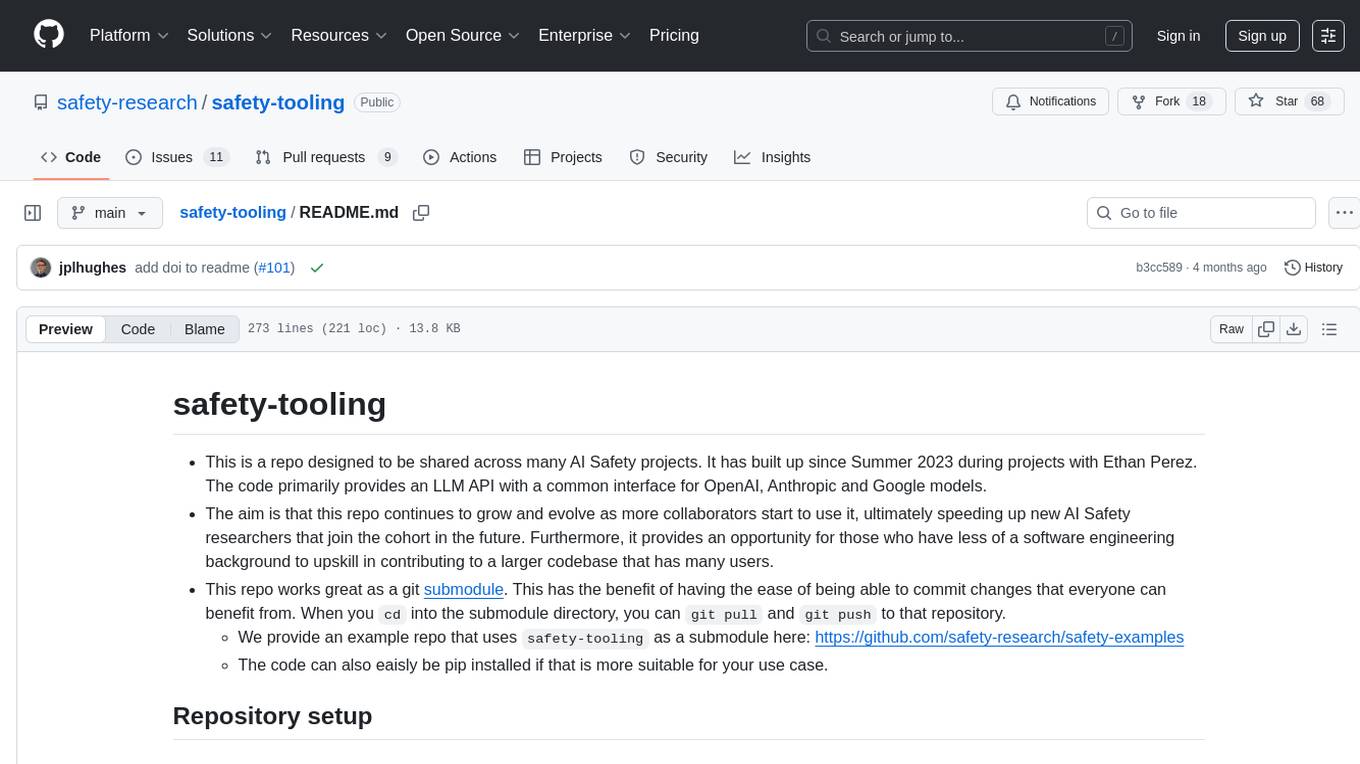
This repository, safety-tooling, is designed to be shared across various AI Safety projects. It provides an LLM API with a common interface for OpenAI, Anthropic, and Google models. The aim is to facilitate collaboration among AI Safety researchers, especially those with limited software engineering backgrounds, by offering a platform for contributing to a larger codebase. The repo can be used as a git submodule for easy collaboration and updates. It also supports pip installation for convenience. The repository includes features for installation, secrets management, linting, formatting, Redis configuration, testing, dependency management, inference, finetuning, API usage tracking, and various utilities for data processing and experimentation.
PolyMind
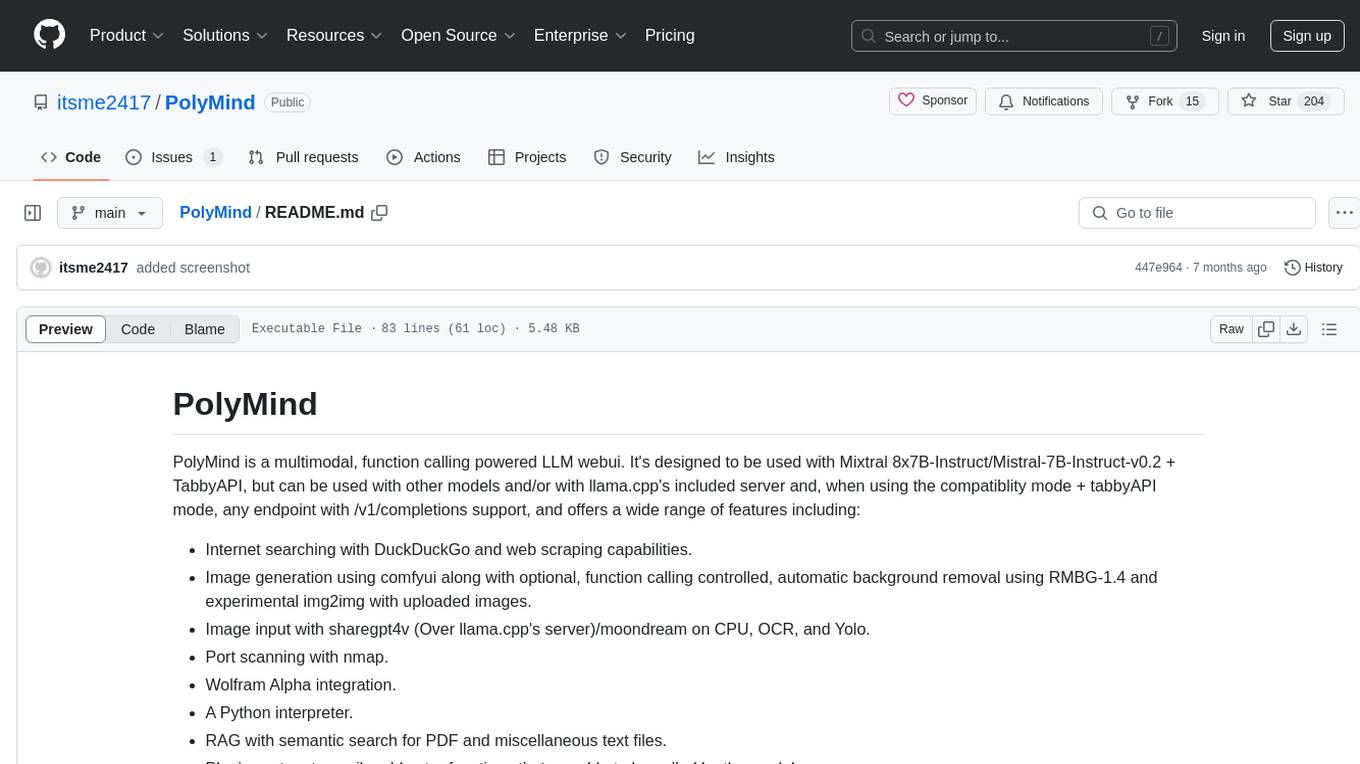
PolyMind is a multimodal, function calling powered LLM webui designed for various tasks such as internet searching, image generation, port scanning, Wolfram Alpha integration, Python interpretation, and semantic search. It offers a plugin system for adding extra functions and supports different models and endpoints. The tool allows users to interact via function calling and provides features like image input, image generation, and text file search. The application's configuration is stored in a `config.json` file with options for backend selection, compatibility mode, IP address settings, API key, and enabled features.
opencommit
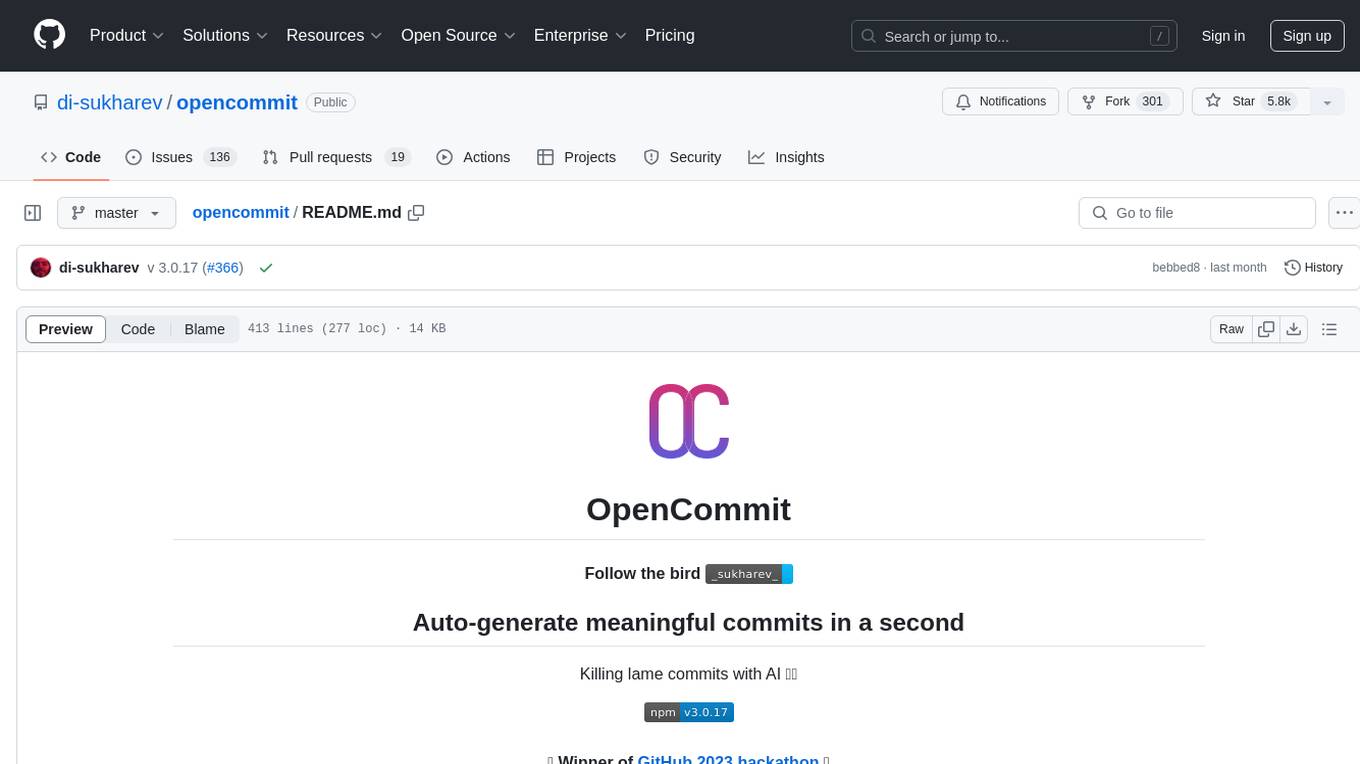
OpenCommit is a tool that auto-generates meaningful commits using AI, allowing users to quickly create commit messages for their staged changes. It provides a CLI interface for easy usage and supports customization of commit descriptions, emojis, and AI models. Users can configure local and global settings, switch between different AI providers, and set up Git hooks for integration with IDE Source Control. Additionally, OpenCommit can be used as a GitHub Action to automatically improve commit messages on push events, ensuring all commits are meaningful and not generic. Payments for OpenAI API requests are handled by the user, with the tool storing API keys locally.
ai-town
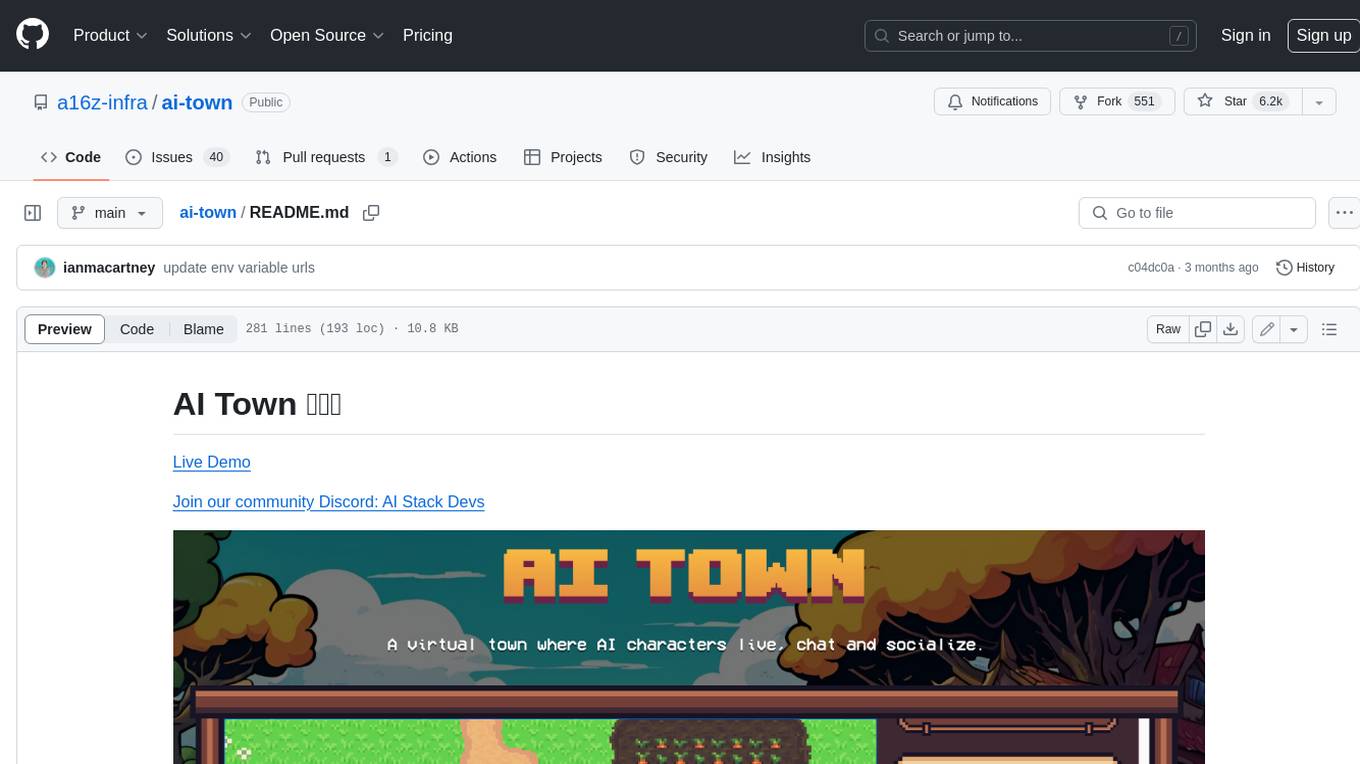
AI Town is a virtual town where AI characters live, chat, and socialize. This project provides a deployable starter kit for building and customizing your own version of AI Town. It features a game engine, database, vector search, auth, text model, deployment, pixel art generation, background music generation, and local inference. You can customize your own simulation by creating characters and stories, updating spritesheets, changing the background, and modifying the background music.
prelude
Prelude is a simple tool for creating context prompts for LLMs with long context windows. It helps improve code distributed over multiple files by generating prompts with file tree and concatenated file contents. The prompt is copied to clipboard and can be saved to a file. It excludes files listed in .preludeignore and .gitignore files. The tool requires the `tree` command to be installed on the system for functionality.
gpt-cli
gpt-cli is a command-line interface tool for interacting with various chat language models like ChatGPT, Claude, and others. It supports model customization, usage tracking, keyboard shortcuts, multi-line input, markdown support, predefined messages, and multiple assistants. Users can easily switch between different assistants, define custom assistants, and configure model parameters and API keys in a YAML file for easy customization and management.
sage
Sage is a tool that allows users to chat with any codebase, providing a chat interface for code understanding and integration. It simplifies the process of learning how a codebase works by offering heavily documented answers sourced directly from the code. Users can set up Sage locally or on the cloud with minimal effort. The tool is designed to be easily customizable, allowing users to swap components of the pipeline and improve the algorithms powering code understanding and generation.
warc-gpt
WARC-GPT is an experimental retrieval augmented generation pipeline for web archive collections. It allows users to interact with WARC files, extract text, generate text embeddings, visualize embeddings, and interact with a web UI and API. The tool is highly customizable, supporting various LLMs, providers, and embedding models. Users can configure the application using environment variables, ingest WARC files, start the server, and interact with the web UI and API to search for content and generate text completions. WARC-GPT is designed for exploration and experimentation in exploring web archives using AI.

appworld
AppWorld is a high-fidelity execution environment of 9 day-to-day apps, operable via 457 APIs, populated with digital activities of ~100 people living in a simulated world. It provides a benchmark of natural, diverse, and challenging autonomous agent tasks requiring rich and interactive coding. The repository includes implementations of AppWorld apps and APIs, along with tests. It also introduces safety features for code execution and provides guides for building agents and extending the benchmark.

aider-composer
Aider Composer is a VSCode extension that integrates Aider into your development workflow. It allows users to easily add and remove files, toggle between read-only and editable modes, review code changes, use different chat modes, and reference files in the chat. The extension supports multiple models, code generation, code snippets, and settings customization. It has limitations such as lack of support for multiple workspaces, Git repository features, linting, testing, voice features, in-chat commands, and configuration options.
vector-inference
This repository provides an easy-to-use solution for running inference servers on Slurm-managed computing clusters using vLLM. All scripts in this repository run natively on the Vector Institute cluster environment. Users can deploy models as Slurm jobs, check server status and performance metrics, and shut down models. The repository also supports launching custom models with specific configurations. Additionally, users can send inference requests and set up an SSH tunnel to run inference from a local device.
vulnerability-analysis
The NVIDIA AI Blueprint for Vulnerability Analysis for Container Security showcases accelerated analysis on common vulnerabilities and exposures (CVE) at an enterprise scale, reducing mitigation time from days to seconds. It enables security analysts to determine software package vulnerabilities using large language models (LLMs) and retrieval-augmented generation (RAG). The blueprint is designed for security analysts, IT engineers, and AI practitioners in cybersecurity. It requires NVAIE developer license and API keys for vulnerability databases, search engines, and LLM model services. Hardware requirements include L40 GPU for pipeline operation and optional LLM NIM and Embedding NIM. The workflow involves LLM pipeline for CVE impact analysis, utilizing LLM planner, agent, and summarization nodes. The blueprint uses NVIDIA NIM microservices and Morpheus Cybersecurity AI SDK for vulnerability analysis.
unstructured
The `unstructured` library provides open-source components for ingesting and pre-processing images and text documents, such as PDFs, HTML, Word docs, and many more. The use cases of `unstructured` revolve around streamlining and optimizing the data processing workflow for LLMs. `unstructured` modular functions and connectors form a cohesive system that simplifies data ingestion and pre-processing, making it adaptable to different platforms and efficient in transforming unstructured data into structured outputs.
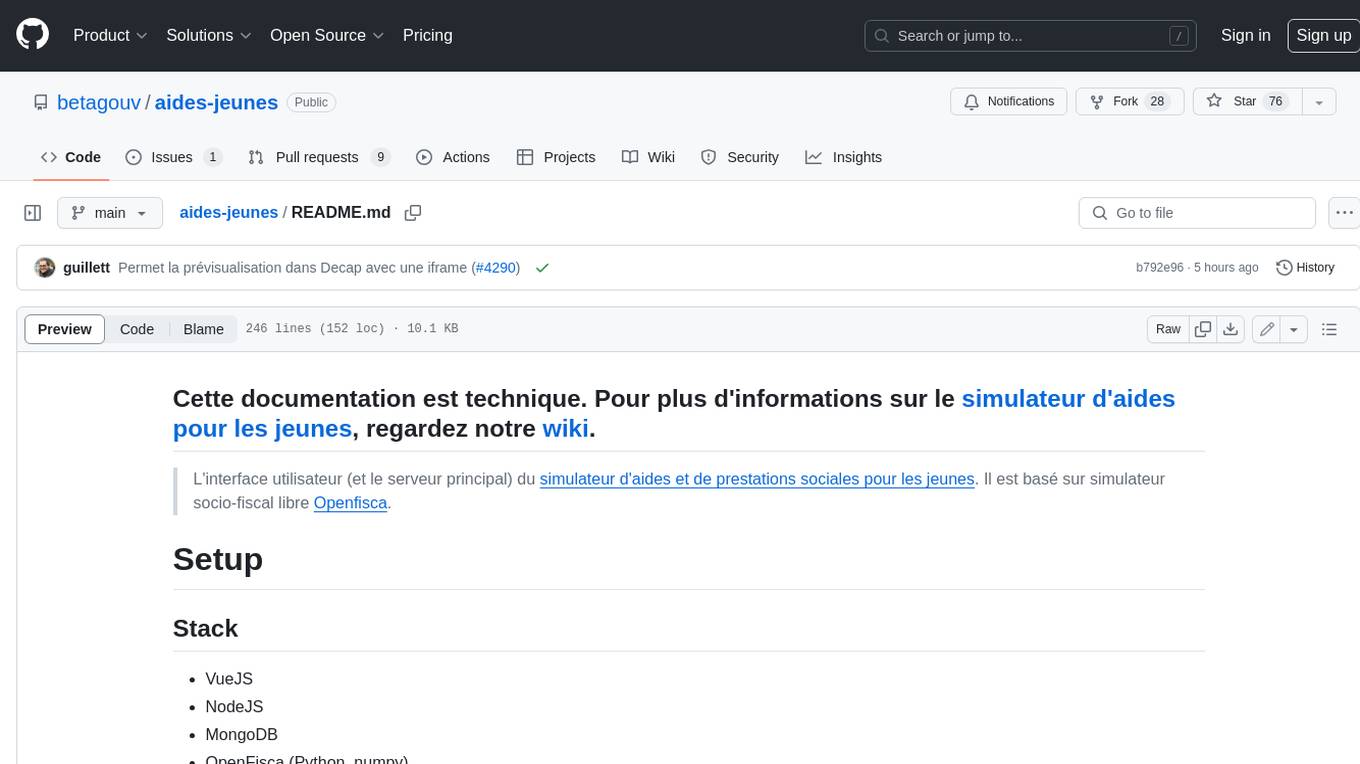
aides-jeunes
The user interface (and the main server) of the simulator of aids and social benefits for young people. It is based on the free socio-fiscal simulator Openfisca.
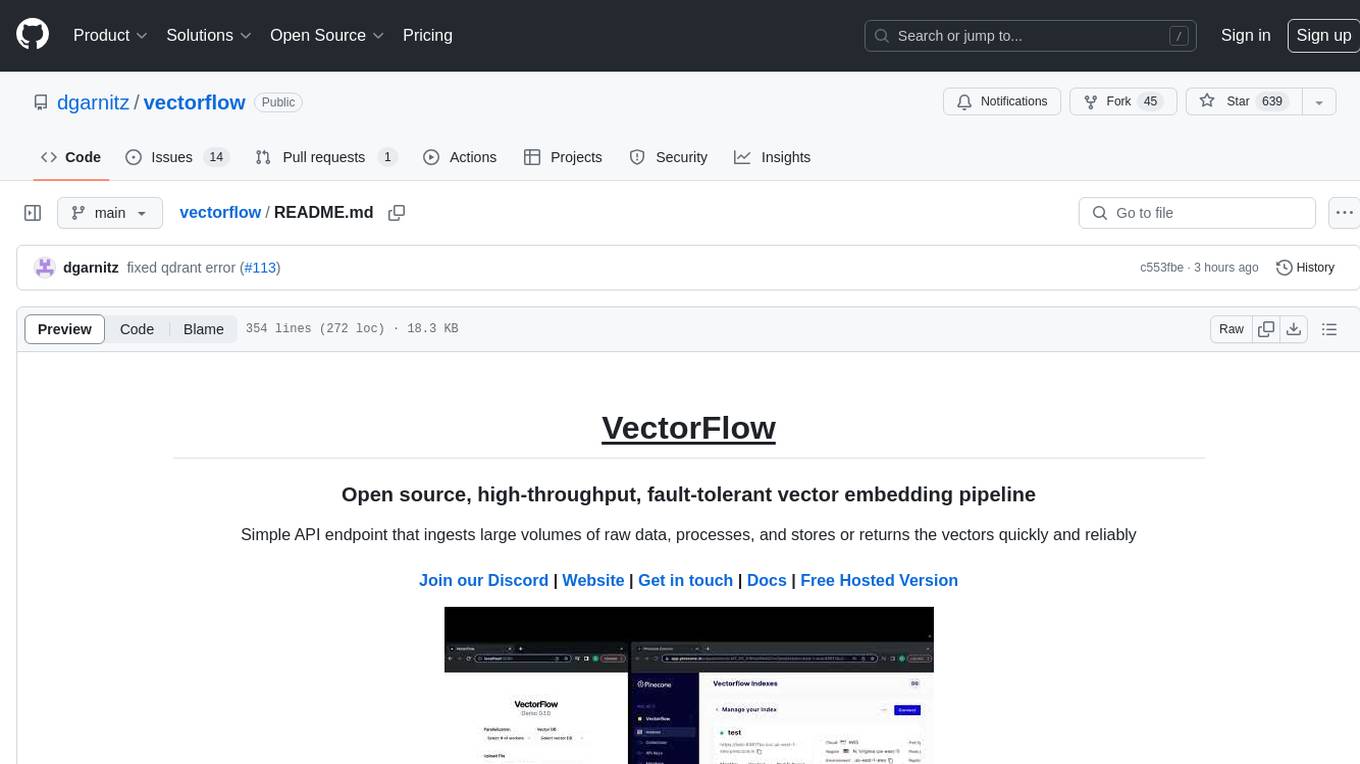
vectorflow
VectorFlow is an open source, high throughput, fault tolerant vector embedding pipeline. It provides a simple API endpoint for ingesting large volumes of raw data, processing, and storing or returning the vectors quickly and reliably. The tool supports text-based files like TXT, PDF, HTML, and DOCX, and can be run locally with Kubernetes in production. VectorFlow offers functionalities like embedding documents, running chunking schemas, custom chunking, and integrating with vector databases like Pinecone, Qdrant, and Weaviate. It enforces a standardized schema for uploading data to a vector store and supports features like raw embeddings webhook, chunk validation webhook, S3 endpoint, and telemetry. The tool can be used with the Python client and provides detailed instructions for running and testing the functionalities.
For similar tasks

SirChatalot
A Telegram bot that proves you don't need a body to have a personality. It can use various text and image generation APIs to generate responses to user messages. For text generation, the bot can use: * OpenAI's ChatGPT API (or other compatible API). Vision capabilities can be used with GPT-4 models. Function calling can be used with Function calling. * Anthropic's Claude API. Vision capabilities can be used with Claude 3 models. Function calling can be used with tool use. * YandexGPT API Bot can also generate images with: * OpenAI's DALL-E * Stability AI * Yandex ART This bot can also be used to generate responses to voice messages. Bot will convert the voice message to text and will then generate a response. Speech recognition can be done using the OpenAI's Whisper model. To use this feature, you need to install the ffmpeg library. This bot is also support working with files, see Files section for more details. If function calling is enabled, bot can generate images and search the web (limited).
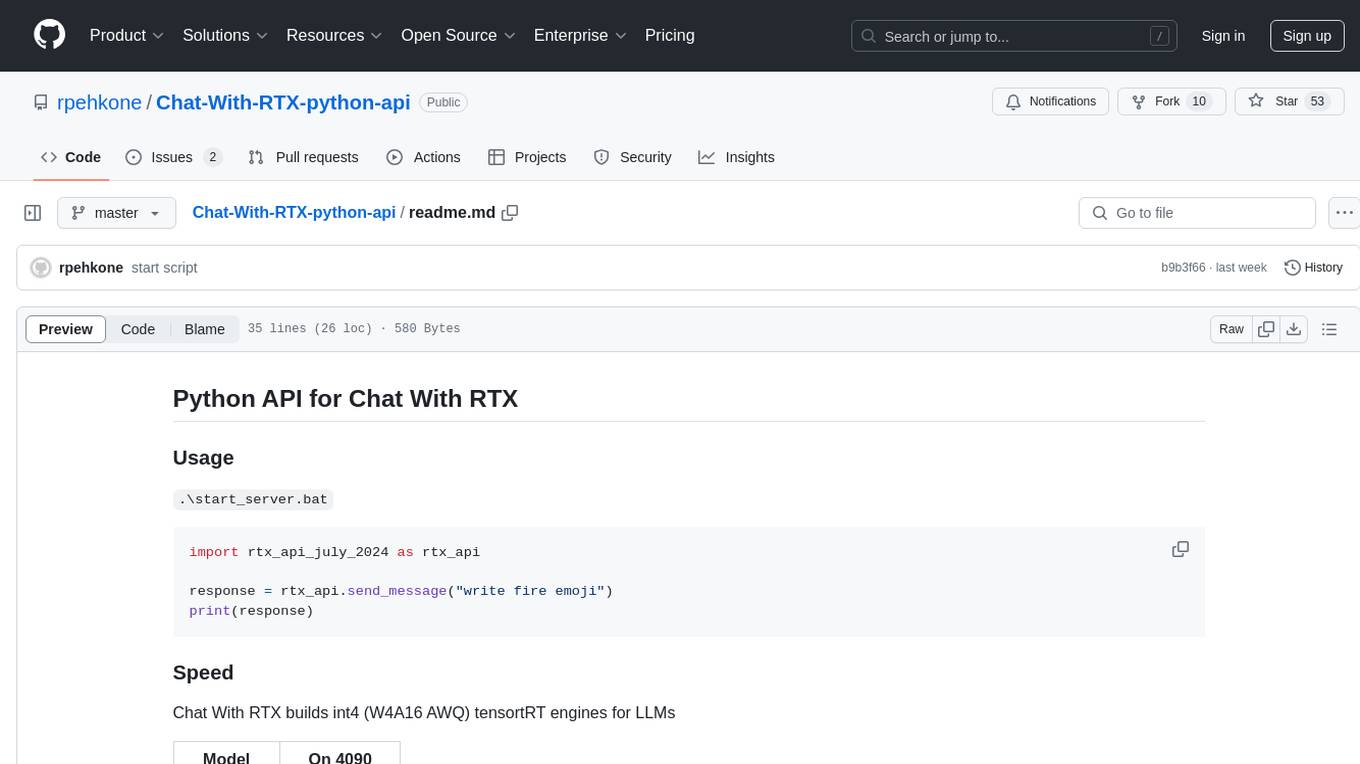
Chat-With-RTX-python-api
This repository contains a Python API for Chat With RTX, which allows users to interact with RTX models for natural language processing. The API provides functionality to send messages and receive responses from various LLM models. It also includes information on the speed of different models supported by Chat With RTX. The repository has a history of updates, including the removal of a feature and the addition of a new model for speech-to-text conversion. The repository is licensed under CC0.
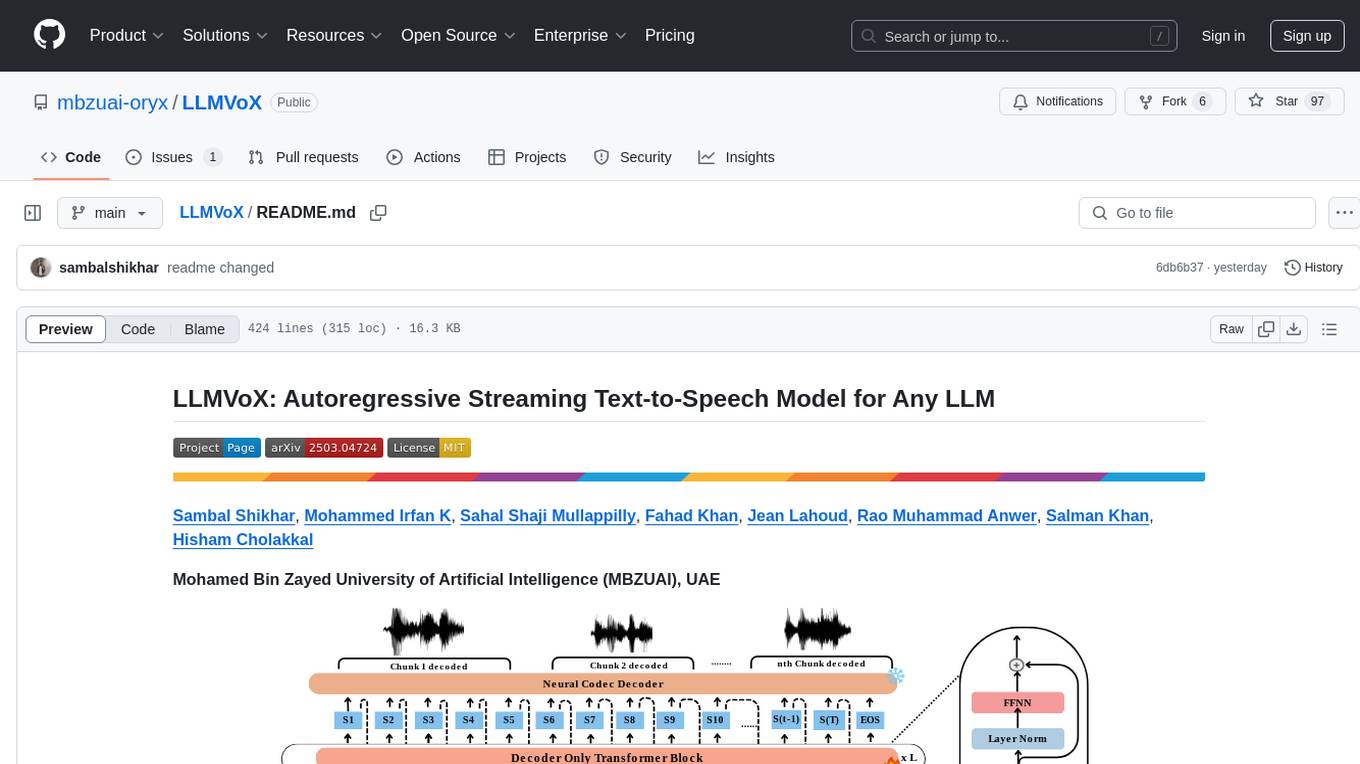
LLMVoX
LLMVoX is a lightweight 30M-parameter, LLM-agnostic, autoregressive streaming Text-to-Speech (TTS) system designed to convert text outputs from Large Language Models into high-fidelity streaming speech with low latency. It achieves significantly lower Word Error Rate compared to speech-enabled LLMs while operating at comparable latency and speech quality. Key features include being lightweight & fast with only 30M parameters, LLM-agnostic for easy integration with existing models, multi-queue streaming for continuous speech generation, and multilingual support for easy adaptation to new languages.
omniai
OmniAI provides a unified Ruby API for integrating with multiple AI providers, streamlining AI development by offering a consistent interface for features such as chat, text-to-speech, speech-to-text, and embeddings. It ensures seamless interoperability across platforms and effortless switching between providers, making integrations more flexible and reliable.
lollms-webui
LoLLMs WebUI (Lord of Large Language Multimodal Systems: One tool to rule them all) is a user-friendly interface to access and utilize various LLM (Large Language Models) and other AI models for a wide range of tasks. With over 500 AI expert conditionings across diverse domains and more than 2500 fine tuned models over multiple domains, LoLLMs WebUI provides an immediate resource for any problem, from car repair to coding assistance, legal matters, medical diagnosis, entertainment, and more. The easy-to-use UI with light and dark mode options, integration with GitHub repository, support for different personalities, and features like thumb up/down rating, copy, edit, and remove messages, local database storage, search, export, and delete multiple discussions, make LoLLMs WebUI a powerful and versatile tool.
daily-poetry-image
Daily Chinese ancient poetry and AI-generated images powered by Bing DALL-E-3. GitHub Action triggers the process automatically. Poetry is provided by Today's Poem API. The website is built with Astro.
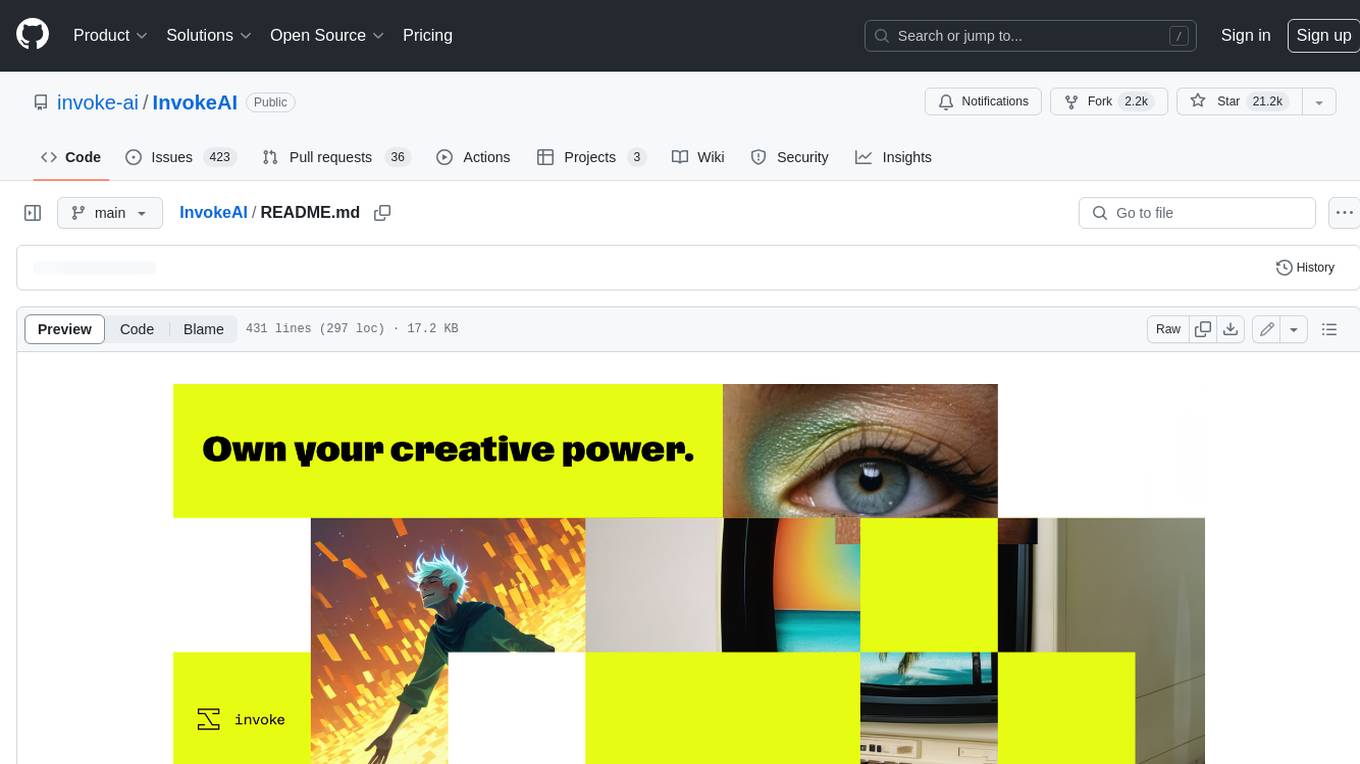
InvokeAI
InvokeAI is a leading creative engine built to empower professionals and enthusiasts alike. Generate and create stunning visual media using the latest AI-driven technologies. InvokeAI offers an industry leading Web Interface, interactive Command Line Interface, and also serves as the foundation for multiple commercial products.
LocalAI
LocalAI is a free and open-source OpenAI alternative that acts as a drop-in replacement REST API compatible with OpenAI (Elevenlabs, Anthropic, etc.) API specifications for local AI inferencing. It allows users to run LLMs, generate images, audio, and more locally or on-premises with consumer-grade hardware, supporting multiple model families and not requiring a GPU. LocalAI offers features such as text generation with GPTs, text-to-audio, audio-to-text transcription, image generation with stable diffusion, OpenAI functions, embeddings generation for vector databases, constrained grammars, downloading models directly from Huggingface, and a Vision API. It provides a detailed step-by-step introduction in its Getting Started guide and supports community integrations such as custom containers, WebUIs, model galleries, and various bots for Discord, Slack, and Telegram. LocalAI also offers resources like an LLM fine-tuning guide, instructions for local building and Kubernetes installation, projects integrating LocalAI, and a how-tos section curated by the community. It encourages users to cite the repository when utilizing it in downstream projects and acknowledges the contributions of various software from the community.
For similar jobs
ChatFAQ
ChatFAQ is an open-source comprehensive platform for creating a wide variety of chatbots: generic ones, business-trained, or even capable of redirecting requests to human operators. It includes a specialized NLP/NLG engine based on a RAG architecture and customized chat widgets, ensuring a tailored experience for users and avoiding vendor lock-in.
agentcloud
AgentCloud is an open-source platform that enables companies to build and deploy private LLM chat apps, empowering teams to securely interact with their data. It comprises three main components: Agent Backend, Webapp, and Vector Proxy. To run this project locally, clone the repository, install Docker, and start the services. The project is licensed under the GNU Affero General Public License, version 3 only. Contributions and feedback are welcome from the community.
anything-llm
AnythingLLM is a full-stack application that enables you to turn any document, resource, or piece of content into context that any LLM can use as references during chatting. This application allows you to pick and choose which LLM or Vector Database you want to use as well as supporting multi-user management and permissions.
ai-guide
This guide is dedicated to Large Language Models (LLMs) that you can run on your home computer. It assumes your PC is a lower-end, non-gaming setup.
Magick
Magick is a groundbreaking visual AIDE (Artificial Intelligence Development Environment) for no-code data pipelines and multimodal agents. Magick can connect to other services and comes with nodes and templates well-suited for intelligent agents, chatbots, complex reasoning systems and realistic characters.
glide
Glide is a cloud-native LLM gateway that provides a unified REST API for accessing various large language models (LLMs) from different providers. It handles LLMOps tasks such as model failover, caching, key management, and more, making it easy to integrate LLMs into applications. Glide supports popular LLM providers like OpenAI, Anthropic, Azure OpenAI, AWS Bedrock (Titan), Cohere, Google Gemini, OctoML, and Ollama. It offers high availability, performance, and observability, and provides SDKs for Python and NodeJS to simplify integration.
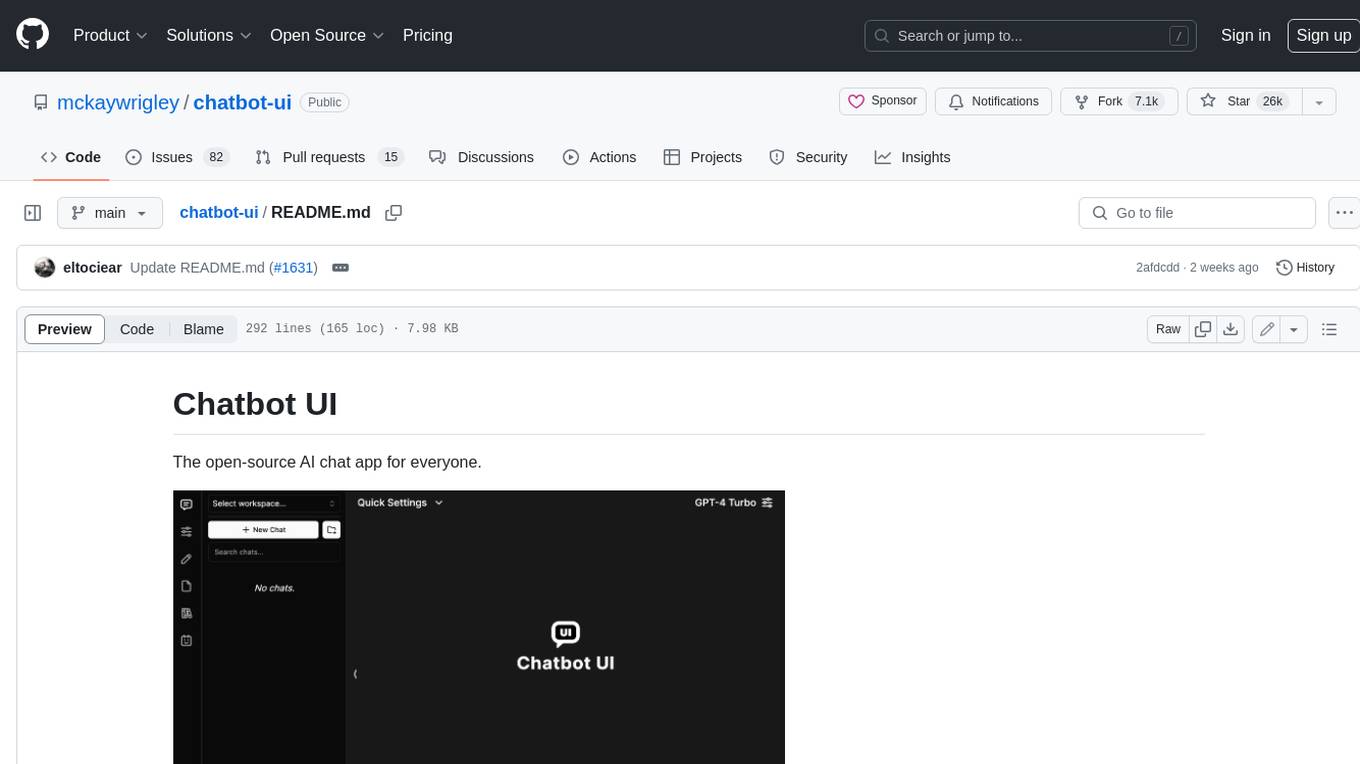
chatbot-ui
Chatbot UI is an open-source AI chat app that allows users to create and deploy their own AI chatbots. It is easy to use and can be customized to fit any need. Chatbot UI is perfect for businesses, developers, and anyone who wants to create a chatbot.
onnxruntime-genai
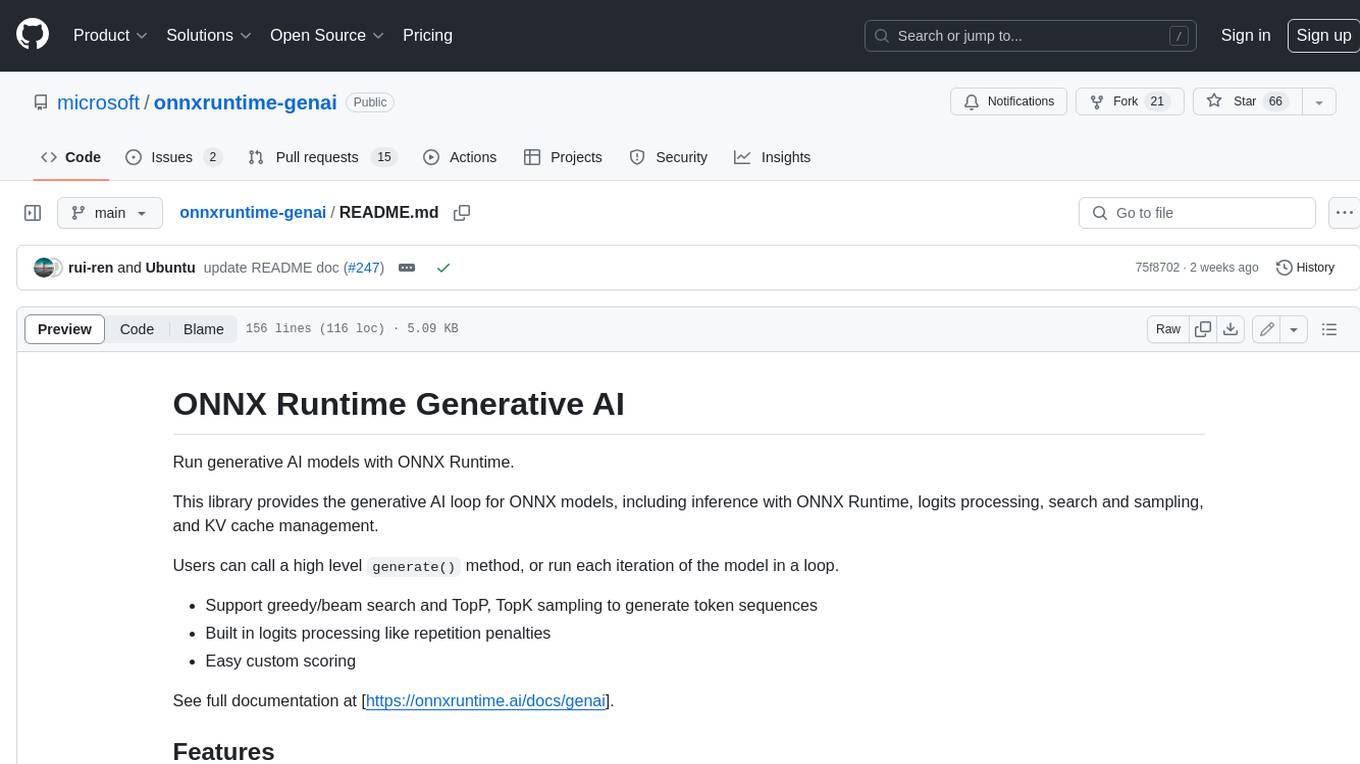
ONNX Runtime Generative AI is a library that provides the generative AI loop for ONNX models, including inference with ONNX Runtime, logits processing, search and sampling, and KV cache management. Users can call a high level `generate()` method, or run each iteration of the model in a loop. It supports greedy/beam search and TopP, TopK sampling to generate token sequences, has built in logits processing like repetition penalties, and allows for easy custom scoring.