
aides-jeunes
Un simulateur global des prestations sociales françaises pour les jeunes.
Stars: 82
The user interface (and the main server) of the simulator of aids and social benefits for young people. It is based on the free socio-fiscal simulator Openfisca.
README:
Cette documentation est technique. Pour plus d'informations sur le simulateur d'aides pour les jeunes, regardez notre wiki.
L'interface utilisateur (et le serveur principal) du simulateur d'aides et de prestations sociales pour les jeunes. Il est basé sur simulateur socio-fiscal libre Openfisca.
- Github Actions (config)
- Continuous integration and deployment
- Netlify
- Deloy previews
- SMTP server
- Matomo (stats.beta.gouv.fr)
- Sentry
If you want to play with the UI, you can be set up very quickly:
npm ci
npm run front
Cf. package.json for more on the underlying commands.
The application should be accessible at localhost:8080.
Make sure node 18.x is installed on your machine:
And also build-essential, mongodb are installed on your machine:
sudo apt-get install build-essential
sudo apt-get install mongodbAnd also brew is installed on your machine:
brew tap mongodb/brew # Download official homebrew formula for MongoDb
brew update # Update Homebrew and all existing formulae
brew install [email protected] # Install MongoDbThe runtime is Node 18.x for the web application, and Python >= 3.9 for Openfisca.
You can for example use nvm to install this specific version.
You will need pip to install Openfisca.
Run the following from the root of the project to install the dependencies
npm ciThere are 2 ways to run Openfisca:
- either by installing its dependencies in a Python virual environment locally on your machine
- or by using Docker to pull and build an image with the required dependencies
You should install Python 3 in a virtual environment to prevent yourself from messing with your main python installation. The instructions below rely on the built-in venv module so that there are no additional external dependencies:
python3 -m venv .venv   # create the virtual environment in the .venv folder
source .venv/bin/activate  # activate the virtual environment
pip install pip --upgrade  # make sure we're using the latest pip version
npm run install-openfisca  # install dependencies
Then, to start the OpenFisca server, simply run source .venv/bin/activate followed by npm run openfisca.
OpenFisca dependencies are specified in openfisca/requirements.txt, a basic Python requirements file. It is possible to refer to non-production commit hashs but is prefered to use main-merged commits.
If you want to run Openfisca without having to install a specific version of Python or create a virtual environment you can use the docker file provided to run Openfisca in a container. From the root of the project run the following command to build the docker image:
docker build -f openfisca/Dockerfile ./openfisca -t openfiscaIf you are working on openfisca-france and want to use your local version:
cd (...)/openfisca-france
pip install --editable .
If you want to test locally the app in production mode:
npm run build
npm run startFirst, start a Mongo server:
npm run dbThen, in another shell you will need to start openfisca. If you installed it locally activate the virtual environment (run source .venv/bin/activate) and start the Openfisca server:
OPENFISCA_WORKERS=1 npm run openfiscaIf instead you want to run Openfisca in a docker container run:
docker run -d -p 2000:2000 openfisca(note that in that case Openfisca will run in the background and you will have to run docker ps and docker stop XXXXX where XXXXX is the container ID to stop Openfisca)
Finally, in a third shell, start the server:
npm run serveThere are several levels of tests:
- Unit tests are executed by Vitest and run with
npm test. - End-to-end test are executed with Cypress with
npm run cypress
You can safely use npm test && npm run cypress to drive your developments.
In Cypress tests, we verify that email functionality works. To check this locally, you need to copy and paste the environmental variables from .env.e2e to your .env file (and create the .env file if you don't already have one).
We use the framework MJML to design and integrate the templates. Tipimail is our service to send emails.
The development server for emails can be easily start with: npm run tools:serve-mail
If you want to verify the email sending process, you can generate a set of the required SMTP_* environment variables by running ts-node tools/create-temp-smtp-server.ts to generate a test account on https://ethereal.email.
We use ESLint as a linter and Prettier to format the codebase. We also utilize some ESLint plugins, such as vue-eslint and eslint-plugin-cypress, to provide a support for tests and framework.
SSHs keys were generated to run scripts on the production server.
The main and dev branches are automatically deployed on the production server when they are updated using a continuous deployment script.
Note that it is also possible to re-trigger a deployment manually by clicking on Run workflow button on the continuous deployment's page and selecting either the main or dev branch.
To access the applications server it is possible to connect to it with a registered public key using ssh:
In order to use those tools you need to build the server at least once using the command npm run build:server.
-
npm run huskyinstalls git hooks used to facilitate development and reduce the CI running time. We use Talisman to to ensure that potential secrets or sensitive information do not leave the developer's workstation. You need to install Talisman before : https://github.com/thoughtworks/talisman/releases orbrew install talisman. To skip talisman, you can use -n when you commit. -
npm run tools:check-links-validityvalidates links to 3rd parties in benefits files. -
npm run tools:cleanercleans simulations data older than 31 days. -
npm run tools:evaluate-benefits <simulationId>evaluates benefits linked to a simulation id. -
npm run tools:generate-missing-institutions-aides-velogenerates missing institutions for the packageaides-velo. -
npm run tools:download-incitations-covoiturage-generate-missing-institutionsdownload new carpooling incentives and generates missing epci for the Open DataRegistre de Preuve de Covoiturage. -
npm run tools:geographical-benefits-detailsgets the relevant benefits for each commune. -
npm run tools:get-all-stepsgets all the steps and substeps of a simulation. -
npm run tools:serve-mailgenerates emails which contain the result of a simulation or a survey. -
npm run tools:test-benefits-geographical-constraint-consistencyvalidates geographical constraint consistency of benefits. -
npm run tools:test-definition-periodsvalidates the periods of openfisca requested variables. -
Locally or on production, it is possible to visualize all the available benefits of the simulator. It is done by adding
debugas a parameter. It is also possible to setdebug=ppa,rsato choose which benefits are listed. -
Adding
debug=parcoursas a parameter, show a debug version of all the steps in the simulator, locally and production. -
OpenFisca tracer allows you to debug OpenFisca computations. (source)
It is possible to generate simulation statistics from the database running the commande npm run tools:generate-mongo-stats.
This will generate 3 csv files in the dist/documents folder:
-
monthly_activite.csvthat lists the number of simulations per activity for each month -
monthly_age.csvthat lists the number of simulations per age for each month -
monthly_geo.csvthat lists the number of simulations per epci, departement and regions for each month
It is possible to locally debug changes in Decap CMS configuration.
-
npm ciandnpm run devshould be ran fromcontribuer. - Decap CMS should now be accessible at
http://localhost:3000/admin/index.html
If you want changes to be made locally instead of generating pull requests in production:
- First, contribuer/public/admin/config.yml#L19 (
local_backend: true) must be uncommented; -
npx netlify-cms-proxy-servershould be ran from.and
Some parameters can be use to debug the command
-
--dry-run: this command is useful to not send update/new row to Grist -
--no-priority: without getting priority from analytic data -
--only [slug benefit]: work on specific benefit
Here is an example of how using this parameters
npm run tools:check-links-validity -- --dry-run
The data source comes from this : https://www.data.gouv.fr/fr/datasets/conditions-des-campagnes-dincitation-financiere-au-covoiturage/ We use Grist to add custom informations like, if a benefit is link to an institution or epci, ... One parameter can be use to debug the command
-
--no-download: avoid download new data from Grist
Here is an example of how using this parameters
npm run tools:download-incitations-covoiturage-generate-missing-institutions -- --no-download
For Tasks:
Click tags to check more tools for each tasksFor Jobs:
Alternative AI tools for aides-jeunes
Similar Open Source Tools

aides-jeunes
The user interface (and the main server) of the simulator of aids and social benefits for young people. It is based on the free socio-fiscal simulator Openfisca.
desktop
ComfyUI Desktop is a packaged desktop application that allows users to easily use ComfyUI with bundled features like ComfyUI source code, ComfyUI-Manager, and uv. It automatically installs necessary Python dependencies and updates with stable releases. The app comes with Electron, Chromium binaries, and node modules. Users can store ComfyUI files in a specified location and manage model paths. The tool requires Python 3.12+ and Visual Studio with Desktop C++ workload for Windows. It uses nvm to manage node versions and yarn as the package manager. Users can install ComfyUI and dependencies using comfy-cli, download uv, and build/launch the code. Troubleshooting steps include rebuilding modules and installing missing libraries. The tool supports debugging in VSCode and provides utility scripts for cleanup. Crash reports can be sent to help debug issues, but no personal data is included.
LLM-Engineers-Handbook
The LLM Engineer's Handbook is an official repository containing a comprehensive guide on creating an end-to-end LLM-based system using best practices. It covers data collection & generation, LLM training pipeline, a simple RAG system, production-ready AWS deployment, comprehensive monitoring, and testing and evaluation framework. The repository includes detailed instructions on setting up local and cloud dependencies, project structure, installation steps, infrastructure setup, pipelines for data processing, training, and inference, as well as QA, tests, and running the project end-to-end.
agnai
Agnaistic is an AI roleplay chat tool that allows users to interact with personalized characters using their favorite AI services. It supports multiple AI services, persona schema formats, and features such as group conversations, user authentication, and memory/lore books. Agnaistic can be self-hosted or run using Docker, and it provides a range of customization options through its settings.json file. The tool is designed to be user-friendly and accessible, making it suitable for both casual users and developers.
frontend
Nuclia frontend apps and libraries repository contains various frontend applications and libraries for the Nuclia platform. It includes components such as Dashboard, Widget, SDK, Sistema (design system), NucliaDB admin, CI/CD Deployment, and Maintenance page. The repository provides detailed instructions on installation, dependencies, and usage of these components for both Nuclia employees and external developers. It also covers deployment processes for different components and tools like ArgoCD for monitoring deployments and logs. The repository aims to facilitate the development, testing, and deployment of frontend applications within the Nuclia ecosystem.
qrev
QRev is an open-source alternative to Salesforce, offering AI agents to scale sales organizations infinitely. It aims to provide digital workers for various sales roles or a superagent named Qai. The tech stack includes TypeScript for frontend, NodeJS for backend, MongoDB for app server database, ChromaDB for vector database, SQLite for AI server SQL relational database, and Langchain for LLM tooling. The tool allows users to run client app, app server, and AI server components. It requires Node.js and MongoDB to be installed, and provides detailed setup instructions in the README file.
just-chat
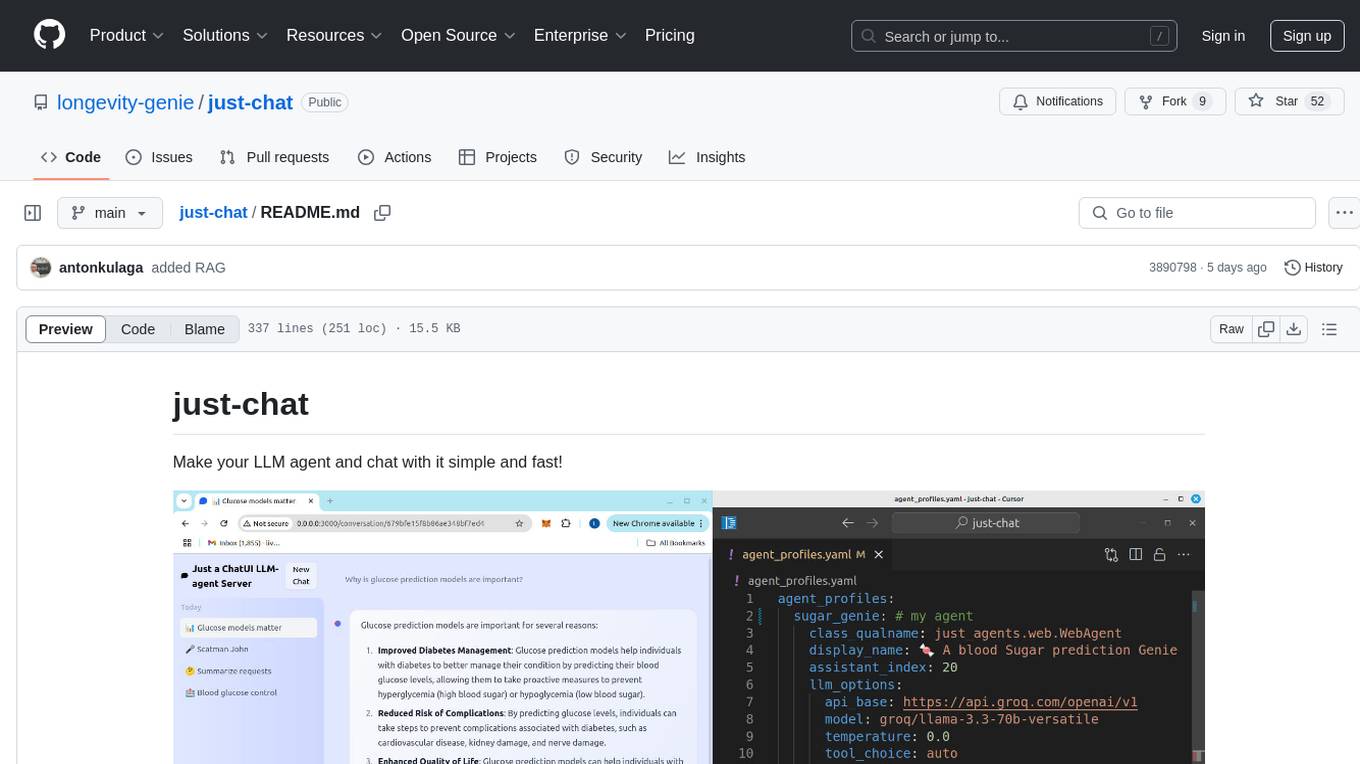
Just-Chat is a containerized application that allows users to easily set up and chat with their AI agent. Users can customize their AI assistant using a YAML file, add new capabilities with Python tools, and interact with the agent through a chat web interface. The tool supports various modern models like DeepSeek Reasoner, ChatGPT, LLAMA3.3, etc. Users can also use semantic search capabilities with MeiliSearch to find and reference relevant information based on meaning. Just-Chat requires Docker or Podman for operation and provides detailed installation instructions for both Linux and Windows users.
metaflow-service
Metaflow Service is a metadata service implementation for Metaflow, providing a thin wrapper around a database to keep track of metadata associated with Flows, Runs, Steps, Tasks, and Artifacts. It includes features for managing DB migrations, launching compatible versions of the metadata service, and executing flows locally. The service can be run using Docker or as a standalone service, with options for testing and running unit/integration tests. Users can interact with the service via API endpoints or utility CLI tools.
safety-tooling
This repository, safety-tooling, is designed to be shared across various AI Safety projects. It provides an LLM API with a common interface for OpenAI, Anthropic, and Google models. The aim is to facilitate collaboration among AI Safety researchers, especially those with limited software engineering backgrounds, by offering a platform for contributing to a larger codebase. The repo can be used as a git submodule for easy collaboration and updates. It also supports pip installation for convenience. The repository includes features for installation, secrets management, linting, formatting, Redis configuration, testing, dependency management, inference, finetuning, API usage tracking, and various utilities for data processing and experimentation.
starter-monorepo
Starter Monorepo is a template repository for setting up a monorepo structure in your project. It provides a basic setup with configurations for managing multiple packages within a single repository. This template includes tools for package management, versioning, testing, and deployment. By using this template, you can streamline your development process, improve code sharing, and simplify dependency management across your project. Whether you are working on a small project or a large-scale application, Starter Monorepo can help you organize your codebase efficiently and enhance collaboration among team members.
aiohttp-devtools
aiohttp-devtools provides dev tools for developing applications with aiohttp and associated libraries. It includes CLI commands for running a local server with live reloading and serving static files. The tools aim to simplify the development process by automating tasks such as setting up a new application and managing dependencies. Developers can easily create and run aiohttp applications, manage static files, and utilize live reloading for efficient development.
aioli
Aioli is a library for running genomics command-line tools in the browser using WebAssembly. It creates a single WebWorker to run all WebAssembly tools, shares a filesystem across modules, and efficiently mounts local files. The tool encapsulates each module for loading, does WebAssembly feature detection, and communicates with the WebWorker using the Comlink library. Users can deploy new releases and versions, and benefit from code reuse by porting existing C/C++/Rust/etc tools to WebAssembly for browser use.
unitycatalog
Unity Catalog is an open and interoperable catalog for data and AI, supporting multi-format tables, unstructured data, and AI assets. It offers plugin support for extensibility and interoperates with Delta Sharing protocol. The catalog is fully open with OpenAPI spec and OSS implementation, providing unified governance for data and AI with asset-level access control enforced through REST APIs.
SWELancer-Benchmark
SWE-Lancer is a benchmark repository containing datasets and code for the paper 'SWE-Lancer: Can Frontier LLMs Earn $1 Million from Real-World Freelance Software Engineering?'. It provides instructions for package management, building Docker images, configuring environment variables, and running evaluations. Users can use this tool to assess the performance of language models in real-world freelance software engineering tasks.

aider-composer
Aider Composer is a VSCode extension that integrates Aider into your development workflow. It allows users to easily add and remove files, toggle between read-only and editable modes, review code changes, use different chat modes, and reference files in the chat. The extension supports multiple models, code generation, code snippets, and settings customization. It has limitations such as lack of support for multiple workspaces, Git repository features, linting, testing, voice features, in-chat commands, and configuration options.
hordelib
horde-engine is a wrapper around ComfyUI designed to run inference pipelines visually designed in the ComfyUI GUI. It enables users to design inference pipelines in ComfyUI and then call them programmatically, maintaining compatibility with the existing horde implementation. The library provides features for processing Horde payloads, initializing the library, downloading and validating models, and generating images based on input data. It also includes custom nodes for preprocessing and tasks such as face restoration and QR code generation. The project depends on various open source projects and bundles some dependencies within the library itself. Users can design ComfyUI pipelines, convert them to the backend format, and run them using the run_image_pipeline() method in hordelib.comfy.Comfy(). The project is actively developed and tested using git, tox, and a specific model directory structure.
For similar tasks

aides-jeunes
The user interface (and the main server) of the simulator of aids and social benefits for young people. It is based on the free socio-fiscal simulator Openfisca.
claim-ai-phone-bot
AI-powered call center solution with Azure and OpenAI GPT. The bot can answer calls, understand the customer's request, and provide relevant information or assistance. It can also create a todo list of tasks to complete the claim, and send a report after the call. The bot is customizable, and can be used in multiple languages.
Discord-AI-Chatbot
Discord AI Chatbot is a versatile tool that seamlessly integrates into your Discord server, offering a wide range of capabilities to enhance your communication and engagement. With its advanced language model, the bot excels at imaginative generation, providing endless possibilities for creative expression. Additionally, it offers secure credential management, ensuring the privacy of your data. The bot's hybrid command system combines the best of slash and normal commands, providing flexibility and ease of use. It also features mention recognition, ensuring prompt responses whenever you mention it or use its name. The bot's message handling capabilities prevent confusion by recognizing when you're replying to others. You can customize the bot's behavior by selecting from a range of pre-existing personalities or creating your own. The bot's web access feature unlocks a new level of convenience, allowing you to interact with it from anywhere. With its open-source nature, you have the freedom to modify and adapt the bot to your specific needs.
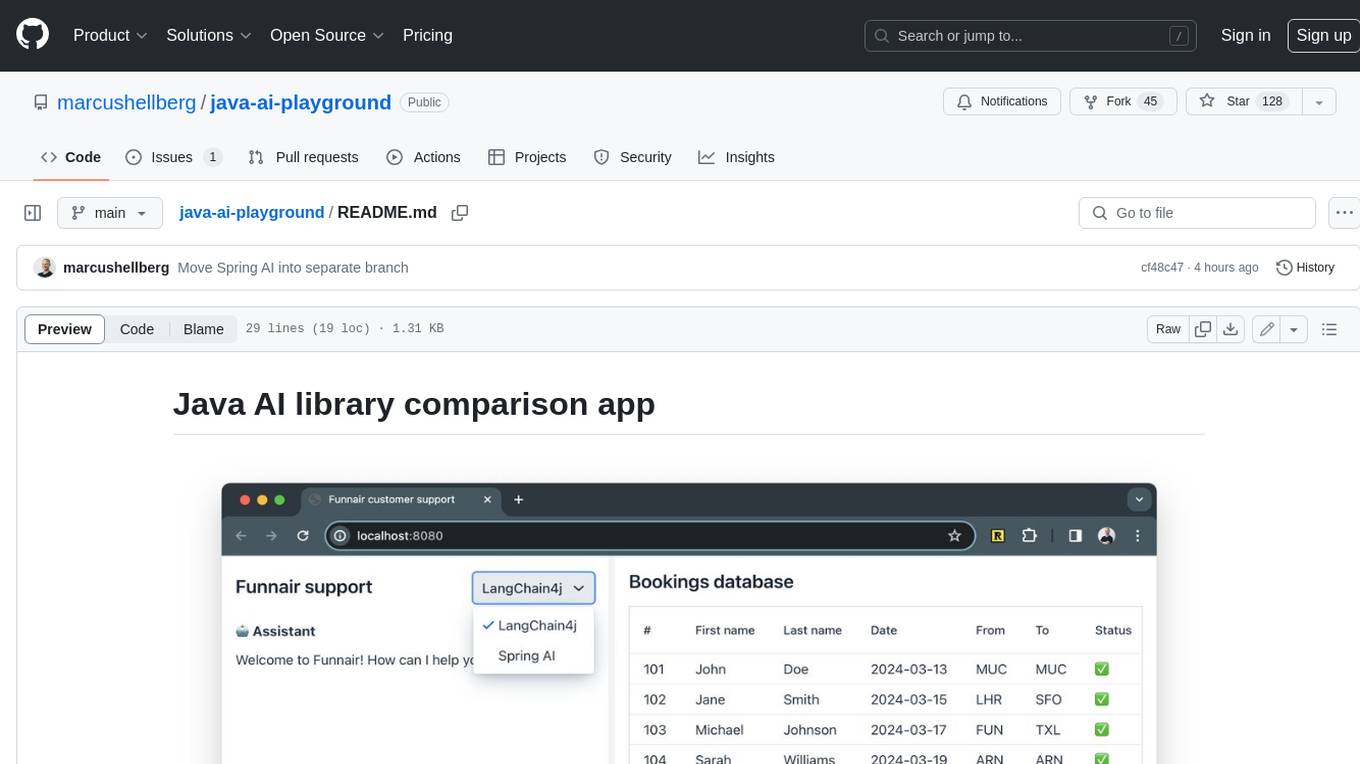
java-ai-playground
This AI-powered customer support application has access to terms and conditions (retrieval augmented generation, RAG), can access tools (Java methods) to perform actions, and uses an LLM to interact with the user. The application includes implementations for LangChain4j in the `main` branch and Spring AI in the `spring-ai` branch. The UI is built using Vaadin Hilla and the backend is built using Spring Boot.
emohaa-free-api
Emohaa AI Free API is a free API that allows you to access the Emohaa AI chatbot. Emohaa AI is a powerful chatbot that can understand and respond to a wide range of natural language queries. It can be used for a variety of purposes, such as customer service, information retrieval, and language translation. The Emohaa AI Free API is easy to use and can be integrated into any application. It is a great way to add AI capabilities to your projects without having to build your own chatbot from scratch.
Riona-AI-Agent
Riona-AI-Agent is a versatile AI chatbot designed to assist users in various tasks. It utilizes natural language processing and machine learning algorithms to understand user queries and provide accurate responses. The chatbot can be integrated into websites, applications, and messaging platforms to enhance user experience and streamline communication. With its customizable features and easy deployment, Riona-AI-Agent is suitable for businesses, developers, and individuals looking to automate customer support, provide information, and engage with users in a conversational manner.
chat.md
This repository contains a chatbot tool that utilizes natural language processing to interact with users. The tool is designed to understand and respond to user input in a conversational manner, providing information and assistance. It can be integrated into various applications to enhance user experience and automate customer support. The chatbot tool is user-friendly and customizable, making it suitable for businesses looking to improve customer engagement and streamline communication.
openclaw
OpenClaw is a personal AI assistant that runs on your own devices, answering you on various channels like WhatsApp, Telegram, Slack, Discord, and more. It can speak and listen on different platforms and render a live Canvas you control. The Gateway serves as the control plane, while the assistant is the main product. It provides a local, fast, and always-on single-user assistant experience. The preferred setup involves running the onboarding wizard in your terminal to guide you through setting up the gateway, workspace, channels, and skills. The tool supports various models and authentication methods, with a focus on security and privacy.
For similar jobs
advisingapp
**Advising App™** is a software solution created by Canyon GBS™ that includes a robust personal assistant designed to support student service professionals in their day-to-day roles. The assistant can help with research tasks, draft communication, language translation, content creation, student profile analysis, project planning, ideation, and much more. The software also includes a student service CRM designed to support the management of prospective and enrolled students. Key features of the CRM include record management, email and SMS, service management, caseload management, task management, interaction tracking, files and documents, and much more.

aides-jeunes
The user interface (and the main server) of the simulator of aids and social benefits for young people. It is based on the free socio-fiscal simulator Openfisca.
GPT-Jobhunter
GPT-Jobhunter is an AI-powered job analysis tool that utilizes GPT to analyze job postings and offer personalized job recommendations to job seekers based on their resume. The tool allows users to upload their resume for AI analysis, conduct highly configurable job searches, and automate the job search pipeline. It also provides AI-based job-to-resume similarity scores to help users find suitable job opportunities.
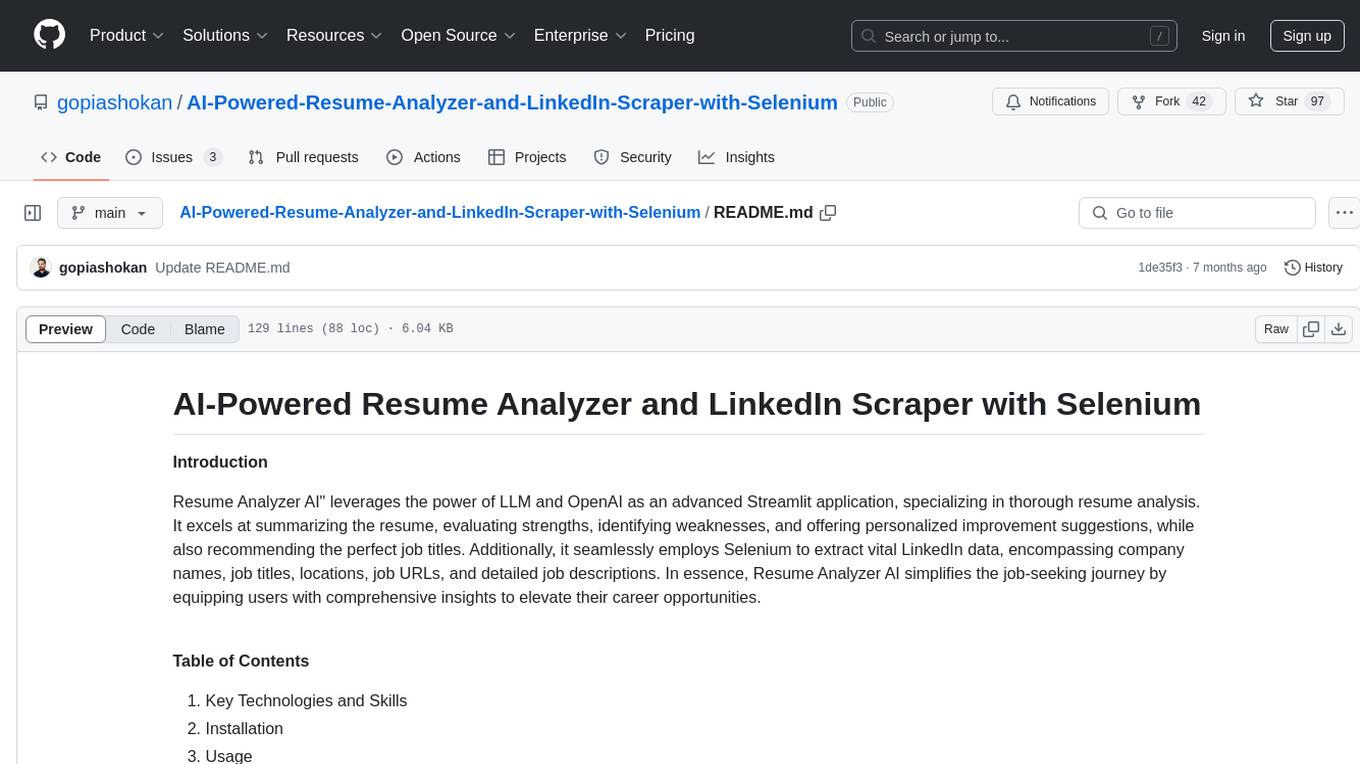
AI-Powered-Resume-Analyzer-and-LinkedIn-Scraper-with-Selenium
Resume Analyzer AI is an advanced Streamlit application that specializes in thorough resume analysis. It excels at summarizing resumes, evaluating strengths, identifying weaknesses, and offering personalized improvement suggestions. It also recommends job titles and uses Selenium to extract vital LinkedIn data. The tool simplifies the job-seeking journey by providing comprehensive insights to elevate career opportunities.
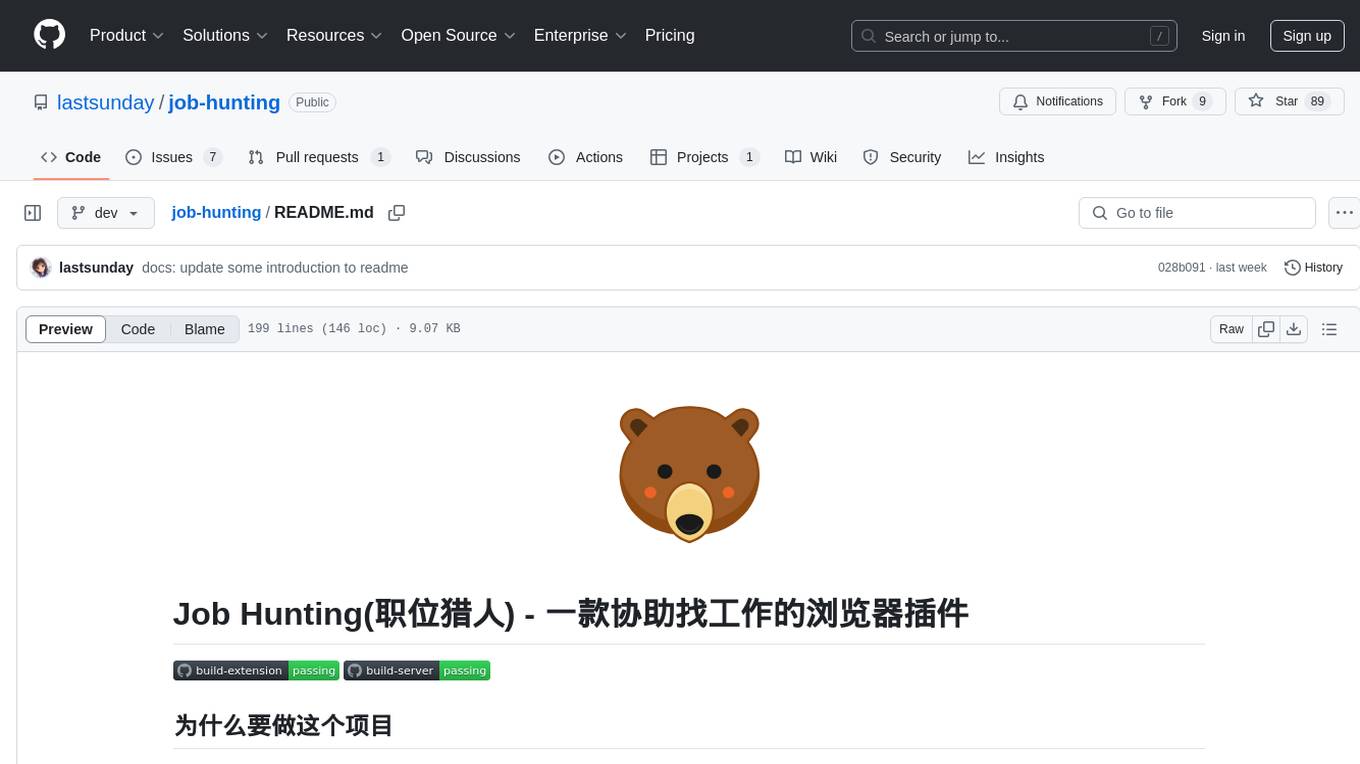
job-hunting
Job Hunting is a browser extension designed to enhance the job searching experience on popular recruitment platforms in China. It aims to improve job listing visibility, provide personalized job search capabilities, analyze job data, facilitate job discussions, and offer company insights. The extension offers features such as job card display, company reputation checks, quick company information lookup, job and company data storage, job and company tagging, data analysis, data sharing, personal job preferences, automation tasks, discussion forums, data backup and recovery, and data sharing plans. It supports platforms like BOSS 直聘, 前程无忧, 智联招聘, 拉钩网, and 猎聘网, and provides visualizations for job posting trends and company data.
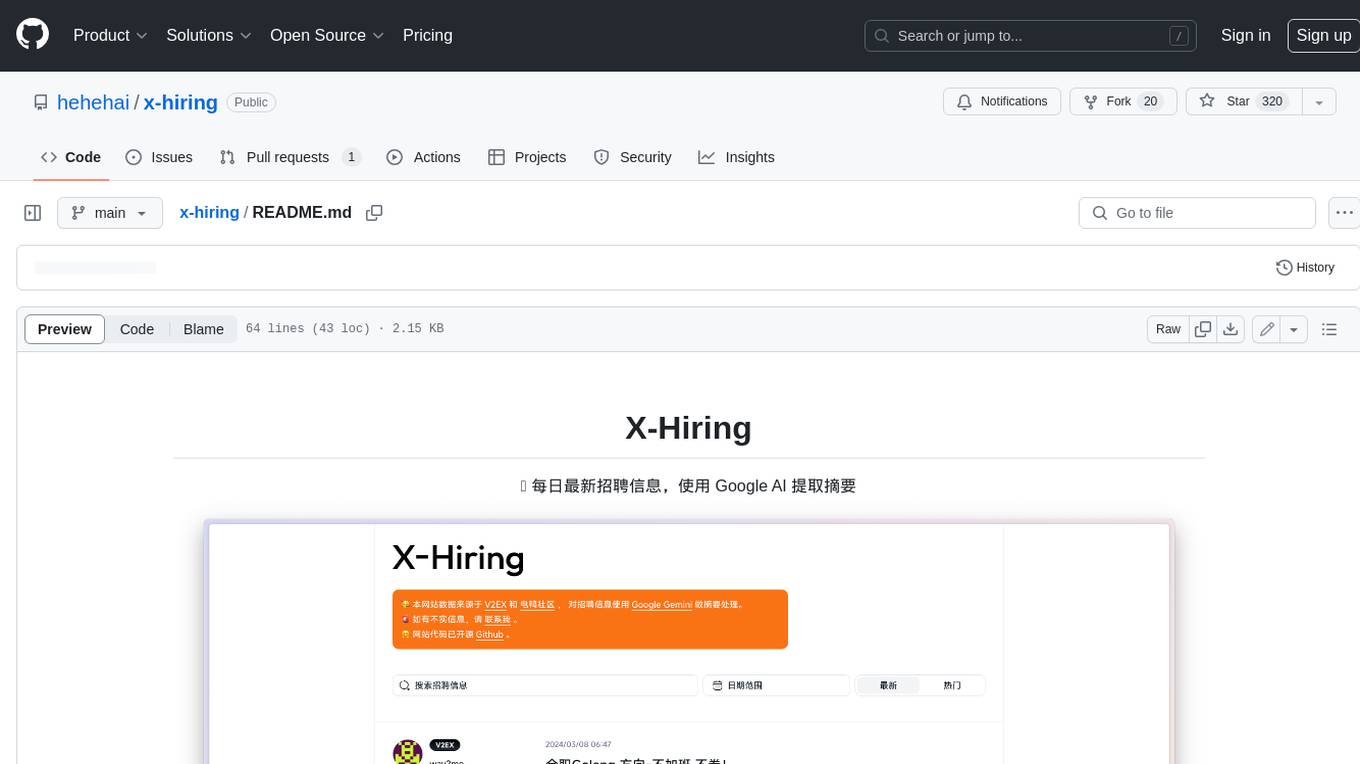
x-hiring
X-Hiring is a job search tool that uses Google AI to extract summaries of the latest job postings. It is easy to install and run, and can be used to find jobs in a variety of fields. X-Hiring is also open source, so you can contribute to its development or create your own custom version.
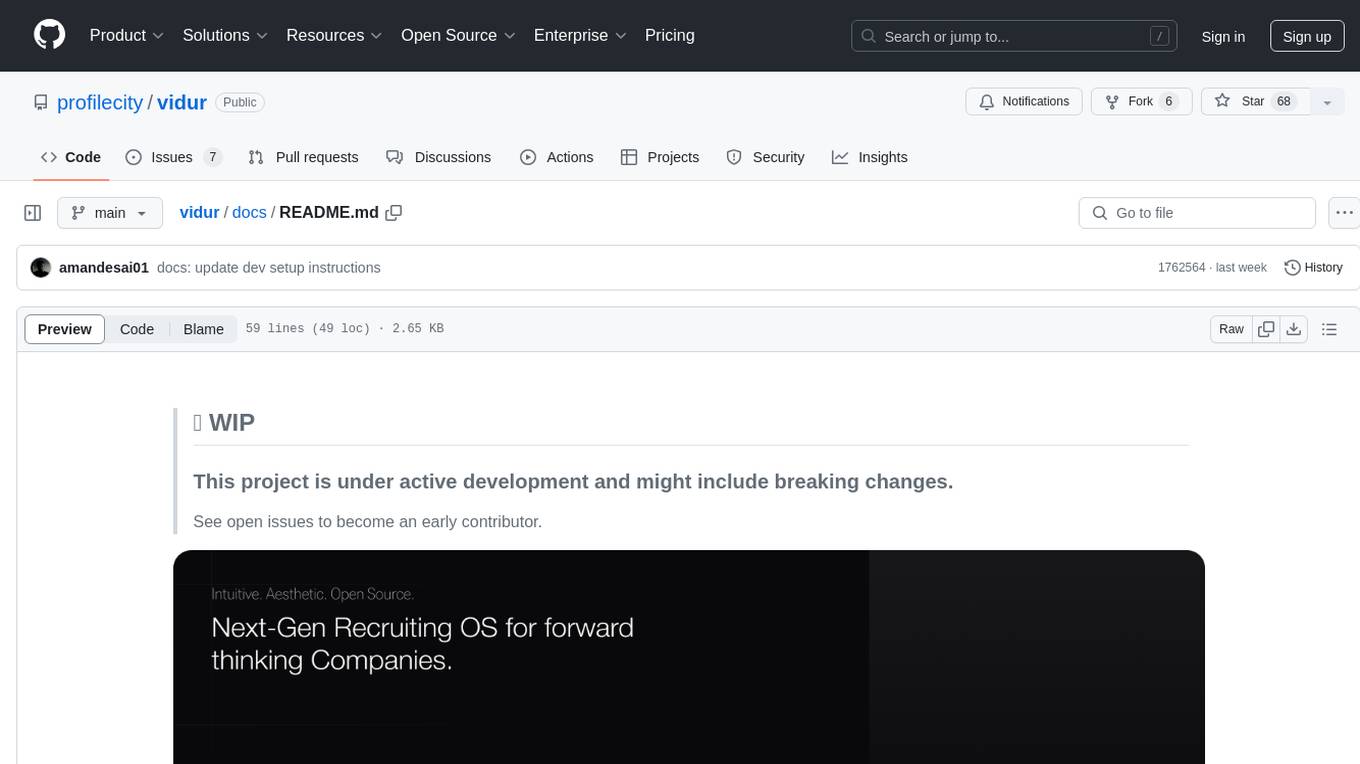
vidur
Vidur is an open-source next-gen Recruiting OS that offers an intuitive and modern interface for forward-thinking companies to efficiently manage their recruitment processes. It combines advanced candidate profiles, team workspace, plugins, and one-click apply features. The project is under active development, and contributors are welcome to join by addressing open issues. To ensure privacy, security issues should be reported via email to [email protected].
linkedIn_auto_jobs_applier_with_AI
LinkedIn_AIHawk is an automated tool designed to revolutionize the job search and application process on LinkedIn. It leverages automation and artificial intelligence to efficiently apply to relevant positions, personalize responses, manage application volume, filter listings, generate dynamic resumes, and handle sensitive information securely. The tool aims to save time, increase application relevance, and enhance job search effectiveness in today's competitive landscape.