
CLI
Bito CLI (Command Line Interface) provides a command line interface to the Bito AI chat functionality. Over time, CLI will add more functions and new command options to support complex automation and workflows. This is a very early Alpha version. We would love to get your feedback on the new features or improvements.
Stars: 546
Bito CLI provides a command line interface to the Bito AI chat functionality, allowing users to interact with the AI through commands. It supports complex automation and workflows, with features like long prompts and slash commands. Users can install Bito CLI on Mac, Linux, and Windows systems using various methods. The tool also offers configuration options for AI model type, access key management, and output language customization. Bito CLI is designed to enhance user experience in querying AI models and automating tasks through the command line interface.
README:
Bito CLI (Command Line Interface) provides a command line interface to the Bito AI chat functionality. Over time, CLI will add more functions and new command options to support complex automation and workflows.
This is a very early Alpha version. We would love to get your feedback on the new features or improvements. Please write us at [email protected] or [email protected].
Terminal
- Bash (for Mac and Linux)
- CMD (for Windows)
-
Execute Chat: Run
bitocommand on command prompt to get started. Ask anything you want help with such asawk command to print first and last column.Note: Bito CLI supports long prompts through multiline input. To complete and submit the prompt, press
Ctrl+D. Enter/Return key adds a new line to the input. -
Exit Bito CLI: To quit/exit from Bito CLI, type
quitand pressCtrl+D. -
Terminate: Press
Ctrl+Cto Bito CLI.
Check out the video below to get started with Bito CLI
We recommend you use the following methods to install Bito CLI.
sudo curl https://alpha.bito.ai/downloads/cli/install.sh -fsSL | bash (curl will always download the latest version)
Arch and Arch based distro users can install it from AUR
yay -S bito-cli or paru -S bito-cli
- Before using homebrew, please make sure that you uninstall any previously installed versions of Bito CLI using the uninstall script provided here.
- Once above is done then you can use following commands to install Bito CLI using homebrew:
- First tap the CLI repo using
brew tap gitbito/bitocli, this should be a one time action and not required every time. - Now you can install Bito CLI using following command:
-
brew install bito-cli- this should install Bito CLI based upon your machine architecture.
-
- To update Bito CLI to the latest version, use following commands:
- Please make sure you always do
brew updatebefore upgrading to avoid any errors. -
brew update- this will update all the required packages before upgrading. -
brew upgrade bito-cli- once above is done, this will update Bito CLI to the latest version.
- Please make sure you always do
- To uninstall Bito CLI you can either use the uninstall command from here or use following commands:
-
brew uninstall bito-cli- this should uninstall Bito CLI completely from your system.
-
- First tap the CLI repo using
Note for the Mac Users: You might face issue related to verification for which you will have to manually do the steps from here (we are working on fixing it as soon as possible).
- Install the Bito CLI through MSI using this installer.
- On Windows 11 you might get notification related to publisher verification. Click on "Show more" or "More info" and click on "Run anyway" (we are working on fixing this as soon as possible).
- Once the installation is complete, start a new command prompt and run
bitoto get started.
sudo curl https://alpha.bito.ai/downloads/cli/uninstall.sh -fsSL | bash (this will completely uninstall Bito CLI and all of its components)
For Windows you can uninstall Bito CLI just like you do for any other software uninstall from control panel. You can still refer the link provided here.
While it's not recommended, you can download the Bito CLI binary from our repository, and install is manually. The binary is available for Linux and Mac OS, x86 and ARM architecture.
- Download Bito CLI binary specific to your OS platform from here (Please download the latest version for all new updates).
- Start the terminal, go to the location where your downloaded the binary, move the downloaded file (in the command below use bito-* filename you have downloaded) to filename bito
mv bito-<os>-<arch> bito - Make the file executable using following command
chmod +x ./bito - Copy the binary to /usr/local/bin using following command
sudo cp ./bito /usr/local/bin - Set PATH variable so that Bito CLI is always accessible.
PATH=$PATH:/usr/local/bin - Run Bito CLI with
bitocommand. If PATH variable is not set, you will need to run command with the complete or relative path to the Bito executable binary.
- For using bito CLI, always move to the directory containing bito CLI prior to running it.
- Set PATH variable so that bito CLI is always accessible.
- Follow the instructions as per this link
- Edit the "Path" variable and add new path of the location where bito CLI is installed on your machine.
-
On MAC/Linux: run
bito --helporbito config --help -
On Windows: run
bito --helporbito config --help
Slash Commands are introduced in Bito CLI to help make features like "AI that understands your code" to be available via the CLI. With this, you can access your code index created by the Bito extension in your IDE. Slash commands can be used to quickly execute actions like viewing all local code indexes, selecting a particular local code index and finally making LCA queries for that index.
- Type "/" in bito> prompt of interactive mode of Bito CLI and hit ENTER or TAB to view all available commands.
- Type "/[command_name]" in bito> prompt of interactive mode of Bito CLI and hit ENTER or TAB to view all available options for that command.
- Type "/[command_name] [option_name]" in bito> prompt of interactive mode of Bito CLI and hit ENTER or TAB to execute the available option.
- Run
bito --helpfor help related to slash commands.
-
run
bito -vorbito --versionto print the version number of Bito CLI installed currently. -
run
bito –p writedocprompt.txt -f mycode.jsfor non-interactive mode in Bito (where writedocprompt.txt will contain your prompt text such as "Explain the code below in brief" and mycode.js will contain the actual code on which the action is to be performed). -
run
bito –p writedocprompt.txtto read the content at standard input in Bito (where writedocprompt.txt will contain your prompt text such as "Explain the code below in brief" and input provided will have the actual content on which the action is to be performed). -
run
cat file.txt | bitoto directly cat a file and pipe it to bito and get instant result for your query. -
run
cat inventory.sql | bito -p testdataprompt.txt > testdata.sqlto redirect your output directly to a file (where -p can be used along with cat to perform prompt related action on the given content). -
run
cat inventory.sql | bito -c runcontext.txt -p testdataprompt.txt > testdata.sqlto store context/conversation history in non-interactive mode in fileruncontext.txtto use for next set of commands in case prior context is needed. Ifruncontext.txtis not present it will be created. Please provide a new file or an existing context file created by bito using-coption. With-coption now context is supported in non-interactive mode -
run
echo "give me code for bubble sort in python" | bitoto instantly get response for your queries using Bito CLI.
-
run
bito -vorbito --versionto print the version number of Bito CLI installed currently. -
run
bito –p writedocprompt.txt -f mycode.jsfor non-interactive mode in Bito (where writedocprompt.txt will contain your prompt text such as "Explain the code below in brief" and mycode.js will contain the actual code on which the action is to be performed). -
run
bito –p writedocprompt.txtto read the content at standard input in Bito (where writedocprompt.txt will contain your prompt text such as "Explain the code below in brief" and input provided will have the actual content on which the action is to be performed). -
run
type file.txt | bitoto take input from file in windows and pipe it to bito and get instant result for your query. -
run
type inventory.sql | bito -p testdataprompt.txt > testdata.sqlto redirect your output directly to a file (where -p can be used along with type to perform prompt related action on the given content). -
run
type inventory.sql | bito -c runcontext.txt -p testdataprompt.txt > testdata.sqlto store context/conversation history in non-interactive mode in fileruncontext.txtto use for next set of commands in case prior context is needed. Ifruncontext.txtis not present it will be created. Please provide a new file or an existing context file created by bito using-coption. With-coption now context is supported in non-interactive mode -
run
echo "give me code for bubble sort in python" | bitoto instantly get response for your queries using Bito CLI.
Anything after # in your prompt file will be considered as a comment by Bito CLI and won't be part of your prompt.
You can use \# as an escape sequence to make # as a part of your prompt and to not use it for commenting anymore.
- Give me an example of bubble sort in python # everything written here will be considered as a comment now.
- Explain what this part of the code do:
\#include<stdio.h>
i. in the example above\#can be used as an escape sequence to include#as a part of your prompt. - #This will be considered as a comment as it contains # at the start of the line itself.
To treat # as normal character and not a special character to mark starting of a comment (which is the default behavior), one can use -i/--ignore flag in your command for Bito CLI.
Using -i/--ignore flag in your command for Bito CLI will let Bito CLI know to not treat # specially and use it as part of the prompt for processing.
Eg. "bito -p prompt.txt -i" will make sure that even if # is present in your prompt file, it won't be considered as a comment and your file will be processed as it is.
Use {{%input%}} macro in the prompt file to refer to the contents of the file provided via -f option
Example: To check if a file contains JS code or not, you can create a prompt file checkifjscode.txt with following prompt:
Context is provided below within contextstart and contextend
contextstart
{{%input%}}
contextend
Check if content provided in context is JS code.
Here are two examples for you to see My Prompt in action:
- How to Create Git Commit Messages and Markdown Documentation with Ease using Bito CLI My Prompt:
- How to generate test data using Bito CLI My Prompt:
-
run
bito config -lorbito config --listto list all config variables and values. -
run
bito config -eorbito config --editto open the config file in default editor.
bito:
access_key: ""
email: [email protected]
preferred_ai_model: ADVANCED
settings:
auto_update: true
max_context_entries: 20
By default AI Model Type is set to ADVANCED and it can be overridden by running bito -m <BASIC/ADVANCED>
Model type is used for AI query in the current session. Model type can be set to BASIC or ADVANCED, which is case insensitive.
"ADVANCED" refers to AI models like GPT-4o, Claude Sonnet 3.5, and best in class AI models, while "BASIC" refers to AI models like GPT-4o mini and similar models.
When using BASIC AI models, your prompts and the chat's memory are limited to 40,000 characters (about 18 single-spaced pages). However, with ADVANCED AI models, your prompts and the chat memory can go up to 240,000 characters (about 110 single-spaced pages). This means that ADVANCED models can process your entire code files, leading to more accurate answers.
If you are seeking the best results for complex tasks, then choose ADVANCED AI models.
Bito CLI also prints the model configured and the one used for your current session on standard error for your reference. If you run "bito" then you should see "Model configured" as "BASIC/ADVANCED". This is the model that is configured in your CLI configuration (which can be access via bito config -e).
If you start making queries then depending upon your Bito Billing Plan if you are on a Free plan then the model will automatically switch to BASIC and you shall see "Model in use:" as BASIC getting printed.
If you are on a Paid Plan and haven't exhausted your advanced queries then you shall see "Model in use:" as ADVACNED getting printed.
Access Key can be created at Bito Web UI and used in Bito CLI.
To create an access key, do the following:
- Login into your account at: https://alpha.bito.ai
- Once logged in open: https://alpha.bito.ai/home/settings/advanced
- Click on the "Create new key" button under section "Bito Access Key" to create a new key and copy it.
- Make sure to protect your key and do not check it in, into any code to avoid accidental leakage.
- In case you think your key is compromised, you can delete the existing key and create new key anytime.
Access Key is an alternate authentication mechanism to Email & OTP based aunthentication.
Access Key can be persisted in Bito CLI by running bito config -e
Such persisted Access Key can be over-ridden by running bito -k <access-key> or bito --key <access-key> for the transient session.
By default Bito CLI generates output in English. You can change the output language to your preferred language from here.
As of now it takes 30 mins for the language change to reflect in the CLI when the CLI is in the running mode. For the changes to reflect immeditately you can exit the current CLI session using Ctrl+C and again run the CLI using bito.
- Unicode characters (using other languages) might not be readily supported on command prompt if you are on Windows 10 or below. You can run command
chcp 936in cmd prior to using bito to support unicode characters in Windows 10 or below (To undo the settings done here you can follow this link). - IF you are on Windows 11 then you shouldn't encounter any such issues.
Copyright (C) 2021, Bito Inc - All Rights Reserved
For Tasks:
Click tags to check more tools for each tasksFor Jobs:
Alternative AI tools for CLI
Similar Open Source Tools

CLI
Bito CLI provides a command line interface to the Bito AI chat functionality, allowing users to interact with the AI through commands. It supports complex automation and workflows, with features like long prompts and slash commands. Users can install Bito CLI on Mac, Linux, and Windows systems using various methods. The tool also offers configuration options for AI model type, access key management, and output language customization. Bito CLI is designed to enhance user experience in querying AI models and automating tasks through the command line interface.

aider-composer
Aider Composer is a VSCode extension that integrates Aider into your development workflow. It allows users to easily add and remove files, toggle between read-only and editable modes, review code changes, use different chat modes, and reference files in the chat. The extension supports multiple models, code generation, code snippets, and settings customization. It has limitations such as lack of support for multiple workspaces, Git repository features, linting, testing, voice features, in-chat commands, and configuration options.
gpt-subtrans
GPT-Subtrans is an open-source subtitle translator that utilizes large language models (LLMs) as translation services. It supports translation between any language pairs that the language model supports. Note that GPT-Subtrans requires an active internet connection, as subtitles are sent to the provider's servers for translation, and their privacy policy applies.
llm-subtrans
LLM-Subtrans is an open source subtitle translator that utilizes LLMs as a translation service. It supports translating subtitles between any language pairs supported by the language model. The application offers multiple subtitle formats support through a pluggable system, including .srt, .ssa/.ass, and .vtt files. Users can choose to use the packaged release for easy usage or install from source for more control over the setup. The tool requires an active internet connection as subtitles are sent to translation service providers' servers for translation.
smartcat
Smartcat is a CLI interface that brings language models into the Unix ecosystem, allowing power users to leverage the capabilities of LLMs in their daily workflows. It features a minimalist design, seamless integration with terminal and editor workflows, and customizable prompts for specific tasks. Smartcat currently supports OpenAI, Mistral AI, and Anthropic APIs, providing access to a range of language models. With its ability to manipulate file and text streams, integrate with editors, and offer configurable settings, Smartcat empowers users to automate tasks, enhance code quality, and explore creative possibilities.
reai-ghidra
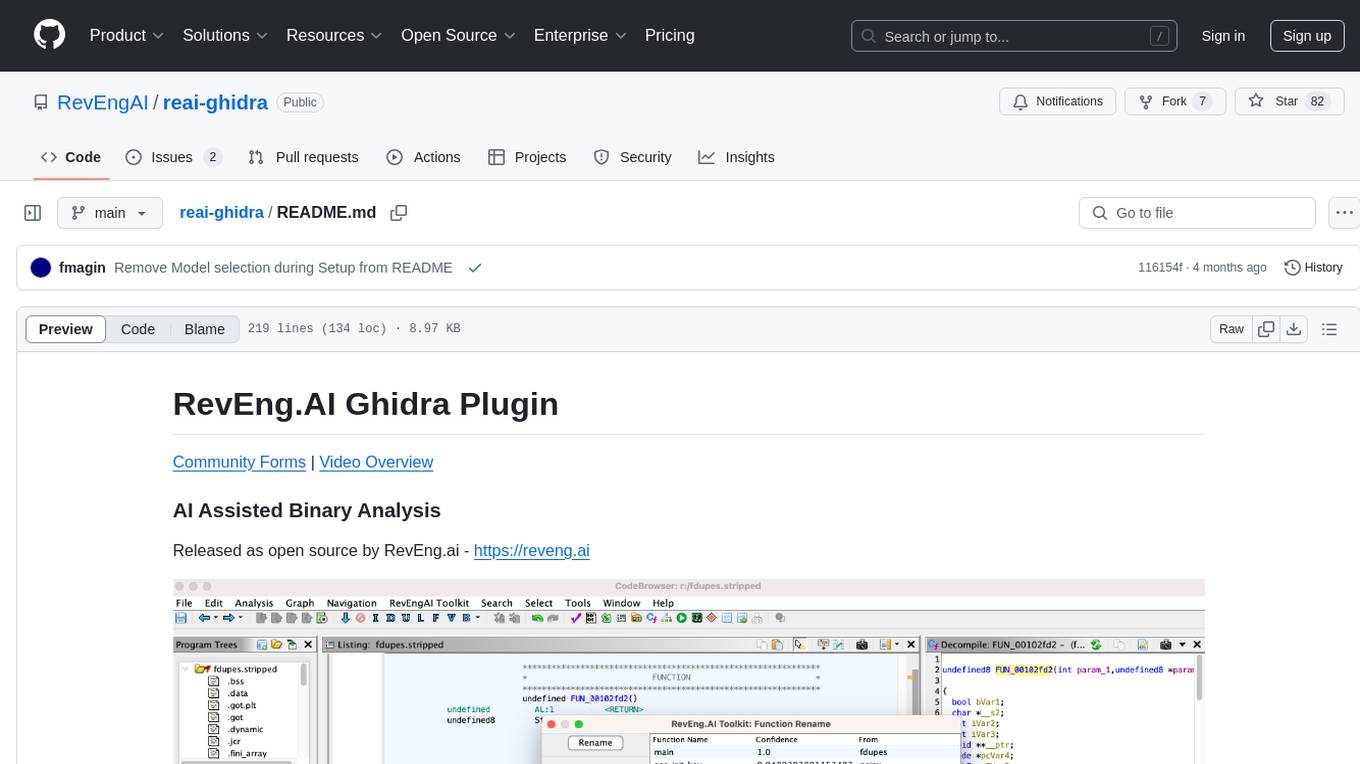
The RevEng.AI Ghidra Plugin by RevEng.ai allows users to interact with their API within Ghidra for Binary Code Similarity analysis to aid in Reverse Engineering stripped binaries. Users can upload binaries, rename functions above a confidence threshold, and view similar functions for a selected function.
fasttrackml
FastTrackML is an experiment tracking server focused on speed and scalability, fully compatible with MLFlow. It provides a user-friendly interface to track and visualize your machine learning experiments, making it easy to compare different models and identify the best performing ones. FastTrackML is open source and can be easily installed and run with pip or Docker. It is also compatible with the MLFlow Python package, making it easy to integrate with your existing MLFlow workflows.
openui
OpenUI is a tool designed to simplify the process of building UI components by allowing users to describe UI using their imagination and see it rendered live. It supports converting HTML to React, Svelte, Web Components, etc. The tool is open source and aims to make UI development fun, fast, and flexible. It integrates with various AI services like OpenAI, Groq, Gemini, Anthropic, Cohere, and Mistral, providing users with the flexibility to use different models. OpenUI also supports LiteLLM for connecting to various LLM services and allows users to create custom proxy configs. The tool can be run locally using Docker or Python, and it offers a development environment for quick setup and testing.
seer
Seer is a service that provides AI capabilities to Sentry by running inference on Sentry issues and providing user insights. It is currently in early development and not yet compatible with self-hosted Sentry instances. The tool requires access to internal Sentry resources and is intended for internal Sentry employees. Users can set up the environment, download model artifacts, integrate with local Sentry, run evaluations for Autofix AI agent, and deploy to a sandbox staging environment. Development commands include applying database migrations, creating new migrations, running tests, and more. The tool also supports VCRs for recording and replaying HTTP requests.
aiarena-web
aiarena-web is a website designed for running the aiarena.net infrastructure. It consists of different modules such as core functionality, web API endpoints, frontend templates, and a module for linking users to their Patreon accounts. The website serves as a platform for obtaining new matches, reporting results, featuring match replays, and connecting with Patreon supporters. The project is licensed under GPLv3 in 2019.
cog-comfyui
Cog-comfyui allows users to run ComfyUI workflows on Replicate. ComfyUI is a visual programming tool for creating and sharing generative art workflows. With cog-comfyui, users can access a variety of pre-trained models and custom nodes to create their own unique artworks. The tool is easy to use and does not require any coding experience. Users simply need to upload their API JSON file and any necessary input files, and then click the "Run" button. Cog-comfyui will then generate the output image or video file.
AilyticMinds
AilyticMinds Chatbot UI is an open-source AI chat app designed for easy deployment and improved backend compatibility. It provides a user-friendly interface for creating and hosting chatbots, with features like mobile layout optimization and support for various providers. The tool utilizes Supabase for data storage and management, offering a secure and scalable solution for chatbot development. Users can quickly set up their own instances locally or in the cloud, with detailed instructions provided for installation and configuration.
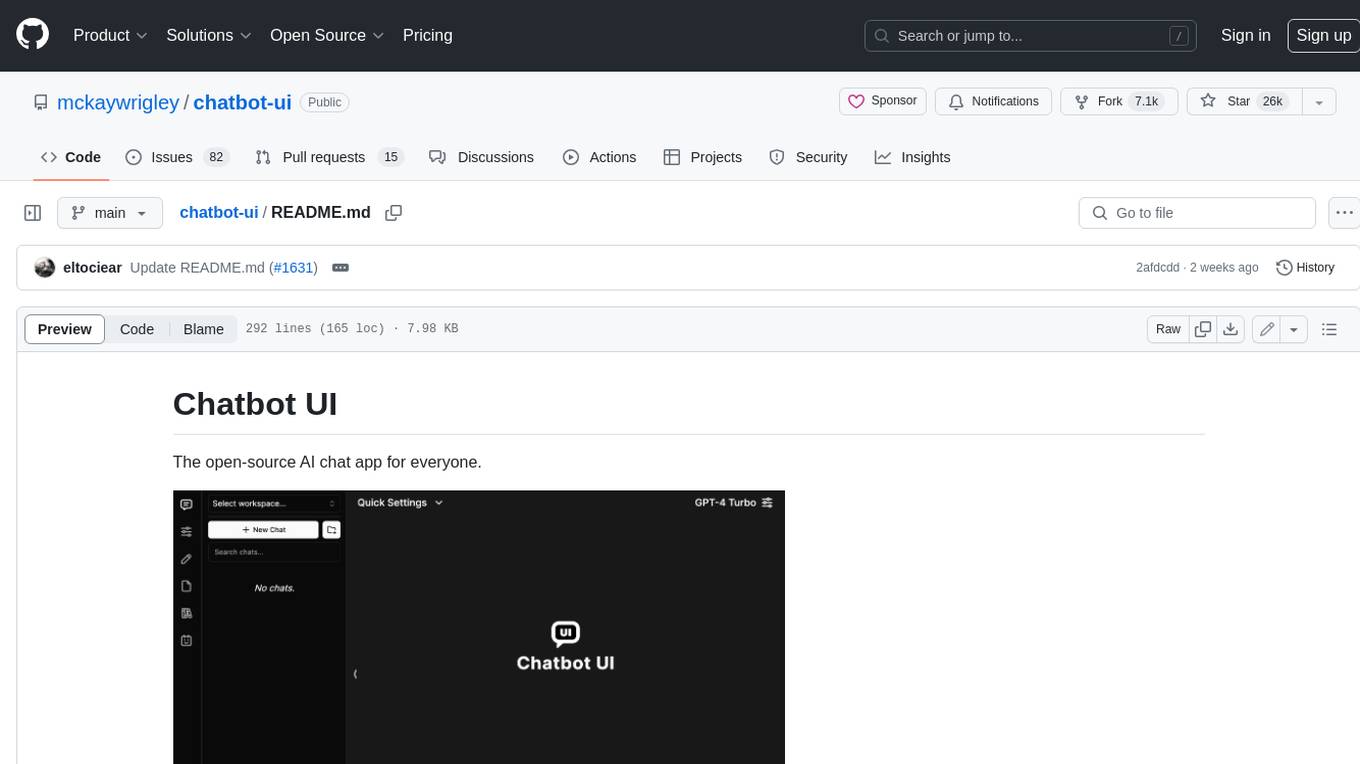
chatbot-ui
Chatbot UI is an open-source AI chat app that allows users to create and deploy their own AI chatbots. It is easy to use and can be customized to fit any need. Chatbot UI is perfect for businesses, developers, and anyone who wants to create a chatbot.
ChatGPT-OpenAI-Smart-Speaker
ChatGPT Smart Speaker is a project that enables speech recognition and text-to-speech functionalities using OpenAI and Google Speech Recognition. It provides scripts for running on PC/Mac and Raspberry Pi, allowing users to interact with a smart speaker setup. The project includes detailed instructions for setting up the required hardware and software dependencies, along with customization options for the OpenAI model engine, language settings, and response randomness control. The Raspberry Pi setup involves utilizing the ReSpeaker hardware for voice feedback and light shows. The project aims to offer an advanced smart speaker experience with features like wake word detection and response generation using AI models.
llamafile
llamafile is a tool that enables users to distribute and run Large Language Models (LLMs) with a single file. It combines llama.cpp with Cosmopolitan Libc to create a framework that simplifies the complexity of LLMs into a single-file executable called a 'llamafile'. Users can run these executable files locally on most computers without the need for installation, making open LLMs more accessible to developers and end users. llamafile also provides example llamafiles for various LLM models, allowing users to try out different LLMs locally. The tool supports multiple CPU microarchitectures, CPU architectures, and operating systems, making it versatile and easy to use.
0chain
Züs is a high-performance cloud on a fast blockchain offering privacy and configurable uptime. It uses erasure code to distribute data between data and parity servers, allowing flexibility for IT managers to design for security and uptime. Users can easily share encrypted data with business partners through a proxy key sharing protocol. The ecosystem includes apps like Blimp for cloud migration, Vult for personal cloud storage, and Chalk for NFT artists. Other apps include Bolt for secure wallet and staking, Atlus for blockchain explorer, and Chimney for network participation. The QoS protocol challenges providers based on response time, while the privacy protocol enables secure data sharing. Züs supports hybrid and multi-cloud architectures, allowing users to improve regulatory compliance and security requirements.
For similar tasks

CLI
Bito CLI provides a command line interface to the Bito AI chat functionality, allowing users to interact with the AI through commands. It supports complex automation and workflows, with features like long prompts and slash commands. Users can install Bito CLI on Mac, Linux, and Windows systems using various methods. The tool also offers configuration options for AI model type, access key management, and output language customization. Bito CLI is designed to enhance user experience in querying AI models and automating tasks through the command line interface.
Magick
Magick is a groundbreaking visual AIDE (Artificial Intelligence Development Environment) for no-code data pipelines and multimodal agents. Magick can connect to other services and comes with nodes and templates well-suited for intelligent agents, chatbots, complex reasoning systems and realistic characters.
danswer
Danswer is an open-source Gen-AI Chat and Unified Search tool that connects to your company's docs, apps, and people. It provides a Chat interface and plugs into any LLM of your choice. Danswer can be deployed anywhere and for any scale - on a laptop, on-premise, or to cloud. Since you own the deployment, your user data and chats are fully in your own control. Danswer is MIT licensed and designed to be modular and easily extensible. The system also comes fully ready for production usage with user authentication, role management (admin/basic users), chat persistence, and a UI for configuring Personas (AI Assistants) and their Prompts. Danswer also serves as a Unified Search across all common workplace tools such as Slack, Google Drive, Confluence, etc. By combining LLMs and team specific knowledge, Danswer becomes a subject matter expert for the team. Imagine ChatGPT if it had access to your team's unique knowledge! It enables questions such as "A customer wants feature X, is this already supported?" or "Where's the pull request for feature Y?"
semantic-kernel
Semantic Kernel is an SDK that integrates Large Language Models (LLMs) like OpenAI, Azure OpenAI, and Hugging Face with conventional programming languages like C#, Python, and Java. Semantic Kernel achieves this by allowing you to define plugins that can be chained together in just a few lines of code. What makes Semantic Kernel _special_ , however, is its ability to _automatically_ orchestrate plugins with AI. With Semantic Kernel planners, you can ask an LLM to generate a plan that achieves a user's unique goal. Afterwards, Semantic Kernel will execute the plan for the user.
floneum
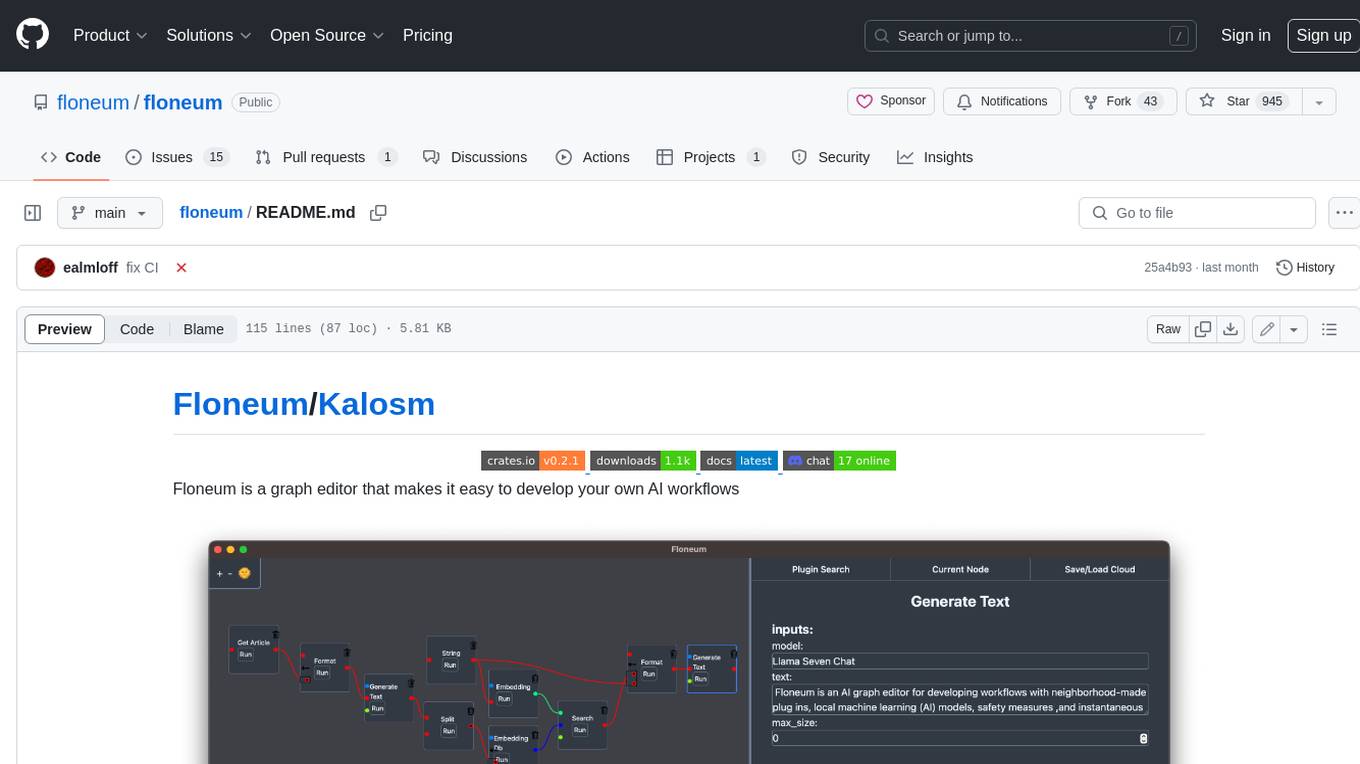
Floneum is a graph editor that makes it easy to develop your own AI workflows. It uses large language models (LLMs) to run AI models locally, without any external dependencies or even a GPU. This makes it easy to use LLMs with your own data, without worrying about privacy. Floneum also has a plugin system that allows you to improve the performance of LLMs and make them work better for your specific use case. Plugins can be used in any language that supports web assembly, and they can control the output of LLMs with a process similar to JSONformer or guidance.
mindsdb
MindsDB is a platform for customizing AI from enterprise data. You can create, serve, and fine-tune models in real-time from your database, vector store, and application data. MindsDB "enhances" SQL syntax with AI capabilities to make it accessible for developers worldwide. With MindsDB’s nearly 200 integrations, any developer can create AI customized for their purpose, faster and more securely. Their AI systems will constantly improve themselves — using companies’ own data, in real-time.
aiscript
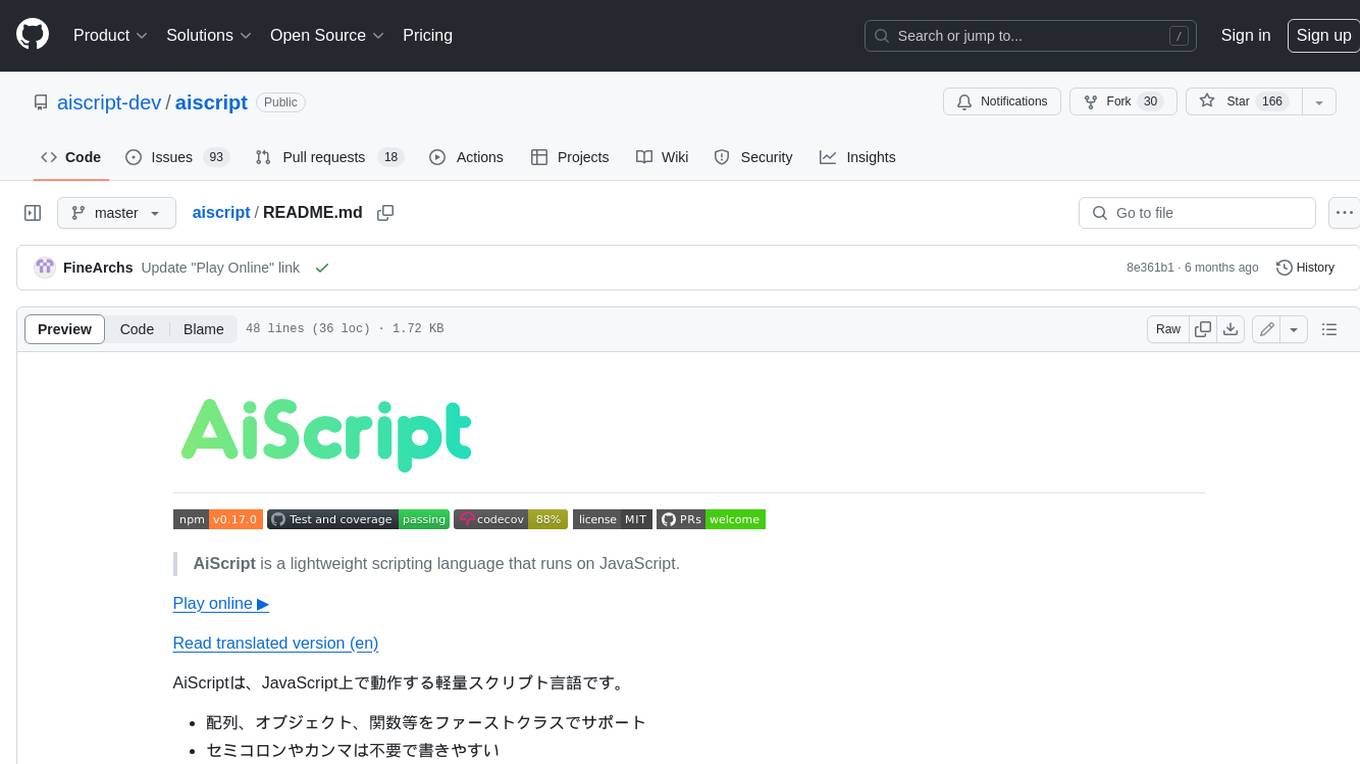
AiScript is a lightweight scripting language that runs on JavaScript. It supports arrays, objects, and functions as first-class citizens, and is easy to write without the need for semicolons or commas. AiScript runs in a secure sandbox environment, preventing infinite loops from freezing the host. It also allows for easy provision of variables and functions from the host.
activepieces
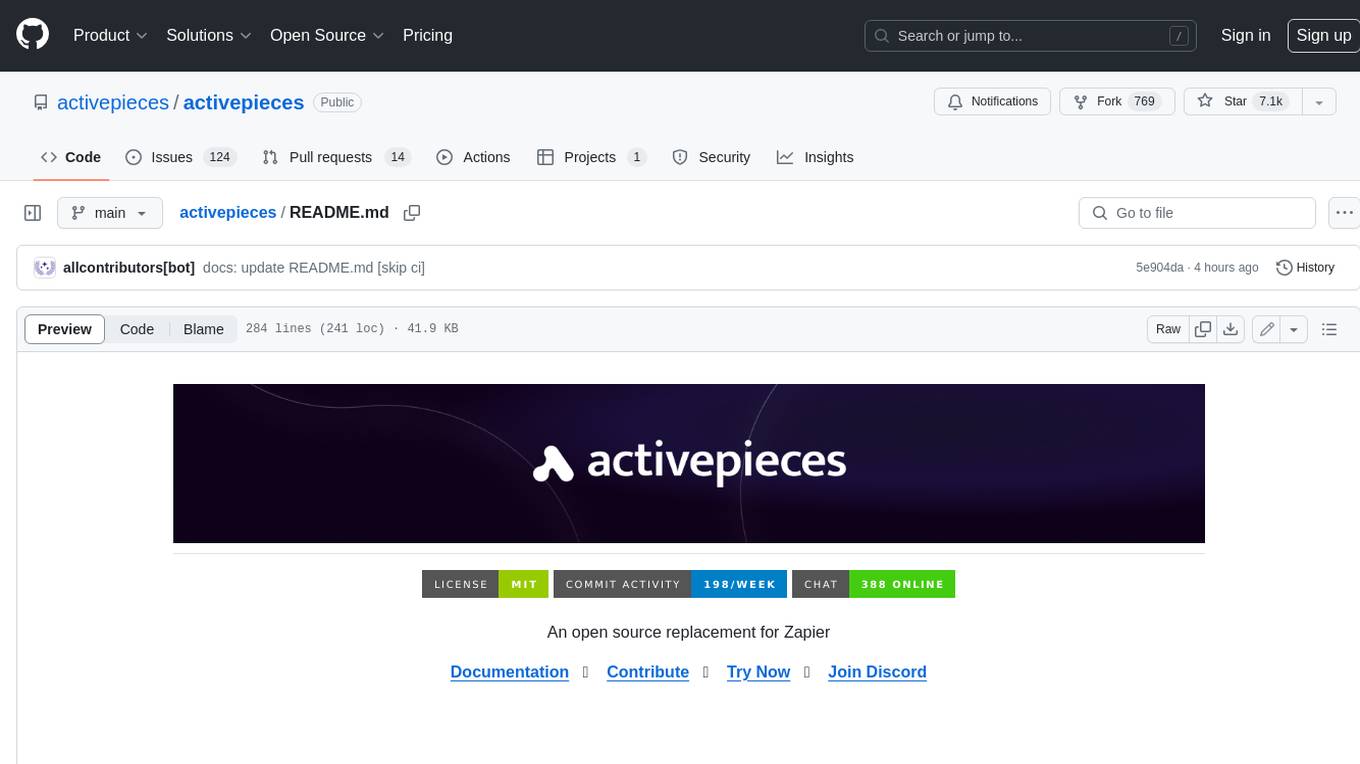
Activepieces is an open source replacement for Zapier, designed to be extensible through a type-safe pieces framework written in Typescript. It features a user-friendly Workflow Builder with support for Branches, Loops, and Drag and Drop. Activepieces integrates with Google Sheets, OpenAI, Discord, and RSS, along with 80+ other integrations. The list of supported integrations continues to grow rapidly, thanks to valuable contributions from the community. Activepieces is an open ecosystem; all piece source code is available in the repository, and they are versioned and published directly to npmjs.com upon contributions. If you cannot find a specific piece on the pieces roadmap, please submit a request by visiting the following link: Request Piece Alternatively, if you are a developer, you can quickly build your own piece using our TypeScript framework. For guidance, please refer to the following guide: Contributor's Guide
For similar jobs
sweep
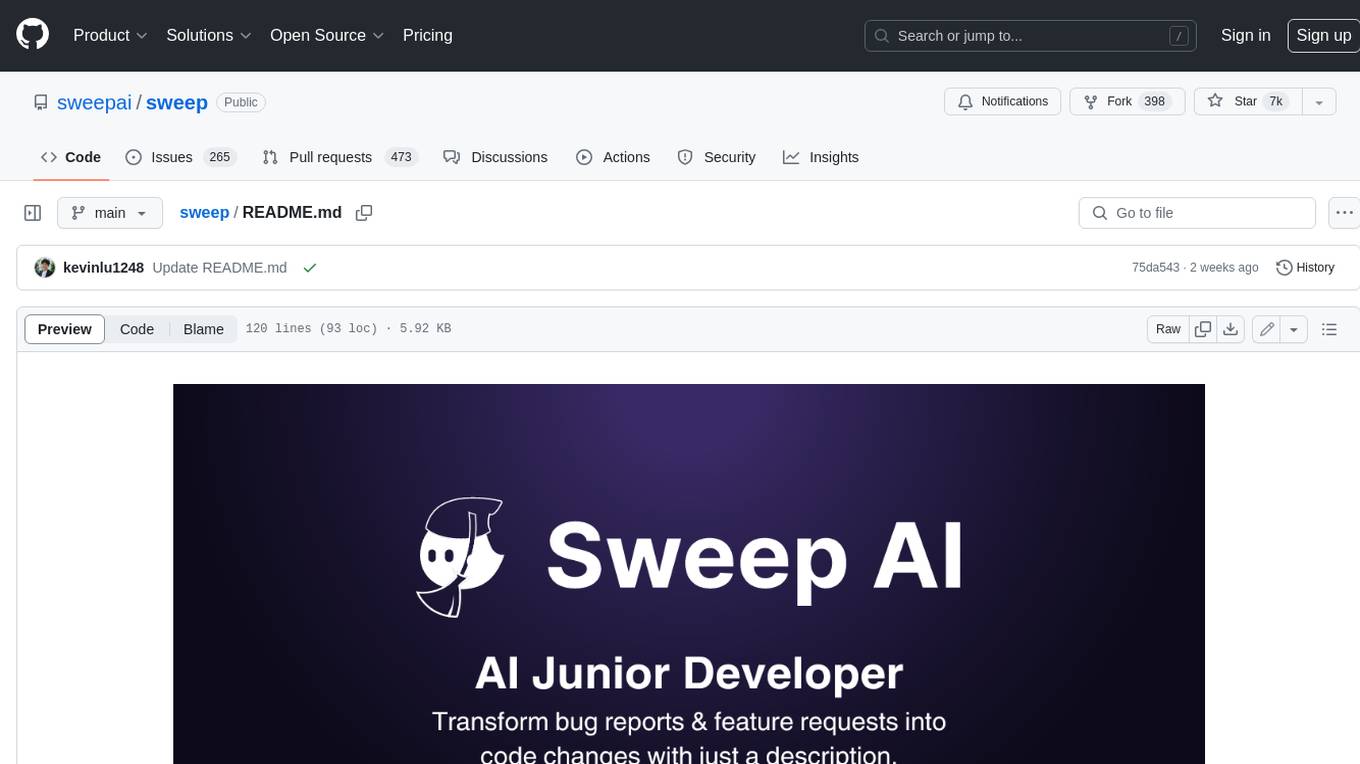
Sweep is an AI junior developer that turns bugs and feature requests into code changes. It automatically handles developer experience improvements like adding type hints and improving test coverage.
teams-ai
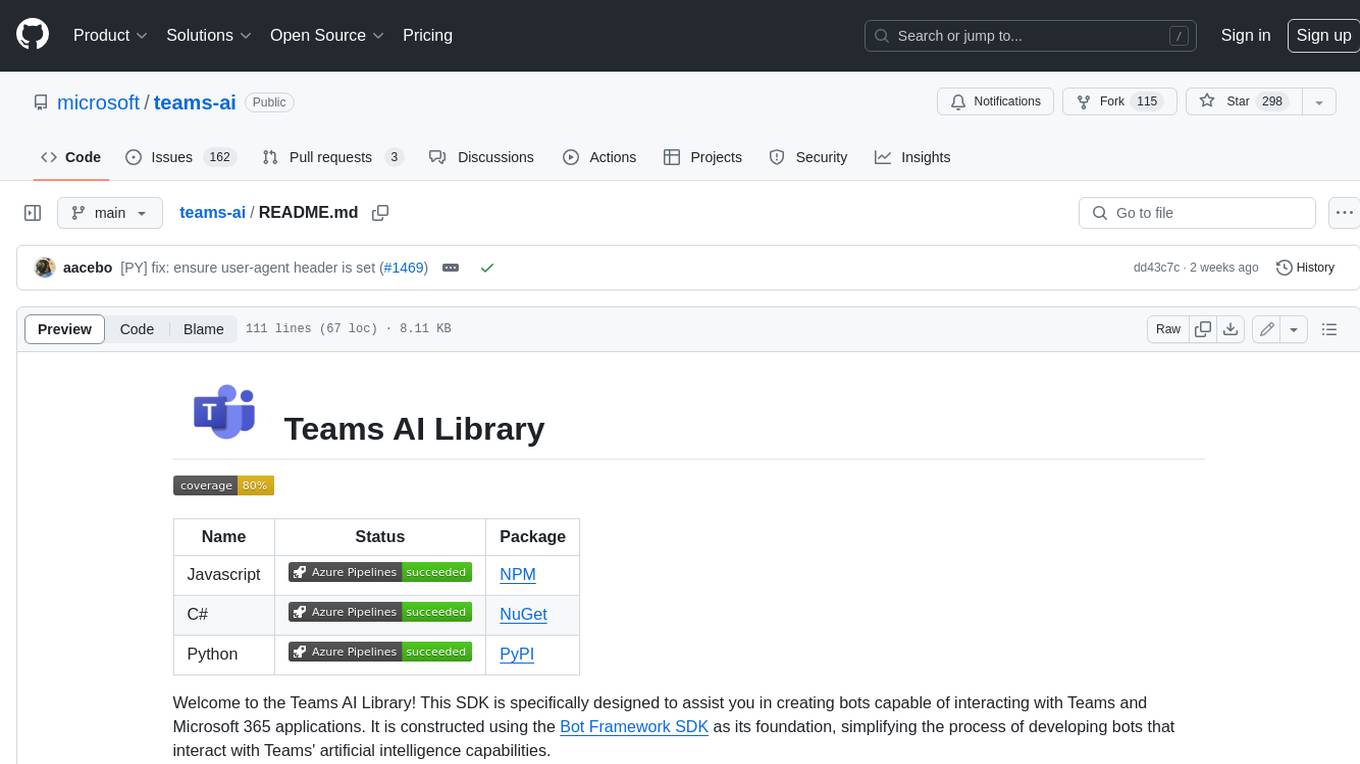
The Teams AI Library is a software development kit (SDK) that helps developers create bots that can interact with Teams and Microsoft 365 applications. It is built on top of the Bot Framework SDK and simplifies the process of developing bots that interact with Teams' artificial intelligence capabilities. The SDK is available for JavaScript/TypeScript, .NET, and Python.
ai-guide
This guide is dedicated to Large Language Models (LLMs) that you can run on your home computer. It assumes your PC is a lower-end, non-gaming setup.
classifai
Supercharge WordPress Content Workflows and Engagement with Artificial Intelligence. Tap into leading cloud-based services like OpenAI, Microsoft Azure AI, Google Gemini and IBM Watson to augment your WordPress-powered websites. Publish content faster while improving SEO performance and increasing audience engagement. ClassifAI integrates Artificial Intelligence and Machine Learning technologies to lighten your workload and eliminate tedious tasks, giving you more time to create original content that matters.

chatbot-ui
Chatbot UI is an open-source AI chat app that allows users to create and deploy their own AI chatbots. It is easy to use and can be customized to fit any need. Chatbot UI is perfect for businesses, developers, and anyone who wants to create a chatbot.
BricksLLM
BricksLLM is a cloud native AI gateway written in Go. Currently, it provides native support for OpenAI, Anthropic, Azure OpenAI and vLLM. BricksLLM aims to provide enterprise level infrastructure that can power any LLM production use cases. Here are some use cases for BricksLLM: * Set LLM usage limits for users on different pricing tiers * Track LLM usage on a per user and per organization basis * Block or redact requests containing PIIs * Improve LLM reliability with failovers, retries and caching * Distribute API keys with rate limits and cost limits for internal development/production use cases * Distribute API keys with rate limits and cost limits for students
uAgents
uAgents is a Python library developed by Fetch.ai that allows for the creation of autonomous AI agents. These agents can perform various tasks on a schedule or take action on various events. uAgents are easy to create and manage, and they are connected to a fast-growing network of other uAgents. They are also secure, with cryptographically secured messages and wallets.
griptape
Griptape is a modular Python framework for building AI-powered applications that securely connect to your enterprise data and APIs. It offers developers the ability to maintain control and flexibility at every step. Griptape's core components include Structures (Agents, Pipelines, and Workflows), Tasks, Tools, Memory (Conversation Memory, Task Memory, and Meta Memory), Drivers (Prompt and Embedding Drivers, Vector Store Drivers, Image Generation Drivers, Image Query Drivers, SQL Drivers, Web Scraper Drivers, and Conversation Memory Drivers), Engines (Query Engines, Extraction Engines, Summary Engines, Image Generation Engines, and Image Query Engines), and additional components (Rulesets, Loaders, Artifacts, Chunkers, and Tokenizers). Griptape enables developers to create AI-powered applications with ease and efficiency.