
CoPilot
Generative AI Platform Built on TigerGraph
Stars: 55
TigerGraph CoPilot is an AI assistant that combines graph databases and generative AI to enhance productivity across various business functions. It includes three core component services: InquiryAI for natural language assistance, SupportAI for knowledge Q&A, and QueryAI for GSQL code generation. Users can interact with CoPilot through a chat interface on TigerGraph Cloud and APIs. CoPilot requires LLM services for beta but will support TigerGraph's LLM in future releases. It aims to improve contextual relevance and accuracy of answers to natural-language questions by building knowledge graphs and using RAG. CoPilot is extensible and can be configured with different LLM providers, graph schemas, and LangChain tools.
README:
-
8/21/2024: CoPilot is available now in v0.9 (v0.9.0). Please see Release Notes for details. Note: On TigerGraph Cloud only CoPilot v0.5 is available.
-
4/30/2024: CoPilot is available now in Beta (v0.5.0). A whole new function is added to CoPilot: Now you can create chatbots with graph-augmented AI on a your own documents. CoPilot builds a knowledge graph from source material and applies knowledge graph RAG (Retrieval Augmented Generation) to improve the contextual relevance and accuracy of answers to their natural-language questions. We would love to hear your feedback to keep improving it so that it could bring more value to you. It would be helpful if you could fill out this short survey after you have played with CoPilot. Thank you for your interest and support!
-
3/18/2024: CoPilot is available now in Alpha (v0.0.1). It uses a Large Language Model (LLM) to convert your question into a function call, which is then executed on the graph in TigerGraph. We would love to hear your feedback to keep improving it so that it could bring more value to you. If you are trying it out, it would be helpful if you could fill out this sign up form so we can keep track of it (no spam, promised). And if you would just like to provide the feedback, please feel free to fill out this short survey. Thank you for your interest and support!
TigerGraph CoPilot is an AI assistant that is meticulously designed to combine the powers of graph databases and generative AI to draw the most value from data and to enhance productivity across various business functions, including analytics, development, and administration tasks. It is one AI assistant with three core component services:
- InquiryAI as a natural language assistant for graph-powered solutions
- SupportAI as a knowledge Q&A assistant for documents and graphs
- QueryAI as a GSQL code generator including query and schema generation, data mapping, and more (Not available in Beta; coming soon)
You can interact with CoPilot through a chat interface on TigerGraph Cloud, a built-in chat interface and APIs. For now, your own LLM services (from OpenAI, Azure, GCP, AWS Bedrock, Ollama, Hugging Face and Groq.) are required to use CoPilot, but in future releases you can use TigerGraph’s LLMs.
When a question is posed in natural language, CoPilot (InquiryAI) employs a novel three-phase interaction with both the TigerGraph database and a LLM of the user's choice, to obtain accurate and relevant responses.
The first phase aligns the question with the particular data available in the database. CoPilot uses the LLM to compare the question with the graph’s schema and replace entities in the question by graph elements. For example, if there is a vertex type of “BareMetalNode” and the user asks “How many servers are there?”, the question will be translated to “How many BareMetalNode vertices are there?”. In the second phase, CoPilot uses the LLM to compare the transformed question with a set of curated database queries and functions in order to select the best match. In the third phase, CoPilot executes the identified query and returns the result in natural language along with the reasoning behind the actions.
Using pre-approved queries provides multiple benefits. First and foremost, it reduces the likelihood of hallucinations, because the meaning and behavior of each query has been validated. Second, the system has the potential of predicting the execution resources needed to answer the question.
With SupportAI, CoPilot creates chatbots with graph-augmented AI on a user's own documents or text data. It builds a knowledge graph from source material and applies its unique variant of knowledge graph-based RAG (Retrieval Augmented Generation) to improve the contextual relevance and accuracy of answers to natural-language questions.
CoPilot will also identify concepts and build an ontology, to add semantics and reasoning to the knowledge graph, or users can provide their own concept ontology. Then, with this comprehensive knowledge graph, CoPilot performs hybrid retrievals, combining traditional vector search and graph traversals, to collect more relevant information and richer context to answer users’ knowledge questions.
Organizing the data as a knowledge graph allows a chatbot to access accurate, fact-based information quickly and efficiently, thereby reducing the reliance on generating responses from patterns learned during training, which can sometimes be incorrect or out of date.
QueryAI is the third component of TigerGraph CoPilot. It is designed to be used as a developer tool to help generate graph queries in GSQL from an English language description. It can also be used to generate schema, data mapping, and even dashboards. This will enable developers to write GSQL queries more quickly and accurately, and will be especially useful for those who are new to GSQL. Currently, experimental openCypher generation is available.
CoPilot is available as an add-on service to your workspace on TigerGraph Cloud. It is disabled by default. Please contact [email protected] to enable TigerGraph CoPilot as an option in the Marketplace.
TigerGraph CoPilot is an open-source project on GitHub which can be deployed to your own infrastructure.
If you don’t need to extend the source code of CoPilot, the quickest way is to deploy its docker image with the docker compose file in the repo. In order to take this route, you will need the following prerequisites.
- Docker
- TigerGraph DB 3.9+. (For 3.x, you will need to install a few user defined functions (UDFs). Please see Step 5 below for details.)
- API key of your LLM provider. (An LLM provider refers to a company or organization that offers Large Language Models (LLMs) as a service. The API key verifies the identity of the requester, ensuring that the request is coming from a registered and authorized user or application.) Currently, CoPilot supports the following LLM providers: OpenAI, Azure OpenAI, GCP, AWS Bedrock.
-
Step 1: Get docker-compose file
- Download the docker-compose.yml file directly , or
- Clone the repo
git clone https://github.com/tigergraph/CoPilot
The Docker Compose file contains all dependencies for CoPilot including a Milvus database. If you do not need a particular service, you make edit the Compose file to remove it or set its scale to 0 when running the Compose file (details later). Moreover, CoPilot comes with a Swagger API documentation page when it is deployed. If you wish to disable it, you can set the
PRODUCTIONenvironment variable to true for the CoPilot service in the Compose file. -
Step 2: Set up configurations
Next, in the same directory as the Docker Compose file is in, create and fill in the following configuration files:
-
Step 3 (Optional): Configure Logging
touch configs/log_config.json. Details for the configuration is available here. -
Step 4: Start all services
Now, simply run
docker compose up -dand wait for all the services to start. If you don’t want to use the included Milvus DB, you can set its scale to 0 to not start it:docker compose up -d --scale milvus-standalone=0 --scale etcd=0 --scale minio=0. -
Step 5: Install UDFs
This step is not needed for TigerGraph databases version 4.x. For TigerGraph 3.x, we need to install a few user defined functions (UDFs) for CoPilot to work.
- On the machine that hosts the TigerGraph database, switch to the user of TigerGraph:
sudo su - tigergraph. If TigerGraph is running on a cluster, you can do this on any one of the machines. - Download the two files ExprFunctions.hpp and ExprUtil.hpp.
- In a terminal, run the following command to enable UDF installation:
gadmin config set GSQL.UDF.EnablePutTgExpr true gadmin config set GSQL.UDF.Policy.Enable false gadmin config apply gadmin restart GSQL- Enter a GSQL shell, and run the following command to install the UDF files.
PUT tg_ExprFunctions FROM "./tg_ExprFunctions.hpp" PUT tg_ExprUtil FROM "./tg_ExprUtil.hpp"- Quit the GSQL shell, and run the following command in the terminal to disable UDF installation for security purpose.
gadmin config set GSQL.UDF.EnablePutTgExpr false gadmin config set GSQL.UDF.Policy.Enable true gadmin config apply gadmin restart GSQL - On the machine that hosts the TigerGraph database, switch to the user of TigerGraph:
In the configs/llm_config.json file, copy JSON config template from below for your LLM provider, and fill out the appropriate fields. Only one provider is needed.
-
OpenAI
In addition to the
OPENAI_API_KEY,llm_modelandmodel_namecan be edited to match your specific configuration details.{ "model_name": "GPT-4", "embedding_service": { "embedding_model_service": "openai", "authentication_configuration": { "OPENAI_API_KEY": "YOUR_OPENAI_API_KEY_HERE" } }, "completion_service": { "llm_service": "openai", "llm_model": "gpt-4-0613", "authentication_configuration": { "OPENAI_API_KEY": "YOUR_OPENAI_API_KEY_HERE" }, "model_kwargs": { "temperature": 0 }, "prompt_path": "./app/prompts/openai_gpt4/" } } -
GCP
Follow the GCP authentication information found here: https://cloud.google.com/docs/authentication/application-default-credentials#GAC and create a Service Account with VertexAI credentials. Then add the following to the docker run command:
-v $(pwd)/configs/SERVICE_ACCOUNT_CREDS.json:/SERVICE_ACCOUNT_CREDS.json -e GOOGLE_APPLICATION_CREDENTIALS=/SERVICE_ACCOUNT_CREDS.jsonAnd your JSON config should follow as:
{ "model_name": "GCP-text-bison", "embedding_service": { "embedding_model_service": "vertexai", "authentication_configuration": {} }, "completion_service": { "llm_service": "vertexai", "llm_model": "text-bison", "model_kwargs": { "temperature": 0 }, "prompt_path": "./app/prompts/gcp_vertexai_palm/" } } -
Azure
In addition to the
AZURE_OPENAI_ENDPOINT,AZURE_OPENAI_API_KEY, andazure_deployment,llm_modelandmodel_namecan be edited to match your specific configuration details.{ "model_name": "GPT35Turbo", "embedding_service": { "embedding_model_service": "azure", "azure_deployment":"YOUR_EMBEDDING_DEPLOYMENT_HERE", "authentication_configuration": { "OPENAI_API_TYPE": "azure", "OPENAI_API_VERSION": "2022-12-01", "AZURE_OPENAI_ENDPOINT": "YOUR_AZURE_ENDPOINT_HERE", "AZURE_OPENAI_API_KEY": "YOUR_AZURE_API_KEY_HERE" } }, "completion_service": { "llm_service": "azure", "azure_deployment": "YOUR_COMPLETION_DEPLOYMENT_HERE", "openai_api_version": "2023-07-01-preview", "llm_model": "gpt-35-turbo-instruct", "authentication_configuration": { "OPENAI_API_TYPE": "azure", "AZURE_OPENAI_ENDPOINT": "YOUR_AZURE_ENDPOINT_HERE", "AZURE_OPENAI_API_KEY": "YOUR_AZURE_API_KEY_HERE" }, "model_kwargs": { "temperature": 0 }, "prompt_path": "./app/prompts/azure_open_ai_gpt35_turbo_instruct/" } } -
AWS Bedrock
{ "model_name": "Claude-3-haiku", "embedding_service": { "embedding_model_service": "bedrock", "embedding_model":"amazon.titan-embed-text-v1", "authentication_configuration": { "AWS_ACCESS_KEY_ID": "ACCESS_KEY", "AWS_SECRET_ACCESS_KEY": "SECRET" } }, "completion_service": { "llm_service": "bedrock", "llm_model": "anthropic.claude-3-haiku-20240307-v1:0", "authentication_configuration": { "AWS_ACCESS_KEY_ID": "ACCESS_KEY", "AWS_SECRET_ACCESS_KEY": "SECRET" }, "model_kwargs": { "temperature": 0, }, "prompt_path": "./app/prompts/aws_bedrock_claude3haiku/" } } -
Ollama
{ "model_name": "GPT-4", "embedding_service": { "embedding_model_service": "openai", "authentication_configuration": { "OPENAI_API_KEY": "" } }, "completion_service": { "llm_service": "ollama", "llm_model": "calebfahlgren/natural-functions", "model_kwargs": { "temperature": 0.0000001 }, "prompt_path": "./app/prompts/openai_gpt4/" } } -
Hugging Face
Example configuration for a model on Hugging Face with a dedicated endpoint is shown below. Please specify your configuration details:
{
  "model_name": "llama3-8b",
  "embedding_service": {
      "embedding_model_service": "openai",
      "authentication_configuration": {
          "OPENAI_API_KEY": ""
      }
  },
  "completion_service": {
      "llm_service": "huggingface",
      "llm_model": "hermes-2-pro-llama-3-8b-lpt",
      "endpoint_url": "https:endpoints.huggingface.cloud",
      "authentication_configuration": {
          "HUGGINGFACEHUB_API_TOKEN": ""
      },
      "model_kwargs": {
          "temperature": 0.1
      },
      "prompt_path": "./app/prompts/openai_gpt4/"
  }
}
Example configuration for a model on Hugging Face with a serverless endpoint is shown below. Please specify your configuration details:
{ "model_name": "Llama3-70b", "embedding_service": { "embedding_model_service": "openai", "authentication_configuration": { "OPENAI_API_KEY": "" } }, "completion_service": { "llm_service": "huggingface", "llm_model": "meta-llama/Meta-Llama-3-70B-Instruct", "authentication_configuration": { "HUGGINGFACEHUB_API_TOKEN": "" }, "model_kwargs": { "temperature": 0.1 }, "prompt_path": "./app/prompts/llama_70b/" } } -
Groq
{
  "model_name": "mixtral-8x7b-32768",
  "embedding_service": {
      "embedding_model_service": "openai",
      "authentication_configuration": {
          "OPENAI_API_KEY": ""
      }
  },
  "completion_service": {
      "llm_service": "groq",
      "llm_model": "mixtral-8x7b-32768",
      "authentication_configuration": {
          "GROQ_API_KEY": ""
      },
      "model_kwargs": {
          "temperature": 0.1
      },
      "prompt_path": "./app/prompts/openai_gpt4/"
  }
}
Copy the below into configs/db_config.json and edit the hostname and getToken fields to match your database's configuration. If token authentication is enabled in TigerGraph, set getToken to true. Set the timeout, memory threshold, and thread limit parameters as desired to control how much of the database's resources are consumed when answering a question.
“ecc” and “chat_history_api” are the addresses of internal components of CoPilot.If you use the Docker Compose file as is, you don’t need to change them.
{
    "hostname": "http://tigergraph",
    "restppPort": "9000",
    "gsPort": "14240",
    "getToken": false,
    "default_timeout": 300,
    "default_mem_threshold": 5000,
    "default_thread_limit": 8,
    "ecc": "http://eventual-consistency-service:8001",
    "chat_history_api": "http://chat-history:8002"
}Copy the below into configs/milvus_config.json and edit the host and port fields to match your Milvus configuration (keeping in mind docker configuration). username and password can also be configured below if required by your Milvus setup. enabled should always be set to "true" for now as Milvus is only the embedding store supported.
{
    "host": "milvus-standalone",
    "port": 19530,
    "username": "",
    "password": "",
    "enabled": "true",
    "sync_interval_seconds": 60
}Copy the below code into configs/chat_config.json. You shouldn’t need to change anything unless you change the port of the chat history service in the Docker Compose file.
{
"apiPort":"8002",
"dbPath": "chats.db",
"dbLogPath": "db.log",
"logPath": "requestLogs.jsonl",
"conversationAccessRoles": ["superuser", "globaldesigner"]
}If you would like to enable openCypher query generation in InquiryAI, you can set the USE_CYPHER environment variable to "true" in the CoPilot service in the docker compose file. By default, this is set to "false". Note: openCypher query generation is still in beta and may not work as expected, as well as increases the potential of hallucinated answers due to bad code generation. Use with caution, and only in non-production environments.
CoPilot is friendly to both technical and non-technical users. There is a graphical chat interface as well as API access to CoPilot. Function-wise, CoPilot can answer your questions by calling existing queries in the database (InquiryAI), build a knowledge graph from your documents (SupportAI), and answer knowledge questions based on your documents (SupportAI).
Please refer to our official documentation on how to use CoPilot.
TigerGraph CoPilot is designed to be easily extensible. The service can be configured to use different LLM providers, different graph schemas, and different LangChain tools. The service can also be extended to use different embedding services, different LLM generation services, and different LangChain tools. For more information on how to extend the service, see the Developer Guide.
A family of tests are included under the tests directory. If you would like to add more tests please refer to the guide here. A shell script run_tests.sh is also included in the folder which is the driver for running the tests. The easiest way to use this script is to execute it in the Docker Container for testing.
You can run testing for each service by going to the top level of the service's directory and running python -m pytest
e.g. (from the top level)
cd copilot
python -m pytest
cd ..First, make sure that all your LLM service provider configuration files are working properly. The configs will be mounted for the container to access. Also make sure that all the dependencies such as database and Milvus are ready. If not, you can run the included docker compose file to create those services.
docker compose up -d --buildIf you want to use Weights And Biases for logging the test results, your WandB API key needs to be set in an environment variable on the host machine.
export WANDB_API_KEY=KEY HEREThen, you can build the docker container from the Dockerfile.tests file and run the test script in the container.
docker build -f Dockerfile.tests -t copilot-tests:0.1 .

docker run -d -v $(pwd)/configs/:/ -e GOOGLE_APPLICATION_CREDENTIALS=/GOOGLE_SERVICE_ACCOUNT_CREDS.json -e WANDB_API_KEY=$WANDB_API_KEY -it --name copilot-tests copilot-tests:0.1


docker exec copilot-tests bash -c "conda run --no-capture-output -n py39 ./run_tests.sh all all"To edit what tests are executed, one can pass arguments to the ./run_tests.sh script. Currently, one can configure what LLM service to use (defaults to all), what schemas to test against (defaults to all), and whether or not to use Weights and Biases for logging (defaults to true). Instructions of the options are found below:
The first parameter to run_tests.sh is what LLMs to test against. Defaults to all. The options are:
-
all- run tests against all LLMs -
azure_gpt35- run tests against GPT-3.5 hosted on Azure -
openai_gpt35- run tests against GPT-3.5 hosted on OpenAI -
openai_gpt4- run tests on GPT-4 hosted on OpenAI -
gcp_textbison- run tests on text-bison hosted on GCP
The second parameter to run_tests.sh is what graphs to test against. Defaults to all. The options are:
-
all- run tests against all available graphs -
OGB_MAG- The academic paper dataset provided by: https://ogb.stanford.edu/docs/nodeprop/#ogbn-mag. -
DigtialInfra- Digital infrastructure digital twin dataset -
Synthea- Synthetic health dataset
If you wish to log the test results to Weights and Biases (and have the correct credentials setup above), the final parameter to run_tests.sh automatically defaults to true. If you wish to disable Weights and Biases logging, use false.
If you would like to contribute to TigerGraph CoPilot, please read the documentation here.
For Tasks:
Click tags to check more tools for each tasksFor Jobs:
Alternative AI tools for CoPilot
Similar Open Source Tools

CoPilot
TigerGraph CoPilot is an AI assistant that combines graph databases and generative AI to enhance productivity across various business functions. It includes three core component services: InquiryAI for natural language assistance, SupportAI for knowledge Q&A, and QueryAI for GSQL code generation. Users can interact with CoPilot through a chat interface on TigerGraph Cloud and APIs. CoPilot requires LLM services for beta but will support TigerGraph's LLM in future releases. It aims to improve contextual relevance and accuracy of answers to natural-language questions by building knowledge graphs and using RAG. CoPilot is extensible and can be configured with different LLM providers, graph schemas, and LangChain tools.
Toolio
Toolio is an OpenAI-like HTTP server API implementation that supports structured LLM response generation, making it conform to a JSON schema. It is useful for reliable tool calling and agentic workflows based on schema-driven output. Toolio is based on the MLX framework for Apple Silicon, specifically M1/M2/M3/M4 Macs. It allows users to host MLX-format LLMs for structured output queries and provides a command line client for easier usage of tools. The tool also supports multiple tool calls and the creation of custom tools for specific tasks.
chatmemory
ChatMemory is a simple yet powerful long-term memory manager that facilitates communication between AI and users. It organizes conversation data into history, summary, and knowledge entities, enabling quick retrieval of context and generation of clear, concise answers. The tool leverages vector search on summaries/knowledge and detailed history to provide accurate responses. It balances speed and accuracy by using lightweight retrieval and fallback detailed search mechanisms, ensuring efficient memory management and response generation beyond mere data retrieval.
empower-functions
Empower Functions is a family of large language models (LLMs) that provide GPT-4 level capabilities for real-world 'tool using' use cases. These models offer compatibility support to be used as drop-in replacements, enabling interactions with external APIs by recognizing when a function needs to be called and generating JSON containing necessary arguments based on user inputs. This capability is crucial for building conversational agents and applications that convert natural language into API calls, facilitating tasks such as weather inquiries, data extraction, and interactions with knowledge bases. The models can handle multi-turn conversations, choose between tools or standard dialogue, ask for clarification on missing parameters, integrate responses with tool outputs in a streaming fashion, and efficiently execute multiple functions either in parallel or sequentially with dependencies.

motorhead
Motorhead is a memory and information retrieval server for LLMs. It provides three simple APIs to assist with memory handling in chat applications using LLMs. The first API, GET /sessions/:id/memory, returns messages up to a maximum window size. The second API, POST /sessions/:id/memory, allows you to send an array of messages to Motorhead for storage. The third API, DELETE /sessions/:id/memory, deletes the session's message list. Motorhead also features incremental summarization, where it processes half of the maximum window size of messages and summarizes them when the maximum is reached. Additionally, it supports searching by text query using vector search. Motorhead is configurable through environment variables, including the maximum window size, whether to enable long-term memory, the model used for incremental summarization, the server port, your OpenAI API key, and the Redis URL.
ai-dev-2024-ml-workshop
The 'ai-dev-2024-ml-workshop' repository contains materials for the Deploy and Monitor ML Pipelines workshop at the AI_dev 2024 conference in Paris, focusing on deployment designs of machine learning pipelines using open-source applications and free-tier tools. It demonstrates automating data refresh and forecasting using GitHub Actions and Docker, monitoring with MLflow and YData Profiling, and setting up a monitoring dashboard with Quarto doc on GitHub Pages.
npcsh
`npcsh` is a python-based command-line tool designed to integrate Large Language Models (LLMs) and Agents into one's daily workflow by making them available and easily configurable through the command line shell. It leverages the power of LLMs to understand natural language commands and questions, execute tasks, answer queries, and provide relevant information from local files and the web. Users can also build their own tools and call them like macros from the shell. `npcsh` allows users to take advantage of agents (i.e. NPCs) through a managed system, tailoring NPCs to specific tasks and workflows. The tool is extensible with Python, providing useful functions for interacting with LLMs, including explicit coverage for popular providers like ollama, anthropic, openai, gemini, deepseek, and openai-like providers. Users can set up a flask server to expose their NPC team for use as a backend service, run SQL models defined in their project, execute assembly lines, and verify the integrity of their NPC team's interrelations. Users can execute bash commands directly, use favorite command-line tools like VIM, Emacs, ipython, sqlite3, git, pipe the output of these commands to LLMs, or pass LLM results to bash commands.
Agently
Agently is a development framework that helps developers build AI agent native application really fast. You can use and build AI agent in your code in an extremely simple way. You can create an AI agent instance then interact with it like calling a function in very few codes like this below. Click the run button below and witness the magic. It's just that simple: python # Import and Init Settings import Agently agent = Agently.create_agent() agent\ .set_settings("current_model", "OpenAI")\ .set_settings("model.OpenAI.auth", {"api_key": ""}) # Interact with the agent instance like calling a function result = agent\ .input("Give me 3 words")\ .output([("String", "one word")])\ .start() print(result) ['apple', 'banana', 'carrot'] And you may notice that when we print the value of `result`, the value is a `list` just like the format of parameter we put into the `.output()`. In Agently framework we've done a lot of work like this to make it easier for application developers to integrate Agent instances into their business code. This will allow application developers to focus on how to build their business logic instead of figure out how to cater to language models or how to keep models satisfied.
otto-m8
otto-m8 is a flowchart based automation platform designed to run deep learning workloads with minimal to no code. It provides a user-friendly interface to spin up a wide range of AI models, including traditional deep learning models and large language models. The tool deploys Docker containers of workflows as APIs for integration with existing workflows, building AI chatbots, or standalone applications. Otto-m8 operates on an Input, Process, Output paradigm, simplifying the process of running AI models into a flowchart-like UI.
promptwright
Promptwright is a Python library designed for generating large synthetic datasets using local LLM and various LLM service providers. It offers flexible interfaces for generating prompt-led synthetic datasets. The library supports multiple providers, configurable instructions and prompts, YAML configuration, command line interface, push to Hugging Face Hub, and system message control. Users can define generation tasks using YAML configuration files or programmatically using Python code. Promptwright integrates with LiteLLM for LLM providers and supports automatic dataset upload to Hugging Face Hub. The library is not responsible for the content generated by models and advises users to review the data before using it in production environments.
promptwright
Promptwright is a Python library designed for generating large synthetic datasets using a local LLM and various LLM service providers. It offers flexible interfaces for generating prompt-led synthetic datasets. The library supports multiple providers, configurable instructions and prompts, YAML configuration for tasks, command line interface for running tasks, push to Hugging Face Hub for dataset upload, and system message control. Users can define generation tasks using YAML configuration or Python code. Promptwright integrates with LiteLLM to interface with LLM providers and supports automatic dataset upload to Hugging Face Hub.
marqo
Marqo is more than a vector database, it's an end-to-end vector search engine for both text and images. Vector generation, storage and retrieval are handled out of the box through a single API. No need to bring your own embeddings.
ragtacts
Ragtacts is a Clojure library that allows users to easily interact with Large Language Models (LLMs) such as OpenAI's GPT-4. Users can ask questions to LLMs, create question templates, call Clojure functions in natural language, and utilize vector databases for more accurate answers. Ragtacts also supports RAG (Retrieval-Augmented Generation) method for enhancing LLM output by incorporating external data. Users can use Ragtacts as a CLI tool, API server, or through a RAG Playground for interactive querying.
agentlang
AgentLang is an open-source programming language and framework designed for solving complex tasks with the help of AI agents. It allows users to build business applications rapidly from high-level specifications, making it more efficient than traditional programming languages. The language is data-oriented and declarative, with a syntax that is intuitive and closer to natural languages. AgentLang introduces innovative concepts such as first-class AI agents, graph-based hierarchical data model, zero-trust programming, declarative dataflow, resolvers, interceptors, and entity-graph-database mapping.
vinagent
Vinagent is a lightweight and flexible library designed for building smart agent assistants across various industries. It provides a simple yet powerful foundation for creating AI-powered customer service bots, data analysis assistants, or domain-specific automation agents. With its modular tool system, users can easily extend their agent's capabilities by integrating a wide range of tools that are self-contained, well-documented, and can be registered dynamically. Vinagent allows users to scale and adapt their agents to new tasks or environments effortlessly.
invariant
Invariant Analyzer is an open-source scanner designed for LLM-based AI agents to find bugs, vulnerabilities, and security threats. It scans agent execution traces to identify issues like looping behavior, data leaks, prompt injections, and unsafe code execution. The tool offers a library of built-in checkers, an expressive policy language, data flow analysis, real-time monitoring, and extensible architecture for custom checkers. It helps developers debug AI agents, scan for security violations, and prevent security issues and data breaches during runtime. The analyzer leverages deep contextual understanding and a purpose-built rule matching engine for security policy enforcement.
For similar tasks
Azure-Analytics-and-AI-Engagement
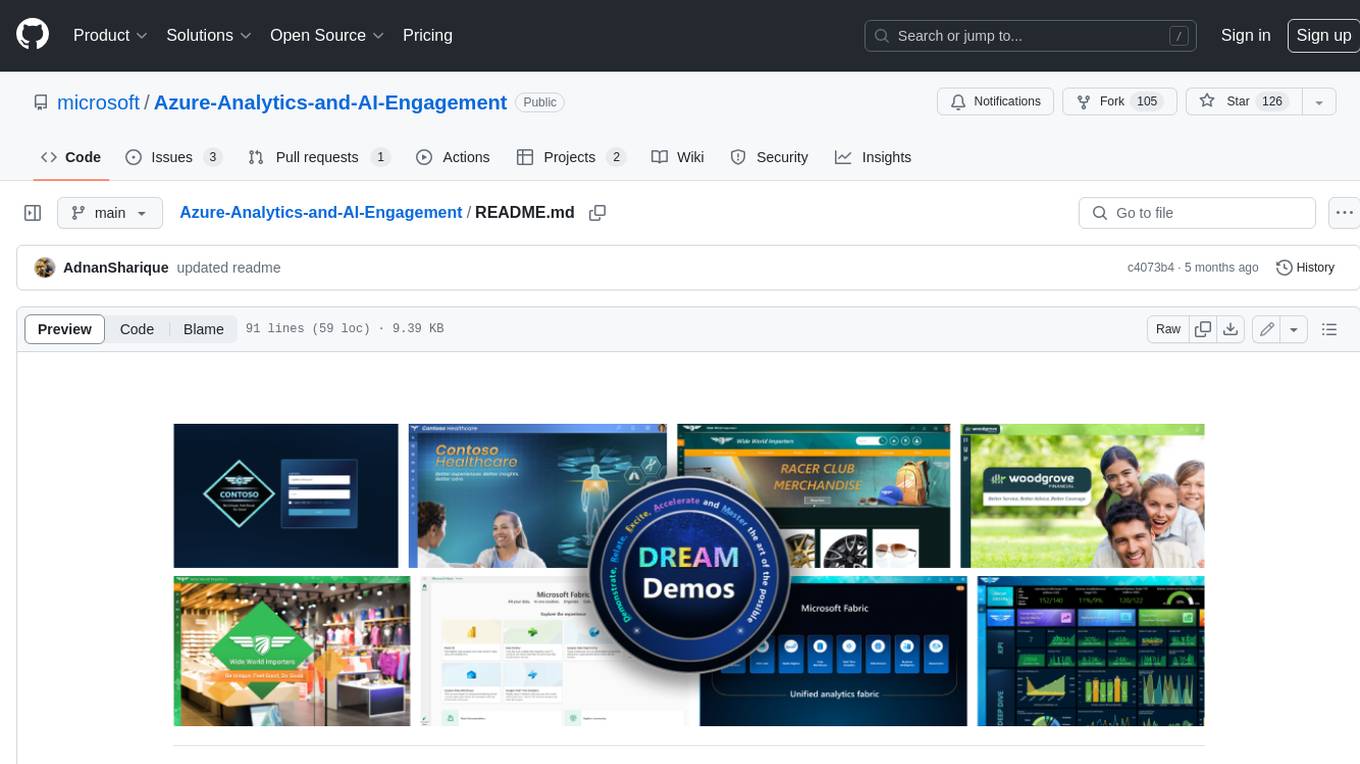
The Azure-Analytics-and-AI-Engagement repository provides packaged Industry Scenario DREAM Demos with ARM templates (Containing a demo web application, Power BI reports, Synapse resources, AML Notebooks etc.) that can be deployed in a customer’s subscription using the CAPE tool within a matter of few hours. Partners can also deploy DREAM Demos in their own subscriptions using DPoC.
sorrentum
Sorrentum is an open-source project that aims to combine open-source development, startups, and brilliant students to build machine learning, AI, and Web3 / DeFi protocols geared towards finance and economics. The project provides opportunities for internships, research assistantships, and development grants, as well as the chance to work on cutting-edge problems, learn about startups, write academic papers, and get internships and full-time positions at companies working on Sorrentum applications.
tidb
TiDB is an open-source distributed SQL database that supports Hybrid Transactional and Analytical Processing (HTAP) workloads. It is MySQL compatible and features horizontal scalability, strong consistency, and high availability.

zep-python
Zep is an open-source platform for building and deploying large language model (LLM) applications. It provides a suite of tools and services that make it easy to integrate LLMs into your applications, including chat history memory, embedding, vector search, and data enrichment. Zep is designed to be scalable, reliable, and easy to use, making it a great choice for developers who want to build LLM-powered applications quickly and easily.
telemetry-airflow
This repository codifies the Airflow cluster that is deployed at workflow.telemetry.mozilla.org (behind SSO) and commonly referred to as "WTMO" or simply "Airflow". Some links relevant to users and developers of WTMO: * The `dags` directory in this repository contains some custom DAG definitions * Many of the DAGs registered with WTMO don't live in this repository, but are instead generated from ETL task definitions in bigquery-etl * The Data SRE team maintains a WTMO Developer Guide (behind SSO)
mojo
Mojo is a new programming language that bridges the gap between research and production by combining Python syntax and ecosystem with systems programming and metaprogramming features. Mojo is still young, but it is designed to become a superset of Python over time.
pandas-ai
PandasAI is a Python library that makes it easy to ask questions to your data in natural language. It helps you to explore, clean, and analyze your data using generative AI.
databend
Databend is an open-source cloud data warehouse that serves as a cost-effective alternative to Snowflake. With its focus on fast query execution and data ingestion, it's designed for complex analysis of the world's largest datasets.
For similar jobs
sweep
Sweep is an AI junior developer that turns bugs and feature requests into code changes. It automatically handles developer experience improvements like adding type hints and improving test coverage.
teams-ai
The Teams AI Library is a software development kit (SDK) that helps developers create bots that can interact with Teams and Microsoft 365 applications. It is built on top of the Bot Framework SDK and simplifies the process of developing bots that interact with Teams' artificial intelligence capabilities. The SDK is available for JavaScript/TypeScript, .NET, and Python.
ai-guide
This guide is dedicated to Large Language Models (LLMs) that you can run on your home computer. It assumes your PC is a lower-end, non-gaming setup.
classifai
Supercharge WordPress Content Workflows and Engagement with Artificial Intelligence. Tap into leading cloud-based services like OpenAI, Microsoft Azure AI, Google Gemini and IBM Watson to augment your WordPress-powered websites. Publish content faster while improving SEO performance and increasing audience engagement. ClassifAI integrates Artificial Intelligence and Machine Learning technologies to lighten your workload and eliminate tedious tasks, giving you more time to create original content that matters.
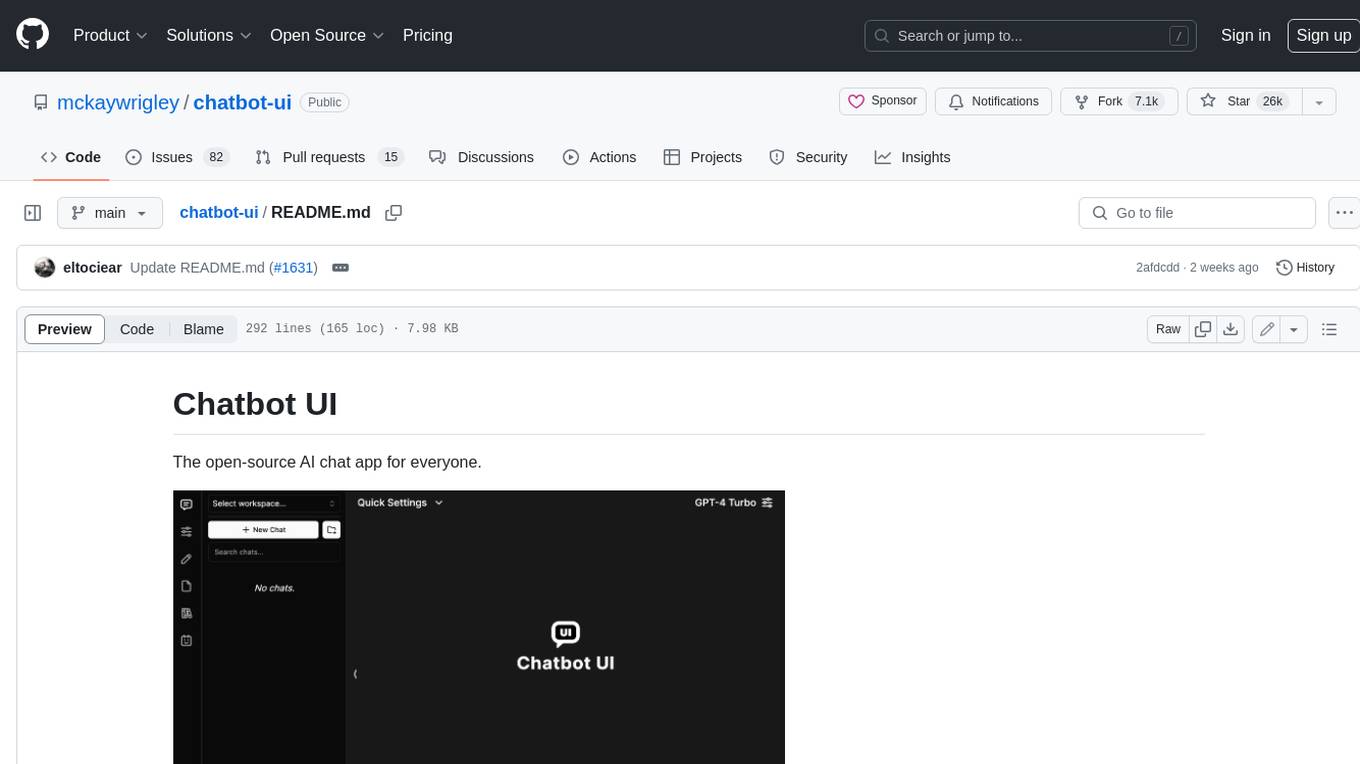
chatbot-ui
Chatbot UI is an open-source AI chat app that allows users to create and deploy their own AI chatbots. It is easy to use and can be customized to fit any need. Chatbot UI is perfect for businesses, developers, and anyone who wants to create a chatbot.
BricksLLM
BricksLLM is a cloud native AI gateway written in Go. Currently, it provides native support for OpenAI, Anthropic, Azure OpenAI and vLLM. BricksLLM aims to provide enterprise level infrastructure that can power any LLM production use cases. Here are some use cases for BricksLLM: * Set LLM usage limits for users on different pricing tiers * Track LLM usage on a per user and per organization basis * Block or redact requests containing PIIs * Improve LLM reliability with failovers, retries and caching * Distribute API keys with rate limits and cost limits for internal development/production use cases * Distribute API keys with rate limits and cost limits for students
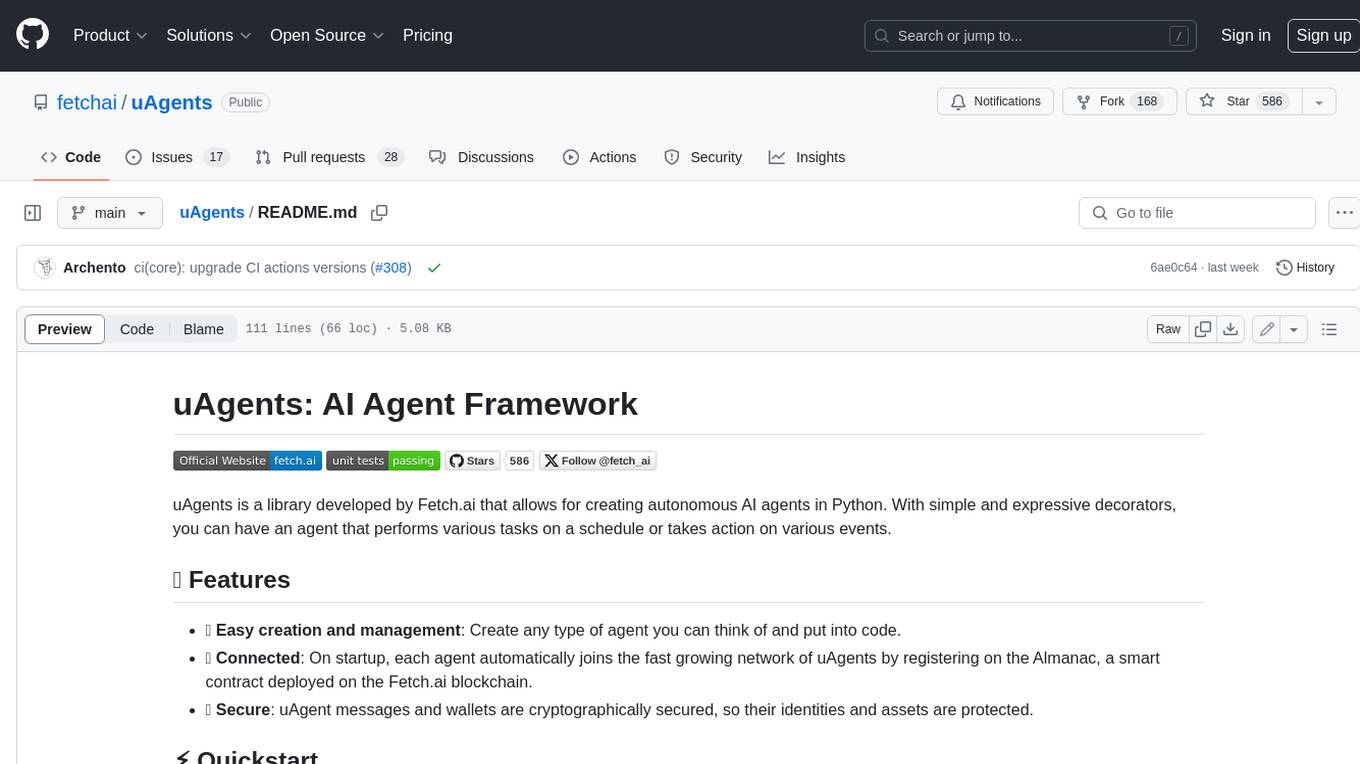
uAgents
uAgents is a Python library developed by Fetch.ai that allows for the creation of autonomous AI agents. These agents can perform various tasks on a schedule or take action on various events. uAgents are easy to create and manage, and they are connected to a fast-growing network of other uAgents. They are also secure, with cryptographically secured messages and wallets.
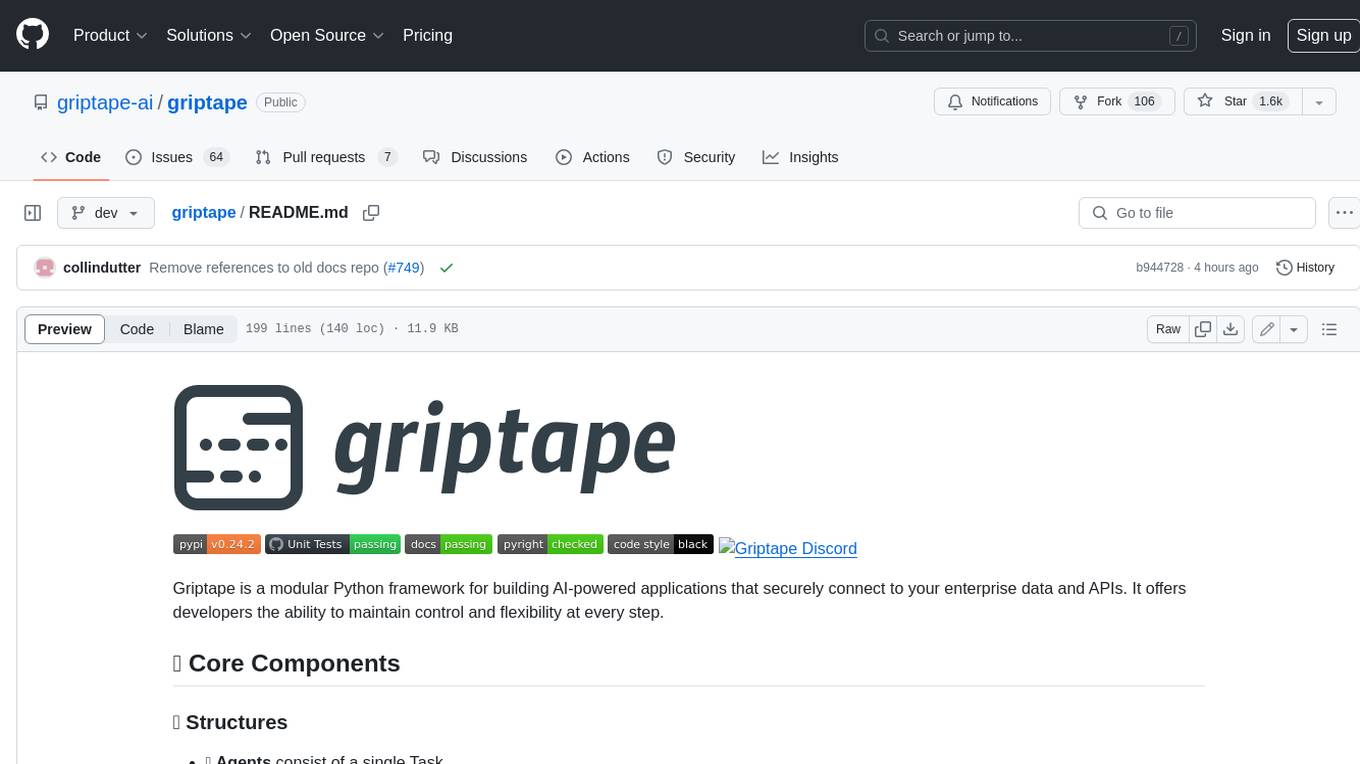
griptape
Griptape is a modular Python framework for building AI-powered applications that securely connect to your enterprise data and APIs. It offers developers the ability to maintain control and flexibility at every step. Griptape's core components include Structures (Agents, Pipelines, and Workflows), Tasks, Tools, Memory (Conversation Memory, Task Memory, and Meta Memory), Drivers (Prompt and Embedding Drivers, Vector Store Drivers, Image Generation Drivers, Image Query Drivers, SQL Drivers, Web Scraper Drivers, and Conversation Memory Drivers), Engines (Query Engines, Extraction Engines, Summary Engines, Image Generation Engines, and Image Query Engines), and additional components (Rulesets, Loaders, Artifacts, Chunkers, and Tokenizers). Griptape enables developers to create AI-powered applications with ease and efficiency.


