
stable-diffusion-webui
Stable Diffusion web UI
Stars: 148623
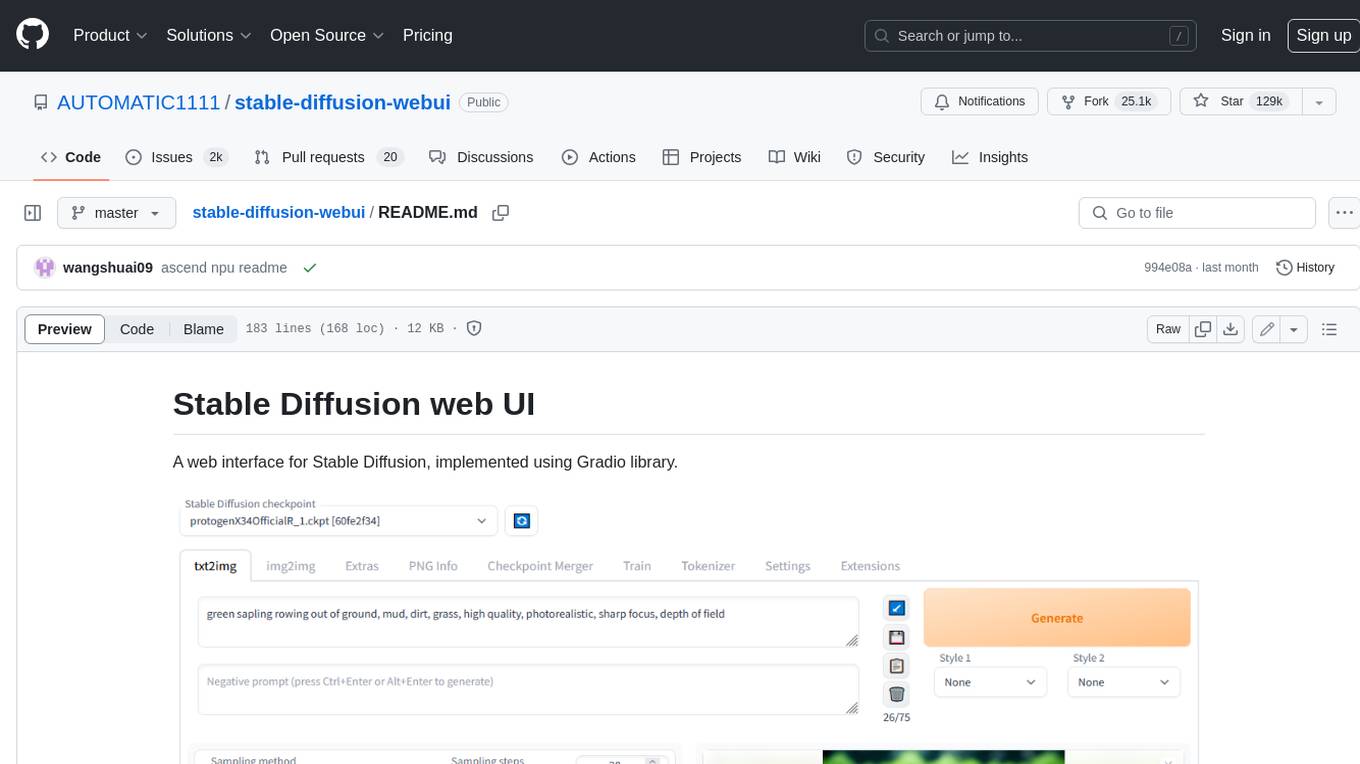
Stable Diffusion web UI is a web interface for Stable Diffusion, implemented using Gradio library. It provides a user-friendly interface to access the powerful image generation capabilities of Stable Diffusion. With Stable Diffusion web UI, users can easily generate images from text prompts, edit and refine images using inpainting and outpainting, and explore different artistic styles and techniques. The web UI also includes a range of advanced features such as textual inversion, hypernetworks, and embeddings, allowing users to customize and fine-tune the image generation process. Whether you're an artist, designer, or simply curious about the possibilities of AI-generated art, Stable Diffusion web UI is a valuable tool that empowers you to create stunning and unique images.
README:
A web interface for Stable Diffusion, implemented using Gradio library.
Detailed feature showcase with images:
- Original txt2img and img2img modes
- One click install and run script (but you still must install python and git)
- Outpainting
- Inpainting
- Color Sketch
- Prompt Matrix
- Stable Diffusion Upscale
- Attention, specify parts of text that the model should pay more attention to
- a man in a
((tuxedo))- will pay more attention to tuxedo - a man in a
(tuxedo:1.21)- alternative syntax - select text and press
Ctrl+UporCtrl+Down(orCommand+UporCommand+Downif you're on a MacOS) to automatically adjust attention to selected text (code contributed by anonymous user)
- a man in a
- Loopback, run img2img processing multiple times
- X/Y/Z plot, a way to draw a 3 dimensional plot of images with different parameters
- Textual Inversion
- have as many embeddings as you want and use any names you like for them
- use multiple embeddings with different numbers of vectors per token
- works with half precision floating point numbers
- train embeddings on 8GB (also reports of 6GB working)
- Extras tab with:
- GFPGAN, neural network that fixes faces
- CodeFormer, face restoration tool as an alternative to GFPGAN
- RealESRGAN, neural network upscaler
- ESRGAN, neural network upscaler with a lot of third party models
- SwinIR and Swin2SR (see here), neural network upscalers
- LDSR, Latent diffusion super resolution upscaling
- Resizing aspect ratio options
- Sampling method selection
- Adjust sampler eta values (noise multiplier)
- More advanced noise setting options
- Interrupt processing at any time
- 4GB video card support (also reports of 2GB working)
- Correct seeds for batches
- Live prompt token length validation
- Generation parameters
- parameters you used to generate images are saved with that image
- in PNG chunks for PNG, in EXIF for JPEG
- can drag the image to PNG info tab to restore generation parameters and automatically copy them into UI
- can be disabled in settings
- drag and drop an image/text-parameters to promptbox
- Read Generation Parameters Button, loads parameters in promptbox to UI
- Settings page
- Running arbitrary python code from UI (must run with
--allow-codeto enable) - Mouseover hints for most UI elements
- Possible to change defaults/mix/max/step values for UI elements via text config
- Tiling support, a checkbox to create images that can be tiled like textures
- Progress bar and live image generation preview
- Can use a separate neural network to produce previews with almost none VRAM or compute requirement
- Negative prompt, an extra text field that allows you to list what you don't want to see in generated image
- Styles, a way to save part of prompt and easily apply them via dropdown later
- Variations, a way to generate same image but with tiny differences
- Seed resizing, a way to generate same image but at slightly different resolution
- CLIP interrogator, a button that tries to guess prompt from an image
- Prompt Editing, a way to change prompt mid-generation, say to start making a watermelon and switch to anime girl midway
- Batch Processing, process a group of files using img2img
- Img2img Alternative, reverse Euler method of cross attention control
- Highres Fix, a convenience option to produce high resolution pictures in one click without usual distortions
- Reloading checkpoints on the fly
- Checkpoint Merger, a tab that allows you to merge up to 3 checkpoints into one
- Custom scripts with many extensions from community
-
Composable-Diffusion, a way to use multiple prompts at once
- separate prompts using uppercase
AND - also supports weights for prompts:
a cat :1.2 AND a dog AND a penguin :2.2
- separate prompts using uppercase
- No token limit for prompts (original stable diffusion lets you use up to 75 tokens)
- DeepDanbooru integration, creates danbooru style tags for anime prompts
-
xformers, major speed increase for select cards: (add
--xformersto commandline args) - via extension: History tab: view, direct and delete images conveniently within the UI
- Generate forever option
- Training tab
- hypernetworks and embeddings options
- Preprocessing images: cropping, mirroring, autotagging using BLIP or deepdanbooru (for anime)
- Clip skip
- Hypernetworks
- Loras (same as Hypernetworks but more pretty)
- A separate UI where you can choose, with preview, which embeddings, hypernetworks or Loras to add to your prompt
- Can select to load a different VAE from settings screen
- Estimated completion time in progress bar
- API
- Support for dedicated inpainting model by RunwayML
- via extension: Aesthetic Gradients, a way to generate images with a specific aesthetic by using clip images embeds (implementation of https://github.com/vicgalle/stable-diffusion-aesthetic-gradients)
- Stable Diffusion 2.0 support - see wiki for instructions
- Alt-Diffusion support - see wiki for instructions
- Now without any bad letters!
- Load checkpoints in safetensors format
- Eased resolution restriction: generated image's dimensions must be a multiple of 8 rather than 64
- Now with a license!
- Reorder elements in the UI from settings screen
- Segmind Stable Diffusion support
Make sure the required dependencies are met and follow the instructions available for:
- NVidia (recommended)
- AMD GPUs.
- Intel CPUs, Intel GPUs (both integrated and discrete) (external wiki page)
- Ascend NPUs (external wiki page)
Alternatively, use online services (like Google Colab):
- Download
sd.webui.zipfrom v1.0.0-pre and extract its contents. - Run
update.bat. - Run
run.bat.
For more details see Install-and-Run-on-NVidia-GPUs
- Install Python 3.10.6 (Newer version of Python does not support torch), checking "Add Python to PATH".
- Install git.
- Download the stable-diffusion-webui repository, for example by running
git clone https://github.com/AUTOMATIC1111/stable-diffusion-webui.git. - Run
webui-user.batfrom Windows Explorer as normal, non-administrator, user.
- Install the dependencies:
# Debian-based:
sudo apt install wget git python3 python3-venv libgl1 libglib2.0-0
# Red Hat-based:
sudo dnf install wget git python3 gperftools-libs libglvnd-glx
# openSUSE-based:
sudo zypper install wget git python3 libtcmalloc4 libglvnd
# Arch-based:
sudo pacman -S wget git python3
If your system is very new, you need to install python3.11 or python3.10:
# Ubuntu 24.04
sudo add-apt-repository ppa:deadsnakes/ppa
sudo apt update
sudo apt install python3.11

# Manjaro/Arch
sudo pacman -S yay
yay -S python311 # do not confuse with python3.11 package

# Only for 3.11
# Then set up env variable in launch script
export python_cmd="python3.11"
# or in webui-user.sh
python_cmd="python3.11"- Navigate to the directory you would like the webui to be installed and execute the following command:
wget -q https://raw.githubusercontent.com/AUTOMATIC1111/stable-diffusion-webui/master/webui.shOr just clone the repo wherever you want:
git clone https://github.com/AUTOMATIC1111/stable-diffusion-webui- Run
webui.sh. - Check
webui-user.shfor options.
Find the instructions here.
Here's how to add code to this repo: Contributing
The documentation was moved from this README over to the project's wiki.
For the purposes of getting Google and other search engines to crawl the wiki, here's a link to the (not for humans) crawlable wiki.
Licenses for borrowed code can be found in Settings -> Licenses screen, and also in html/licenses.html file.
- Stable Diffusion - https://github.com/Stability-AI/stablediffusion, https://github.com/CompVis/taming-transformers, https://github.com/mcmonkey4eva/sd3-ref
- k-diffusion - https://github.com/crowsonkb/k-diffusion.git
- Spandrel - https://github.com/chaiNNer-org/spandrel implementing
- GFPGAN - https://github.com/TencentARC/GFPGAN.git
- CodeFormer - https://github.com/sczhou/CodeFormer
- ESRGAN - https://github.com/xinntao/ESRGAN
- SwinIR - https://github.com/JingyunLiang/SwinIR
- Swin2SR - https://github.com/mv-lab/swin2sr
- LDSR - https://github.com/Hafiidz/latent-diffusion
- MiDaS - https://github.com/isl-org/MiDaS
- Ideas for optimizations - https://github.com/basujindal/stable-diffusion
- Cross Attention layer optimization - Doggettx - https://github.com/Doggettx/stable-diffusion, original idea for prompt editing.
- Cross Attention layer optimization - InvokeAI, lstein - https://github.com/invoke-ai/InvokeAI (originally http://github.com/lstein/stable-diffusion)
- Sub-quadratic Cross Attention layer optimization - Alex Birch (https://github.com/Birch-san/diffusers/pull/1), Amin Rezaei (https://github.com/AminRezaei0x443/memory-efficient-attention)
- Textual Inversion - Rinon Gal - https://github.com/rinongal/textual_inversion (we're not using his code, but we are using his ideas).
- Idea for SD upscale - https://github.com/jquesnelle/txt2imghd
- Noise generation for outpainting mk2 - https://github.com/parlance-zz/g-diffuser-bot
- CLIP interrogator idea and borrowing some code - https://github.com/pharmapsychotic/clip-interrogator
- Idea for Composable Diffusion - https://github.com/energy-based-model/Compositional-Visual-Generation-with-Composable-Diffusion-Models-PyTorch
- xformers - https://github.com/facebookresearch/xformers
- DeepDanbooru - interrogator for anime diffusers https://github.com/KichangKim/DeepDanbooru
- Sampling in float32 precision from a float16 UNet - marunine for the idea, Birch-san for the example Diffusers implementation (https://github.com/Birch-san/diffusers-play/tree/92feee6)
- Instruct pix2pix - Tim Brooks (star), Aleksander Holynski (star), Alexei A. Efros (no star) - https://github.com/timothybrooks/instruct-pix2pix
- Security advice - RyotaK
- UniPC sampler - Wenliang Zhao - https://github.com/wl-zhao/UniPC
- TAESD - Ollin Boer Bohan - https://github.com/madebyollin/taesd
- LyCORIS - KohakuBlueleaf
- Restart sampling - lambertae - https://github.com/Newbeeer/diffusion_restart_sampling
- Hypertile - tfernd - https://github.com/tfernd/HyperTile
- Initial Gradio script - posted on 4chan by an Anonymous user. Thank you Anonymous user.
- (You)
For Tasks:
Click tags to check more tools for each tasksFor Jobs:
Alternative AI tools for stable-diffusion-webui
Similar Open Source Tools

stable-diffusion-webui
Stable Diffusion web UI is a web interface for Stable Diffusion, implemented using Gradio library. It provides a user-friendly interface to access the powerful image generation capabilities of Stable Diffusion. With Stable Diffusion web UI, users can easily generate images from text prompts, edit and refine images using inpainting and outpainting, and explore different artistic styles and techniques. The web UI also includes a range of advanced features such as textual inversion, hypernetworks, and embeddings, allowing users to customize and fine-tune the image generation process. Whether you're an artist, designer, or simply curious about the possibilities of AI-generated art, Stable Diffusion web UI is a valuable tool that empowers you to create stunning and unique images.
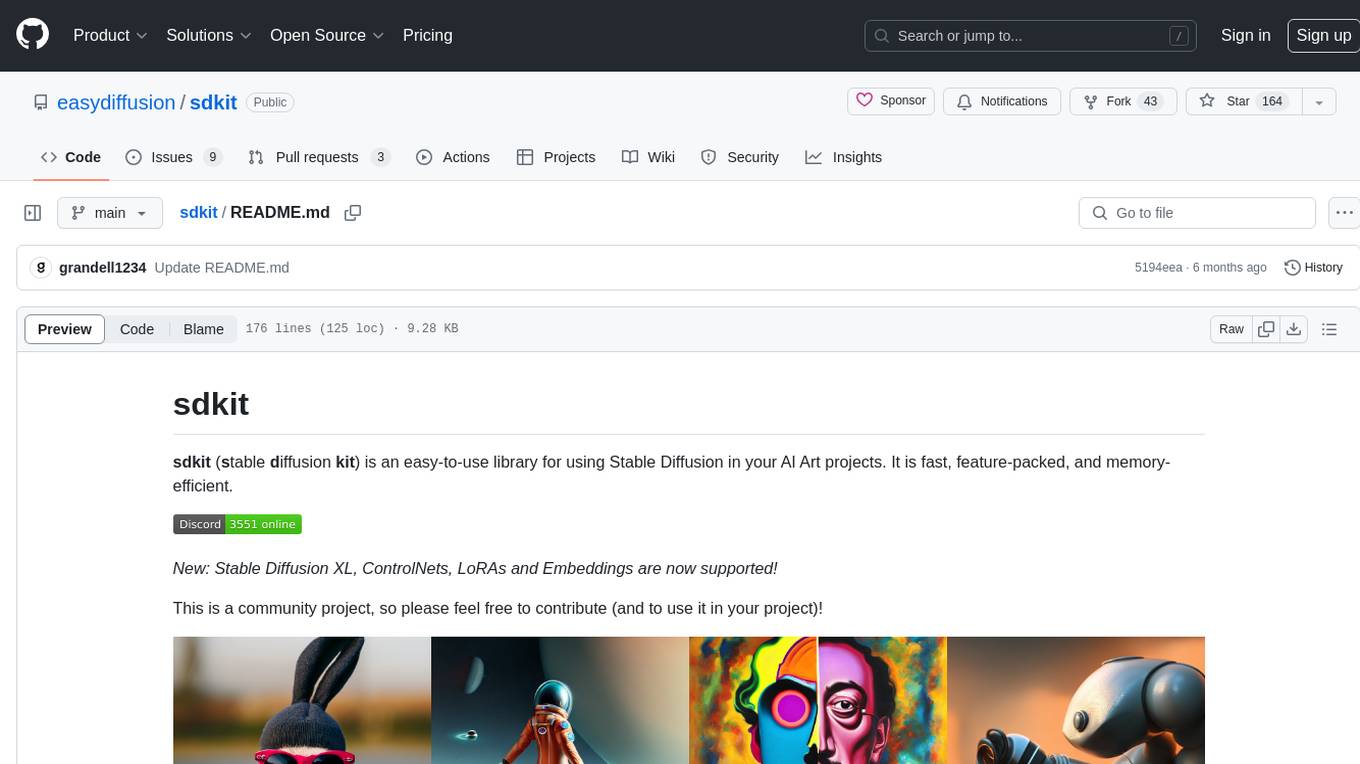
sdkit
sdkit (stable diffusion kit) is an easy-to-use library for utilizing Stable Diffusion in AI Art projects. It includes features like ControlNets, LoRAs, Textual Inversion Embeddings, GFPGAN, CodeFormer for face restoration, RealESRGAN for upscaling, k-samplers, support for custom VAEs, NSFW filter, model-downloader, parallel GPU support, and more. It offers a model database, auto-scanning for malicious models, and various optimizations. The API consists of modules for loading models, generating images, filters, model merging, and utilities, all managed through the sdkit.Context object.
hashbrown
Hashbrown is a lightweight and efficient hashing library for Python, designed to provide easy-to-use cryptographic hashing functions for secure data storage and transmission. It supports a variety of hashing algorithms, including MD5, SHA-1, SHA-256, and SHA-512, allowing users to generate hash values for strings, files, and other data types. With Hashbrown, developers can quickly implement data integrity checks, password hashing, digital signatures, and other security features in their Python applications.
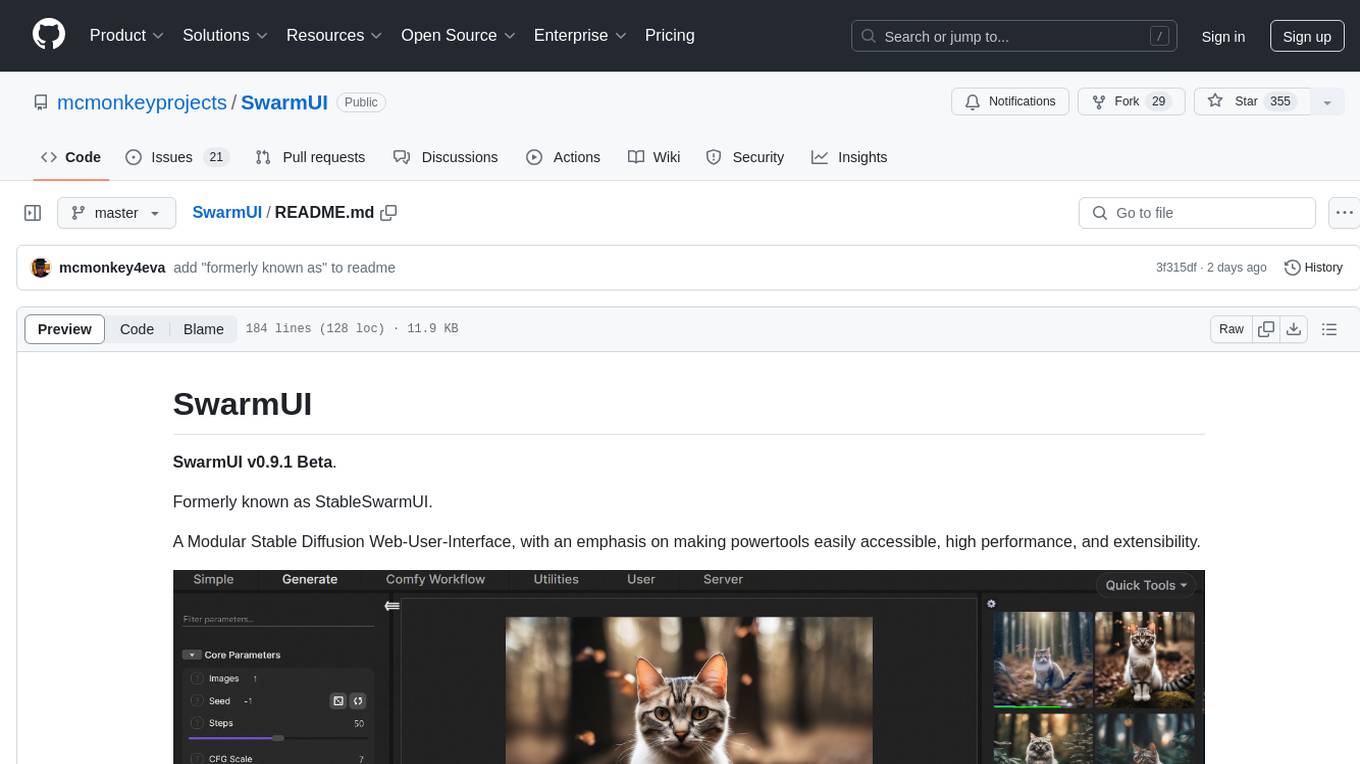
SwarmUI
SwarmUI is a modular stable diffusion web-user-interface designed to make powertools easily accessible, high performance, and extensible. It is in Beta status, offering a primary Generate tab for beginners and a Comfy Workflow tab for advanced users. The tool aims to become a full-featured one-stop-shop for all things Stable Diffusion, with plans for better mobile browser support, detailed 'Current Model' display, dynamic tab shifting, LLM-assisted prompting, and convenient direct distribution as an Electron app.
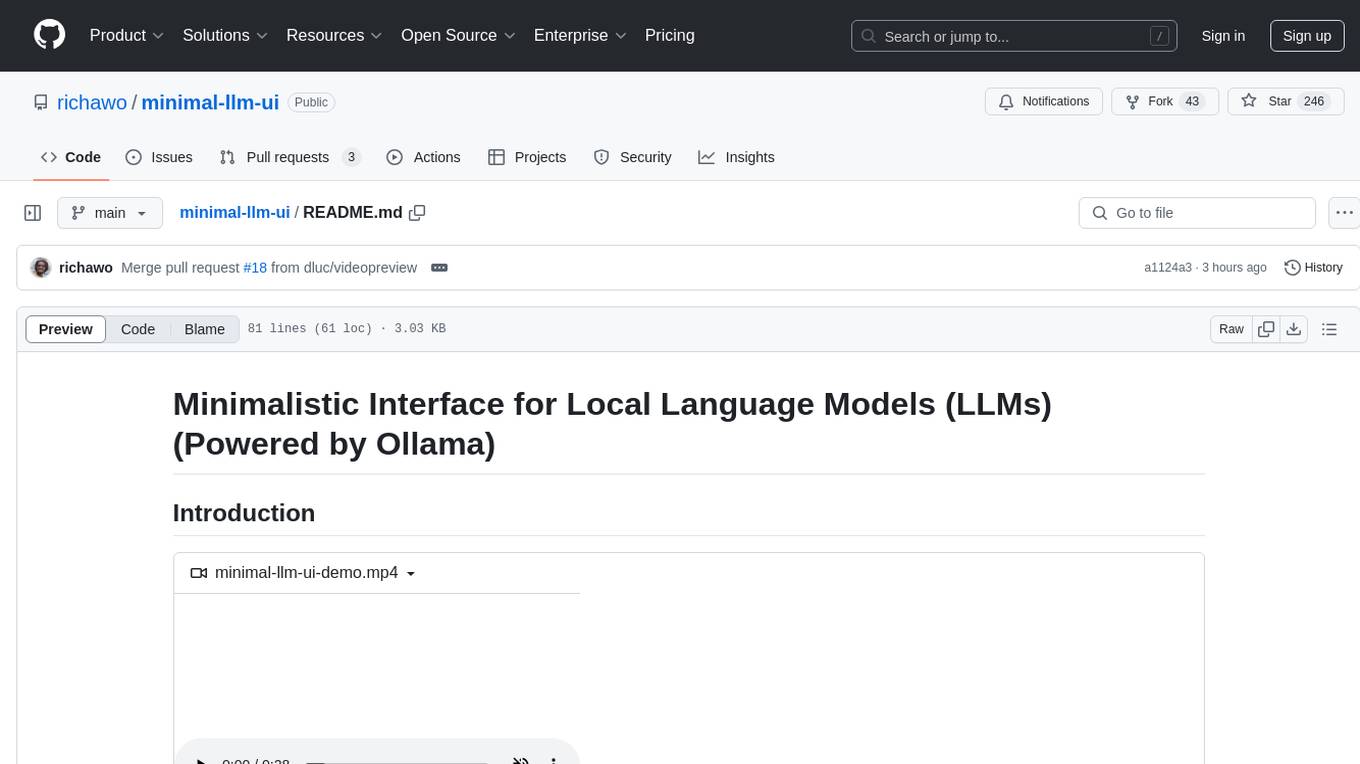
minimal-llm-ui
This minimalistic UI serves as a simple interface for Ollama models, enabling real-time interaction with Local Language Models (LLMs). Users can chat with models, switch between different LLMs, save conversations, and create parameter-driven prompt templates. The tool is built using React, Next.js, and Tailwind CSS, with seamless integration with LangchainJs and Ollama for efficient model switching and context storage.
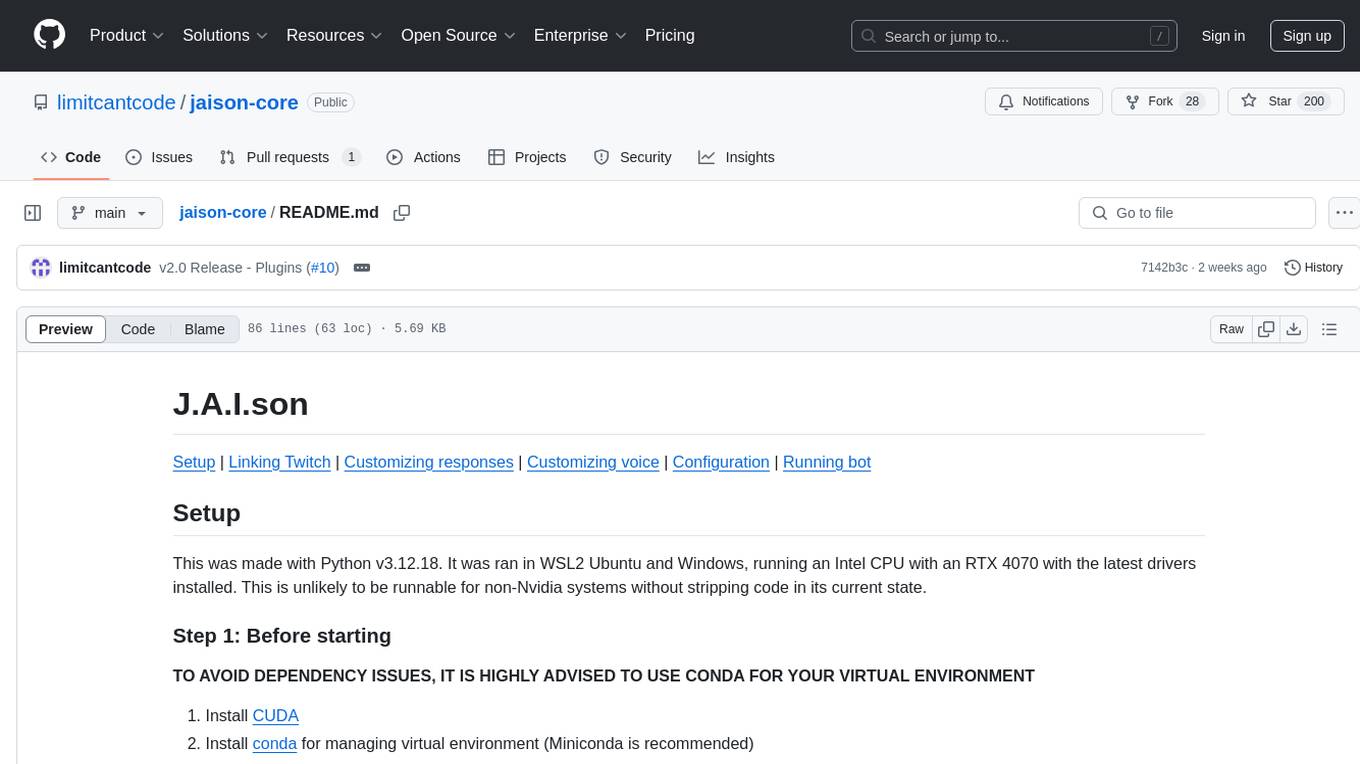
jaison-core
J.A.I.son is a Python project designed for generating responses using various components and applications. It requires specific plugins like STT, T2T, TTSG, and TTSC to function properly. Users can customize responses, voice, and configurations. The project provides a Discord bot, Twitch events and chat integration, and VTube Studio Animation Hotkeyer. It also offers features for managing conversation history, training AI models, and monitoring conversations.
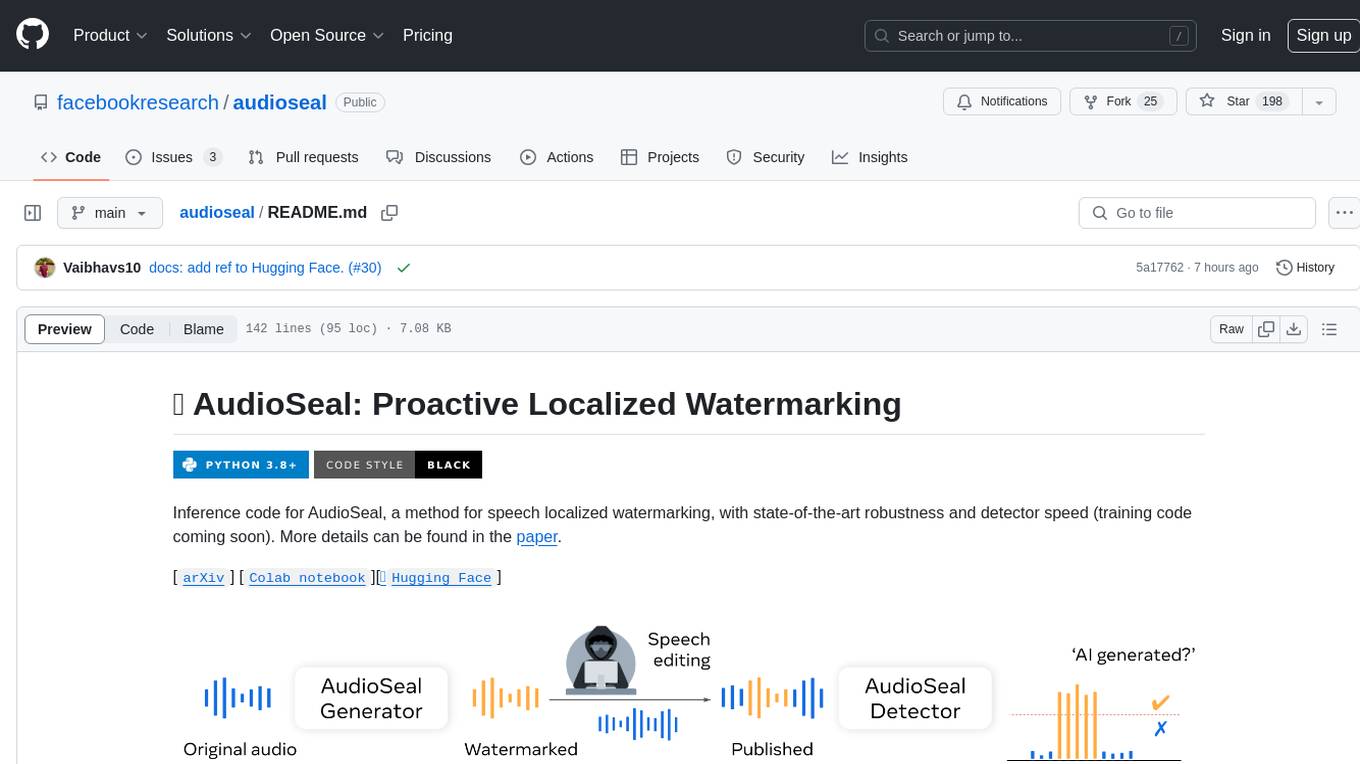
audioseal
AudioSeal is a method for speech localized watermarking, designed with state-of-the-art robustness and detector speed. It jointly trains a generator to embed a watermark in audio and a detector to detect watermarked fragments in longer audios, even in the presence of editing. The tool achieves top-notch detection performance at the sample level, generates minimal alteration of signal quality, and is robust to various audio editing types. With a fast, single-pass detector, AudioSeal surpasses existing models in speed, making it ideal for large-scale and real-time applications.
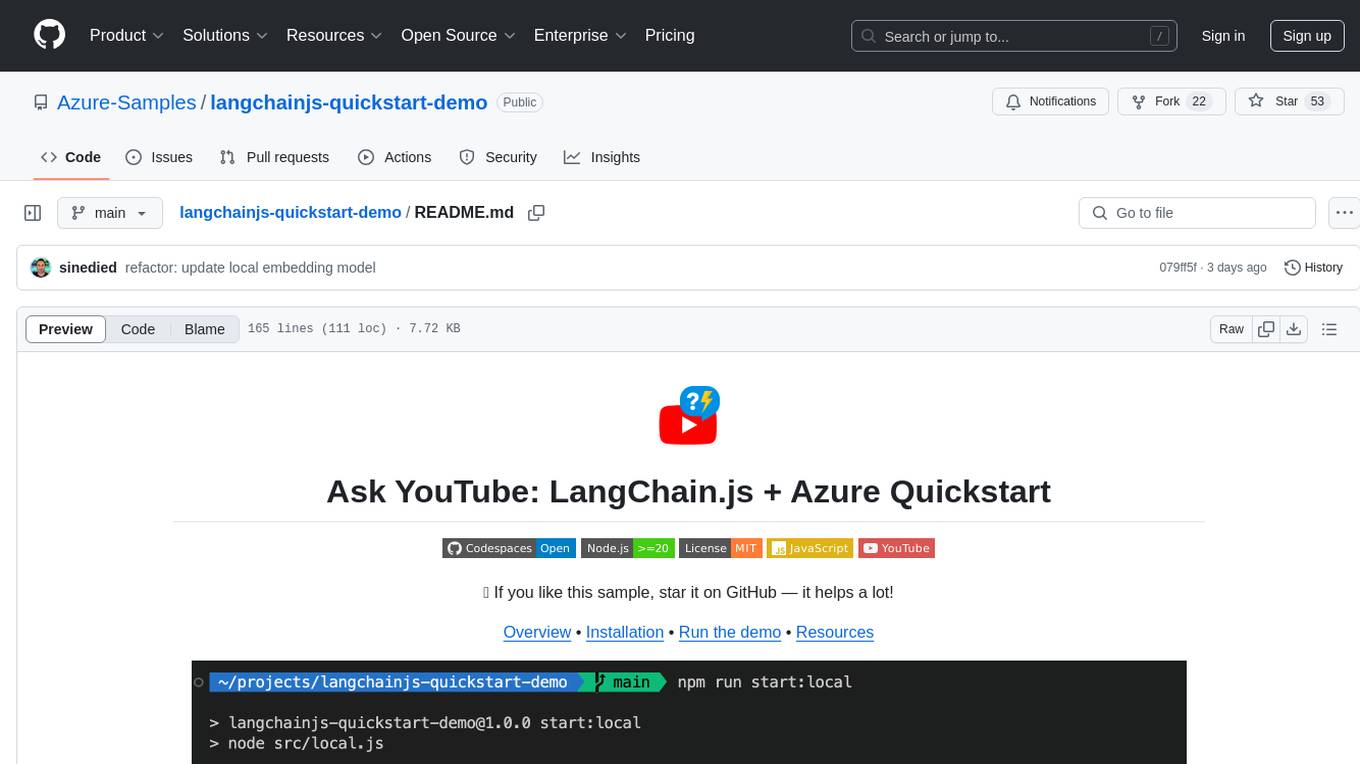
langchainjs-quickstart-demo
Discover the journey of building a generative AI application using LangChain.js and Azure. This demo explores the development process from idea to production, using a RAG-based approach for a Q&A system based on YouTube video transcripts. The application allows to ask text-based questions about a YouTube video and uses the transcript of the video to generate responses. The code comes in two versions: local prototype using FAISS and Ollama with LLaMa3 model for completion and all-minilm-l6-v2 for embeddings, and Azure cloud version using Azure AI Search and GPT-4 Turbo model for completion and text-embedding-3-large for embeddings. Either version can be run as an API using the Azure Functions runtime.
vault-ai
OP Vault is a tool that leverages the OP Stack (OpenAI + Pinecone Vector Database) to allow users to upload custom knowledgebase files and ask questions about their contents. It provides a user-friendly Golang server and React frontend for querying human-readable content like books and documents, making it valuable for knowledge extraction and question-answering. Users can upload entire libraries, receive specific answers with file and section references, and explore the power of the OP Stack in a practical interface.
MARS5-TTS
MARS5 is a novel English speech model (TTS) developed by CAMB.AI, featuring a two-stage AR-NAR pipeline with a unique NAR component. The model can generate speech for various scenarios like sports commentary and anime with just 5 seconds of audio and a text snippet. It allows steering prosody using punctuation and capitalization in the transcript. Speaker identity is specified using an audio reference file, enabling 'deep clone' for improved quality. The model can be used via torch.hub or HuggingFace, supporting both shallow and deep cloning for inference. Checkpoints are provided for AR and NAR models, with hardware requirements of 750M+450M params on GPU. Contributions to improve model stability, performance, and reference audio selection are welcome.
kafka-ml
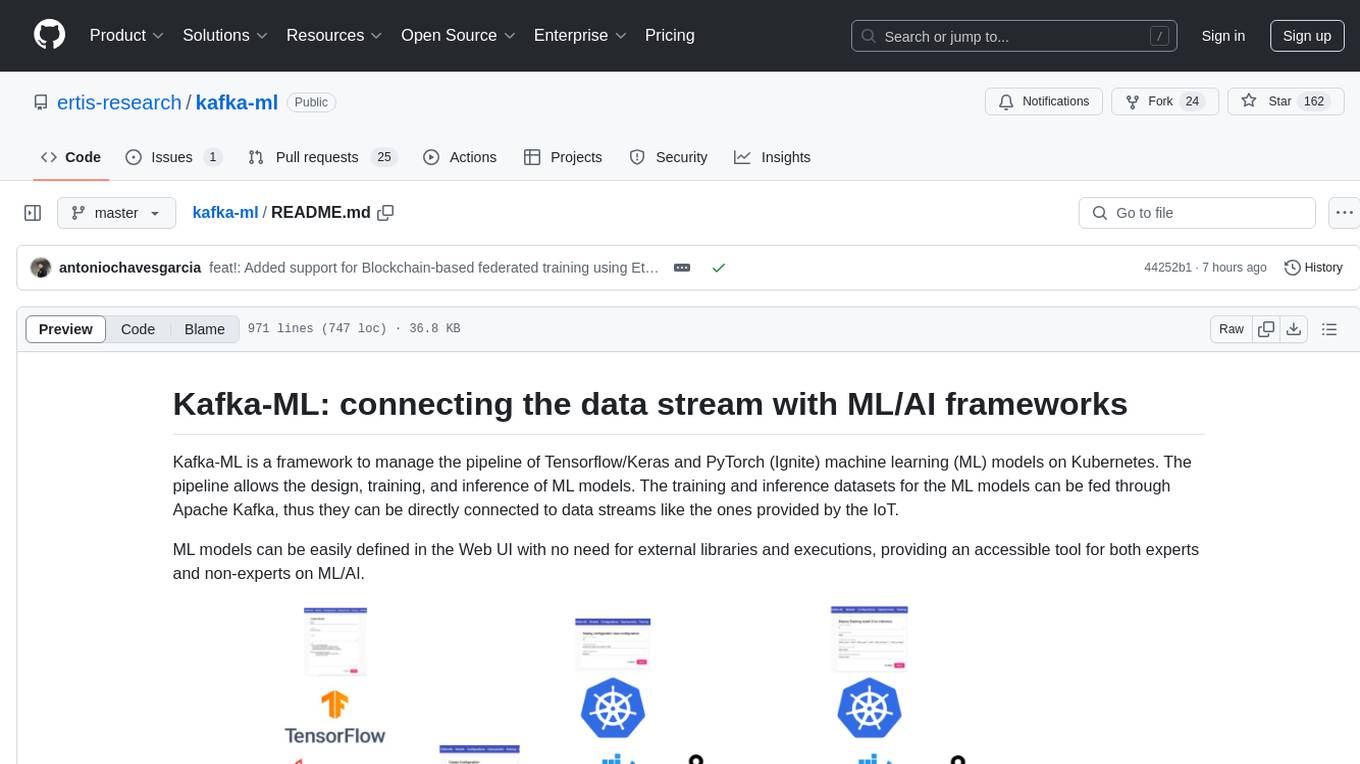
Kafka-ML is a framework designed to manage the pipeline of Tensorflow/Keras and PyTorch machine learning models on Kubernetes. It enables the design, training, and inference of ML models with datasets fed through Apache Kafka, connecting them directly to data streams like those from IoT devices. The Web UI allows easy definition of ML models without external libraries, catering to both experts and non-experts in ML/AI.
h2o-llmstudio
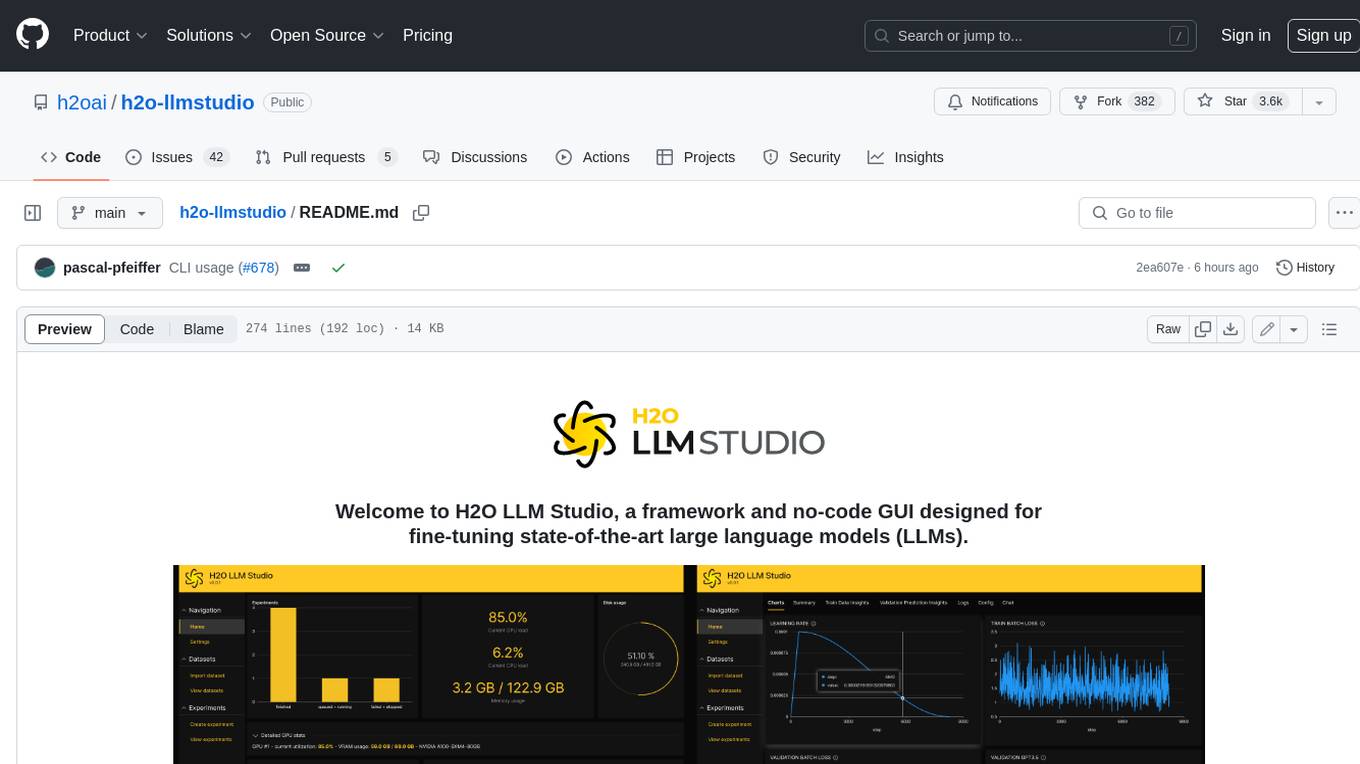
H2O LLM Studio is a framework and no-code GUI designed for fine-tuning state-of-the-art large language models (LLMs). With H2O LLM Studio, you can easily and effectively fine-tune LLMs without the need for any coding experience. The GUI is specially designed for large language models, and you can finetune any LLM using a large variety of hyperparameters. You can also use recent finetuning techniques such as Low-Rank Adaptation (LoRA) and 8-bit model training with a low memory footprint. Additionally, you can use Reinforcement Learning (RL) to finetune your model (experimental), use advanced evaluation metrics to judge generated answers by the model, track and compare your model performance visually, and easily export your model to the Hugging Face Hub and share it with the community.
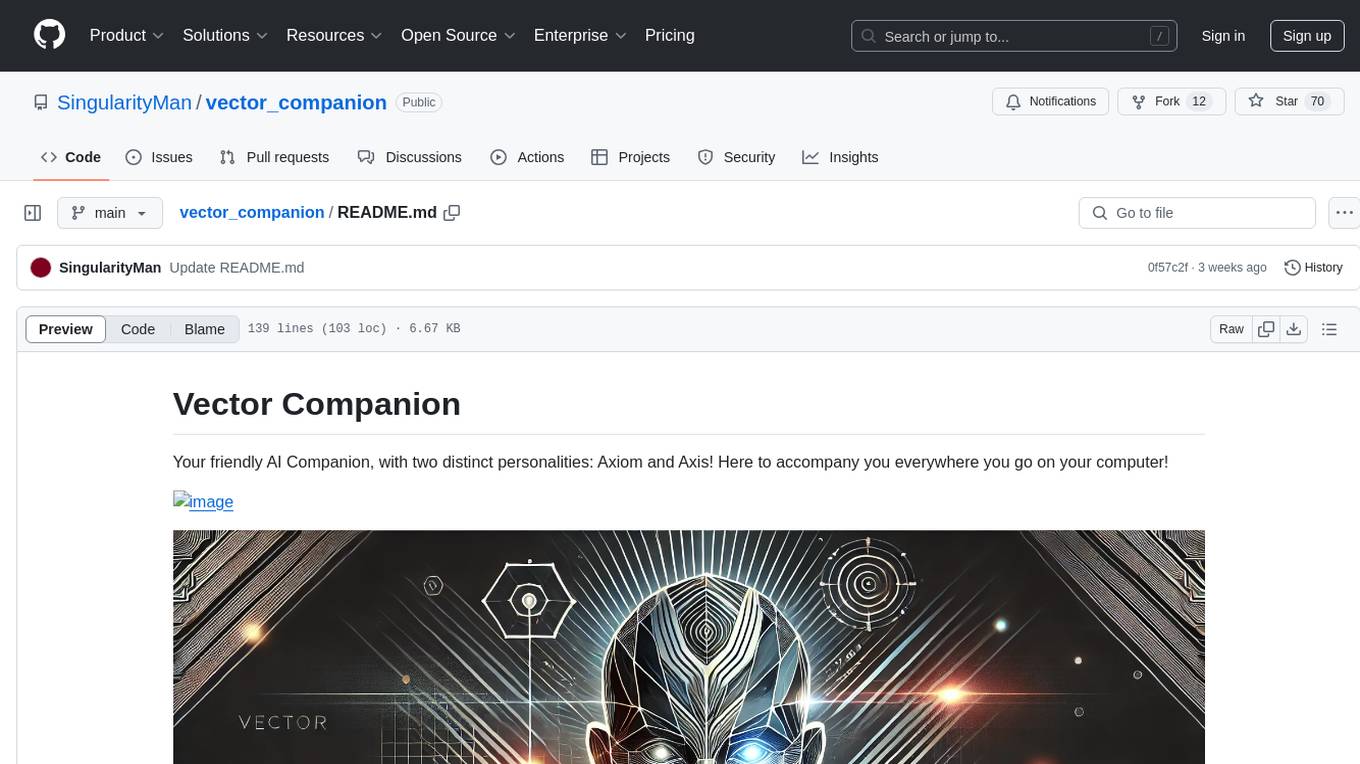
vector_companion
Vector Companion is an AI tool designed to act as a virtual companion on your computer. It consists of two personalities, Axiom and Axis, who can engage in conversations based on what is happening on the screen. The tool can transcribe audio output and user microphone input, take screenshots, and read text via OCR to create lifelike interactions. It requires specific prerequisites to run on Windows and uses VB Cable to capture audio. Users can interact with Axiom and Axis by running the main script after installation and configuration.
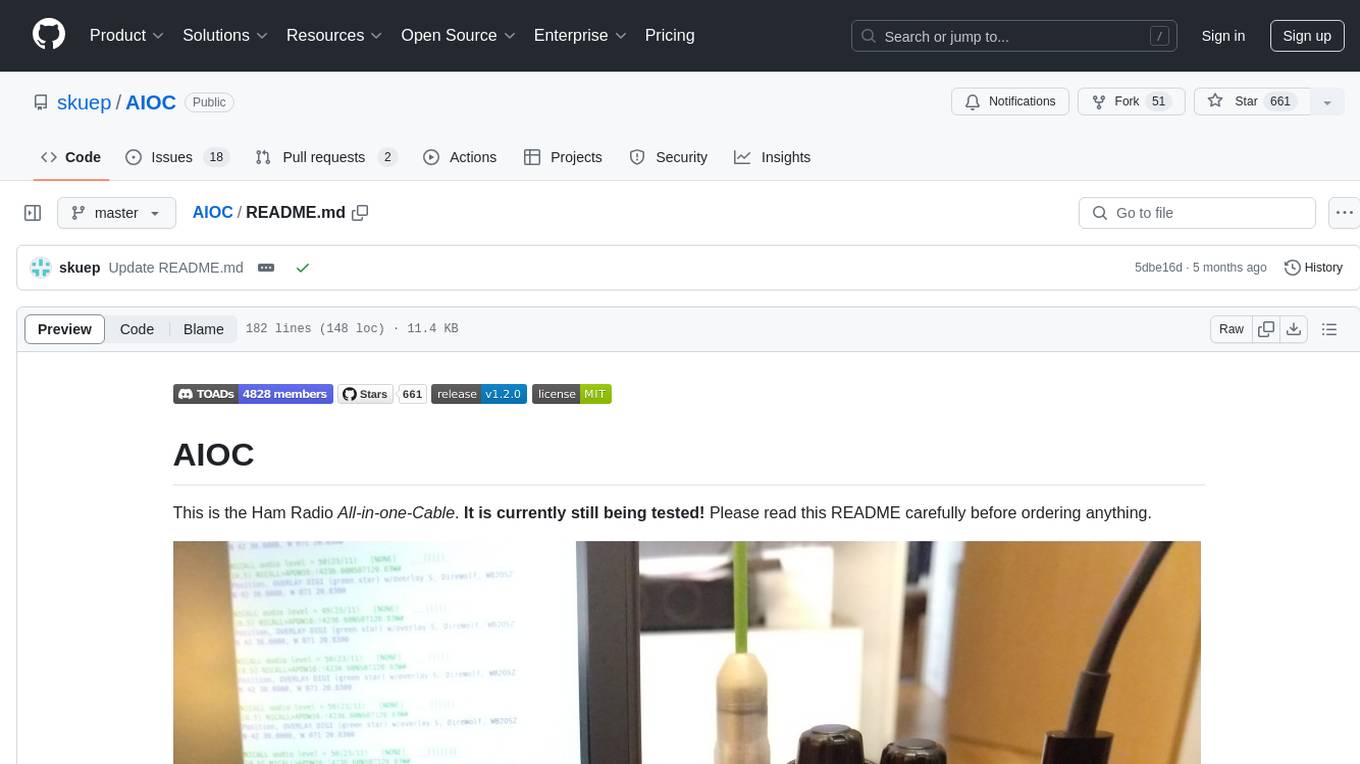
AIOC
AIOC is an All-in-one-Cable for Ham Radio enthusiasts, providing a cheap and hackable digital mode USB interface with features like sound-card, virtual tty, and CM108 compatible HID endpoint. It supports various software and tested radios for functions like programming, APRS, and Dual-PTT HTs. Users can fabricate and assemble the AIOC using specific instructions, and program it using STM32CubeIDE. The tool can be used for tasks like programming radios, asserting PTT, and accessing audio data channels. Future work includes configurable AIOC settings, virtual-PTT, and virtual-COS features.
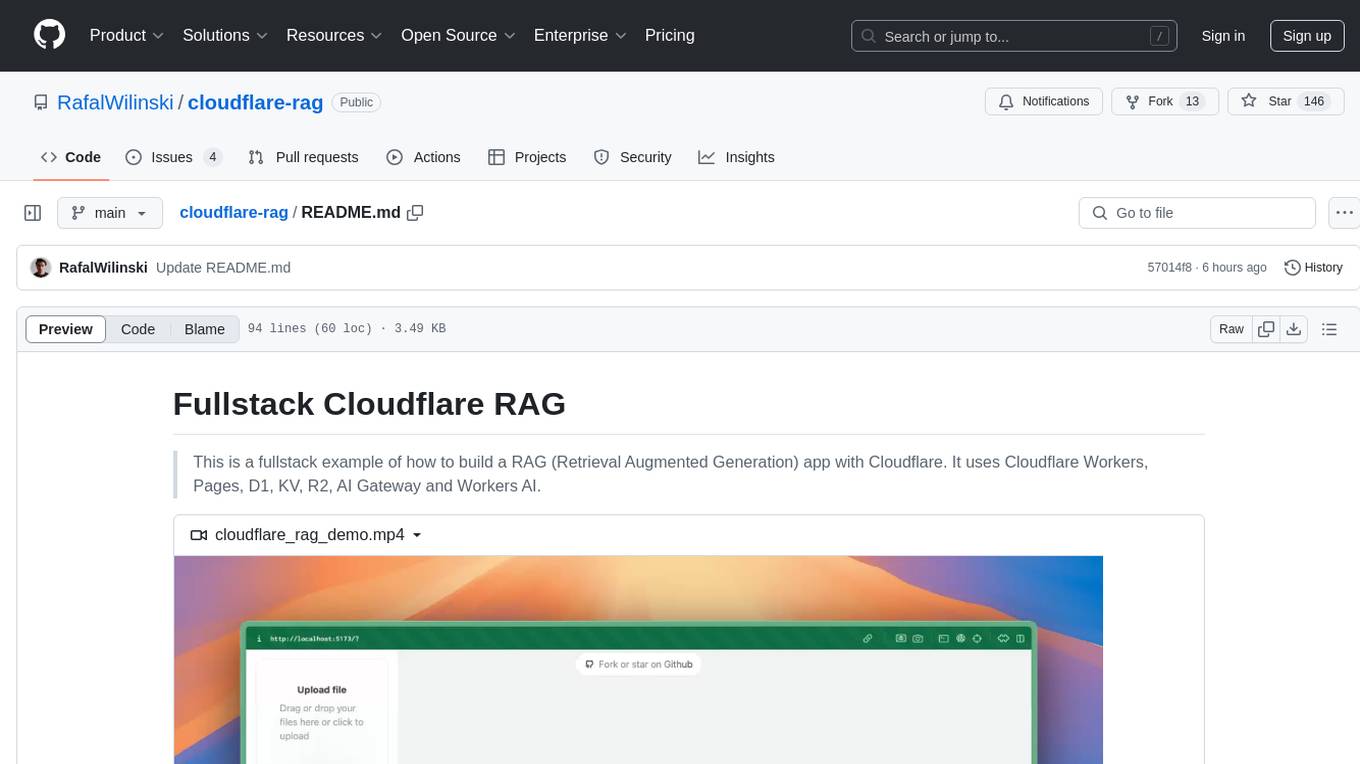
cloudflare-rag
This repository provides a fullstack example of building a Retrieval Augmented Generation (RAG) app with Cloudflare. It utilizes Cloudflare Workers, Pages, D1, KV, R2, AI Gateway, and Workers AI. The app features streaming interactions to the UI, hybrid RAG with Full-Text Search and Vector Search, switchable providers using AI Gateway, per-IP rate limiting with Cloudflare's KV, OCR within Cloudflare Worker, and Smart Placement for workload optimization. The development setup requires Node, pnpm, and wrangler CLI, along with setting up necessary primitives and API keys. Deployment involves setting up secrets and deploying the app to Cloudflare Pages. The project implements a Hybrid Search RAG approach combining Full Text Search against D1 and Hybrid Search with embeddings against Vectorize to enhance context for the LLM.
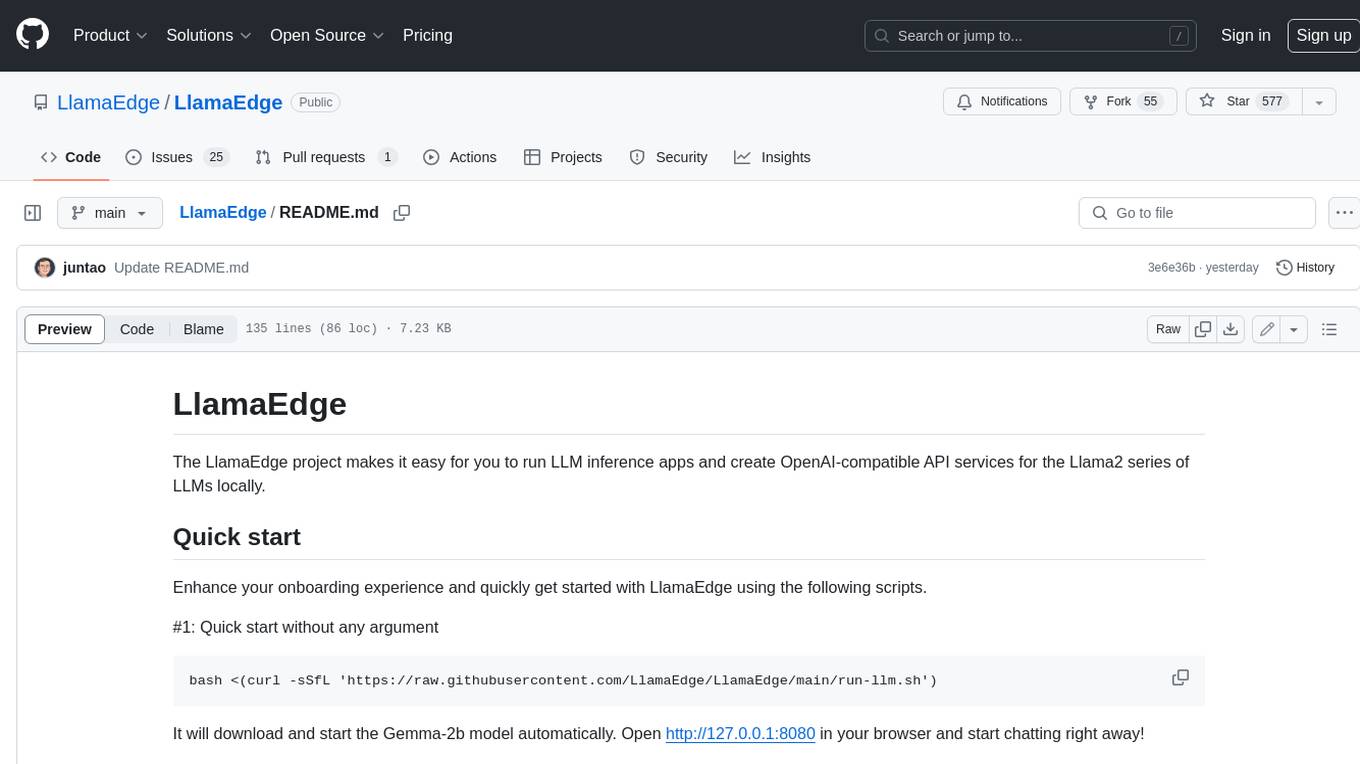
LlamaEdge
The LlamaEdge project makes it easy to run LLM inference apps and create OpenAI-compatible API services for the Llama2 series of LLMs locally. It provides a Rust+Wasm stack for fast, portable, and secure LLM inference on heterogeneous edge devices. The project includes source code for text generation, chatbot, and API server applications, supporting all LLMs based on the llama2 framework in the GGUF format. LlamaEdge is committed to continuously testing and validating new open-source models and offers a list of supported models with download links and startup commands. It is cross-platform, supporting various OSes, CPUs, and GPUs, and provides troubleshooting tips for common errors.
For similar tasks

stable-diffusion-webui
Stable Diffusion web UI is a web interface for Stable Diffusion, implemented using Gradio library. It provides a user-friendly interface to access the powerful image generation capabilities of Stable Diffusion. With Stable Diffusion web UI, users can easily generate images from text prompts, edit and refine images using inpainting and outpainting, and explore different artistic styles and techniques. The web UI also includes a range of advanced features such as textual inversion, hypernetworks, and embeddings, allowing users to customize and fine-tune the image generation process. Whether you're an artist, designer, or simply curious about the possibilities of AI-generated art, Stable Diffusion web UI is a valuable tool that empowers you to create stunning and unique images.
llmblueprint
LLM Blueprint is an official implementation of a paper that enables text-to-image generation with complex and detailed prompts. It leverages Large Language Models (LLMs) to extract critical components from text prompts, including bounding box coordinates for foreground objects, detailed textual descriptions for individual objects, and a succinct background context. The tool operates in two phases: Global Scene Generation creates an initial scene using object layouts and background context, and an Iterative Refinement Scheme refines box-level content to align with textual descriptions, ensuring consistency and improving recall compared to baseline diffusion models.
GIMP-ML
A.I. for GNU Image Manipulation Program (GIMP-ML) is a repository that provides Python plugins for using computer vision models in GIMP. The code base and models are continuously updated to support newer and more stable functionality. Users can edit images with text, outpaint images, and generate images from text using models like Dalle 2 and Dalle 3. The repository encourages citations using a specific bibtex entry and follows the MIT license for GIMP-ML and the original models.

ClaraVerse
ClaraVerse is a privacy-first AI assistant and agent builder that allows users to chat with AI, create intelligent agents, and turn them into fully functional apps. It operates entirely on open-source models running on the user's device, ensuring data privacy and security. With features like AI assistant, image generation, intelligent agent builder, and image gallery, ClaraVerse offers a versatile platform for AI interaction and app development. Users can install ClaraVerse through Docker, native desktop apps, or the web version, with detailed instructions provided for each option. The tool is designed to empower users with control over their AI stack and leverage community-driven innovations for AI development.
For similar jobs

stable-diffusion-webui
Stable Diffusion web UI is a web interface for Stable Diffusion, implemented using Gradio library. It provides a user-friendly interface to access the powerful image generation capabilities of Stable Diffusion. With Stable Diffusion web UI, users can easily generate images from text prompts, edit and refine images using inpainting and outpainting, and explore different artistic styles and techniques. The web UI also includes a range of advanced features such as textual inversion, hypernetworks, and embeddings, allowing users to customize and fine-tune the image generation process. Whether you're an artist, designer, or simply curious about the possibilities of AI-generated art, Stable Diffusion web UI is a valuable tool that empowers you to create stunning and unique images.
LocalAI
LocalAI is a free and open-source OpenAI alternative that acts as a drop-in replacement REST API compatible with OpenAI (Elevenlabs, Anthropic, etc.) API specifications for local AI inferencing. It allows users to run LLMs, generate images, audio, and more locally or on-premises with consumer-grade hardware, supporting multiple model families and not requiring a GPU. LocalAI offers features such as text generation with GPTs, text-to-audio, audio-to-text transcription, image generation with stable diffusion, OpenAI functions, embeddings generation for vector databases, constrained grammars, downloading models directly from Huggingface, and a Vision API. It provides a detailed step-by-step introduction in its Getting Started guide and supports community integrations such as custom containers, WebUIs, model galleries, and various bots for Discord, Slack, and Telegram. LocalAI also offers resources like an LLM fine-tuning guide, instructions for local building and Kubernetes installation, projects integrating LocalAI, and a how-tos section curated by the community. It encourages users to cite the repository when utilizing it in downstream projects and acknowledges the contributions of various software from the community.
h2ogpt
h2oGPT is an Apache V2 open-source project that allows users to query and summarize documents or chat with local private GPT LLMs. It features a private offline database of any documents (PDFs, Excel, Word, Images, Video Frames, Youtube, Audio, Code, Text, MarkDown, etc.), a persistent database (Chroma, Weaviate, or in-memory FAISS) using accurate embeddings (instructor-large, all-MiniLM-L6-v2, etc.), and efficient use of context using instruct-tuned LLMs (no need for LangChain's few-shot approach). h2oGPT also offers parallel summarization and extraction, reaching an output of 80 tokens per second with the 13B LLaMa2 model, HYDE (Hypothetical Document Embeddings) for enhanced retrieval based upon LLM responses, a variety of models supported (LLaMa2, Mistral, Falcon, Vicuna, WizardLM. With AutoGPTQ, 4-bit/8-bit, LORA, etc.), GPU support from HF and LLaMa.cpp GGML models, and CPU support using HF, LLaMa.cpp, and GPT4ALL models. Additionally, h2oGPT provides Attention Sinks for arbitrarily long generation (LLaMa-2, Mistral, MPT, Pythia, Falcon, etc.), a UI or CLI with streaming of all models, the ability to upload and view documents through the UI (control multiple collaborative or personal collections), Vision Models LLaVa, Claude-3, Gemini-Pro-Vision, GPT-4-Vision, Image Generation Stable Diffusion (sdxl-turbo, sdxl) and PlaygroundAI (playv2), Voice STT using Whisper with streaming audio conversion, Voice TTS using MIT-Licensed Microsoft Speech T5 with multiple voices and Streaming audio conversion, Voice TTS using MPL2-Licensed TTS including Voice Cloning and Streaming audio conversion, AI Assistant Voice Control Mode for hands-free control of h2oGPT chat, Bake-off UI mode against many models at the same time, Easy Download of model artifacts and control over models like LLaMa.cpp through the UI, Authentication in the UI by user/password via Native or Google OAuth, State Preservation in the UI by user/password, Linux, Docker, macOS, and Windows support, Easy Windows Installer for Windows 10 64-bit (CPU/CUDA), Easy macOS Installer for macOS (CPU/M1/M2), Inference Servers support (oLLaMa, HF TGI server, vLLM, Gradio, ExLLaMa, Replicate, OpenAI, Azure OpenAI, Anthropic), OpenAI-compliant, Server Proxy API (h2oGPT acts as drop-in-replacement to OpenAI server), Python client API (to talk to Gradio server), JSON Mode with any model via code block extraction. Also supports MistralAI JSON mode, Claude-3 via function calling with strict Schema, OpenAI via JSON mode, and vLLM via guided_json with strict Schema, Web-Search integration with Chat and Document Q/A, Agents for Search, Document Q/A, Python Code, CSV frames (Experimental, best with OpenAI currently), Evaluate performance using reward models, and Quality maintained with over 1000 unit and integration tests taking over 4 GPU-hours.
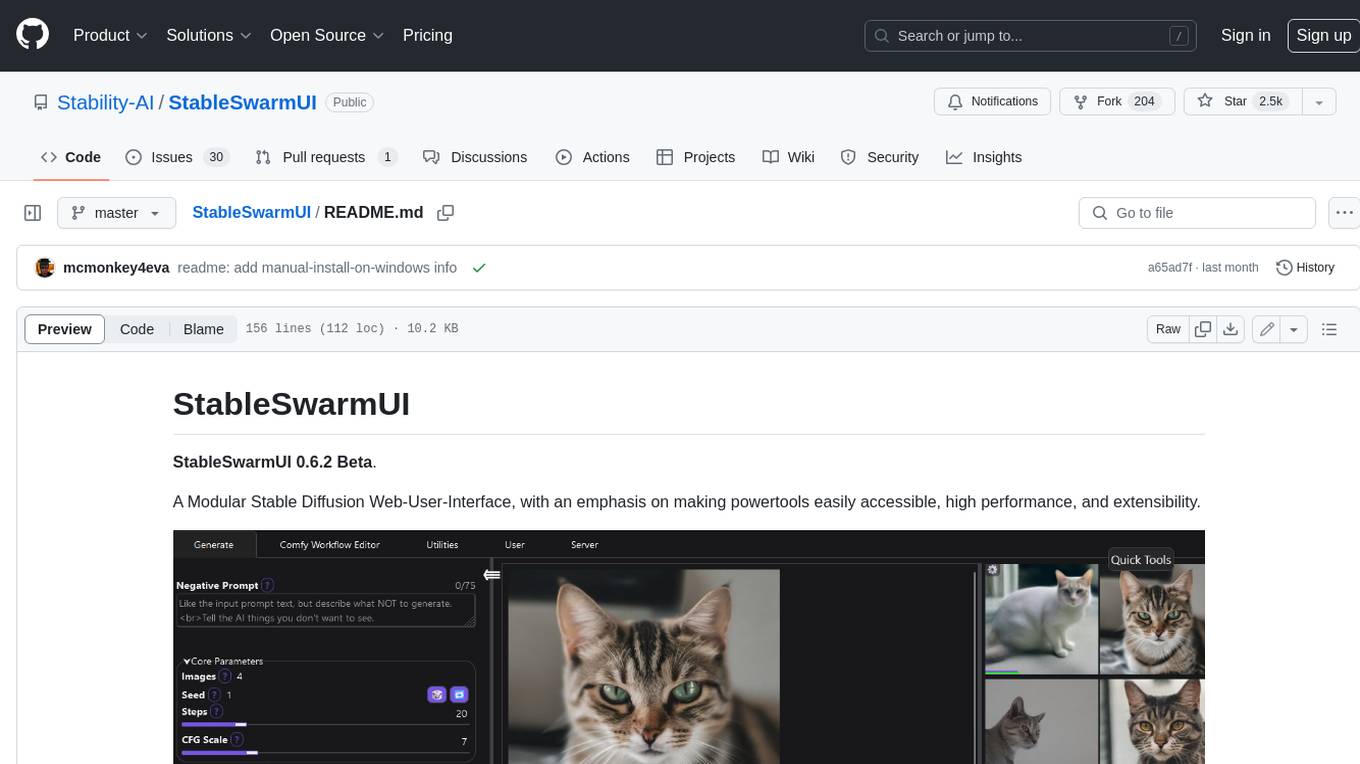
StableSwarmUI
StableSwarmUI is a modular Stable Diffusion web user interface that emphasizes making power tools easily accessible, high performance, and extensible. It is designed to be a one-stop-shop for all things Stable Diffusion, providing a wide range of features and capabilities to enhance the user experience.
civitai
Civitai is a platform where people can share their stable diffusion models (textual inversions, hypernetworks, aesthetic gradients, VAEs, and any other crazy stuff people do to customize their AI generations), collaborate with others to improve them, and learn from each other's work. The platform allows users to create an account, upload their models, and browse models that have been shared by others. Users can also leave comments and feedback on each other's models to facilitate collaboration and knowledge sharing.
ComfyUI-IF_AI_tools
ComfyUI-IF_AI_tools is a set of custom nodes for ComfyUI that allows you to generate prompts using a local Large Language Model (LLM) via Ollama. This tool enables you to enhance your image generation workflow by leveraging the power of language models.

intel-extension-for-transformers
Intel® Extension for Transformers is an innovative toolkit designed to accelerate GenAI/LLM everywhere with the optimal performance of Transformer-based models on various Intel platforms, including Intel Gaudi2, Intel CPU, and Intel GPU. The toolkit provides the below key features and examples: * Seamless user experience of model compressions on Transformer-based models by extending [Hugging Face transformers](https://github.com/huggingface/transformers) APIs and leveraging [Intel® Neural Compressor](https://github.com/intel/neural-compressor) * Advanced software optimizations and unique compression-aware runtime (released with NeurIPS 2022's paper [Fast Distilbert on CPUs](https://arxiv.org/abs/2211.07715) and [QuaLA-MiniLM: a Quantized Length Adaptive MiniLM](https://arxiv.org/abs/2210.17114), and NeurIPS 2021's paper [Prune Once for All: Sparse Pre-Trained Language Models](https://arxiv.org/abs/2111.05754)) * Optimized Transformer-based model packages such as [Stable Diffusion](examples/huggingface/pytorch/text-to-image/deployment/stable_diffusion), [GPT-J-6B](examples/huggingface/pytorch/text-generation/deployment), [GPT-NEOX](examples/huggingface/pytorch/language-modeling/quantization#2-validated-model-list), [BLOOM-176B](examples/huggingface/pytorch/language-modeling/inference#BLOOM-176B), [T5](examples/huggingface/pytorch/summarization/quantization#2-validated-model-list), [Flan-T5](examples/huggingface/pytorch/summarization/quantization#2-validated-model-list), and end-to-end workflows such as [SetFit-based text classification](docs/tutorials/pytorch/text-classification/SetFit_model_compression_AGNews.ipynb) and [document level sentiment analysis (DLSA)](workflows/dlsa) * [NeuralChat](intel_extension_for_transformers/neural_chat), a customizable chatbot framework to create your own chatbot within minutes by leveraging a rich set of [plugins](https://github.com/intel/intel-extension-for-transformers/blob/main/intel_extension_for_transformers/neural_chat/docs/advanced_features.md) such as [Knowledge Retrieval](./intel_extension_for_transformers/neural_chat/pipeline/plugins/retrieval/README.md), [Speech Interaction](./intel_extension_for_transformers/neural_chat/pipeline/plugins/audio/README.md), [Query Caching](./intel_extension_for_transformers/neural_chat/pipeline/plugins/caching/README.md), and [Security Guardrail](./intel_extension_for_transformers/neural_chat/pipeline/plugins/security/README.md). This framework supports Intel Gaudi2/CPU/GPU. * [Inference](https://github.com/intel/neural-speed/tree/main) of Large Language Model (LLM) in pure C/C++ with weight-only quantization kernels for Intel CPU and Intel GPU (TBD), supporting [GPT-NEOX](https://github.com/intel/neural-speed/tree/main/neural_speed/models/gptneox), [LLAMA](https://github.com/intel/neural-speed/tree/main/neural_speed/models/llama), [MPT](https://github.com/intel/neural-speed/tree/main/neural_speed/models/mpt), [FALCON](https://github.com/intel/neural-speed/tree/main/neural_speed/models/falcon), [BLOOM-7B](https://github.com/intel/neural-speed/tree/main/neural_speed/models/bloom), [OPT](https://github.com/intel/neural-speed/tree/main/neural_speed/models/opt), [ChatGLM2-6B](https://github.com/intel/neural-speed/tree/main/neural_speed/models/chatglm), [GPT-J-6B](https://github.com/intel/neural-speed/tree/main/neural_speed/models/gptj), and [Dolly-v2-3B](https://github.com/intel/neural-speed/tree/main/neural_speed/models/gptneox). Support AMX, VNNI, AVX512F and AVX2 instruction set. We've boosted the performance of Intel CPUs, with a particular focus on the 4th generation Intel Xeon Scalable processor, codenamed [Sapphire Rapids](https://www.intel.com/content/www/us/en/products/docs/processors/xeon-accelerated/4th-gen-xeon-scalable-processors.html).
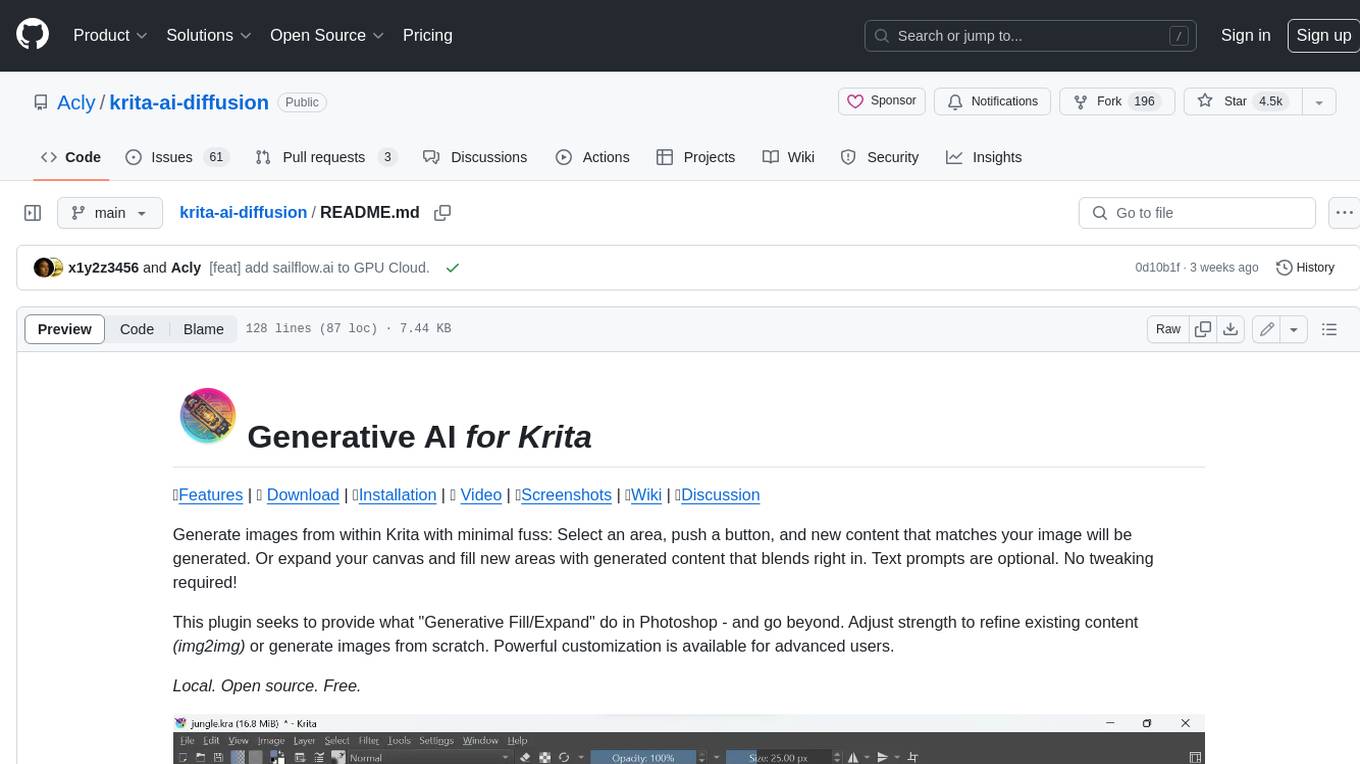
krita-ai-diffusion
Krita-AI-Diffusion is a plugin for Krita that allows users to generate images from within the program. It offers a variety of features, including inpainting, outpainting, generating images from scratch, refining existing content, live painting, and control over image creation. The plugin is designed to fit into an interactive workflow where AI generation is used as just another tool while painting. It is meant to synergize with traditional tools and the layer stack.
