
rag-gpt
RAG-GPT, leveraging LLM and RAG technology, learns from user-customized knowledge bases to provide contextually relevant answers for a wide range of queries, ensuring rapid and accurate information retrieval.
Stars: 114
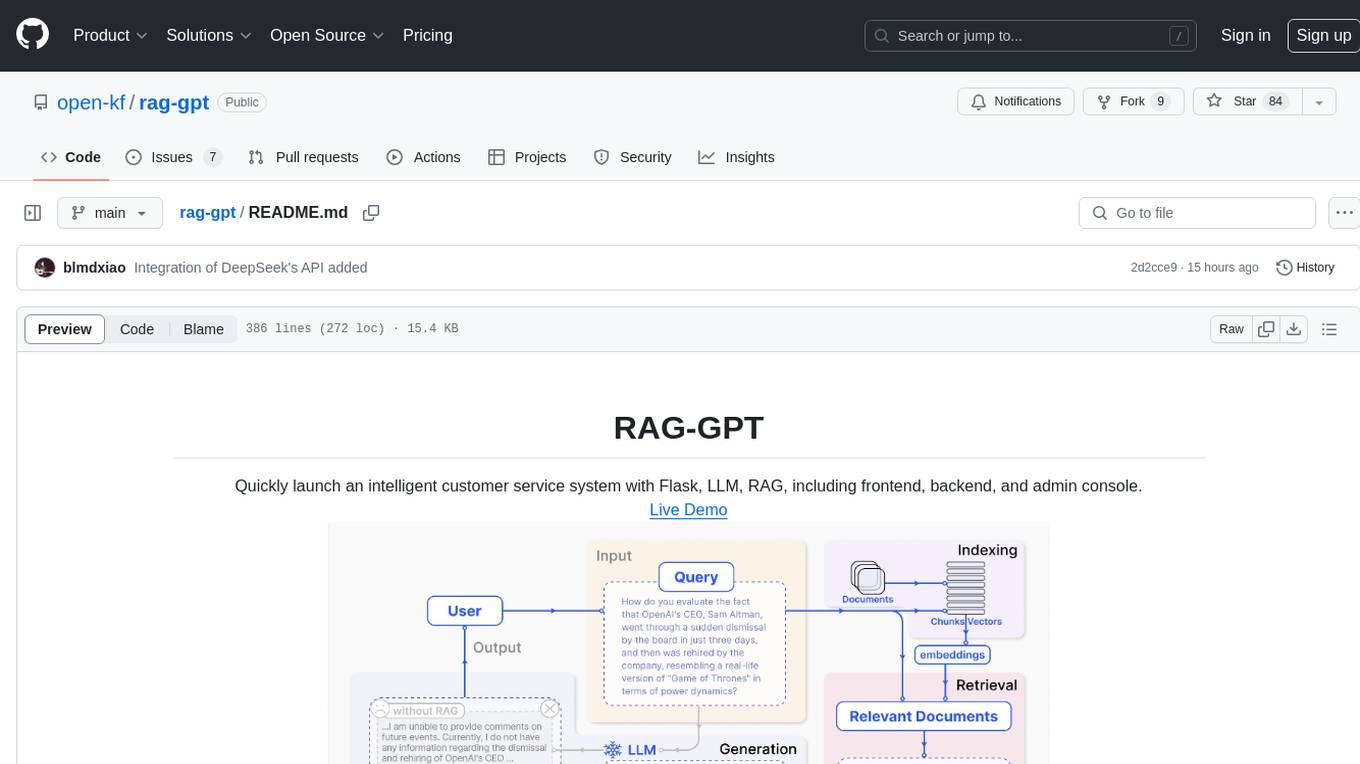
RAG-GPT is a tool that allows users to quickly launch an intelligent customer service system with Flask, LLM, and RAG. It includes frontend, backend, and admin console components. The tool supports cloud-based and local LLMs, enables deployment of conversational service robots in minutes, integrates diverse knowledge bases, offers flexible configuration options, and features an attractive user interface.
README:
Live Demo

- Features
- Online Retrieval Architecture
- Deploy the RAG-GPT Service
- Configure the admin console
- The frontend of admin console and chatbot
- Built-in LLM Support: Support cloud-based LLMs and local LLMs.
- Quick Setup: Enables deployment of production-level conversational service robots within just five minutes.
- Diverse Knowledge Base Integration: Supports multiple types of knowledge bases, including websites, isolated URLs, and local files.
- Flexible Configuration: Offers a user-friendly backend equipped with customizable settings for streamlined management.
- Attractive UI: Features a customizable and visually appealing user interface.
Clone the repository:
git clone https://github.com/open-kf/rag-gpt.git && cd rag-gptBefore starting the RAG-GPT service, you need to modify the related configurations for the program to initialize correctly.
cp env_of_openai .envThe variables in .env
LLM_NAME="OpenAI"
OPENAI_API_KEY="xxxx"
GPT_MODEL_NAME="gpt-3.5-turbo"
MIN_RELEVANCE_SCORE=0.4
BOT_TOPIC="xxxx"
URL_PREFIX="http://127.0.0.1:7000/"
USE_PREPROCESS_QUERY=1
USE_RERANKING=1
USE_DEBUG=0- Don't modify
LLM_NAME - Modify the
OPENAI_API_KEYwith your own key. Please log in to the OpenAI website to view your API Key. - Update the
GPT_MODEL_NAMEsetting, replacinggpt-3.5-turbowithgpt-4-turboorgpt-4oif you want to use GPT-4. - Change
BOT_TOPICto reflect your Bot's name. This is very important, as it will be used inPrompt Construction. Please try to use a concise and clear word, such asOpenIM,LangChain. - Adjust
URL_PREFIXto match your website's domain. This is mainly for generating accessible URL links for uploaded local files. Such ashttp://127.0.0.1:7000/web/download_dir/2024_05_20/d3a01d6a-90cd-4c2a-b926-9cda12466caf/openssl-cookbook.pdf. - For more information about the meanings and usages of constants, you can check under the
server/constantdirectory.
If you cannot use OpenAI's API services, consider using ZhipuAI as an alternative.
cp env_of_zhipuai .envThe variables in .env
LLM_NAME="ZhipuAI"
ZHIPUAI_API_KEY="xxxx"
GLM_MODEL_NAME="glm-3-turbo"
MIN_RELEVANCE_SCORE=0.4
BOT_TOPIC="xxxx"
URL_PREFIX="http://127.0.0.1:7000/"
USE_PREPROCESS_QUERY=1
USE_RERANKING=1
USE_DEBUG=0- Don't modify
LLM_NAME - Modify the
ZHIPUAI_API_KEYwith your own key. Please log in to the ZhipuAI website to view your API Key. - Update the
GLM_MODEL_NAMEsetting, replacingglm-3-turbowithglm-4if you want to use GLM-4. - Change
BOT_TOPICto reflect your Bot's name. This is very important, as it will be used inPrompt Construction. Please try to use a concise and clear word, such asOpenIM,LangChain. - Adjust
URL_PREFIXto match your website's domain. This is mainly for generating accessible URL links for uploaded local files. Such ashttp://127.0.0.1:7000/web/download_dir/2024_05_20/d3a01d6a-90cd-4c2a-b926-9cda12466caf/openssl-cookbook.pdf. - For more information about the meanings and usages of constants, you can check under the
server/constantdirectory.
If you cannot use OpenAI's API services, consider using DeepSeek as an alternative.
[!NOTE] DeepSeek does not provide an
Embedding API, so here we use ZhipuAI'sEmbedding API.
cp env_of_deepseek .envThe variables in .env
LLM_NAME="DeepSeek"
ZHIPUAI_API_KEY="xxxx"
DEEPSEEK_API_KEY="xxxx"
DEEPSEEK_MODEL_NAME="deepseek-chat"
MIN_RELEVANCE_SCORE=0.4
BOT_TOPIC="xxxx"
URL_PREFIX="http://127.0.0.1:7000/"
USE_PREPROCESS_QUERY=1
USE_RERANKING=1
USE_DEBUG=0- Don't modify
LLM_NAME - Modify the
ZHIPUAI_API_KEYwith your own key. Please log in to the ZhipuAI website to view your API Key. - Modify the
DEEPKSEEK_API_KEYwith your own key. Please log in to the DeepSeek website to view your API Key. - Update the
DEEPSEEK_MODEL_NAMEsetting if you want to use other models of DeepSeek. - Change
BOT_TOPICto reflect your Bot's name. This is very important, as it will be used inPrompt Construction. Please try to use a concise and clear word, such asOpenIM,LangChain. - Adjust
URL_PREFIXto match your website's domain. This is mainly for generating accessible URL links for uploaded local files. Such ashttp://127.0.0.1:7000/web/download_dir/2024_05_20/d3a01d6a-90cd-4c2a-b926-9cda12466caf/openssl-cookbook.pdf. - For more information about the meanings and usages of constants, you can check under the
server/constantdirectory.
If your knowledge base involves sensitive information and you prefer not to use cloud-based LLMs, consider using Ollama to deploy large models locally.
[!NOTE] First, refer to ollama to Install Ollama, and download the embedding model
mxbai-embed-largeand the LLM model such asllama3.
cp env_of_ollama .envThe variables in .env
LLM_NAME="Ollama"
OLLAMA_MODEL_NAME="xxxx"
OLLAMA_BASE_URL="http://127.0.0.1:11434"
MIN_RELEVANCE_SCORE=0.4
BOT_TOPIC="xxxx"
URL_PREFIX="http://127.0.0.1:7000/"
USE_PREPROCESS_QUERY=1
USE_RERANKING=1
USE_DEBUG=0- Don't modify
LLM_NAME - Update the
OLLAMA_MODEL_NAMEsetting, select an appropriate model from ollama library. - If you have changed the default
IP:PORTwhen startingOllama, please updateOLLAMA_BASE_URL. Please pay special attention, only enter the IP (domain) and PORT here, without appending a URI. - Change
BOT_TOPICto reflect your Bot's name. This is very important, as it will be used inPrompt Construction. Please try to use a concise and clear word, such asOpenIM,LangChain. - Adjust
URL_PREFIXto match your website's domain. This is mainly for generating accessible URL links for uploaded local files. Such ashttp://127.0.0.1:7000/web/download_dir/2024_05_20/d3a01d6a-90cd-4c2a-b926-9cda12466caf/openssl-cookbook.pdf. - For more information about the meanings and usages of constants, you can check under the
server/constantdirectory.
[!NOTE] When deploying with Docker, pay special attention to the host of URL_PREFIX in the
.envfile. If usingOllama, also pay special attention to the host of OLLAMA_BASE_URL in the.envfile. They need to use the actual IP address of the host machine.
docker-compose up --build[!NOTE] Please use Python version 3.10.x or above.
It is recommended to install Python-related dependencies in a Python virtual environment to avoid affecting dependencies of other projects.
If you have not yet created a virtual environment, you can create one with the following command:
python3 -m venv myenvAfter creation, activate the virtual environment:
source myenv/bin/activateOnce the virtual environment is activated, you can use pip to install the required dependencies.
pip install -r requirements.txtThe RAG-GPT service uses SQLite as its storage DB. Before starting the RAG-GPT service, you need to execute the following command to initialize the database and add the default configuration for admin console.
python3 create_sqlite_db.pyIf you have completed the steps above, you can try to start the RAG-GPT service by executing the following command.
- Start single process:
python3 rag_gpt_app.py- Start multiple processes:
sh start.sh[!NOTE]
- The service port for RAG-GPT is
7000. During the first test, please try not to change the port so that you can quickly experience the entire product process.- We recommend starting the RAG-GPT service using
start.shin multi-process mode for a smoother user experience.
Access the admin console through the link http://your-server-ip:7000/open-kf-admin/ to reach the login page. The default username and password are admin and open_kf_AIGC@2024 (can be checked in create_sqlite_db.py).
After logging in successfully, you will be able to see the configuration page of the admin console.
On the page http://your-server-ip:7000/open-kf-admin/#/, you can set the following configurations:
- Choose the LLM base, currently only the
gpt-3.5-turbooption is available, which will be gradually expanded. - Initial Messages
- Suggested Messages
- Message Placeholder
- Profile Picture (upload a picture)
- Display name
- Chat icon (upload a picture)
After submitting the website URL, once the server retrieves the list of all web page URLs via crawling, you can select the web page URLs you need as the knowledge base (all selected by default). The initial Status is Recorded.
You can actively refresh the page http://your-server-ip:7000/open-kf-admin/#/source in your browser to get the progress of web page URL processing. After the content of the web page URL has been crawled, and the Embedding calculation and storage are completed, you can see the corresponding Size in the admin console, and the Status will also be updated to Trained.
Clicking on a webpage's URL reveals how many sub-pages the webpage is divided into, and the text size of each sub-page.
Clicking on a sub-page allows you to view its full text content. This will be very helpful for verifying the effects during the experience testing process.
Collect the URLs of the required web pages. You can submit up to 10 web page URLs at a time, and these pages can be from different domains.
Upload the required local files. You can upload up to 10 files at a time, and each file cannot exceed 30MB. The following file types are currently supported: [".txt", ".md", ".pdf", ".epub", ".mobi", ".html", ".docx", ".pptx", ".xlsx", ".csv"].
After importing website data in the admin console, you can experience the chatbot service through the link http://your-server-ip:7000/open-kf-chatbot/.
Through the admin console link http://your-server-ip:7000/open-kf-admin/#/embed, you can see the detailed tutorial for configuring the iframe in your website.
Through the admin console link http://your-server-ip:7000/open-kf-admin/#/dashboard, you can view the historical request records of all users within a specified time range.
The RAG-GPT service integrates 2 frontend modules, and their source code information is as follows:
An intuitive web-based admin interface for Smart QA Service, offering comprehensive control over content, configuration, and user interactions. Enables effortless management of the knowledge base, real-time monitoring of queries and feedback, and continuous improvement based on user insights.
An HTML5 interface for Smart QA Service designed for easy integration into websites via iframe, providing users direct access to a tailored knowledge base without leaving the site, enhancing functionality and immediate query resolution.
For Tasks:
Click tags to check more tools for each tasksFor Jobs:
Alternative AI tools for rag-gpt
Similar Open Source Tools

rag-gpt
RAG-GPT is a tool that allows users to quickly launch an intelligent customer service system with Flask, LLM, and RAG. It includes frontend, backend, and admin console components. The tool supports cloud-based and local LLMs, enables deployment of conversational service robots in minutes, integrates diverse knowledge bases, offers flexible configuration options, and features an attractive user interface.
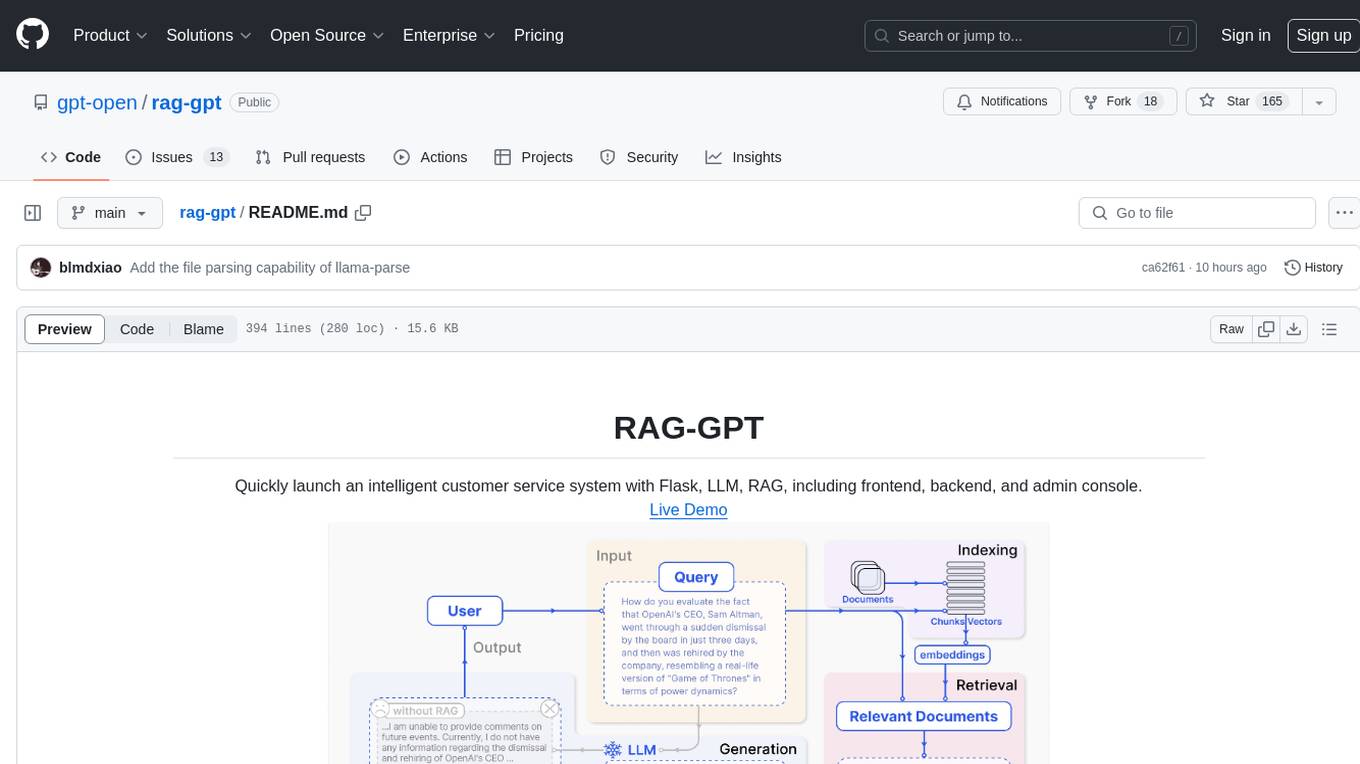
rag-gpt
RAG-GPT is a tool that allows users to quickly launch an intelligent customer service system with Flask, LLM, and RAG. It includes frontend, backend, and admin console components. The tool supports cloud-based and local LLMs, offers quick setup for conversational service robots, integrates diverse knowledge bases, provides flexible configuration options, and features an attractive user interface.
AutoAgent
AutoAgent is a fully-automated and zero-code framework that enables users to create and deploy LLM agents through natural language alone. It is a top performer on the GAIA Benchmark, equipped with a native self-managing vector database, and allows for easy creation of tools, agents, and workflows without any coding. AutoAgent seamlessly integrates with a wide range of LLMs and supports both function-calling and ReAct interaction modes. It is designed to be dynamic, extensible, customized, and lightweight, serving as a personal AI assistant.
kwaak
Kwaak is a tool that allows users to run a team of autonomous AI agents locally from their own machine. It enables users to write code, improve test coverage, update documentation, and enhance code quality while focusing on building innovative projects. Kwaak is designed to run multiple agents in parallel, interact with codebases, answer questions about code, find examples, write and execute code, create pull requests, and more. It is free and open-source, allowing users to bring their own API keys or models via Ollama. Kwaak is part of the bosun.ai project, aiming to be a platform for autonomous code improvement.

Fabric
Fabric is an open-source framework designed to augment humans using AI by organizing prompts by real-world tasks. It addresses the integration problem of AI by creating and organizing prompts for various tasks. Users can create, collect, and organize AI solutions in a single place for use in their favorite tools. Fabric also serves as a command-line interface for those focused on the terminal. It offers a wide range of features and capabilities, including support for multiple AI providers, internationalization, speech-to-text, AI reasoning, model management, web search, text-to-speech, desktop notifications, and more. The project aims to help humans flourish by leveraging AI technology to solve human problems and enhance creativity.
gitingest
GitIngest is a tool that allows users to turn any Git repository into a prompt-friendly text ingest for LLMs. It provides easy code context by generating a text digest from a git repository URL or directory. The tool offers smart formatting for optimized output format for LLM prompts and provides statistics about file and directory structure, size of the extract, and token count. GitIngest can be used as a CLI tool on Linux and as a Python package for code integration. The tool is built using Tailwind CSS for frontend, FastAPI for backend framework, tiktoken for token estimation, and apianalytics.dev for simple analytics. Users can self-host GitIngest by building the Docker image and running the container. Contributions to the project are welcome, and the tool aims to be beginner-friendly for first-time contributors with a simple Python and HTML codebase.
trieve
Trieve is an advanced relevance API for hybrid search, recommendations, and RAG. It offers a range of features including self-hosting, semantic dense vector search, typo tolerant full-text/neural search, sub-sentence highlighting, recommendations, convenient RAG API routes, the ability to bring your own models, hybrid search with cross-encoder re-ranking, recency biasing, tunable popularity-based ranking, filtering, duplicate detection, and grouping. Trieve is designed to be flexible and customizable, allowing users to tailor it to their specific needs. It is also easy to use, with a simple API and well-documented features.
agenticSeek
AgenticSeek is a voice-enabled AI assistant powered by DeepSeek R1 agents, offering a fully local alternative to cloud-based AI services. It allows users to interact with their filesystem, code in multiple languages, and perform various tasks autonomously. The tool is equipped with memory to remember user preferences and past conversations, and it can divide tasks among multiple agents for efficient execution. AgenticSeek prioritizes privacy by running entirely on the user's hardware without sending data to the cloud.
bedrock-claude-chat
This repository is a sample chatbot using the Anthropic company's LLM Claude, one of the foundational models provided by Amazon Bedrock for generative AI. It allows users to have basic conversations with the chatbot, personalize it with their own instructions and external knowledge, and analyze usage for each user/bot on the administrator dashboard. The chatbot supports various languages, including English, Japanese, Korean, Chinese, French, German, and Spanish. Deployment is straightforward and can be done via the command line or by using AWS CDK. The architecture is built on AWS managed services, eliminating the need for infrastructure management and ensuring scalability, reliability, and security.
well-architected-iac-analyzer
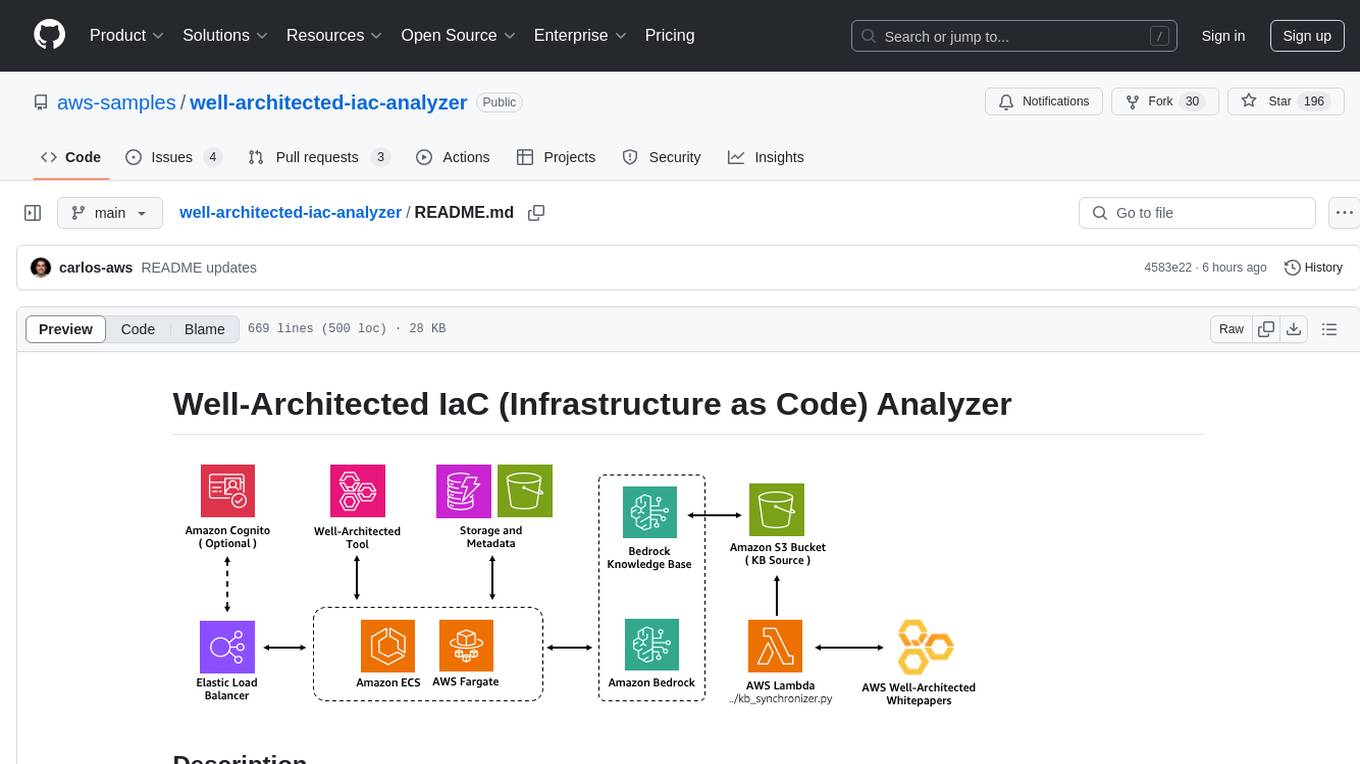
Well-Architected Infrastructure as Code (IaC) Analyzer is a project demonstrating how generative AI can evaluate infrastructure code for alignment with best practices. It features a modern web application allowing users to upload IaC documents, complete IaC projects, or architecture diagrams for assessment. The tool provides insights into infrastructure code alignment with AWS best practices, offers suggestions for improving cloud architecture designs, and can generate IaC templates from architecture diagrams. Users can analyze CloudFormation, Terraform, or AWS CDK templates, architecture diagrams in PNG or JPEG format, and complete IaC projects with supporting documents. Real-time analysis against Well-Architected best practices, integration with AWS Well-Architected Tool, and export of analysis results and recommendations are included.
PentestGPT
PentestGPT is a penetration testing tool empowered by ChatGPT, designed to automate the penetration testing process. It operates interactively to guide penetration testers in overall progress and specific operations. The tool supports solving easy to medium HackTheBox machines and other CTF challenges. Users can use PentestGPT to perform tasks like testing connections, using different reasoning models, discussing with the tool, searching on Google, and generating reports. It also supports local LLMs with custom parsers for advanced users.

shellChatGPT
ShellChatGPT is a shell wrapper for OpenAI's ChatGPT, DALL-E, Whisper, and TTS, featuring integration with LocalAI, Ollama, Gemini, Mistral, Groq, and GitHub Models. It provides text and chat completions, vision, reasoning, and audio models, voice-in and voice-out chatting mode, text editor interface, markdown rendering support, session management, instruction prompt manager, integration with various service providers, command line completion, file picker dialogs, color scheme personalization, stdin and text file input support, and compatibility with Linux, FreeBSD, MacOS, and Termux for a responsive experience.
lexido
Lexido is an innovative assistant for the Linux command line, designed to boost your productivity and efficiency. Powered by Gemini Pro 1.0 and utilizing the free API, Lexido offers smart suggestions for commands based on your prompts and importantly your current environment. Whether you're installing software, managing files, or configuring system settings, Lexido streamlines the process, making it faster and more intuitive.
OpenAI-sublime-text
The OpenAI Completion plugin for Sublime Text provides first-class code assistant support within the editor. It utilizes LLM models to manipulate code, engage in chat mode, and perform various tasks. The plugin supports OpenAI, llama.cpp, and ollama models, allowing users to customize their AI assistant experience. It offers separated chat histories and assistant settings for different projects, enabling context-specific interactions. Additionally, the plugin supports Markdown syntax with code language syntax highlighting, server-side streaming for faster response times, and proxy support for secure connections. Users can configure the plugin's settings to set their OpenAI API key, adjust assistant modes, and manage chat history. Overall, the OpenAI Completion plugin enhances the Sublime Text editor with powerful AI capabilities, streamlining coding workflows and fostering collaboration with AI assistants.
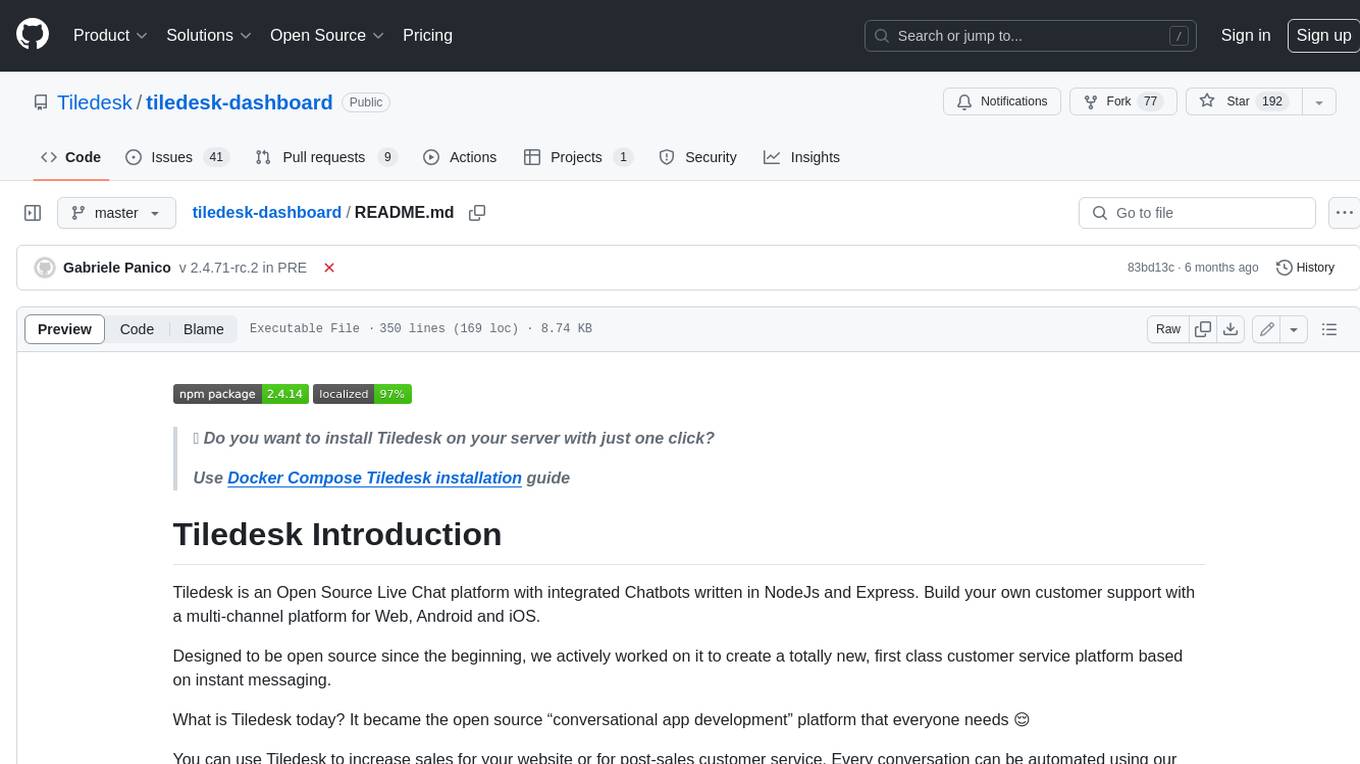
tiledesk-dashboard
Tiledesk is an open-source live chat platform with integrated chatbots written in Node.js and Express. It is designed to be a multi-channel platform for web, Android, and iOS, and it can be used to increase sales or provide post-sales customer service. Tiledesk's chatbot technology allows for automation of conversations, and it also provides APIs and webhooks for connecting external applications. Additionally, it offers a marketplace for apps and features such as CRM, ticketing, and data export.
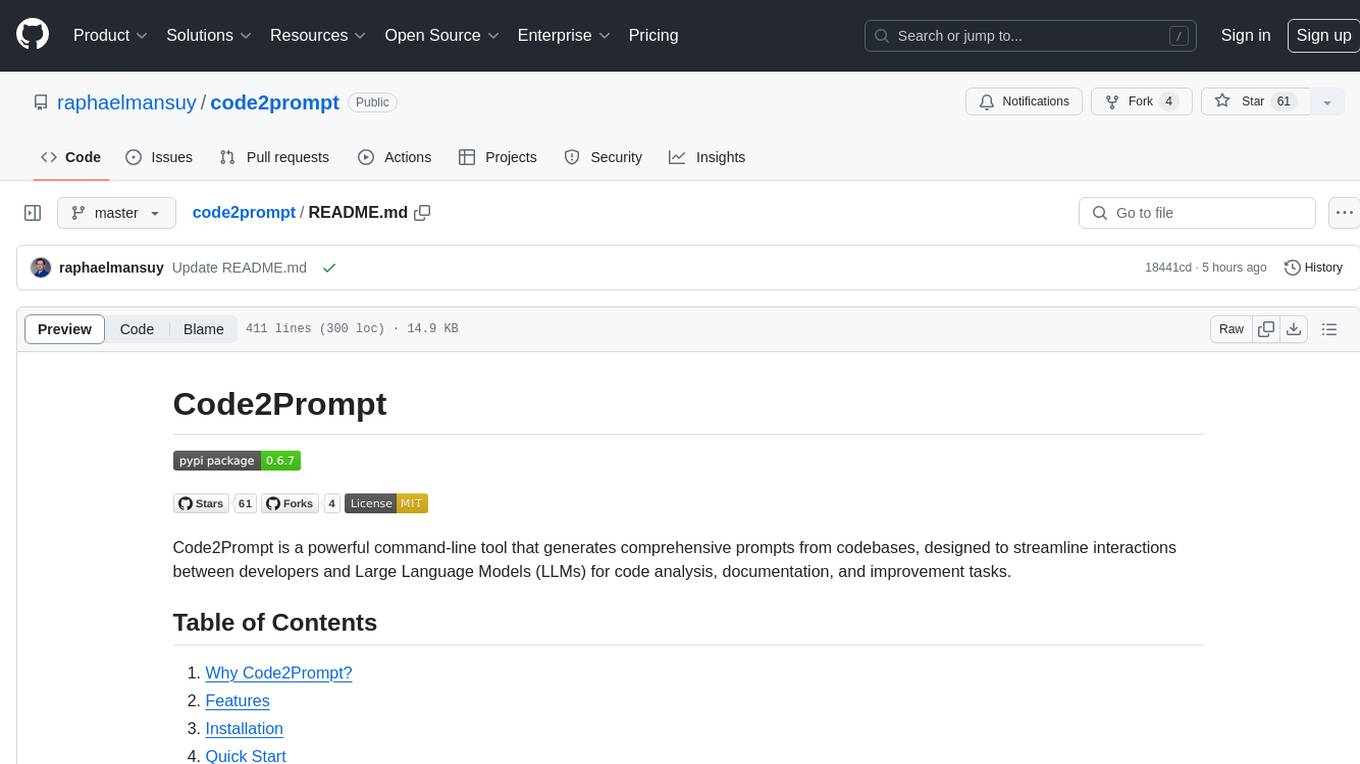
code2prompt
Code2Prompt is a powerful command-line tool that generates comprehensive prompts from codebases, designed to streamline interactions between developers and Large Language Models (LLMs) for code analysis, documentation, and improvement tasks. It bridges the gap between codebases and LLMs by converting projects into AI-friendly prompts, enabling users to leverage AI for various software development tasks. The tool offers features like holistic codebase representation, intelligent source tree generation, customizable prompt templates, smart token management, Gitignore integration, flexible file handling, clipboard-ready output, multiple output options, and enhanced code readability.
For similar tasks

rag-gpt
RAG-GPT is a tool that allows users to quickly launch an intelligent customer service system with Flask, LLM, and RAG. It includes frontend, backend, and admin console components. The tool supports cloud-based and local LLMs, enables deployment of conversational service robots in minutes, integrates diverse knowledge bases, offers flexible configuration options, and features an attractive user interface.

rag-gpt
RAG-GPT is a tool that allows users to quickly launch an intelligent customer service system with Flask, LLM, and RAG. It includes frontend, backend, and admin console components. The tool supports cloud-based and local LLMs, offers quick setup for conversational service robots, integrates diverse knowledge bases, provides flexible configuration options, and features an attractive user interface.
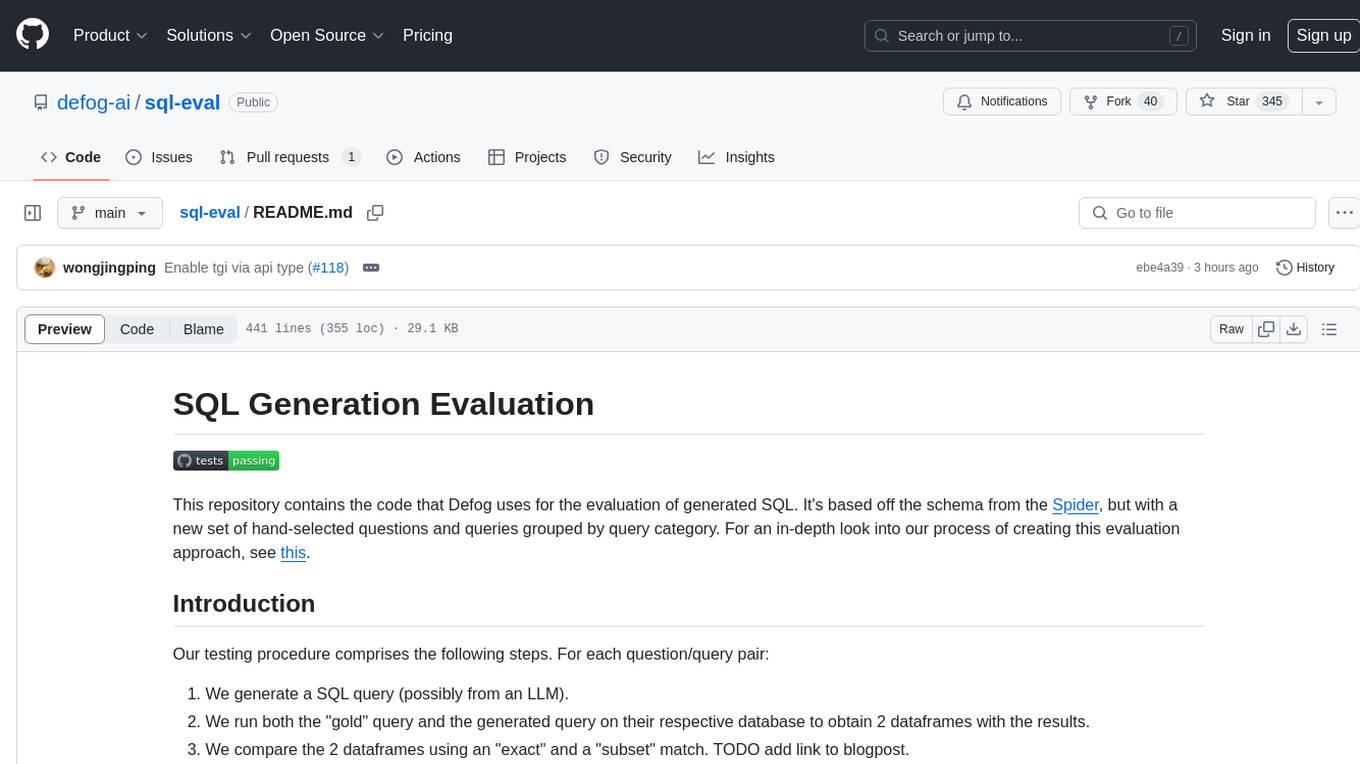
sql-eval
This repository contains the code that Defog uses for the evaluation of generated SQL. It's based off the schema from the Spider, but with a new set of hand-selected questions and queries grouped by query category. The testing procedure involves generating a SQL query, running both the 'gold' query and the generated query on their respective database to obtain dataframes with the results, comparing the dataframes using an 'exact' and a 'subset' match, logging these alongside other metrics of interest, and aggregating the results for reporting. The repository provides comprehensive instructions for installing dependencies, starting a Postgres instance, importing data into Postgres, importing data into Snowflake, using private data, implementing a query generator, and running the test with different runners.
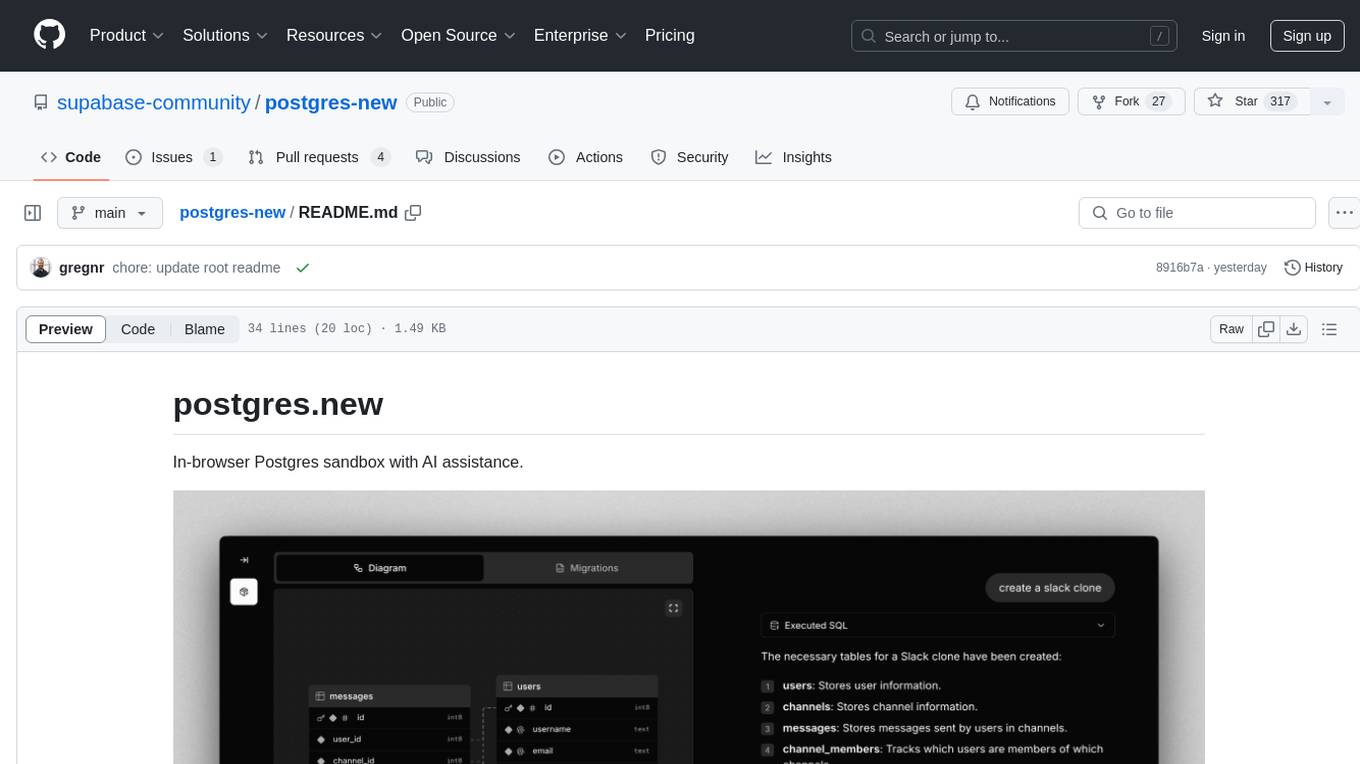
postgres-new
Postgres.new is an in-browser Postgres sandbox with AI assistance that allows users to spin up unlimited Postgres databases directly in the browser. Each database comes with a large language model (LLM) enabling features like drag-and-drop CSV import, report generation, chart creation, and database diagram building. The tool utilizes PGlite, a WASM version of Postgres, to run databases in the browser and store data in IndexedDB for persistence. The monorepo includes a frontend built with Next.js and a backend serving S3-backed PGlite databases over the PG wire protocol using pg-gateway.
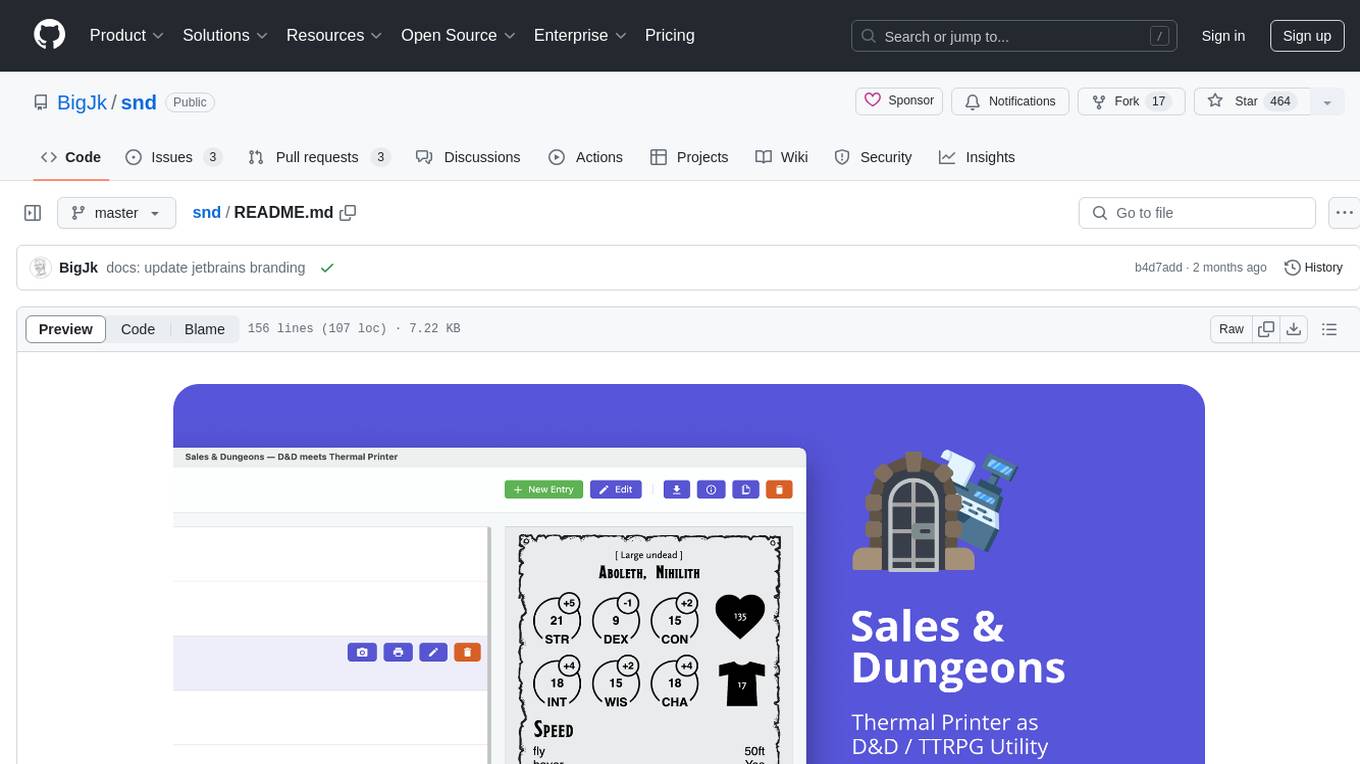
snd
Sales & Dungeons is a tool that utilizes thermal printers for creating customizable handouts, quick references, and more for Dungeons and Dragons sessions. It offers extensive templating and random generation systems, supports various connection methods, and allows importing/exporting templates and data sources. Users can access external data sources like Open5e, import data from CSV and other formats, and utilize AI prompt generation and translation. The tool supports cloud sync and is compatible with multiple operating systems and devices.
For similar jobs
sweep
Sweep is an AI junior developer that turns bugs and feature requests into code changes. It automatically handles developer experience improvements like adding type hints and improving test coverage.
teams-ai
The Teams AI Library is a software development kit (SDK) that helps developers create bots that can interact with Teams and Microsoft 365 applications. It is built on top of the Bot Framework SDK and simplifies the process of developing bots that interact with Teams' artificial intelligence capabilities. The SDK is available for JavaScript/TypeScript, .NET, and Python.
ai-guide
This guide is dedicated to Large Language Models (LLMs) that you can run on your home computer. It assumes your PC is a lower-end, non-gaming setup.
classifai
Supercharge WordPress Content Workflows and Engagement with Artificial Intelligence. Tap into leading cloud-based services like OpenAI, Microsoft Azure AI, Google Gemini and IBM Watson to augment your WordPress-powered websites. Publish content faster while improving SEO performance and increasing audience engagement. ClassifAI integrates Artificial Intelligence and Machine Learning technologies to lighten your workload and eliminate tedious tasks, giving you more time to create original content that matters.
chatbot-ui
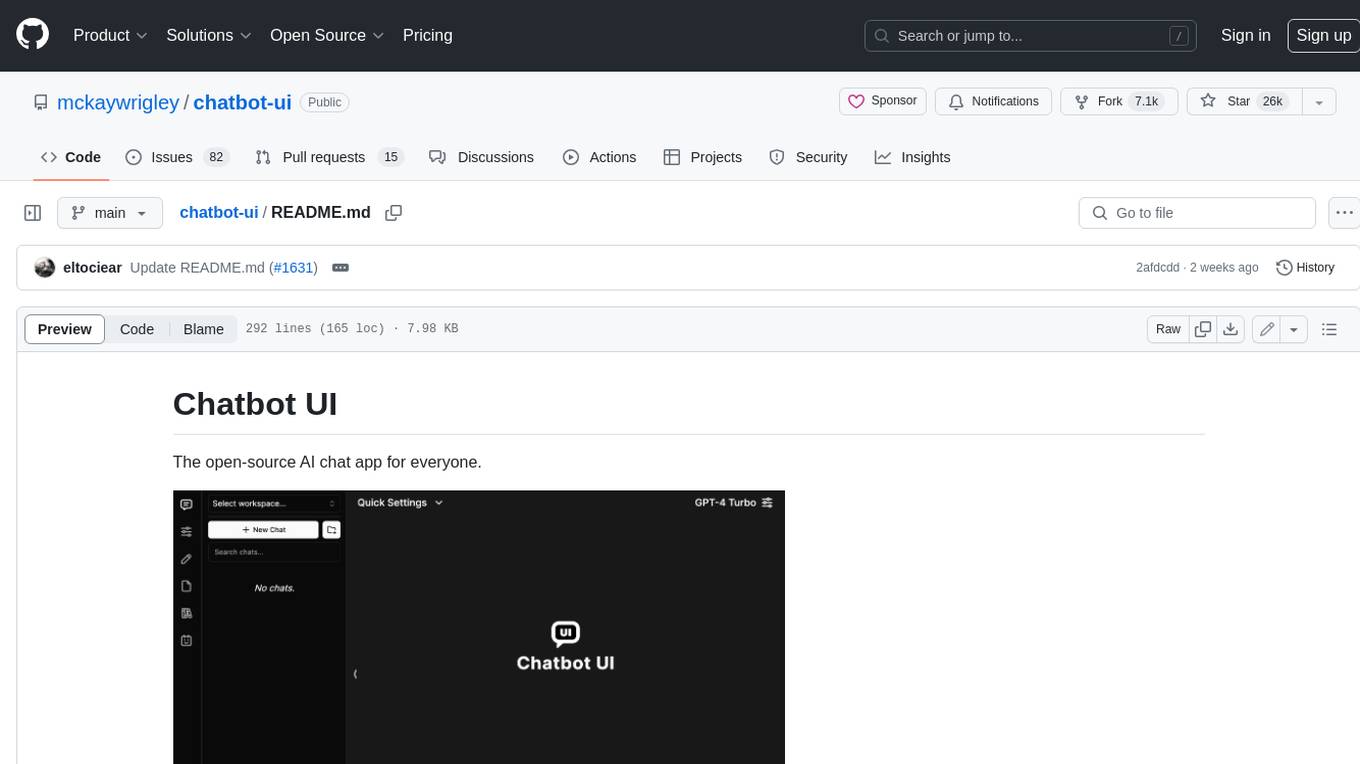
Chatbot UI is an open-source AI chat app that allows users to create and deploy their own AI chatbots. It is easy to use and can be customized to fit any need. Chatbot UI is perfect for businesses, developers, and anyone who wants to create a chatbot.
BricksLLM
BricksLLM is a cloud native AI gateway written in Go. Currently, it provides native support for OpenAI, Anthropic, Azure OpenAI and vLLM. BricksLLM aims to provide enterprise level infrastructure that can power any LLM production use cases. Here are some use cases for BricksLLM: * Set LLM usage limits for users on different pricing tiers * Track LLM usage on a per user and per organization basis * Block or redact requests containing PIIs * Improve LLM reliability with failovers, retries and caching * Distribute API keys with rate limits and cost limits for internal development/production use cases * Distribute API keys with rate limits and cost limits for students
uAgents
uAgents is a Python library developed by Fetch.ai that allows for the creation of autonomous AI agents. These agents can perform various tasks on a schedule or take action on various events. uAgents are easy to create and manage, and they are connected to a fast-growing network of other uAgents. They are also secure, with cryptographically secured messages and wallets.
griptape
Griptape is a modular Python framework for building AI-powered applications that securely connect to your enterprise data and APIs. It offers developers the ability to maintain control and flexibility at every step. Griptape's core components include Structures (Agents, Pipelines, and Workflows), Tasks, Tools, Memory (Conversation Memory, Task Memory, and Meta Memory), Drivers (Prompt and Embedding Drivers, Vector Store Drivers, Image Generation Drivers, Image Query Drivers, SQL Drivers, Web Scraper Drivers, and Conversation Memory Drivers), Engines (Query Engines, Extraction Engines, Summary Engines, Image Generation Engines, and Image Query Engines), and additional components (Rulesets, Loaders, Artifacts, Chunkers, and Tokenizers). Griptape enables developers to create AI-powered applications with ease and efficiency.


