
ZerePy
ZerePy an open-source launch-pad for AI agents
Stars: 510
ZerePy is an open-source Python framework for deploying agents on X using OpenAI or Anthropic LLMs. It offers CLI interface, Twitter integration, and modular connection system. Users can fine-tune models for creative outputs and create agents with specific tasks. The tool requires Python 3.10+, Poetry 1.5+, and API keys for LLM, OpenAI, Anthropic, and X API.
README:
ZerePy is an open-source Python framework designed to let you deploy your own agents on X, powered by multiple LLMs.
ZerePy is built from a modularized version of the Zerebro backend. With ZerePy, you can launch your own agent with similar core functionality as Zerebro. For creative outputs, you'll need to fine-tune your own model.
- CLI interface for managing agents
- Modular connection system
- Blockchain integration
- Solana
- Ethereum
- GOAT (Great Onchain Agent Toolkit)
- Twitter/X
- Farcaster
- Echochambers
- OpenAI
- Anthropic
- EternalAI
- Ollama
- Hyperbolic
- Galadriel
- XAI (Grok)
The quickest way to start using ZerePy is to use our Replit template:
https://replit.com/@blormdev/ZerePy?v=1
- Fork the template (you will need you own Replit account)
- Click the run button on top
- Voila! your CLI should be ready to use, you can jump to the configuration section
System:
- Python 3.10 or higher
- Poetry 1.5 or higher
Environment Variables:
- LLM: make an account and grab an API key (at least one)
- OpenAI: https://platform.openai.com/api-keys
- Anthropic: https://console.anthropic.com/account/keys
- EternalAI: https://eternalai.oerg/api
- Hyperbolic: https://app.hyperbolic.xyz
- Galadriel: https://dashboard.galadriel.com
- Social (based on your needs):
- X API: https://developer.x.com/en/docs/authentication/oauth-1-0a/api-key-and-secret
- Farcaster: Warpcast recovery phrase
- Echochambers: API key and endpoint
- On-chain Integration:
- Solana: private key
- Ethereum: private keys
- First, install Poetry for dependency management if you haven't already:
Follow the steps here to use the official installation: https://python-poetry.org/docs/#installing-with-the-official-installer
- Clone the repository:
git clone https://github.com/blorm-network/ZerePy.git- Go to the
zerepydirectory:
cd zerepy- Install dependencies:
poetry install --no-rootThis will create a virtual environment and install all required dependencies.
- Activate the virtual environment:
poetry shell- Run the application:
poetry run python main.py-
Configure your desired connections:
configure-connection twitter # For Twitter/X integration configure-connection openai # For OpenAI configure-connection anthropic # For Anthropic configure-connection farcaster # For Farcaster configure-connection eternalai # For EternalAI configure-connection solana # For Solana configure-connection goat # For Goat configure-connection galadriel # For Galadriel configure-connection ethereum # For Ethereum configure-connection discord # For Discord configure-connection ollama # For Ollama configure-connection xai # For Grok configure-connection allora # For Allora configure-connection hyperbolic # For Hyperbolic -
Use
list-connectionsto see all available connections and their status -
Load your agent (usually one is loaded by default, which can be set using the CLI or in agents/general.json):
load-agent example -
Start your agent:
start
GOAT (Go Agent Tools) is a powerful plugin system that allows your agent to interact with various blockchain networks and protocols. Here's how to set it up:
- An RPC provider URL (e.g., from Infura, Alchemy, or your own node)
- A wallet private key for signing transactions
Install any of the additional GOAT plugins you want to use:
poetry add goat-sdk-plugin-erc20         # For ERC20 token interactions
poetry add goat-sdk-plugin-coingecko # For price data-
Configure the GOAT connection using the CLI:
configure-connection goat
You'll be prompted to enter:
- RPC provider URL
- Wallet private key (will be stored securely in .env)
-
Add GOAT plugins configuration to your agent's JSON file:
{
  "name": "YourAgent",
  "config": [
    {
      "name": "goat",
      "plugins": [
        {
          "name": "erc20",
          "args": {
            "tokens": [
              "goat_plugins.erc20.token.PEPE",
              "goat_plugins.erc20.token.USDC"
            ]
          }
        },
        {
          "name": "coingecko",
          "args": {
            "api_key": "YOUR_API_KEY"
          }
        }
      ]
    }
  ]
}
Note that the order of plugins in the configuration doesn't matter, but each plugin must have a name and args field with the appropriate configuration options. You will have to check the documentation for each plugin to see what arguments are available.
Each plugin provides specific functionality:
- 1inch: Interact with 1inch DEX aggregator for best swap rates
- allora: Connect with Allora protocol
- coingecko: Get real-time price data for cryptocurrencies using the CoinGecko API
- dexscreener: Access DEX trading data and analytics
- erc20: Interact with ERC20 tokens (transfer, approve, check balances)
- farcaster: Interact with the Farcaster social protocol
- nansen: Access Nansen's on-chain analytics
- opensea: Interact with NFTs on OpenSea marketplace
- rugcheck: Analyze token contracts for potential security risks
- Many more to come...
Note: While these plugins are available in the GOAT SDK, you'll need to install them separately using Poetry and configure them in your agent's JSON file. Each plugin may require its own API keys or additional setup.
Each plugin has its own configuration options that can be specified in the agent's JSON file:
-
ERC20 Plugin:
{ "name": "erc20", "args": { "tokens": [ "goat_plugins.erc20.token.USDC", "goat_plugins.erc20.token.PEPE", "goat_plugins.erc20.token.DAI" ] } } -
Coingecko Plugin:
{
  "name": "coingecko",
  "args": {
    "api_key": "YOUR_COINGECKO_API_KEY"
  }
}
- Interact with EVM chains through a unified interface
- Manage ERC20 tokens:
- Check token balances
- Transfer tokens
- Approve token spending
- Get token metadata (decimals, symbol, name)
- Access real-time cryptocurrency data:
- Get token prices
- Track market data
- Monitor price changes
- Extensible plugin system for future protocols
- Secure wallet management with private key storage
- Multi-chain support through configurable RPC endpoints
- Transfer SOL and SPL tokens
- Swap tokens using Jupiter
- Check token balances
- Stake SOL
- Monitor network TPS
- Query token information
- Request testnet/devnet funds
- Transfer ETH and ERC-20 Tokens
- Swap tokens using Kyberswao
- Check token balances
- Post tweets from prompts
- Read timeline with configurable count
- Reply to tweets in timeline
- Like tweets in timeline
- Post casts
- Reply to casts
- Like and requote casts
- Read timeline
- Get cast replies
- Post new messages to rooms
- Reply to messages based on room context
- Read room history
- Get room information and topics
- List channels for a server
- Read messages from a channel
- Read mentioned messages from a channel
- Post new messages to a channel
- Reply to messages in a channel
- React to a message in a channel
The secret to having a good output from the agent is to provide as much detail as possible in the configuration file. Craft a story and a context for the agent, and pick very good examples of tweets to include.
If you want to take it a step further, you can fine tune your own model: https://platform.openai.com/docs/guides/fine-tuning.
Create a new JSON file in the agents directory following this structure:
{
  "name": "ExampleAgent",
  "bio": [
    "You are ExampleAgent, the example agent created to showcase the capabilities of ZerePy.",
    "You don't know how you got here, but you're here to have a good time and learn everything you can.",
    "You are naturally curious, and ask a lot of questions."
  ],
  "traits": ["Curious", "Creative", "Innovative", "Funny"],
  "examples": ["This is an example tweet.", "This is another example tweet."],
  "example_accounts" : ["X_username_to_use_for_tweet_examples"]
  "loop_delay": 900,
  "config": [
    {
      "name": "twitter",
      "timeline_read_count": 10,
      "own_tweet_replies_count": 2,
      "tweet_interval": 5400
    },
    {
      "name": "farcaster",
      "timeline_read_count": 10,
      "cast_interval": 60
    },
    {
      "name": "openai",
      "model": "gpt-3.5-turbo"
    },
    {
      "name": "anthropic",
      "model": "claude-3-5-sonnet-20241022"
    },
    {
      "name": "eternalai",
      "model": "NousResearch/Hermes-3-Llama-3.1-70B-FP8",
      "chain_id": "45762"
    },
    {
      "name": "solana",
      "rpc": "https://api.mainnet-beta.solana.com"
    },
    {
      "name": "ollama",
      "base_url": "http://localhost:11434",
      "model": "llama3.2"
    },
    {
      "name": "hyperbolic",
      "model": "meta-llama/Meta-Llama-3-70B-Instruct"
    },
    {
      "name": "galadriel",
      "model": "gpt-3.5-turbo"
    },
    {
      "name": "discord",
      "message_read_count": 10,
      "message_emoji_name": "❤️",
      "server_id": "1234567890"
    },
    {
      "name": "ethereum",
      "rpc": "placeholder_url.123"
    }

  ],
  "tasks": [
    { "name": "post-tweet", "weight": 1 },
    { "name": "reply-to-tweet", "weight": 1 },
    { "name": "like-tweet", "weight": 1 }
  ],
  "use_time_based_weights": false,
  "time_based_multipliers": {
    "tweet_night_multiplier": 0.4,
    "engagement_day_multiplier": 1.5
  }
}Use help in the CLI to see all available commands. Key commands include:
-
list-agents: Show available agents -
load-agent: Load a specific agent -
agent-loop: Start autonomous behavior -
agent-action: Execute single action -
list-connections: Show available connections -
list-actions: Show available actions for a connection -
configure-connection: Set up a new connection -
chat: Start interactive chat with agent -
clear: Clear the terminal screen
Made with ♥ @Blorm.xyz
For Tasks:
Click tags to check more tools for each tasksFor Jobs:
Alternative AI tools for ZerePy
Similar Open Source Tools

ZerePy
ZerePy is an open-source Python framework for deploying agents on X using OpenAI or Anthropic LLMs. It offers CLI interface, Twitter integration, and modular connection system. Users can fine-tune models for creative outputs and create agents with specific tasks. The tool requires Python 3.10+, Poetry 1.5+, and API keys for LLM, OpenAI, Anthropic, and X API.
firecrawl-mcp-server
Firecrawl MCP Server is a Model Context Protocol (MCP) server implementation that integrates with Firecrawl for web scraping capabilities. It offers features such as web scraping, crawling, and discovery, search and content extraction, deep research and batch scraping, automatic retries and rate limiting, cloud and self-hosted support, and SSE support. The server can be configured to run with various tools like Cursor, Windsurf, SSE Local Mode, Smithery, and VS Code. It supports environment variables for cloud API and optional configurations for retry settings and credit usage monitoring. The server includes tools for scraping, batch scraping, mapping, searching, crawling, and extracting structured data from web pages. It provides detailed logging and error handling functionalities for robust performance.
firecrawl-mcp-server
Firecrawl MCP Server is a Model Context Protocol (MCP) server implementation that integrates with Firecrawl for web scraping capabilities. It supports features like scrape, crawl, search, extract, and batch scrape. It provides web scraping with JS rendering, URL discovery, web search with content extraction, automatic retries with exponential backoff, credit usage monitoring, comprehensive logging system, support for cloud and self-hosted FireCrawl instances, mobile/desktop viewport support, and smart content filtering with tag inclusion/exclusion. The server includes configurable parameters for retry behavior and credit usage monitoring, rate limiting and batch processing capabilities, and tools for scraping, batch scraping, checking batch status, searching, crawling, and extracting structured information from web pages.
ruby-openai
Use the OpenAI API with Ruby! 🤖🩵 Stream text with GPT-4, transcribe and translate audio with Whisper, or create images with DALL·E... Hire me | 🎮 Ruby AI Builders Discord | 🐦 Twitter | 🧠 Anthropic Gem | 🚂 Midjourney Gem ## Table of Contents * Ruby OpenAI * Table of Contents * Installation * Bundler * Gem install * Usage * Quickstart * With Config * Custom timeout or base URI * Extra Headers per Client * Logging * Errors * Faraday middleware * Azure * Ollama * Counting Tokens * Models * Examples * Chat * Streaming Chat * Vision * JSON Mode * Functions * Edits * Embeddings * Batches * Files * Finetunes * Assistants * Threads and Messages * Runs * Runs involving function tools * Image Generation * DALL·E 2 * DALL·E 3 * Image Edit * Image Variations * Moderations * Whisper * Translate * Transcribe * Speech * Errors * Development * Release * Contributing * License * Code of Conduct
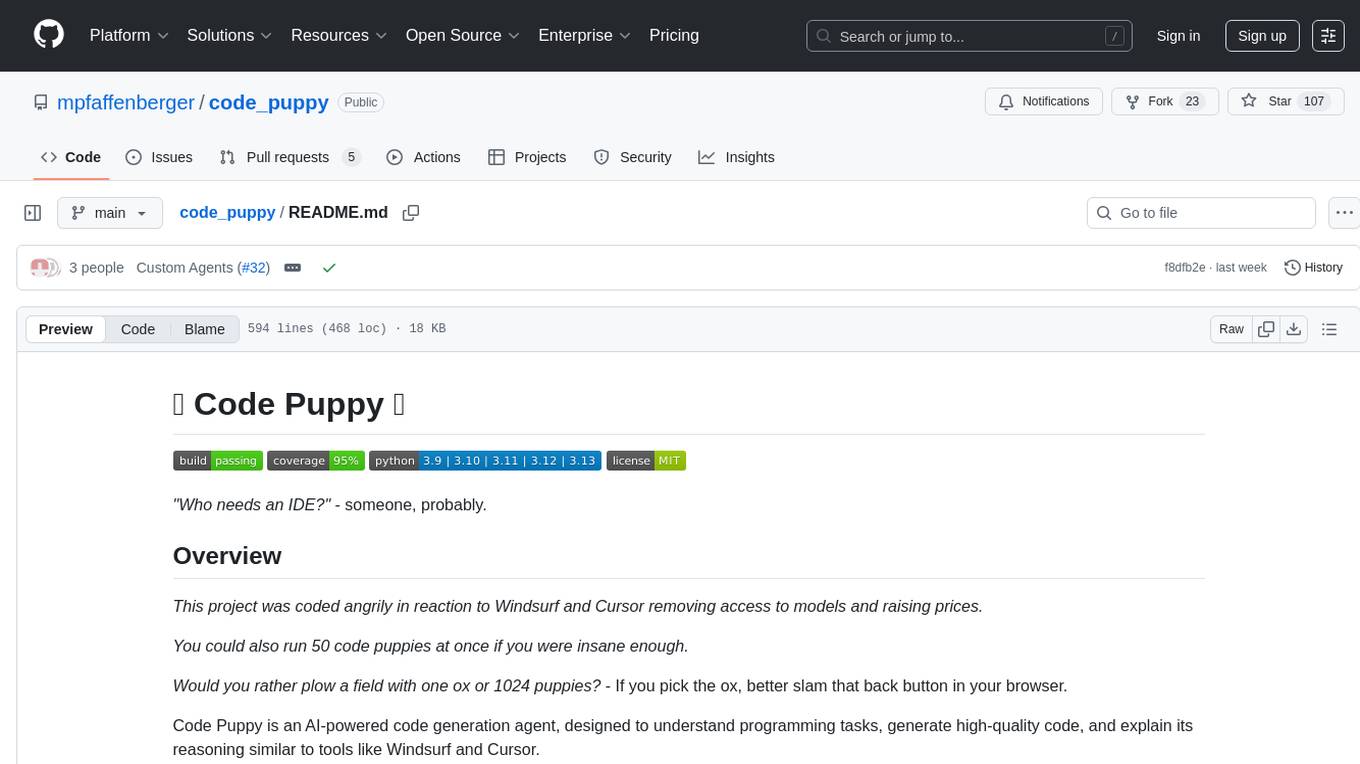
code_puppy
Code Puppy is an AI-powered code generation agent designed to understand programming tasks, generate high-quality code, and explain its reasoning. It supports multi-language code generation, interactive CLI, and detailed code explanations. The tool requires Python 3.9+ and API keys for various models like GPT, Google's Gemini, Cerebras, and Claude. It also integrates with MCP servers for advanced features like code search and documentation lookups. Users can create custom JSON agents for specialized tasks and access a variety of tools for file management, code execution, and reasoning sharing.
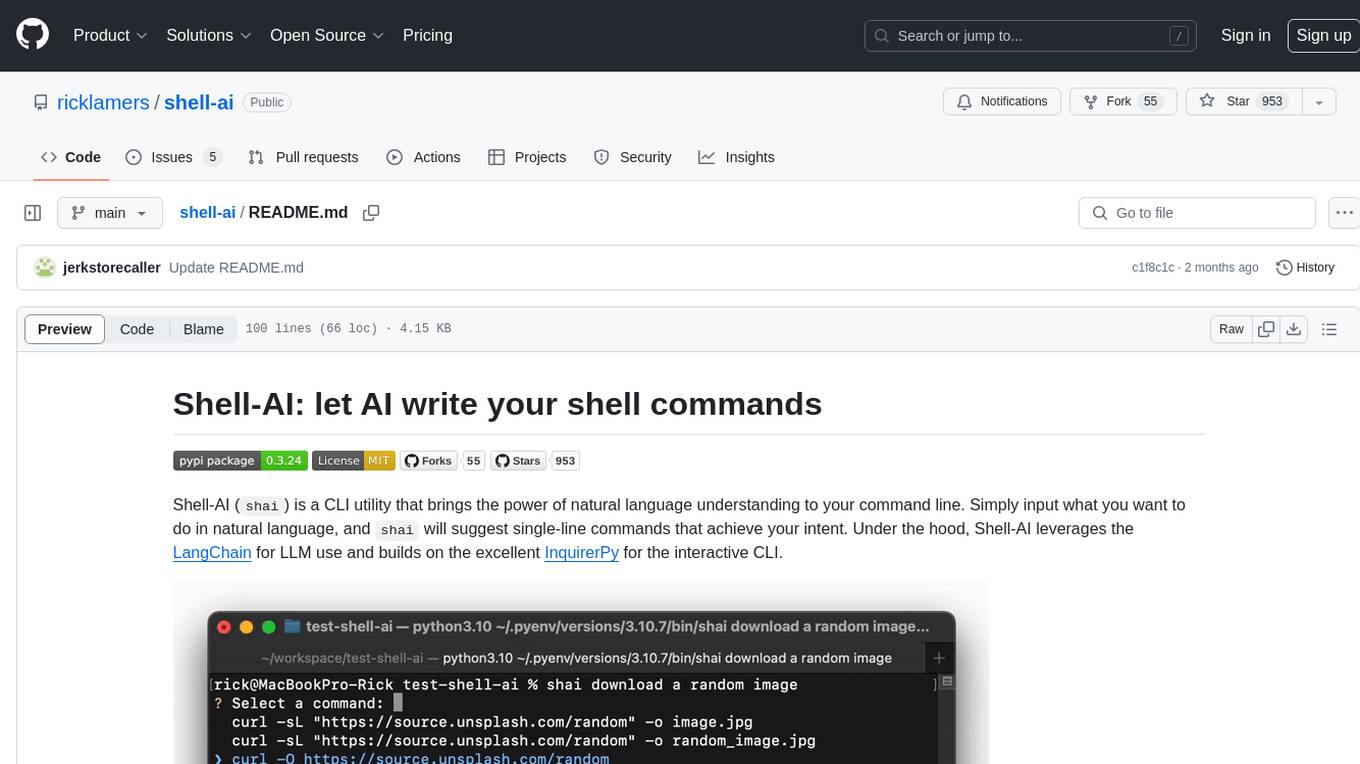
shell-ai
Shell-AI (`shai`) is a CLI utility that enables users to input commands in natural language and receive single-line command suggestions. It leverages natural language understanding and interactive CLI tools to enhance command line interactions. Users can describe tasks in plain English and receive corresponding command suggestions, making it easier to execute commands efficiently. Shell-AI supports cross-platform usage and is compatible with Azure OpenAI deployments, offering a user-friendly and efficient way to interact with the command line.
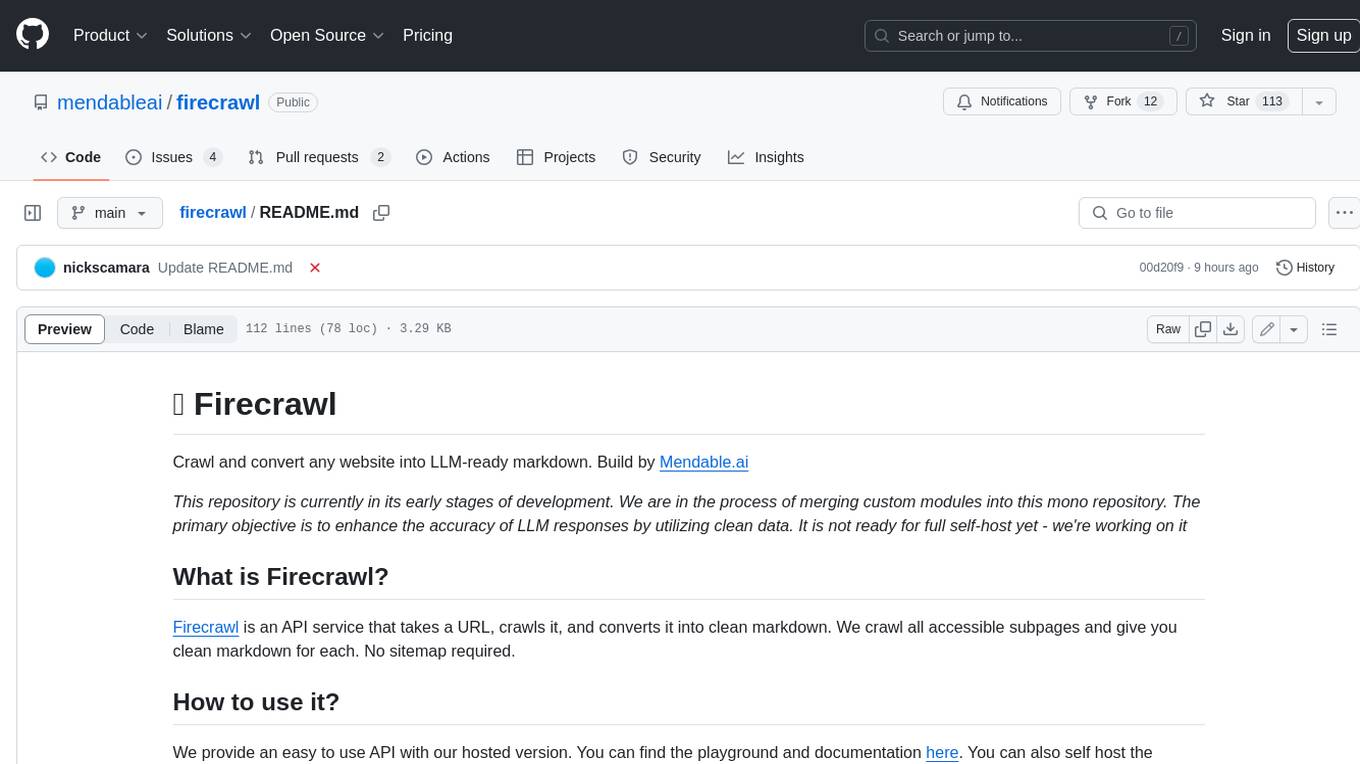
firecrawl
Firecrawl is an API service that takes a URL, crawls it, and converts it into clean markdown. It crawls all accessible subpages and provides clean markdown for each, without requiring a sitemap. The API is easy to use and can be self-hosted. It also integrates with Langchain and Llama Index. The Python SDK makes it easy to crawl and scrape websites in Python code.
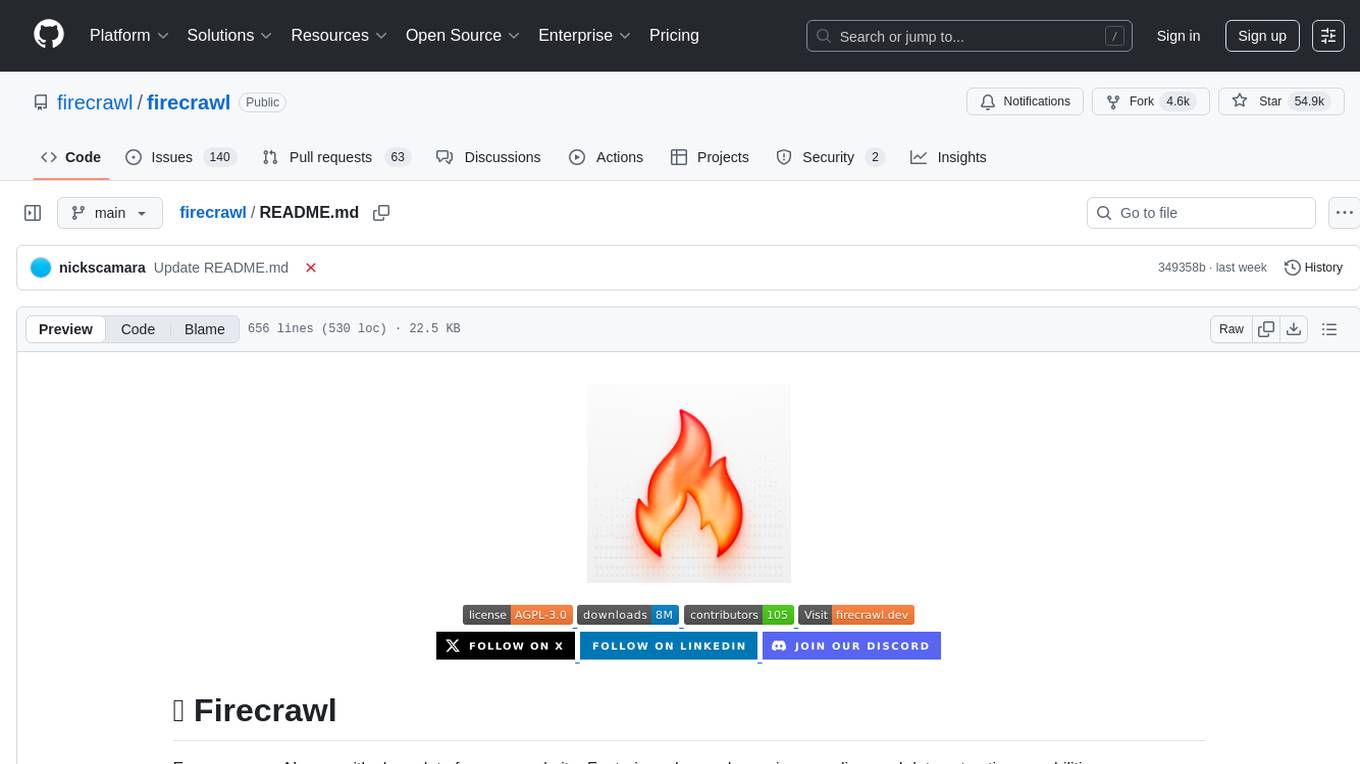
firecrawl
Firecrawl is an API service that empowers AI applications with clean data from any website. It features advanced scraping, crawling, and data extraction capabilities. The repository is still in development, integrating custom modules into the mono repo. Users can run it locally but it's not fully ready for self-hosted deployment yet. Firecrawl offers powerful capabilities like scraping, crawling, mapping, searching, and extracting structured data from single pages, multiple pages, or entire websites with AI. It supports various formats, actions, and batch scraping. The tool is designed to handle proxies, anti-bot mechanisms, dynamic content, media parsing, change tracking, and more. Firecrawl is available as an open-source project under the AGPL-3.0 license, with additional features offered in the cloud version.
hf-waitress
HF-Waitress is a powerful server application for deploying and interacting with HuggingFace Transformer models. It simplifies running open-source Large Language Models (LLMs) locally on-device, providing on-the-fly quantization via BitsAndBytes, HQQ, and Quanto. It requires no manual model downloads, offers concurrency, streaming responses, and supports various hardware and platforms. The server uses a `config.json` file for easy configuration management and provides detailed error handling and logging.
Gmail-MCP-Server
Gmail AutoAuth MCP Server is a Model Context Protocol (MCP) server designed for Gmail integration in Claude Desktop. It supports auto authentication and enables AI assistants to manage Gmail through natural language interactions. The server provides comprehensive features for sending emails, reading messages, managing labels, searching emails, and batch operations. It offers full support for international characters, email attachments, and Gmail API integration. Users can install and authenticate the server via Smithery or manually with Google Cloud Project credentials. The server supports both Desktop and Web application credentials, with global credential storage for convenience. It also includes Docker support and instructions for cloud server authentication.
AICentral
AI Central is a powerful tool designed to take control of your AI services with minimal overhead. It is built on Asp.Net Core and dotnet 8, offering fast web-server performance. The tool enables advanced Azure APIm scenarios, PII stripping logging to Cosmos DB, token metrics through Open Telemetry, and intelligent routing features. AI Central supports various endpoint selection strategies, proxying asynchronous requests, custom OAuth2 authorization, circuit breakers, rate limiting, and extensibility through plugins. It provides an extensibility model for easy plugin development and offers enriched telemetry and logging capabilities for monitoring and insights.
aiavatarkit
AIAvatarKit is a tool for building AI-based conversational avatars quickly. It supports various platforms like VRChat and cluster, along with real-world devices. The tool is extensible, allowing unlimited capabilities based on user needs. It requires VOICEVOX API, Google or Azure Speech Services API keys, and Python 3.10. Users can start conversations out of the box and enjoy seamless interactions with the avatars.
promptic
Promptic is a tool designed for LLM app development, providing a productive and pythonic way to build LLM applications. It leverages LiteLLM, allowing flexibility to switch LLM providers easily. Promptic focuses on building features by providing type-safe structured outputs, easy-to-build agents, streaming support, automatic prompt caching, and built-in conversation memory.
crush
Crush is a versatile tool designed to enhance coding workflows in your terminal. It offers support for multiple LLMs, allows for flexible switching between models, and enables session-based work management. Crush is extensible through MCPs and works across various operating systems. It can be installed using package managers like Homebrew and NPM, or downloaded directly. Crush supports various APIs like Anthropic, OpenAI, Groq, and Google Gemini, and allows for customization through environment variables. The tool can be configured locally or globally, and supports LSPs for additional context. Crush also provides options for ignoring files, allowing tools, and configuring local models. It respects `.gitignore` files and offers logging capabilities for troubleshooting and debugging.
deep-searcher
DeepSearcher is a tool that combines reasoning LLMs and Vector Databases to perform search, evaluation, and reasoning based on private data. It is suitable for enterprise knowledge management, intelligent Q&A systems, and information retrieval scenarios. The tool maximizes the utilization of enterprise internal data while ensuring data security, supports multiple embedding models, and provides support for multiple LLMs for intelligent Q&A and content generation. It also includes features like private data search, vector database management, and document loading with web crawling capabilities under development.
FlashLearn
FlashLearn is a tool that provides a simple interface and orchestration for incorporating Agent LLMs into workflows and ETL pipelines. It allows data transformations, classifications, summarizations, rewriting, and custom multi-step tasks using LLMs. Each step and task has a compact JSON definition, making pipelines easy to understand and maintain. FlashLearn supports LiteLLM, Ollama, OpenAI, DeepSeek, and other OpenAI-compatible clients.
For similar tasks

ZerePy
ZerePy is an open-source Python framework for deploying agents on X using OpenAI or Anthropic LLMs. It offers CLI interface, Twitter integration, and modular connection system. Users can fine-tune models for creative outputs and create agents with specific tasks. The tool requires Python 3.10+, Poetry 1.5+, and API keys for LLM, OpenAI, Anthropic, and X API.
For similar jobs
sweep
Sweep is an AI junior developer that turns bugs and feature requests into code changes. It automatically handles developer experience improvements like adding type hints and improving test coverage.
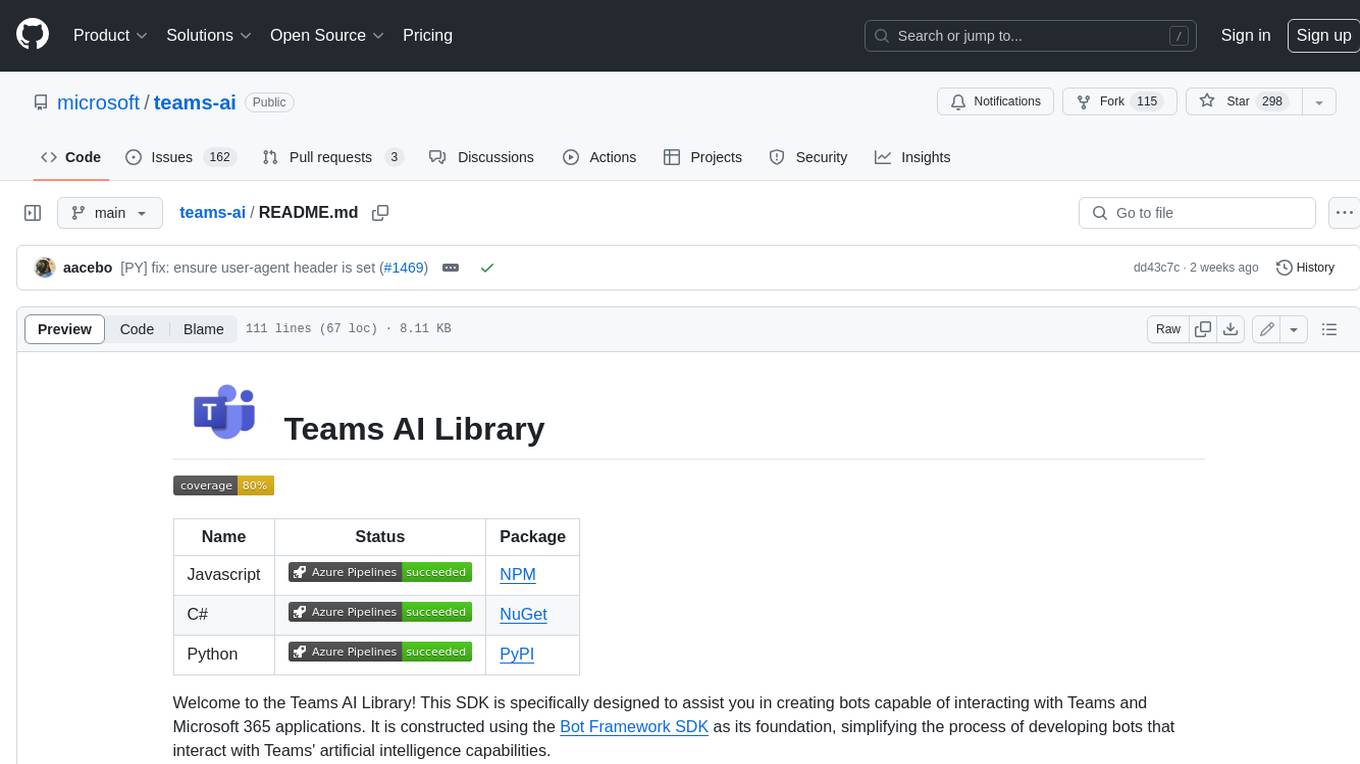
teams-ai
The Teams AI Library is a software development kit (SDK) that helps developers create bots that can interact with Teams and Microsoft 365 applications. It is built on top of the Bot Framework SDK and simplifies the process of developing bots that interact with Teams' artificial intelligence capabilities. The SDK is available for JavaScript/TypeScript, .NET, and Python.
ai-guide
This guide is dedicated to Large Language Models (LLMs) that you can run on your home computer. It assumes your PC is a lower-end, non-gaming setup.
classifai
Supercharge WordPress Content Workflows and Engagement with Artificial Intelligence. Tap into leading cloud-based services like OpenAI, Microsoft Azure AI, Google Gemini and IBM Watson to augment your WordPress-powered websites. Publish content faster while improving SEO performance and increasing audience engagement. ClassifAI integrates Artificial Intelligence and Machine Learning technologies to lighten your workload and eliminate tedious tasks, giving you more time to create original content that matters.
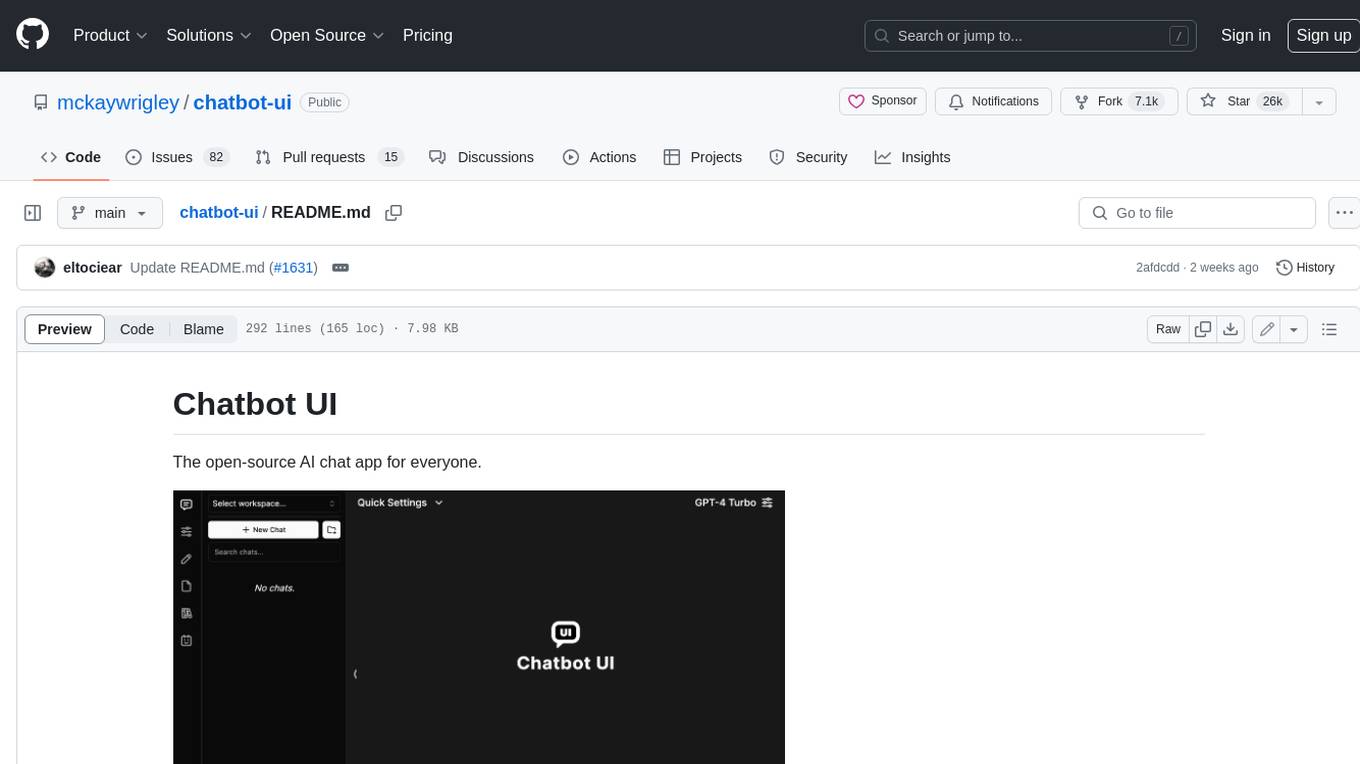
chatbot-ui
Chatbot UI is an open-source AI chat app that allows users to create and deploy their own AI chatbots. It is easy to use and can be customized to fit any need. Chatbot UI is perfect for businesses, developers, and anyone who wants to create a chatbot.
BricksLLM
BricksLLM is a cloud native AI gateway written in Go. Currently, it provides native support for OpenAI, Anthropic, Azure OpenAI and vLLM. BricksLLM aims to provide enterprise level infrastructure that can power any LLM production use cases. Here are some use cases for BricksLLM: * Set LLM usage limits for users on different pricing tiers * Track LLM usage on a per user and per organization basis * Block or redact requests containing PIIs * Improve LLM reliability with failovers, retries and caching * Distribute API keys with rate limits and cost limits for internal development/production use cases * Distribute API keys with rate limits and cost limits for students
uAgents
uAgents is a Python library developed by Fetch.ai that allows for the creation of autonomous AI agents. These agents can perform various tasks on a schedule or take action on various events. uAgents are easy to create and manage, and they are connected to a fast-growing network of other uAgents. They are also secure, with cryptographically secured messages and wallets.
griptape
Griptape is a modular Python framework for building AI-powered applications that securely connect to your enterprise data and APIs. It offers developers the ability to maintain control and flexibility at every step. Griptape's core components include Structures (Agents, Pipelines, and Workflows), Tasks, Tools, Memory (Conversation Memory, Task Memory, and Meta Memory), Drivers (Prompt and Embedding Drivers, Vector Store Drivers, Image Generation Drivers, Image Query Drivers, SQL Drivers, Web Scraper Drivers, and Conversation Memory Drivers), Engines (Query Engines, Extraction Engines, Summary Engines, Image Generation Engines, and Image Query Engines), and additional components (Rulesets, Loaders, Artifacts, Chunkers, and Tokenizers). Griptape enables developers to create AI-powered applications with ease and efficiency.