
Delphi-AI-Developer
Inspired by GitHub Copilot, this plugin adds AI-powered interaction capabilities to the Delphi IDE
Stars: 89
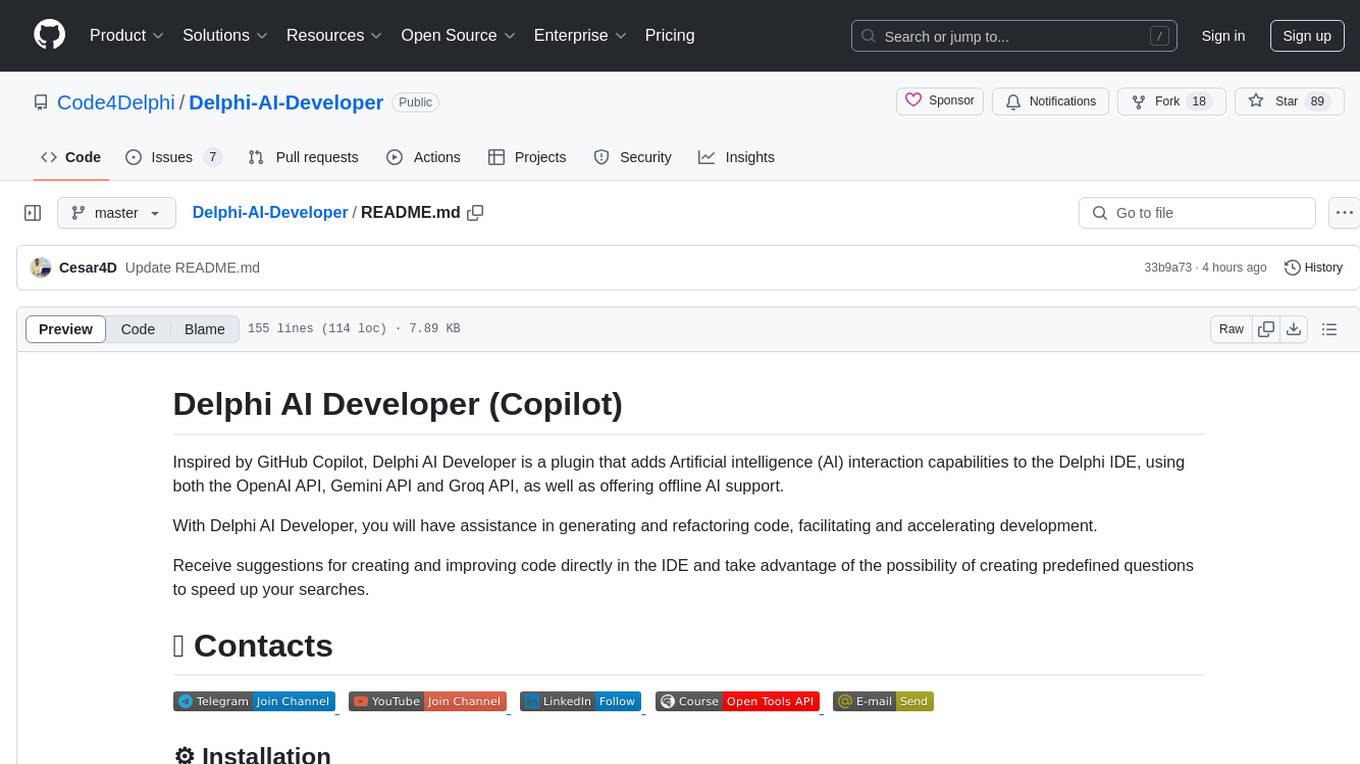
Delphi AI Developer is a plugin that enhances the Delphi IDE with AI capabilities from OpenAI, Gemini, and Groq APIs. It assists in code generation, refactoring, and speeding up development by providing code suggestions and predefined questions. Users can interact with AI chat and databases within the IDE, customize settings, and access documentation. The plugin is open-source and under the MIT License.
README:
Inspired by GitHub Copilot, Delphi AI Developer is a plugin that adds Artificial intelligence (AI) interaction capabilities to the Delphi IDE, using both the OpenAI API, Gemini API and Groq API, as well as offering offline AI support.
With Delphi AI Developer, you will have assistance in generating and refactoring code, facilitating and accelerating development.
Receive suggestions for creating and improving code directly in the IDE and take advantage of the possibility of creating predefined questions to speed up your searches.
1 - Download Delphi AI Developer. You can download the .zip file or clone the project on your PC.
2 - In your Delphi, access the menu File > Open and select the file: Package\DelphiAIDeveloper.dpk
3 - Right-click on the project name and select "Install"
4- The "AI Developer" item will be added to the IDE's MainMenu
- Language used in questions: Indicate in which language you will ask questions in chats, so that the prompts generated by the Plugin are generated in the same language.
- AI default (Chat and Databases Chat): Default AI when starting the IDE.
- Color to highlight Delphi/Pascal code: Color to highlight Delphi/Pascal/SQL code in responses displayed on chat screens
- Default Prompt: The Default Prompts that were added in this field will be sent to the AIs, with this you can considerably improve the quality of the responses. (Example of prompt: Always return SQL commands in lowercase)
You can choose between 3 APIs, Gemini (Google), ChatGPT (OpenAI) and Groq. Gemini and Groq APIs are free.
Access the menu “AI Developer” > “Settings” > Tab “IAs on-line”
- Inform the desired model.
- Click on the "Generate API Key" link to generate your key.
- In this field you must enter the API access key.
Access the menu “AI Developer” > “Chat” or Ctrl+Shift+Alt+A
- Select the desired AI to be used in the chat
- Field where the question/prompt should be added
- Field where the AI response will be displayed
- Access the menu with pre-registered questions (to register, access the menu: “AI Developer” > “Defaults Questions”)
- By checking this option, the AI will only return codes, without inserting comments or explanations.
- By checking the "Use current unit code in query" option, the source code of the current unit will be used as a reference for the prompt sent to the AIs. Note: If the current unit has any code selected, only the selected code snippet will be used as a reference, otherwise the entire unit code will be used.
- Button that makes the request to the AIs
- Insert Selected Text at Cursor: Inserts the selected text into the response, field in the IDE code editor (if there is no selection, use the entire response)
- Create new unit with selected code (if there is no selection, use the entire response)
- Copy Selected Text (if there is no selection, use the entire response)
- Clean all and start a new chat
- Opens a menu with additional options
-
To register Databases, access the menu “AI Developer” > “Databases Registers”
-
Generate reference with database
-
Note: This process must always be performed whenever a new field or table is added to the database.
-
Optional Step: Link Default Database to Project or Project Group
-
Chat for database
- Select the desired database
- Quick access to the reference generation screen for the selected database
- Select the desired AI to be used in the chat
- Field where the question/prompt should be added
- Button that makes the request to the AIs
- Field where the AI response will be displayed
- Button to execute the SQL command of the field with the response (field 6)
- Grid with the response from the execution of the SQl command
- Options for copying or exporting Grid data
- Access the menu with pre-registered questions (to register, access the menu: “AI Developer” > “Defaults Questions”)
- By checking this option, the AI will only return SQL commands, without inserting comments or explanations.
- By checking the "Use current unit code in query" option, the source code of the current unit will be used as a reference for the prompt sent to the AIs. Note: If the current unit has any code selected, only the selected code snippet will be used as a reference, otherwise the entire unit code will be used.
- Insert Selected Text at Cursor: Inserts the selected text into the response, field in the IDE code editor (if there is no selection, use the entire response)
- Create new unit with selected code (if there is no selection, use the entire response)
- Copy Selected Text (if there is no selection, use the entire response)
- Clean all and start a new chat
- Opens a menu with additional options
We have also created a video with details on how to download, install and use the plugin. The video is in Portuguese (ptBR), but we are providing subtitles and possibly a video in English.
We will soon publish the complete documentation for the Plugin.
To submit a pull request, follow these steps:
- Fork the project
- Create a new branch (
git checkout -b minha-nova-funcionalidade) - Make your changes
- Make the commit (
git commit -am 'Functionality or adjustment message') - Push the branch (
git push origin Message about functionality or adjustment) - Open a pull request
Delphi AI Developer is free and open-source wizard licensed under the MIT License.
For Tasks:
Click tags to check more tools for each tasksFor Jobs:
Alternative AI tools for Delphi-AI-Developer
Similar Open Source Tools

Delphi-AI-Developer
Delphi AI Developer is a plugin that enhances the Delphi IDE with AI capabilities from OpenAI, Gemini, and Groq APIs. It assists in code generation, refactoring, and speeding up development by providing code suggestions and predefined questions. Users can interact with AI chat and databases within the IDE, customize settings, and access documentation. The plugin is open-source and under the MIT License.
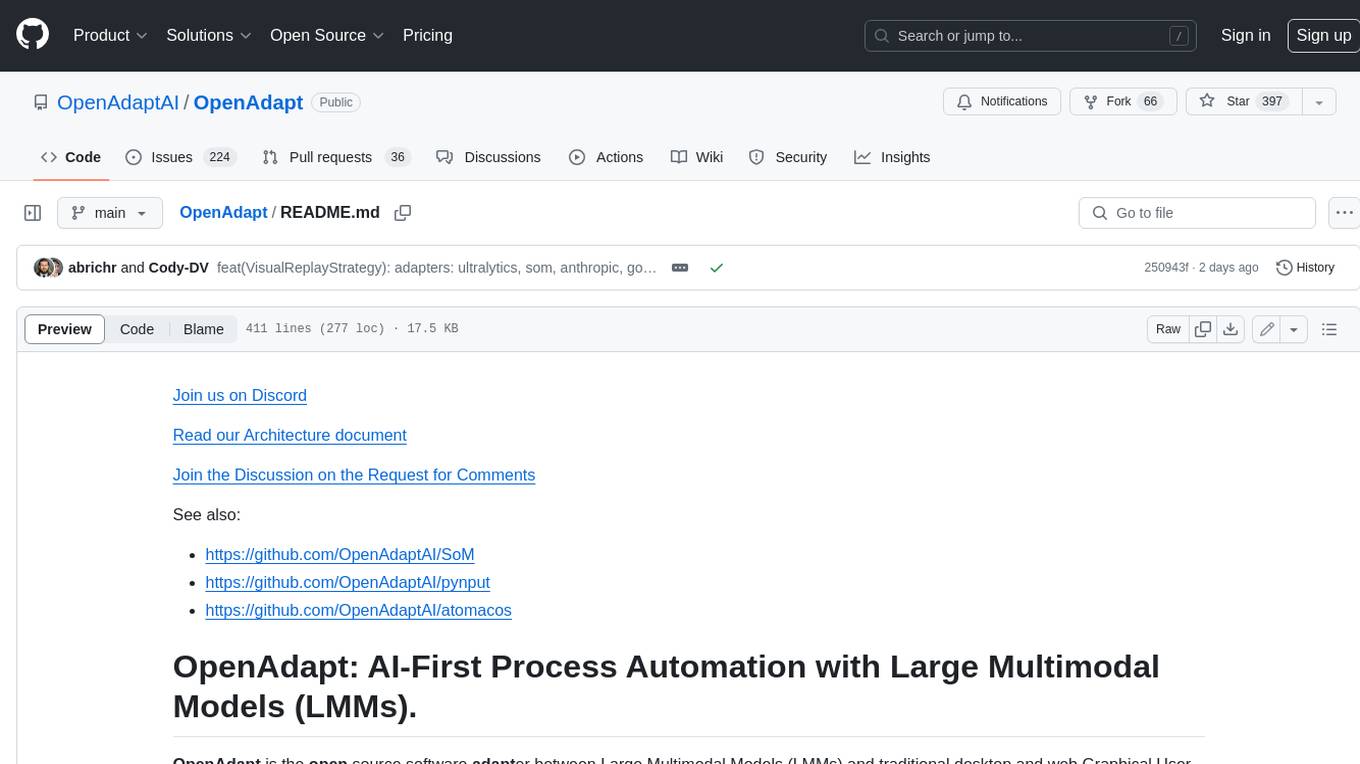
OpenAdapt
OpenAdapt is an open-source software adapter between Large Multimodal Models (LMMs) and traditional desktop and web Graphical User Interfaces (GUIs). It aims to automate repetitive GUI workflows by leveraging the power of LMMs. OpenAdapt records user input and screenshots, converts them into tokenized format, and generates synthetic input via transformer model completions. It also analyzes recordings to generate task trees and replay synthetic input to complete tasks. OpenAdapt is model agnostic and generates prompts automatically by learning from human demonstration, ensuring that agents are grounded in existing processes and mitigating hallucinations. It works with all types of desktop GUIs, including virtualized and web, and is open source under the MIT license.
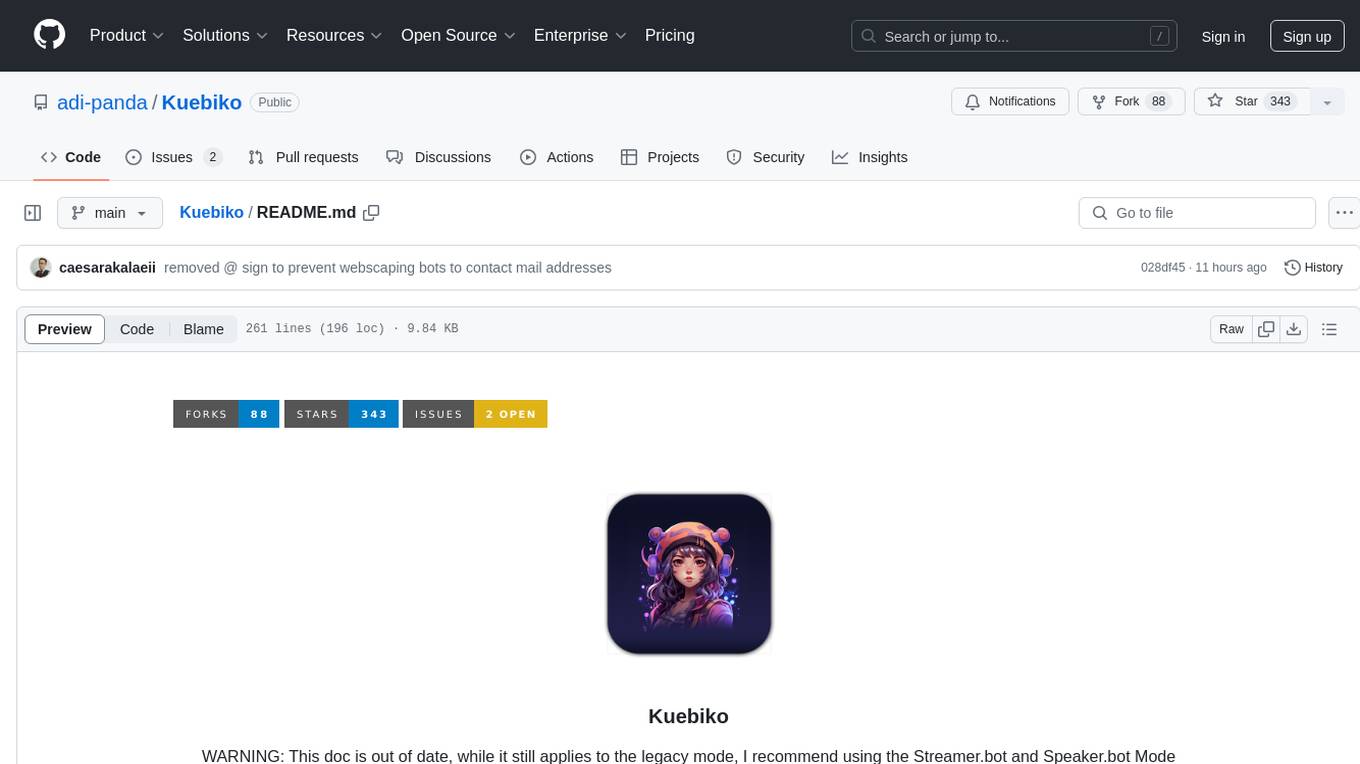
Kuebiko
Kuebiko is a Twitch Chat Bot that reads twitch chat and generates text-to-speech responses using Google Cloud API and OpenAI's GPT-3 text completion model. It allows users to set up their own VTuber AI similar to 'Neuro-Sama'. The project is built with Python and requires setting up various API keys and configurations to enable the bot functionality. Users can customize the voice of their VTuber and route audio using VBAudio Cable. Kuebiko provides a unique way to interact with viewers through chat responses and captions in OBS.
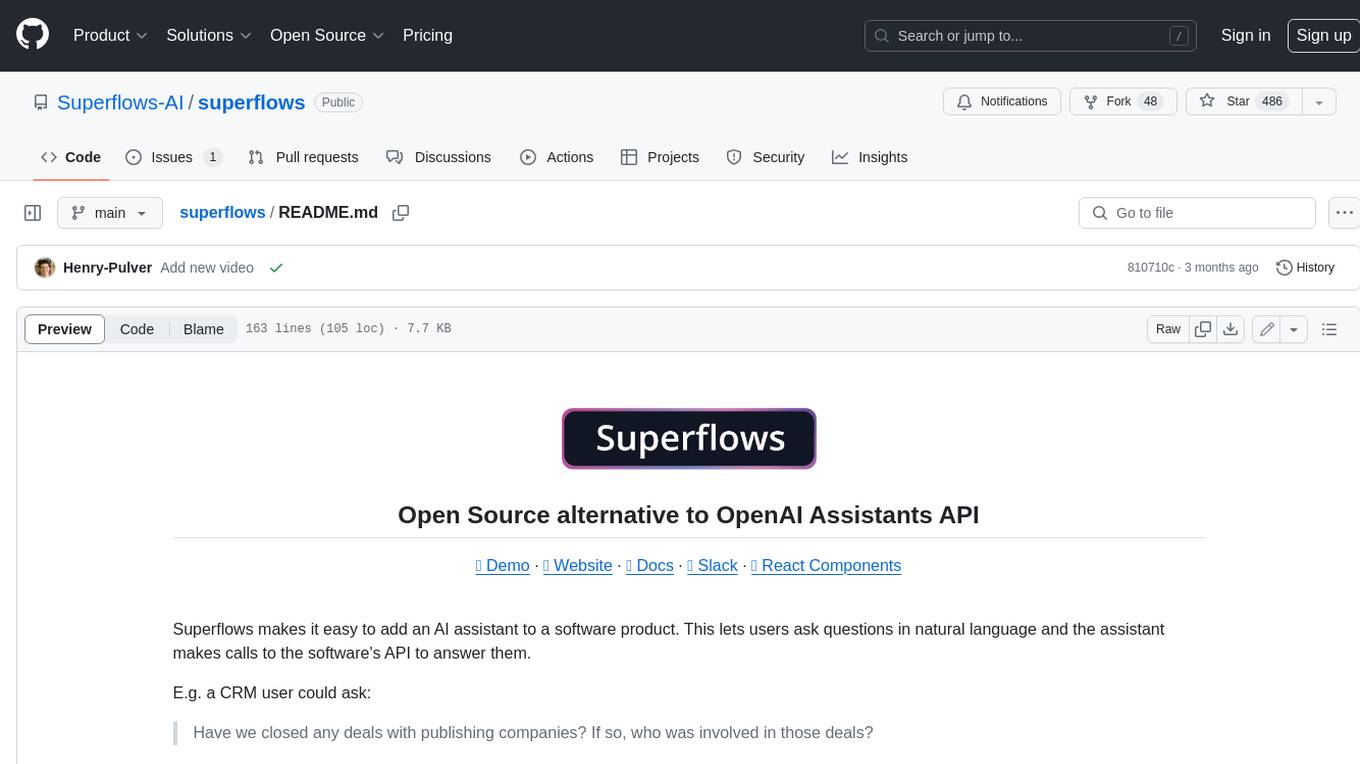
superflows
Superflows is an open-source alternative to OpenAI's Assistant API. It allows developers to easily add an AI assistant to their software products, enabling users to ask questions in natural language and receive answers or have tasks completed by making API calls. Superflows can analyze data, create plots, answer questions based on static knowledge, and even write code. It features a developer dashboard for configuration and testing, stateful streaming API, UI components, and support for multiple LLMs. Superflows can be set up in the cloud or self-hosted, and it provides comprehensive documentation and support.
SunoApi
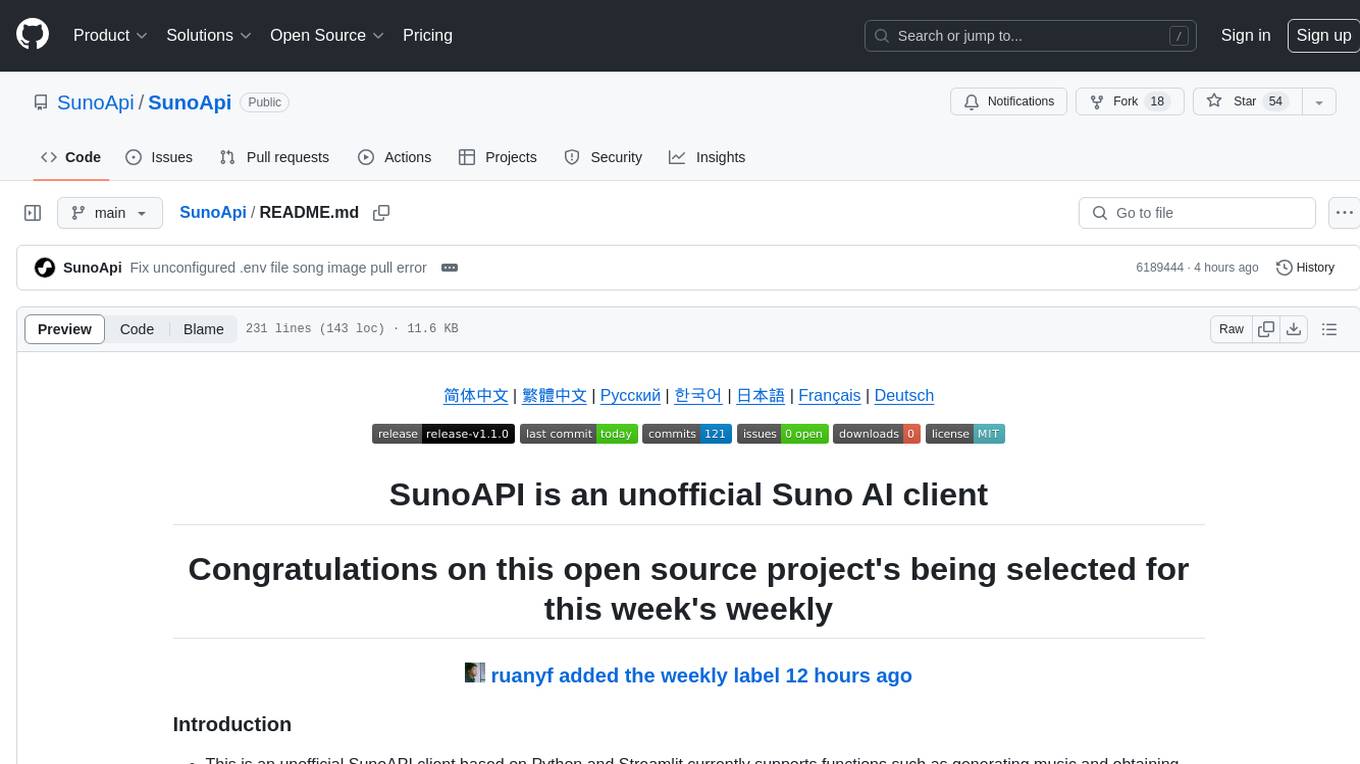
SunoAPI is an unofficial client for Suno AI, built on Python and Streamlit. It supports functions like generating music and obtaining music information. Users can set up multiple account information to be saved for use. The tool also features built-in maintenance and activation functions for tokens, eliminating concerns about token expiration. It supports multiple languages and allows users to upload pictures for generating songs based on image content analysis.
agentok
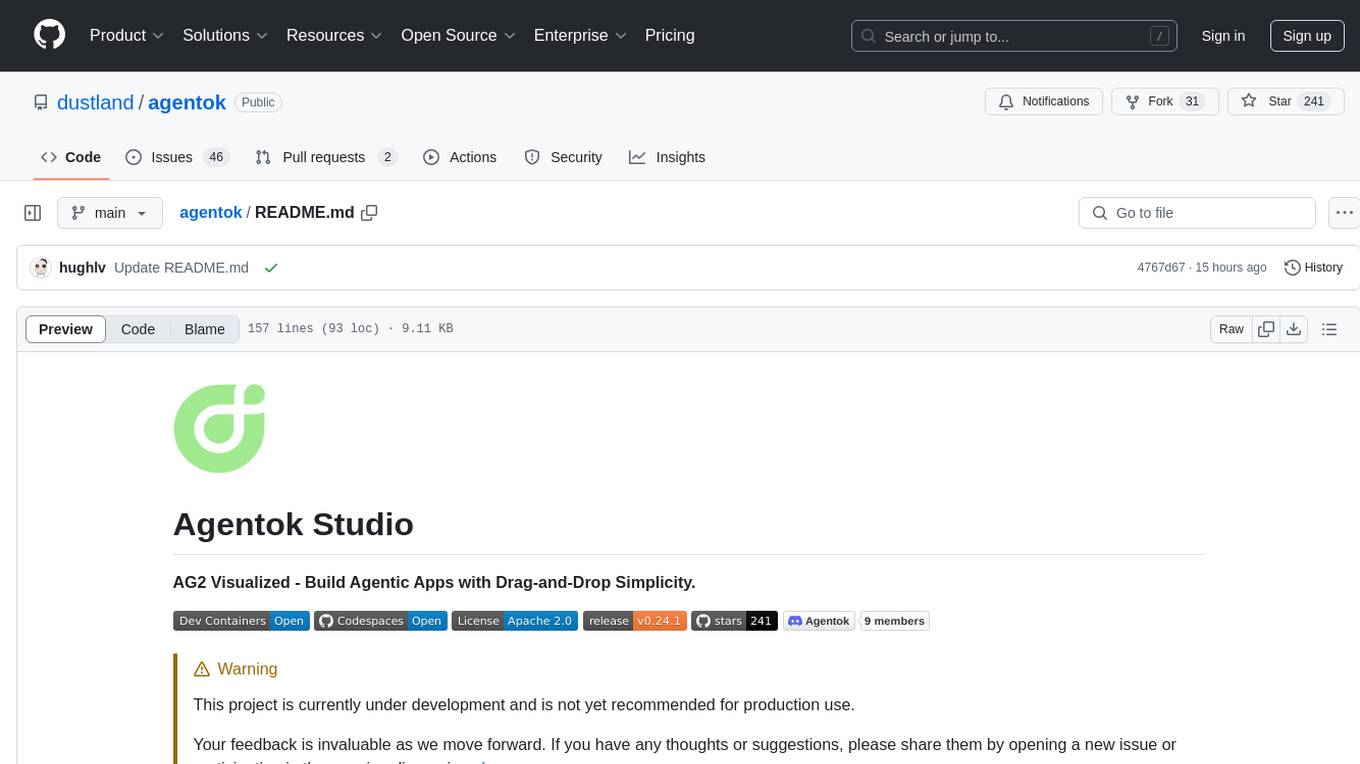
Agentok Studio is a tool built upon AG2, a powerful agent framework from Microsoft, offering intuitive visual tools to streamline the creation and management of complex agent-based workflows. It simplifies the process for creators and developers by generating native Python code with minimal dependencies, enabling users to create self-contained code that can be executed anywhere. The tool is currently under development and not recommended for production use, but contributions are welcome from the community to enhance its capabilities and functionalities.
extensionOS
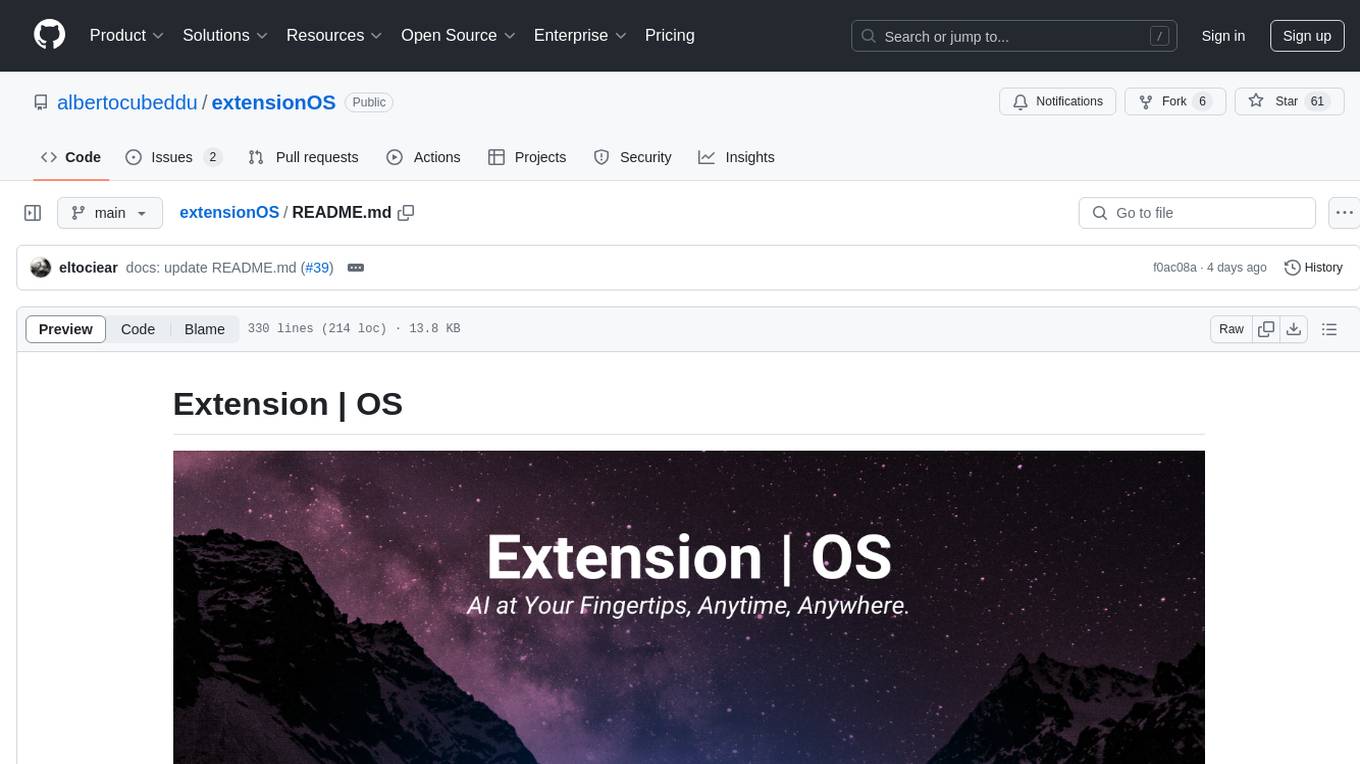
Extension | OS is an open-source browser extension that brings AI directly to users' web browsers, allowing them to access powerful models like LLMs seamlessly. Users can create prompts, fix grammar, and access intelligent assistance without switching tabs. The extension aims to revolutionize online information interaction by integrating AI into everyday browsing experiences. It offers features like Prompt Factory for tailored prompts, seamless LLM model access, secure API key storage, and a Mixture of Agents feature. The extension was developed to empower users to unleash their creativity with custom prompts and enhance their browsing experience with intelligent assistance.
letmedoit
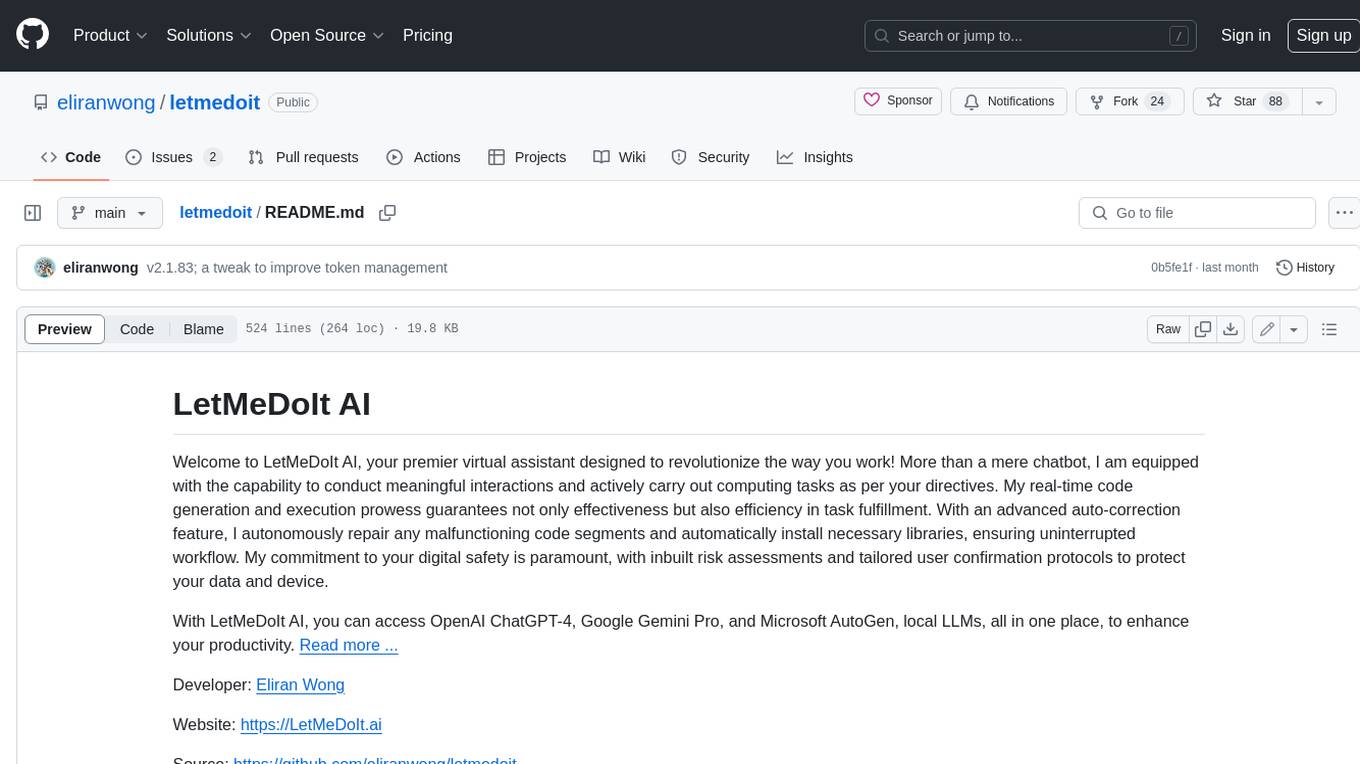
LetMeDoIt AI is a virtual assistant designed to revolutionize the way you work. It goes beyond being a mere chatbot by offering a unique and powerful capability - the ability to execute commands and perform computing tasks on your behalf. With LetMeDoIt AI, you can access OpenAI ChatGPT-4, Google Gemini Pro, and Microsoft AutoGen, local LLMs, all in one place, to enhance your productivity.
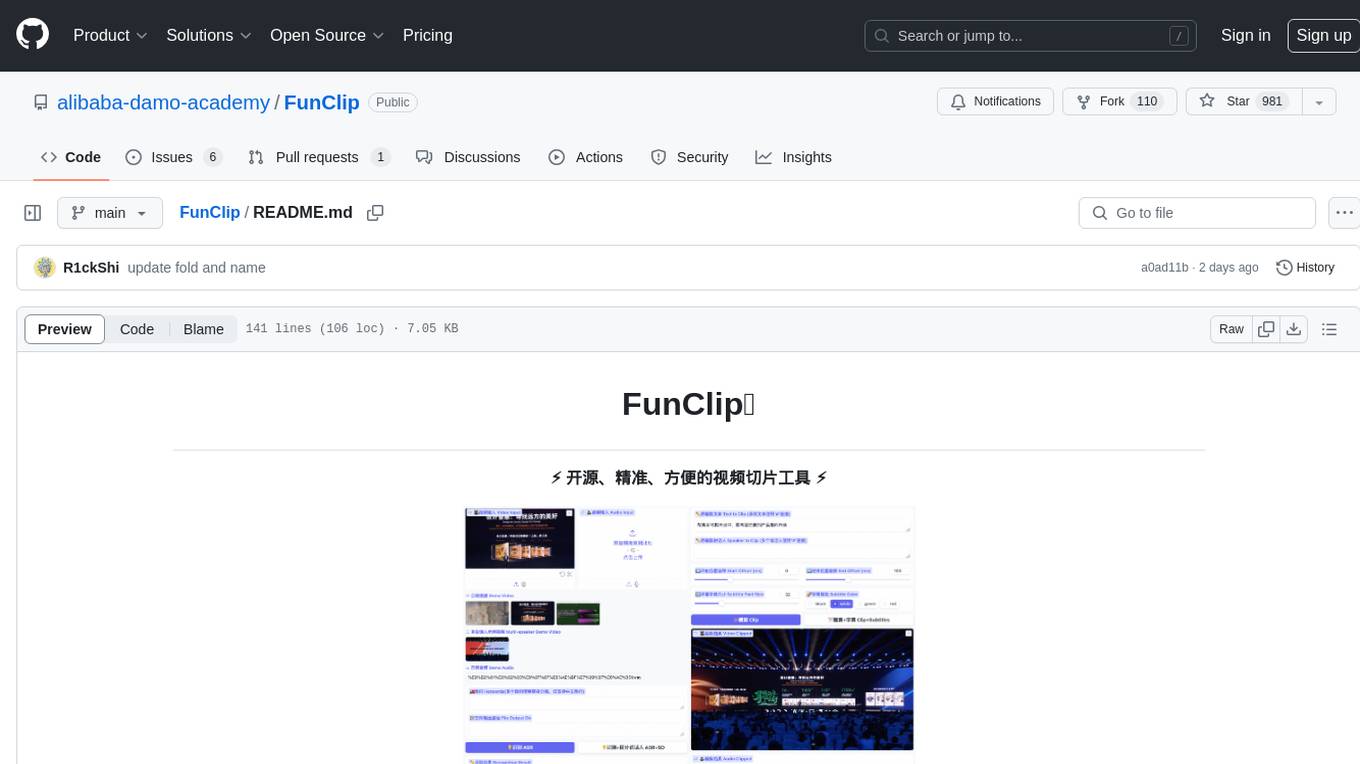
FunClip
FunClip is an open-source, locally deployable automated video editing tool that utilizes the FunASR Paraformer series models from Alibaba DAMO Academy for speech recognition in videos. Users can select text segments or speakers from the recognition results and click the clip button to obtain the corresponding video segments. FunClip integrates advanced features such as the Paraformer-Large model for accurate Chinese ASR, SeACo-Paraformer for customized hotword recognition, CAM++ speaker recognition model, Gradio interactive interface for easy usage, support for multiple free edits with automatic SRT subtitles generation, and segment-specific SRT subtitles.
KrillinAI
KrillinAI is a video subtitle translation and dubbing tool based on AI large models, featuring speech recognition, intelligent sentence segmentation, professional translation, and one-click deployment of the entire process. It provides a one-stop workflow from video downloading to the final product, empowering cross-language cultural communication with AI. The tool supports multiple languages for input and translation, integrates features like automatic dependency installation, video downloading from platforms like YouTube and Bilibili, high-speed subtitle recognition, intelligent subtitle segmentation and alignment, custom vocabulary replacement, professional-level translation engine, and diverse external service selection for speech and large model services.
sd-webui-agent-scheduler
AgentScheduler is an Automatic/Vladmandic Stable Diffusion Web UI extension designed to enhance image generation workflows. It allows users to enqueue prompts, settings, and controlnets, manage queued tasks, prioritize, pause, resume, and delete tasks, view generation results, and more. The extension offers hidden features like queuing checkpoints, editing queued tasks, and custom checkpoint selection. Users can access the functionality through HTTP APIs and API callbacks. Troubleshooting steps are provided for common errors. The extension is compatible with latest versions of A1111 and Vladmandic. It is licensed under Apache License 2.0.
KlicStudio
Klic Studio is a versatile audio and video localization and enhancement solution developed by Krillin AI. This minimalist yet powerful tool integrates video translation, dubbing, and voice cloning, supporting both landscape and portrait formats. With an end-to-end workflow, users can transform raw materials into beautifully ready-to-use cross-platform content with just a few clicks. The tool offers features like video acquisition, accurate speech recognition, intelligent segmentation, terminology replacement, professional translation, voice cloning, video composition, and cross-platform support. It also supports various speech recognition services, large language models, and TTS text-to-speech services. Users can easily deploy the tool using Docker and configure it for different tasks like subtitle translation, large model translation, and optional voice services.
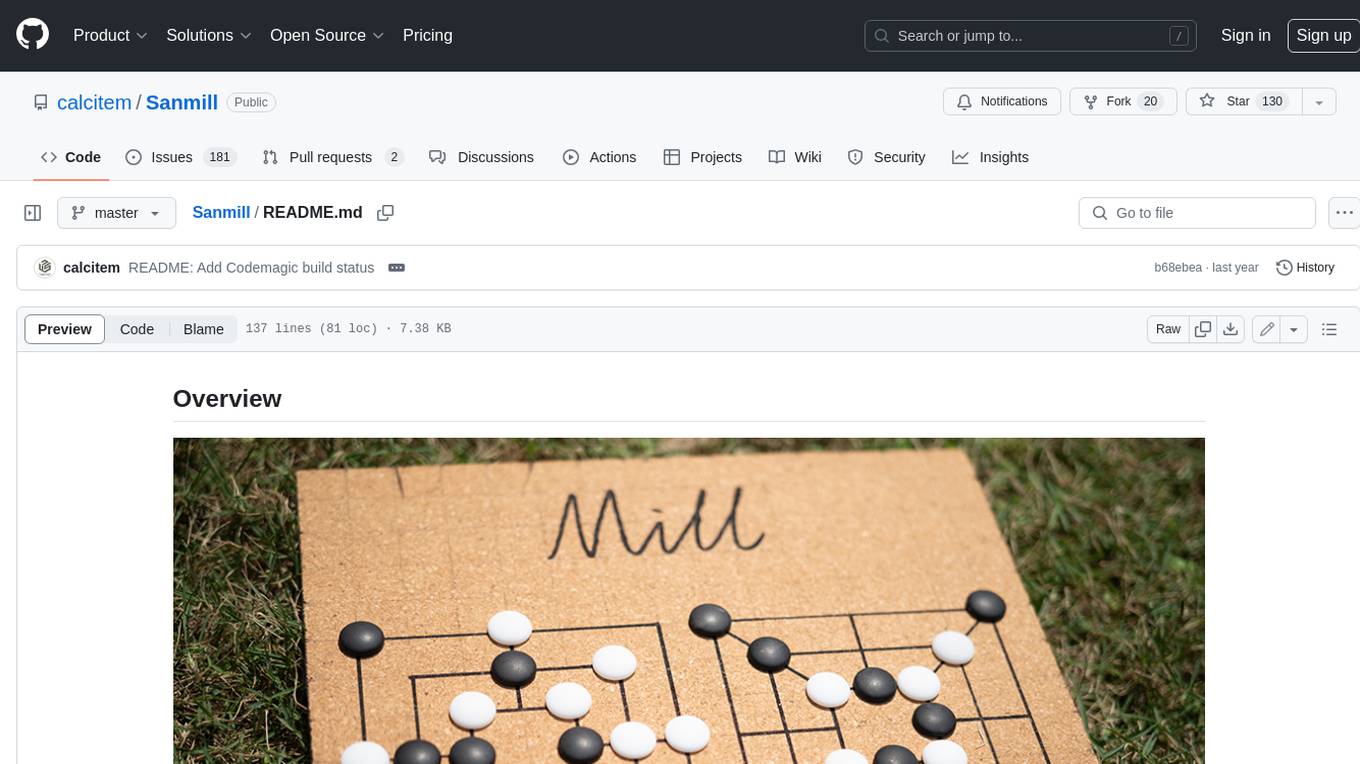
Sanmill
Sanmill is a free, powerful UCI-like N men's morris program with CUI, Flutter GUI and Qt GUI. Nine men's morris is a strategy board game for two players dating at least to the Roman Empire. The game is also known as nine-man morris , mill , mills , the mill game , merels , merrills , merelles , marelles , morelles , and ninepenny marl in English.
Whisper-TikTok
Discover Whisper-TikTok, an innovative AI-powered tool that leverages the prowess of Edge TTS, OpenAI-Whisper, and FFMPEG to craft captivating TikTok videos. Whisper-TikTok effortlessly generates accurate transcriptions from audio files and integrates Microsoft Edge Cloud Text-to-Speech API for vibrant voiceovers. The program orchestrates the synthesis of videos using a structured JSON dataset, generating mesmerizing TikTok content in minutes.
TerminalGPT
TerminalGPT is a terminal-based ChatGPT personal assistant app that allows users to interact with OpenAI GPT-3.5 and GPT-4 language models. It offers advantages over browser-based apps, such as continuous availability, faster replies, and tailored answers. Users can use TerminalGPT in their IDE terminal, ensuring seamless integration with their workflow. The tool prioritizes user privacy by not using conversation data for model training and storing conversations locally on the user's machine.
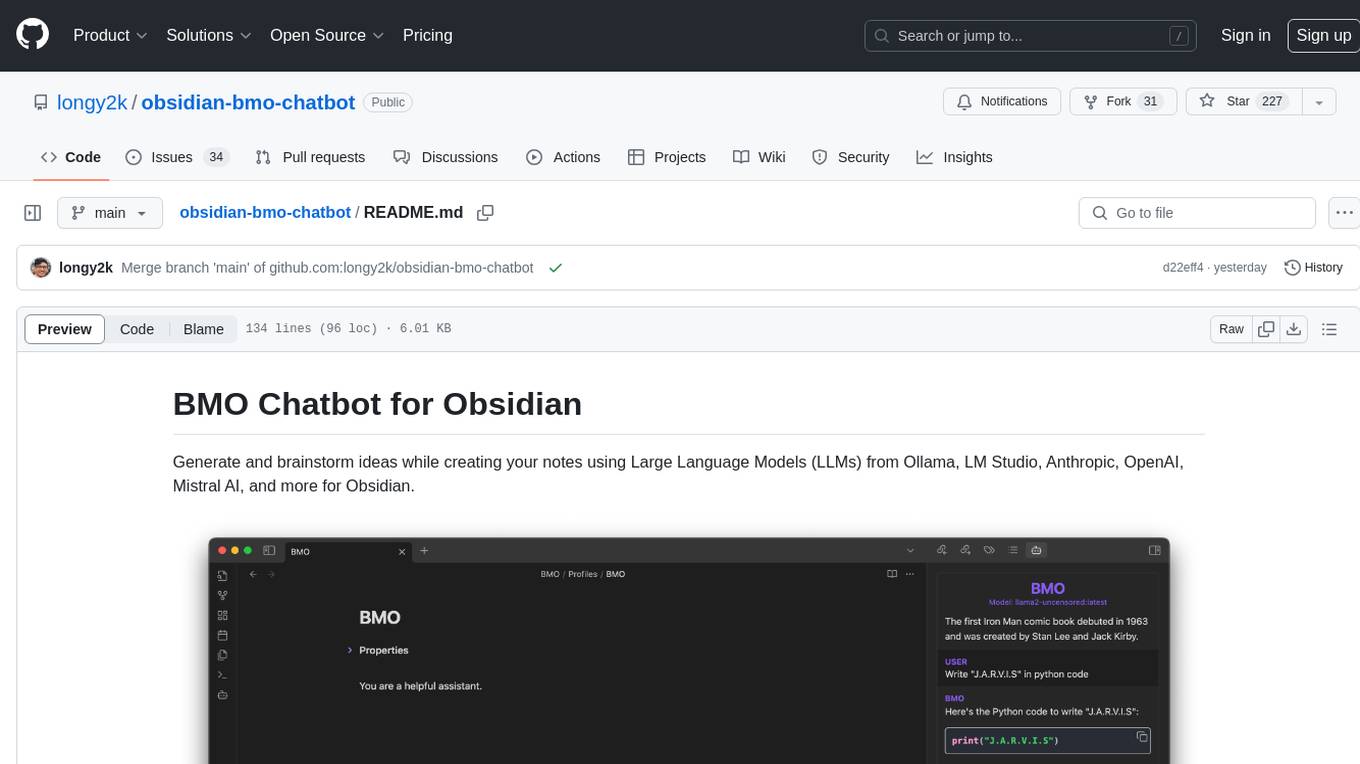
obsidian-bmo-chatbot
Obsidian BMO Chatbot is a plugin that allows users to generate and brainstorm ideas while creating notes using Large Language Models (LLMs) from various providers like Ollama, LM Studio, Anthropic, OpenAI, Mistral AI, and more. Users can interact with self-hosted LLMs, create chatbots with specific knowledge and personalities, chat from anywhere within Obsidian, and receive formatted responses in Obsidian Markdown. The plugin also offers features like customizable bot name, prompt selection, saving chat history as markdown, and more. Users can activate the plugin through Obsidian Community plugins or by installing it manually. Supported models include Ollama, LM Studio, Anthropic, Mistral AI, Google Gemini Pro, OpenAI, and Openrouter provided models.
For similar tasks
ai-guide
This guide is dedicated to Large Language Models (LLMs) that you can run on your home computer. It assumes your PC is a lower-end, non-gaming setup.
onnxruntime-genai
ONNX Runtime Generative AI is a library that provides the generative AI loop for ONNX models, including inference with ONNX Runtime, logits processing, search and sampling, and KV cache management. Users can call a high level `generate()` method, or run each iteration of the model in a loop. It supports greedy/beam search and TopP, TopK sampling to generate token sequences, has built in logits processing like repetition penalties, and allows for easy custom scoring.
mistral.rs
Mistral.rs is a fast LLM inference platform written in Rust. We support inference on a variety of devices, quantization, and easy-to-use application with an Open-AI API compatible HTTP server and Python bindings.
generative-ai-python
The Google AI Python SDK is the easiest way for Python developers to build with the Gemini API. The Gemini API gives you access to Gemini models created by Google DeepMind. Gemini models are built from the ground up to be multimodal, so you can reason seamlessly across text, images, and code.
jetson-generative-ai-playground
This repo hosts tutorial documentation for running generative AI models on NVIDIA Jetson devices. The documentation is auto-generated and hosted on GitHub Pages using their CI/CD feature to automatically generate/update the HTML documentation site upon new commits.
chat-ui
A chat interface using open source models, eg OpenAssistant or Llama. It is a SvelteKit app and it powers the HuggingChat app on hf.co/chat.
MetaGPT
MetaGPT is a multi-agent framework that enables GPT to work in a software company, collaborating to tackle more complex tasks. It assigns different roles to GPTs to form a collaborative entity for complex tasks. MetaGPT takes a one-line requirement as input and outputs user stories, competitive analysis, requirements, data structures, APIs, documents, etc. Internally, MetaGPT includes product managers, architects, project managers, and engineers. It provides the entire process of a software company along with carefully orchestrated SOPs. MetaGPT's core philosophy is "Code = SOP(Team)", materializing SOP and applying it to teams composed of LLMs.
ai-game-development-tools
Here we will keep track of the AI Game Development Tools, including LLM, Agent, Code, Writer, Image, Texture, Shader, 3D Model, Animation, Video, Audio, Music, Singing Voice and Analytics. 🔥 * Tool (AI LLM) * Game (Agent) * Code * Framework * Writer * Image * Texture * Shader * 3D Model * Avatar * Animation * Video * Audio * Music * Singing Voice * Speech * Analytics * Video Tool
For similar jobs
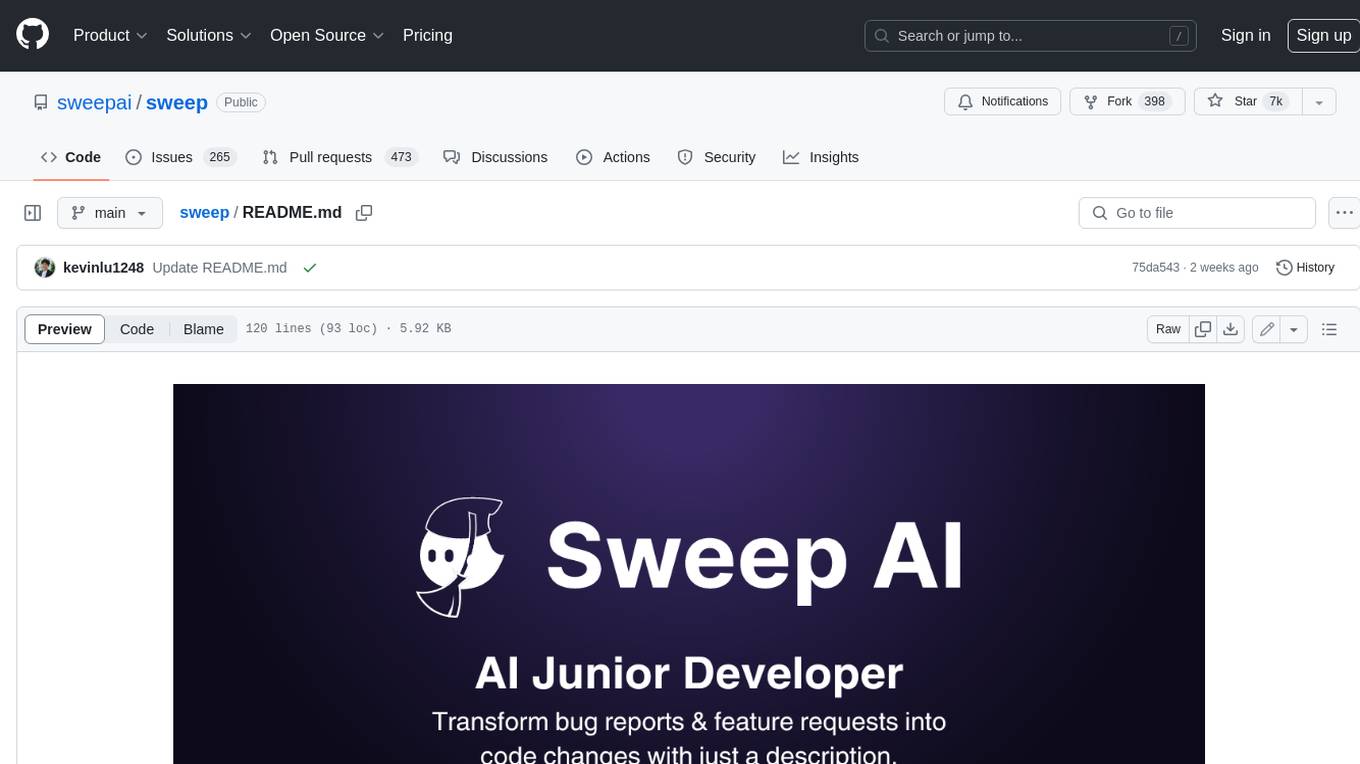
sweep
Sweep is an AI junior developer that turns bugs and feature requests into code changes. It automatically handles developer experience improvements like adding type hints and improving test coverage.
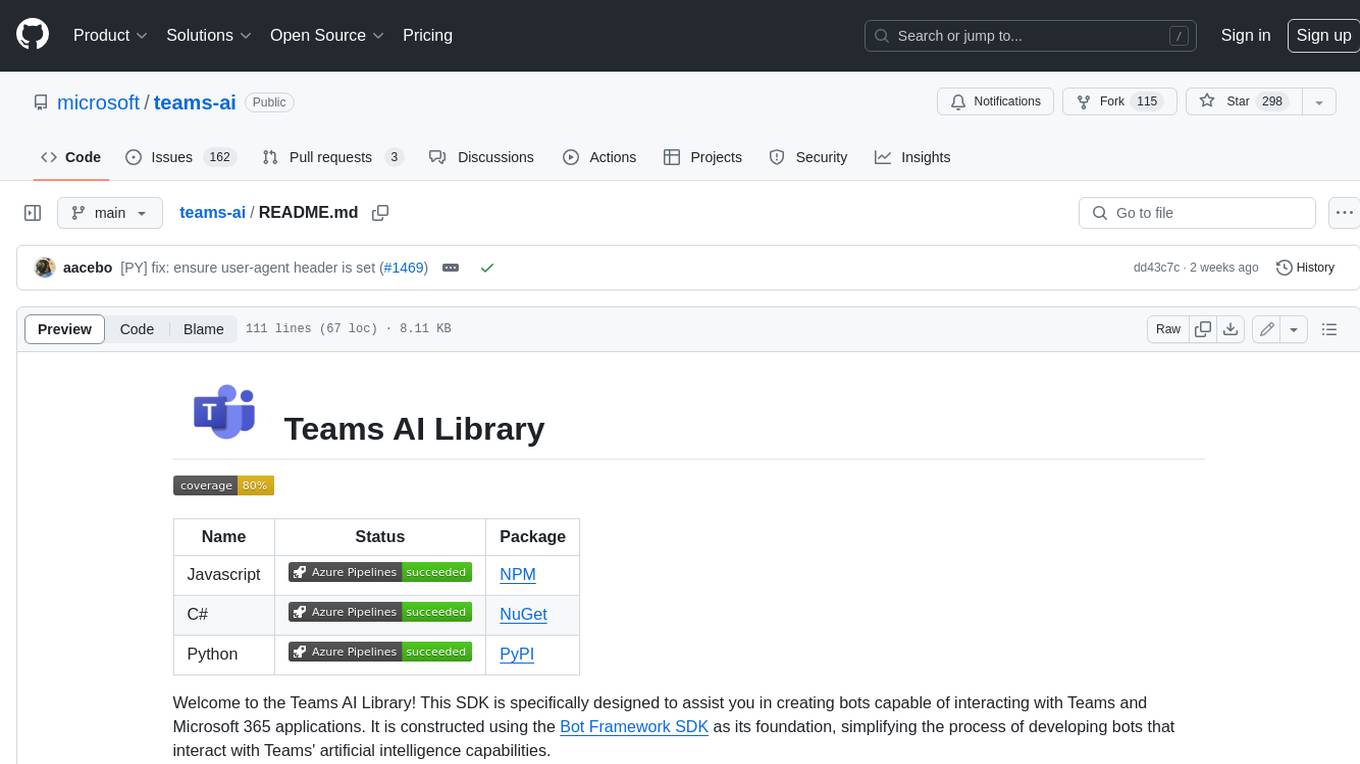
teams-ai
The Teams AI Library is a software development kit (SDK) that helps developers create bots that can interact with Teams and Microsoft 365 applications. It is built on top of the Bot Framework SDK and simplifies the process of developing bots that interact with Teams' artificial intelligence capabilities. The SDK is available for JavaScript/TypeScript, .NET, and Python.

ai-guide
This guide is dedicated to Large Language Models (LLMs) that you can run on your home computer. It assumes your PC is a lower-end, non-gaming setup.
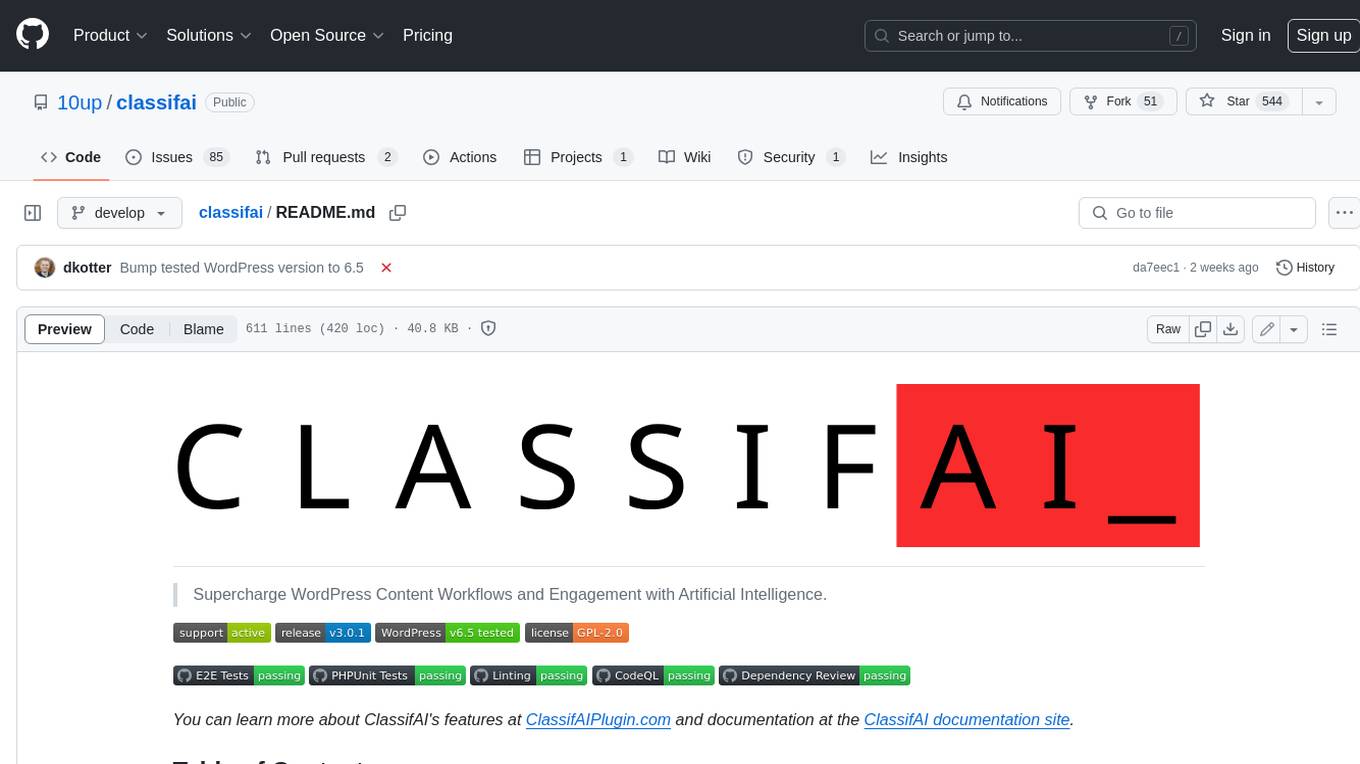
classifai
Supercharge WordPress Content Workflows and Engagement with Artificial Intelligence. Tap into leading cloud-based services like OpenAI, Microsoft Azure AI, Google Gemini and IBM Watson to augment your WordPress-powered websites. Publish content faster while improving SEO performance and increasing audience engagement. ClassifAI integrates Artificial Intelligence and Machine Learning technologies to lighten your workload and eliminate tedious tasks, giving you more time to create original content that matters.
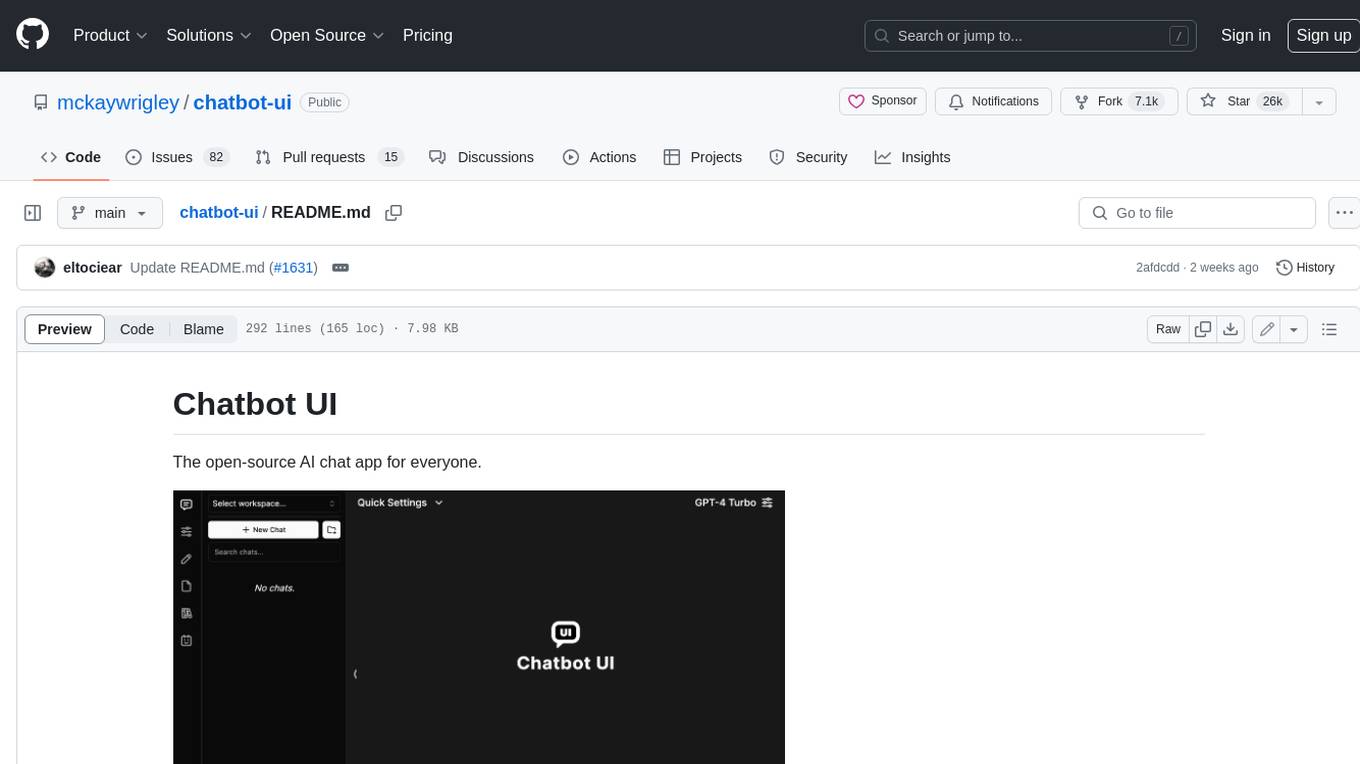
chatbot-ui
Chatbot UI is an open-source AI chat app that allows users to create and deploy their own AI chatbots. It is easy to use and can be customized to fit any need. Chatbot UI is perfect for businesses, developers, and anyone who wants to create a chatbot.
BricksLLM
BricksLLM is a cloud native AI gateway written in Go. Currently, it provides native support for OpenAI, Anthropic, Azure OpenAI and vLLM. BricksLLM aims to provide enterprise level infrastructure that can power any LLM production use cases. Here are some use cases for BricksLLM: * Set LLM usage limits for users on different pricing tiers * Track LLM usage on a per user and per organization basis * Block or redact requests containing PIIs * Improve LLM reliability with failovers, retries and caching * Distribute API keys with rate limits and cost limits for internal development/production use cases * Distribute API keys with rate limits and cost limits for students
uAgents
uAgents is a Python library developed by Fetch.ai that allows for the creation of autonomous AI agents. These agents can perform various tasks on a schedule or take action on various events. uAgents are easy to create and manage, and they are connected to a fast-growing network of other uAgents. They are also secure, with cryptographically secured messages and wallets.
griptape
Griptape is a modular Python framework for building AI-powered applications that securely connect to your enterprise data and APIs. It offers developers the ability to maintain control and flexibility at every step. Griptape's core components include Structures (Agents, Pipelines, and Workflows), Tasks, Tools, Memory (Conversation Memory, Task Memory, and Meta Memory), Drivers (Prompt and Embedding Drivers, Vector Store Drivers, Image Generation Drivers, Image Query Drivers, SQL Drivers, Web Scraper Drivers, and Conversation Memory Drivers), Engines (Query Engines, Extraction Engines, Summary Engines, Image Generation Engines, and Image Query Engines), and additional components (Rulesets, Loaders, Artifacts, Chunkers, and Tokenizers). Griptape enables developers to create AI-powered applications with ease and efficiency.


