
PentestGPT
AI-Powered Penetration Testing Assistant
Stars: 1158
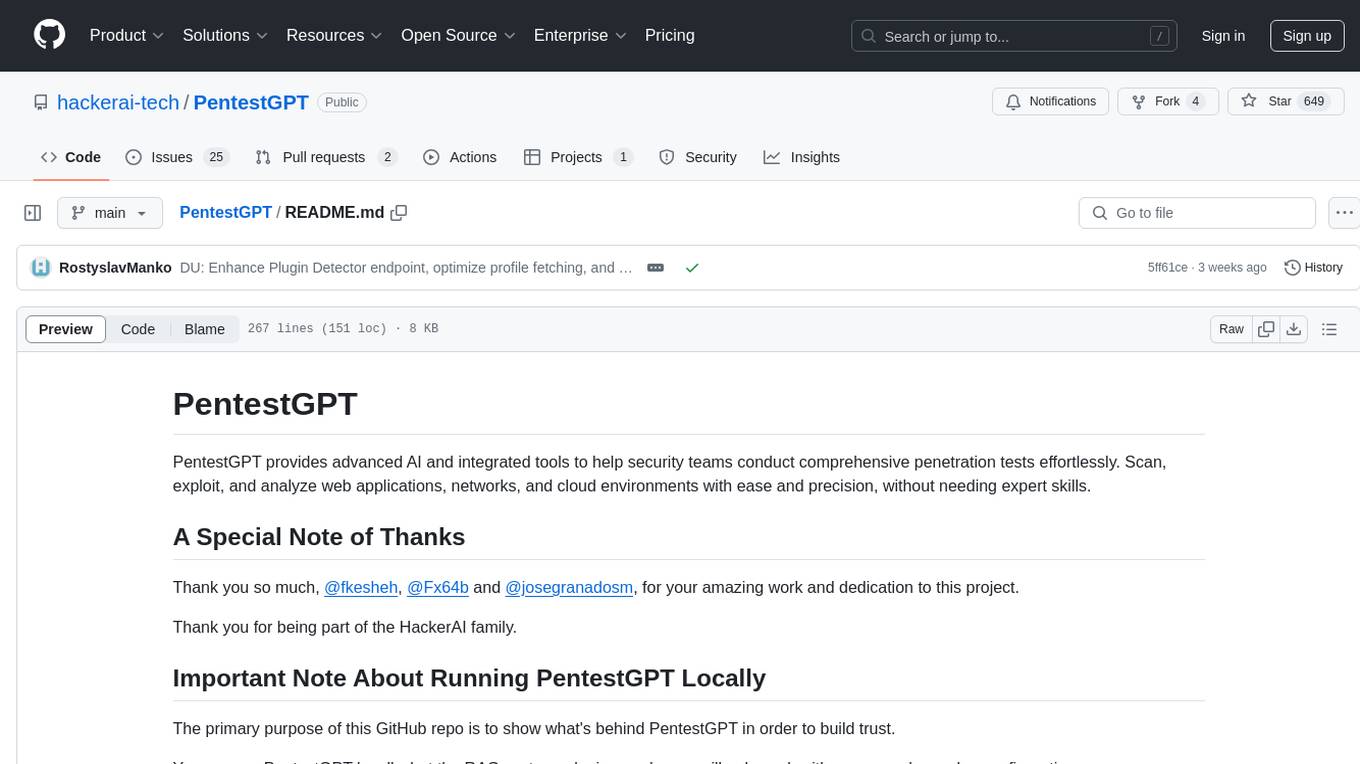
PentestGPT provides advanced AI and integrated tools to help security teams conduct comprehensive penetration tests effortlessly. Scan, exploit, and analyze web applications, networks, and cloud environments with ease and precision, without needing expert skills. The tool utilizes Supabase for data storage and management, and Vercel for hosting the frontend. It offers a local quickstart guide for running the tool locally and a hosted quickstart guide for deploying it in the cloud. PentestGPT aims to simplify the penetration testing process for security professionals and enthusiasts alike.
README:
PentestGPT provides advanced AI and integrated tools to help security teams conduct comprehensive penetration tests effortlessly. Scan, exploit, and analyze web applications, networks, and cloud environments with ease and precision, without needing expert skills.
The primary purpose of this GitHub repo is to show what's behind PentestGPT in order to build trust.
You can run PentestGPT locally, but the plugins and more will only work with proper and complex configuration.
You can get in touch with us through the HackerAI Help Center at https://help.hackerai.co.
Interested in contributing to PentestGPT? Please see CONTRIBUTING.md for setup instructions and guidelines for new contributors. As an added incentive, top contributors will have the opportunity to become part of the PentestGPT team.
Licensed under the GNU General Public License v3.0
For Tasks:
Click tags to check more tools for each tasksFor Jobs:
Alternative AI tools for PentestGPT
Similar Open Source Tools

PentestGPT
PentestGPT provides advanced AI and integrated tools to help security teams conduct comprehensive penetration tests effortlessly. Scan, exploit, and analyze web applications, networks, and cloud environments with ease and precision, without needing expert skills. The tool utilizes Supabase for data storage and management, and Vercel for hosting the frontend. It offers a local quickstart guide for running the tool locally and a hosted quickstart guide for deploying it in the cloud. PentestGPT aims to simplify the penetration testing process for security professionals and enthusiasts alike.
paig
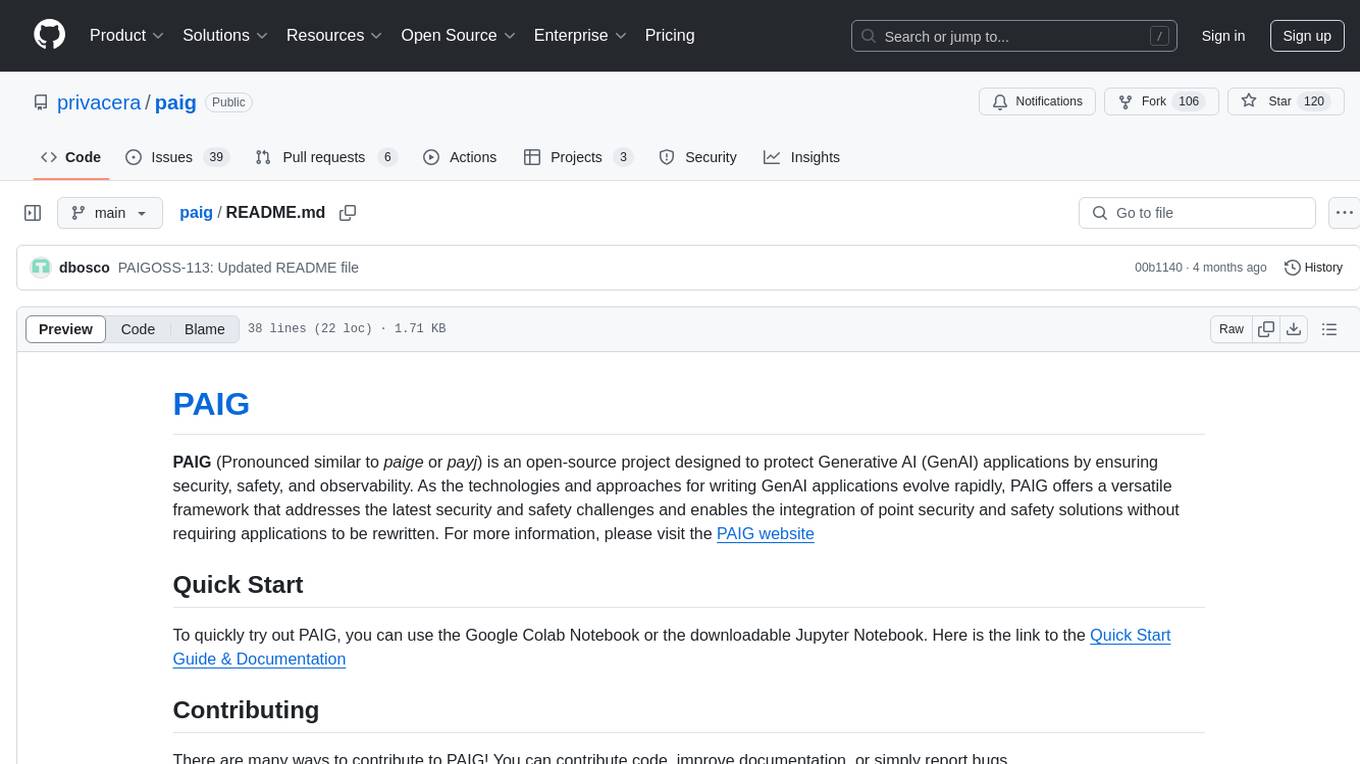
PAIG is an open-source project focused on protecting Generative AI applications by ensuring security, safety, and observability. It offers a versatile framework to address the latest security challenges and integrate point security solutions without rewriting applications. The project aims to provide a secure environment for developing and deploying GenAI applications.
Build-Modern-AI-Apps
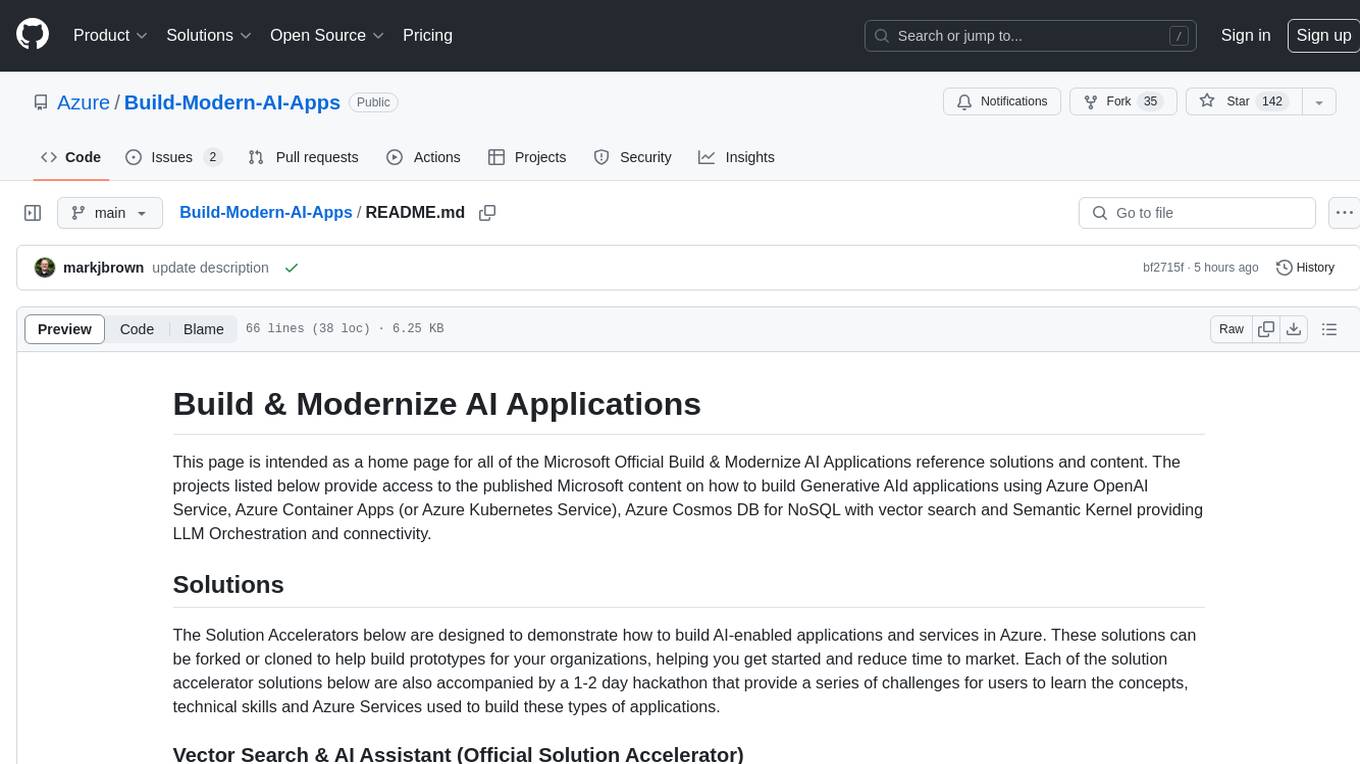
This repository serves as a hub for Microsoft Official Build & Modernize AI Applications reference solutions and content. It provides access to projects demonstrating how to build Generative AI applications using Azure services like Azure OpenAI, Azure Container Apps, Azure Kubernetes, and Azure Cosmos DB. The solutions include Vector Search & AI Assistant, Real-Time Payment and Transaction Processing, and Medical Claims Processing. Additionally, there are workshops like the Intelligent App Workshop for Microsoft Copilot Stack, focusing on infusing intelligence into traditional software systems using foundation models and design thinking.

DocsGPT
DocsGPT is an open-source documentation assistant powered by GPT models. It simplifies the process of searching for information in project documentation by allowing developers to ask questions and receive accurate answers. With DocsGPT, users can say goodbye to manual searches and quickly find the information they need. The tool aims to revolutionize project documentation experiences and offers features like live previews, Discord community, guides, and contribution opportunities. It consists of a Flask app, Chrome extension, similarity search index creation script, and a frontend built with Vite and React. Users can quickly get started with DocsGPT by following the provided setup instructions and can contribute to its development by following the guidelines in the CONTRIBUTING.md file. The project follows a Code of Conduct to ensure a harassment-free community environment for all participants. DocsGPT is licensed under MIT and is built with LangChain.
Conversational-Azure-OpenAI-Accelerator
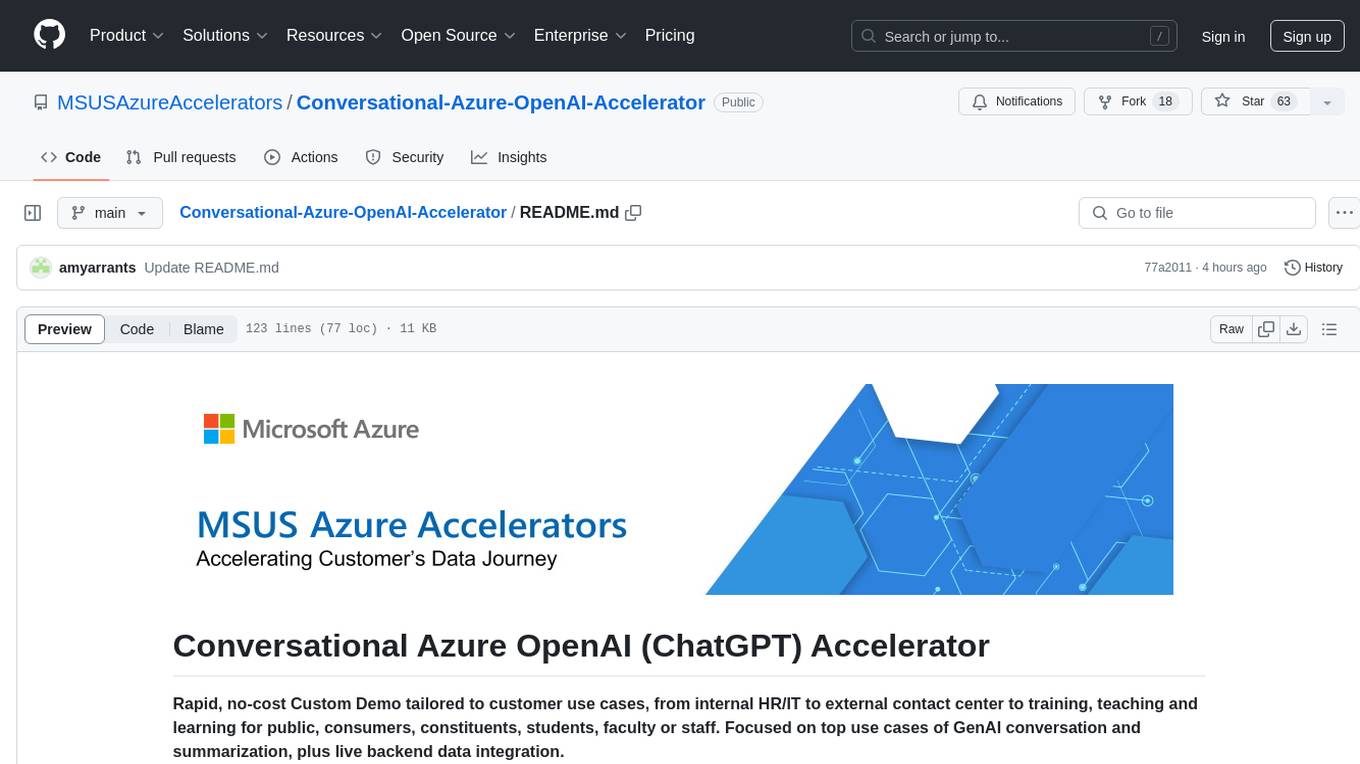
The Conversational Azure OpenAI Accelerator is a tool designed to provide rapid, no-cost custom demos tailored to customer use cases, from internal HR/IT to external contact centers. It focuses on top use cases of GenAI conversation and summarization, plus live backend data integration. The tool automates conversations across voice and text channels, providing a valuable way to save money and improve customer and employee experience. By combining Azure OpenAI + Cognitive Search, users can efficiently deploy a ChatGPT experience using web pages, knowledge base articles, and data sources. The tool enables simultaneous deployment of conversational content to chatbots, IVR, voice assistants, and more in one click, eliminating the need for in-depth IT involvement. It leverages Microsoft's advanced AI technologies, resulting in a conversational experience that can converse in human-like dialogue, respond intelligently, and capture content for omni-channel unified analytics.
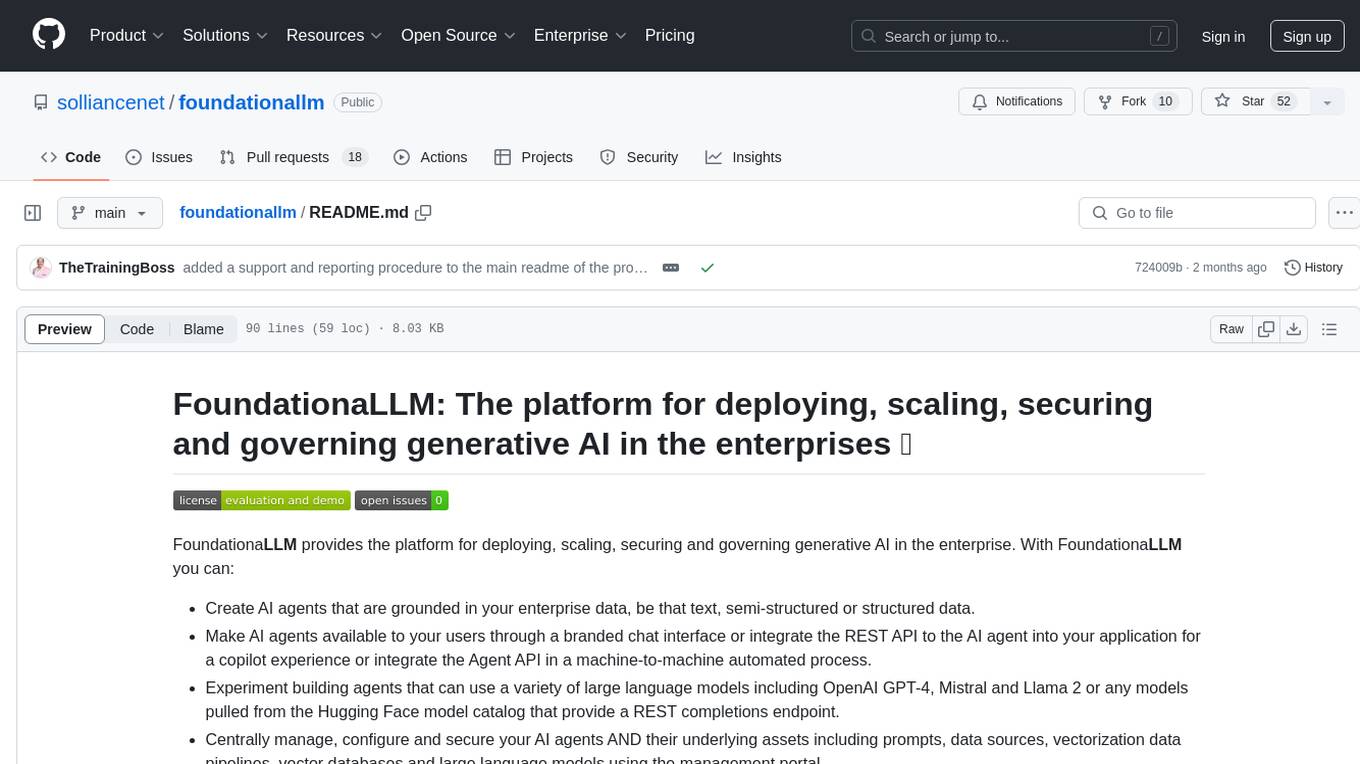
foundationallm
FoundationaLLM is a platform designed for deploying, scaling, securing, and governing generative AI in enterprises. It allows users to create AI agents grounded in enterprise data, integrate REST APIs, experiment with large language models, centrally manage AI agents and assets, deploy scalable vectorization data pipelines, enable non-developer users to create their own AI agents, control access with role-based access controls, and harness capabilities from Azure AI and Azure OpenAI. The platform simplifies integration with enterprise data sources, provides fine-grain security controls, load balances across multiple endpoints, and is extensible to new data sources and orchestrators. FoundationaLLM addresses the need for customized copilots or AI agents that are secure, licensed, flexible, and suitable for enterprise-scale production.
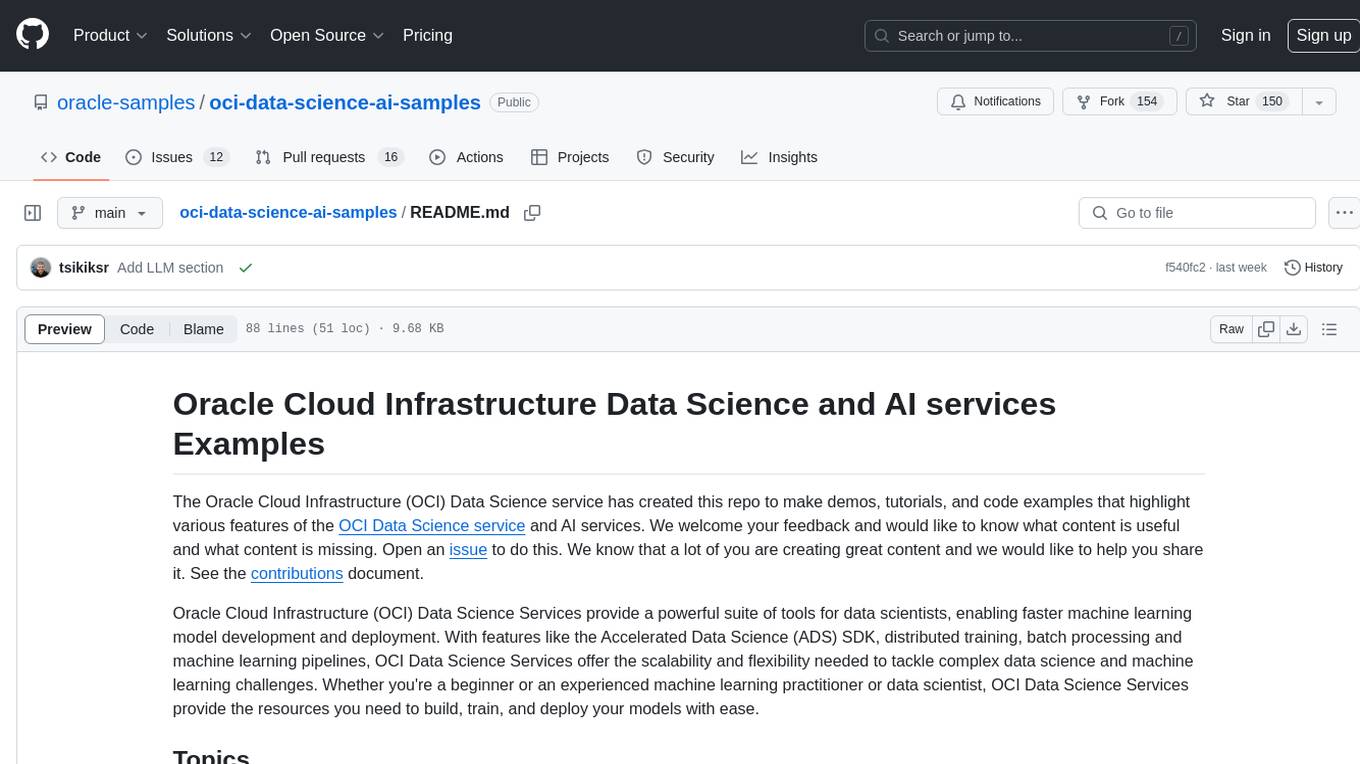
oci-data-science-ai-samples
The Oracle Cloud Infrastructure Data Science and AI services Examples repository provides demos, tutorials, and code examples showcasing various features of the OCI Data Science service and AI services. It offers tools for data scientists to develop and deploy machine learning models efficiently, with features like Accelerated Data Science SDK, distributed training, batch processing, and machine learning pipelines. Whether you're a beginner or an experienced practitioner, OCI Data Science Services provide the resources needed to build, train, and deploy models easily.
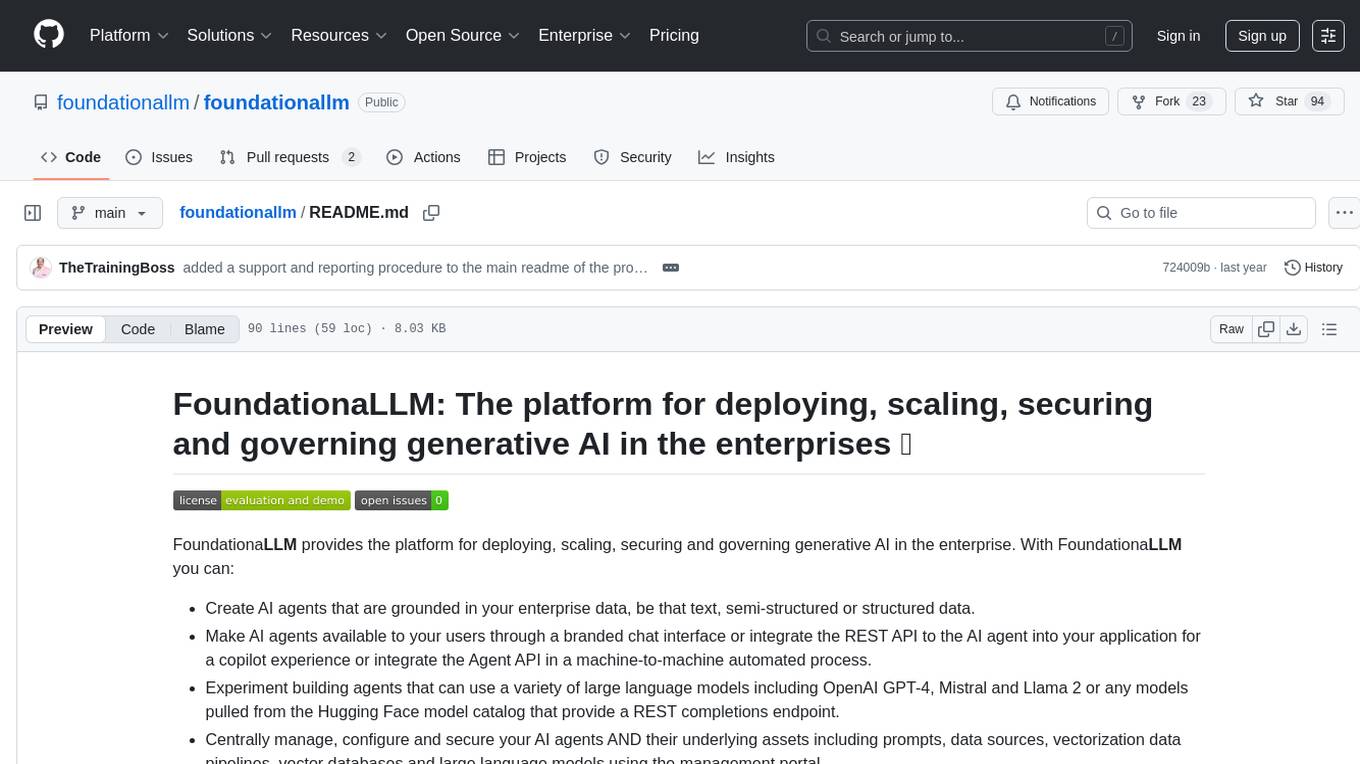
foundationallm
FoundationaLLM is a platform designed for deploying, scaling, securing, and governing generative AI in enterprises. It allows users to create AI agents grounded in enterprise data, integrate REST APIs, experiment with various large language models, centrally manage AI agents and their assets, deploy scalable vectorization data pipelines, enable non-developer users to create their own AI agents, control access with role-based access controls, and harness capabilities from Azure AI and Azure OpenAI. The platform simplifies integration with enterprise data sources, provides fine-grain security controls, scalability, extensibility, and addresses the challenges of delivering enterprise copilots or AI agents.
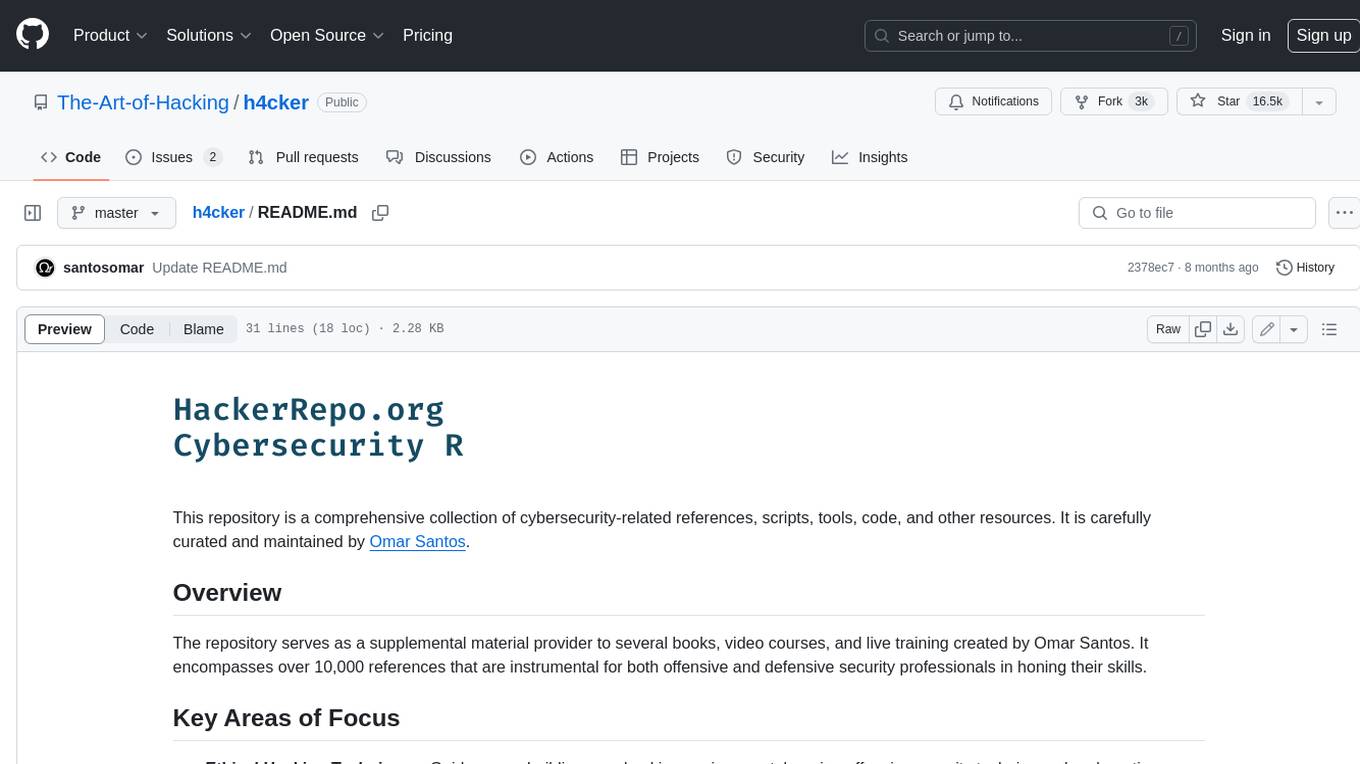
h4cker
This repository is a comprehensive collection of cybersecurity-related references, scripts, tools, code, and other resources. It is carefully curated and maintained by Omar Santos. The repository serves as a supplemental material provider to several books, video courses, and live training created by Omar Santos. It encompasses over 10,000 references that are instrumental for both offensive and defensive security professionals in honing their skills.
dioptra
Dioptra is a software test platform for assessing the trustworthy characteristics of artificial intelligence (AI). It supports the NIST AI Risk Management Framework by providing functionality to assess, analyze, and track identified AI risks. Dioptra provides a REST API and can be controlled via a web interface or Python client for designing, managing, executing, and tracking experiments. It aims to be reproducible, traceable, extensible, interoperable, modular, secure, interactive, shareable, and reusable.
metaflow
Metaflow is a user-friendly library designed to assist scientists and engineers in developing and managing real-world data science projects. Initially created at Netflix, Metaflow aimed to enhance the productivity of data scientists working on diverse projects ranging from traditional statistics to cutting-edge deep learning. For further information, refer to Metaflow's website and documentation.
intelligent-app-workshop
Welcome to the envisioning workshop designed to help you build your own custom Copilot using Microsoft's Copilot stack. This workshop aims to rethink user experience, architecture, and app development by leveraging reasoning engines and semantic memory systems. You will utilize Azure AI Foundry, Prompt Flow, AI Search, and Semantic Kernel. Work with Miyagi codebase, explore advanced capabilities like AutoGen and GraphRag. This workshop guides you through the entire lifecycle of app development, including identifying user needs, developing a production-grade app, and deploying on Azure with advanced capabilities. By the end, you will have a deeper understanding of leveraging Microsoft's tools to create intelligent applications.
InferenceMAX
InferenceMAX™ is an open-source benchmarking tool designed to track real-time performance improvements in popular open-source inference frameworks and models. It runs a suite of benchmarks every night to capture progress in near real-time, providing a live indicator of inference performance. The tool addresses the challenge of rapidly evolving software ecosystems by benchmarking the latest software packages, ensuring that benchmarks do not go stale. InferenceMAX™ is supported by industry leaders and contributors, providing transparent and reproducible benchmarks that help the ML community make informed decisions about hardware and software performance.
OpenAIWorkshop
Azure OpenAI Service provides REST API access to OpenAI's powerful language models including GPT-3, Codex and Embeddings. Users can easily adapt models for content generation, summarization, semantic search, and natural language to code translation. The workshop covers basics, prompt engineering, common NLP tasks, generative tasks, conversational dialog, and learning methods. It guides users to build applications with PowerApp, query SQL data, create data pipelines, and work with proprietary datasets. Target audience includes Power Users, Software Engineers, Data Scientists, and AI architects and Managers.
crewAI-tools
This repository provides a guide for setting up tools for crewAI agents to enhance functionality. It offers steps to equip agents with ready-to-use tools and create custom ones. Tools are expected to return strings for generating responses. Users can create tools by subclassing BaseTool or using the tool decorator. Contributions are welcome to enrich the toolset, and guidelines are provided for contributing. The development setup includes installing dependencies, activating virtual environment, setting up pre-commit hooks, running tests, static type checking, packaging, and local installation. The goal is to empower AI solutions through advanced tooling.
openssa
OpenSSA is an open-source framework for creating efficient, domain-specific AI agents. It enables the development of Small Specialist Agents (SSAs) that solve complex problems in specific domains. SSAs tackle multi-step problems that require planning and reasoning beyond traditional language models. They apply OODA for deliberative reasoning (OODAR) and iterative, hierarchical task planning (HTP). This "System-2 Intelligence" breaks down complex tasks into manageable steps. SSAs make informed decisions based on domain-specific knowledge. With OpenSSA, users can create agents that process, generate, and reason about information, making them more effective and efficient in solving real-world challenges.
For similar tasks

PentestGPT
PentestGPT provides advanced AI and integrated tools to help security teams conduct comprehensive penetration tests effortlessly. Scan, exploit, and analyze web applications, networks, and cloud environments with ease and precision, without needing expert skills. The tool utilizes Supabase for data storage and management, and Vercel for hosting the frontend. It offers a local quickstart guide for running the tool locally and a hosted quickstart guide for deploying it in the cloud. PentestGPT aims to simplify the penetration testing process for security professionals and enthusiasts alike.
airgeddon
Airgeddon is a versatile bash script designed for Linux systems to conduct wireless network audits. It provides a comprehensive set of features and tools for auditing and securing wireless networks. The script is user-friendly and offers functionalities such as scanning, capturing handshakes, deauth attacks, and more. Airgeddon is regularly updated and supported, making it a valuable tool for both security professionals and enthusiasts.
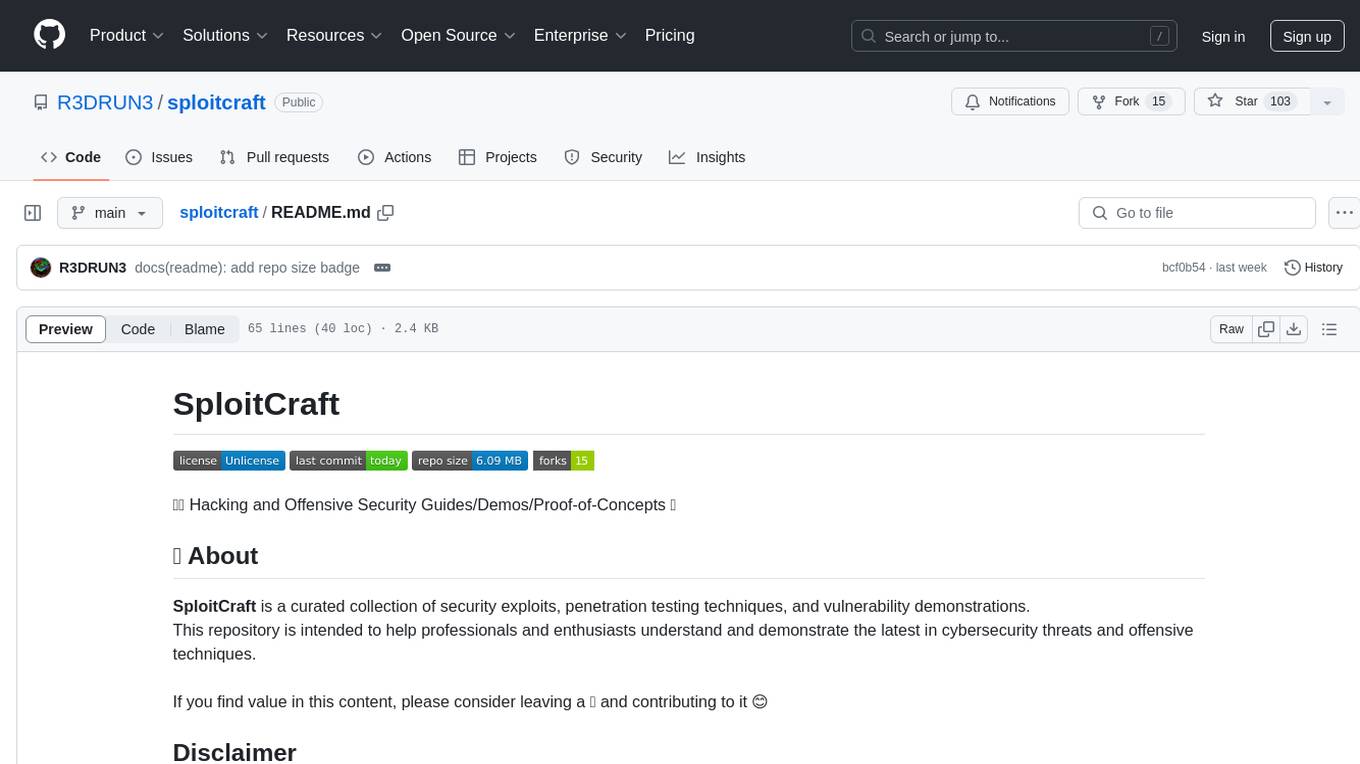
sploitcraft
SploitCraft is a curated collection of security exploits, penetration testing techniques, and vulnerability demonstrations intended to help professionals and enthusiasts understand and demonstrate the latest in cybersecurity threats and offensive techniques. The repository is organized into folders based on specific topics, each containing directories and detailed READMEs with step-by-step instructions. Contributions from the community are welcome, with a focus on adding new proof of concepts or expanding existing ones while adhering to the current structure and format of the repository.
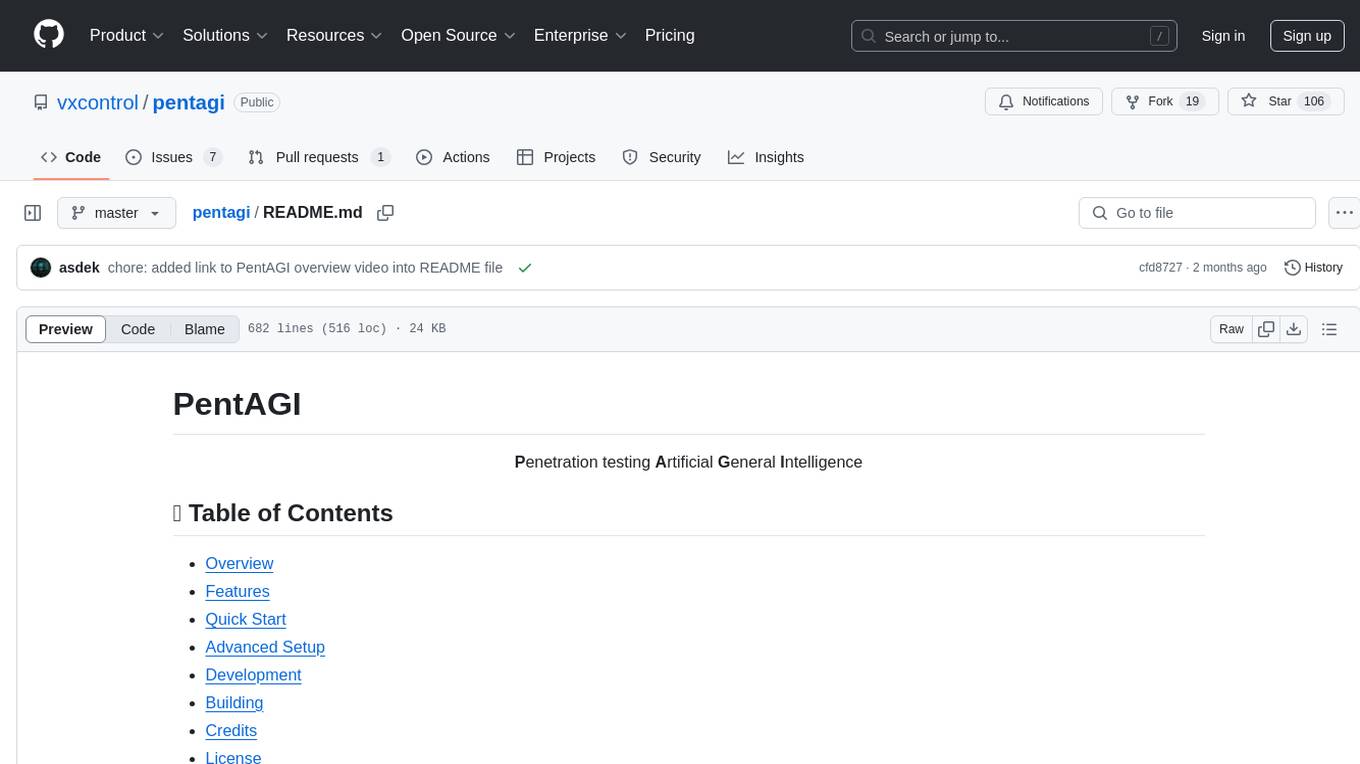
pentagi
PentAGI is an innovative tool for automated security testing that leverages cutting-edge artificial intelligence technologies. It is designed for information security professionals, researchers, and enthusiasts who need a powerful and flexible solution for conducting penetration tests. The tool provides secure and isolated operations in a sandboxed Docker environment, fully autonomous AI-powered agent for penetration testing steps, a suite of 20+ professional security tools, smart memory system for storing research results, web intelligence for gathering information, integration with external search systems, team delegation system, comprehensive monitoring and reporting, modern interface, API integration, persistent storage, scalable architecture, self-hosted solution, flexible authentication, and quick deployment through Docker Compose.
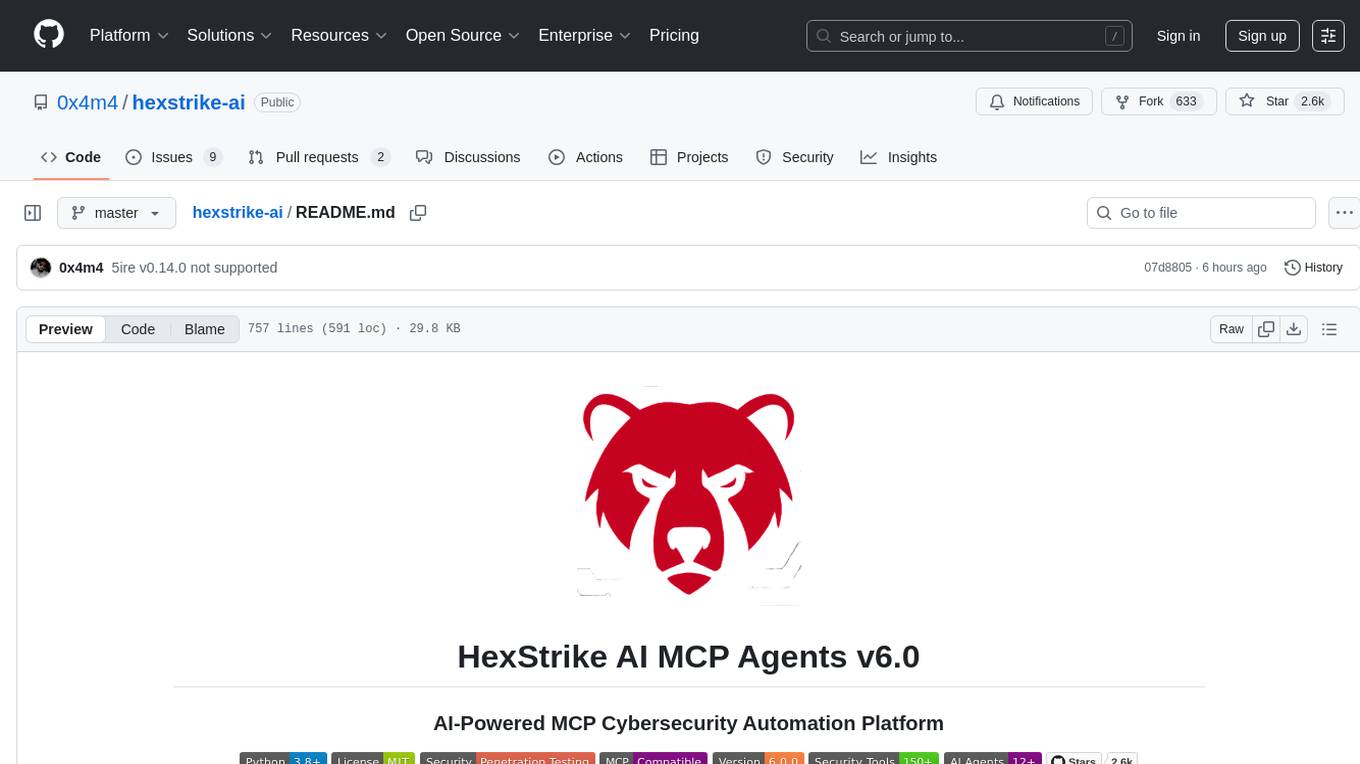
hexstrike-ai
HexStrike AI is an advanced AI-powered penetration testing MCP framework with 150+ security tools and 12+ autonomous AI agents. It features a multi-agent architecture with intelligent decision-making, vulnerability intelligence, and modern visual engine. The platform allows for AI agent connection, intelligent analysis, autonomous execution, real-time adaptation, and advanced reporting. HexStrike AI offers a streamlined installation process, Docker container support, 250+ specialized AI agents/tools, native desktop client, advanced web automation, memory optimization, enhanced error handling, and bypassing limitations.
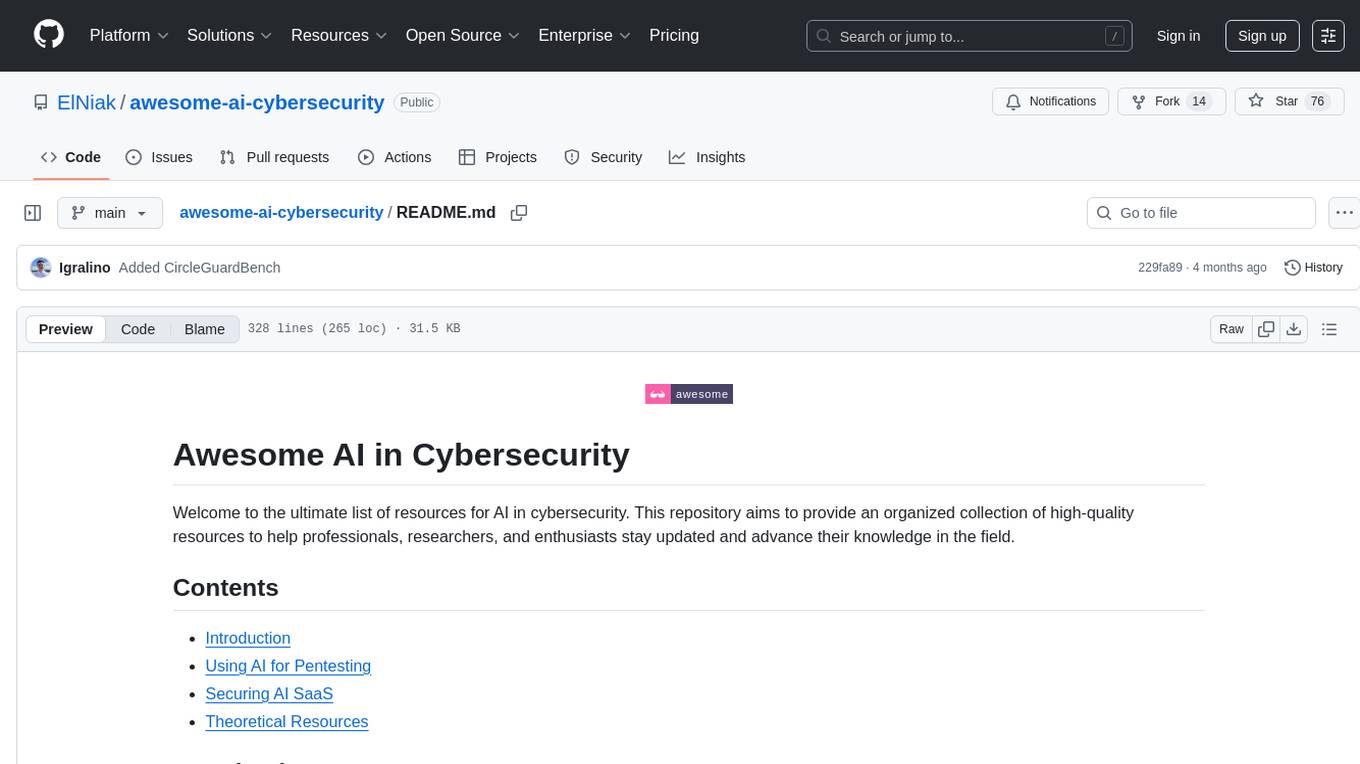
awesome-ai-cybersecurity
This repository is a comprehensive collection of resources for utilizing AI in cybersecurity. It covers various aspects such as prediction, prevention, detection, response, monitoring, and more. The resources include tools, frameworks, case studies, best practices, tutorials, and research papers. The repository aims to assist professionals, researchers, and enthusiasts in staying updated and advancing their knowledge in the field of AI cybersecurity.
hackerai
HackerAI is an AI-powered penetration testing assistant designed to streamline and enhance the process of conducting penetration testing. It leverages various AI models and tools to provide automated assistance in identifying vulnerabilities and securing systems. The tool integrates with different services for AI models, sandbox environments, database management, authentication, and more. With HackerAI, users can automate tasks related to penetration testing, improve efficiency, and enhance security measures in their systems.
hackingBuddyGPT
hackingBuddyGPT is a framework for testing LLM-based agents for security testing. It aims to create common ground truth by creating common security testbeds and benchmarks, evaluating multiple LLMs and techniques against those, and publishing prototypes and findings as open-source/open-access reports. The initial focus is on evaluating the efficiency of LLMs for Linux privilege escalation attacks, but the framework is being expanded to evaluate the use of LLMs for web penetration-testing and web API testing. hackingBuddyGPT is released as open-source to level the playing field for blue teams against APTs that have access to more sophisticated resources.
For similar jobs
last_layer
last_layer is a security library designed to protect LLM applications from prompt injection attacks, jailbreaks, and exploits. It acts as a robust filtering layer to scrutinize prompts before they are processed by LLMs, ensuring that only safe and appropriate content is allowed through. The tool offers ultra-fast scanning with low latency, privacy-focused operation without tracking or network calls, compatibility with serverless platforms, advanced threat detection mechanisms, and regular updates to adapt to evolving security challenges. It significantly reduces the risk of prompt-based attacks and exploits but cannot guarantee complete protection against all possible threats.
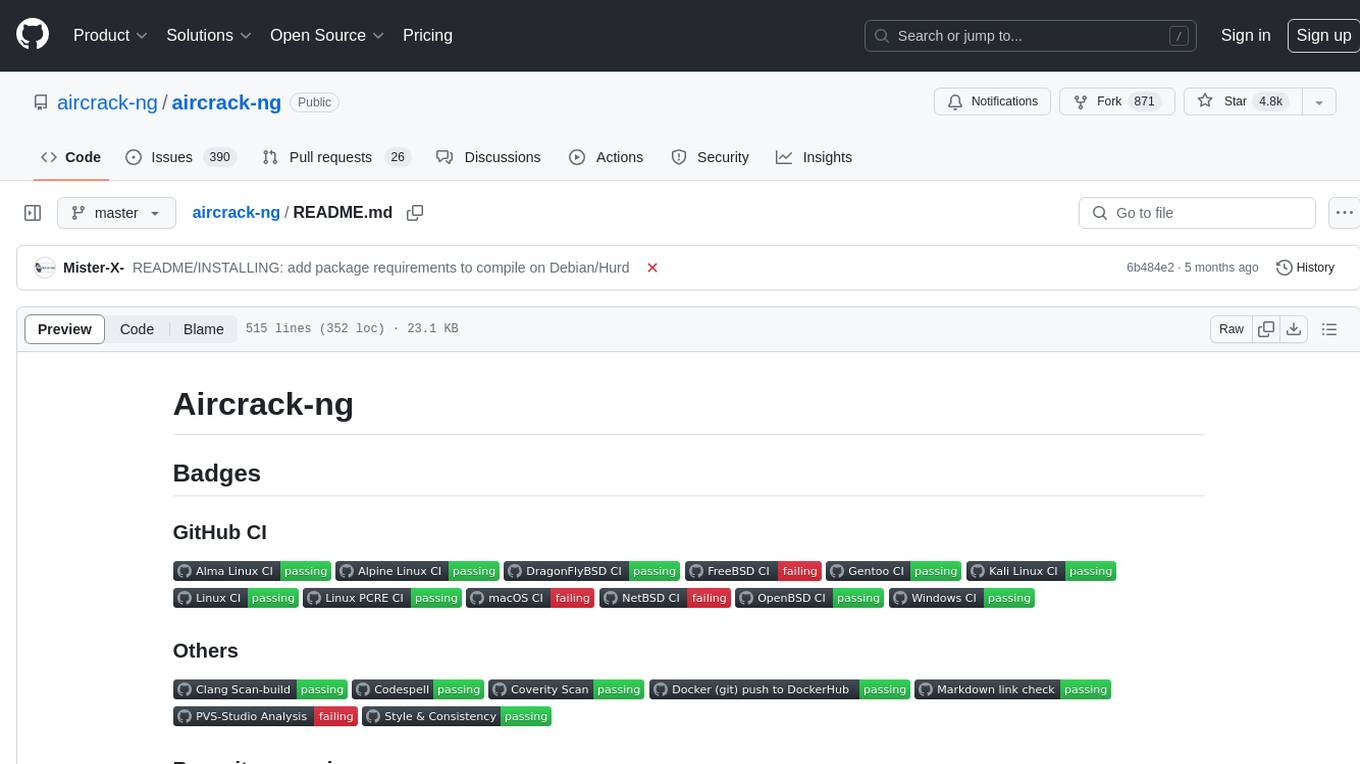
aircrack-ng
Aircrack-ng is a comprehensive suite of tools designed to evaluate the security of WiFi networks. It covers various aspects of WiFi security, including monitoring, attacking (replay attacks, deauthentication, fake access points), testing WiFi cards and driver capabilities, and cracking WEP and WPA PSK. The tools are command line-based, allowing for extensive scripting and have been utilized by many GUIs. Aircrack-ng primarily works on Linux but also supports Windows, macOS, FreeBSD, OpenBSD, NetBSD, Solaris, and eComStation 2.
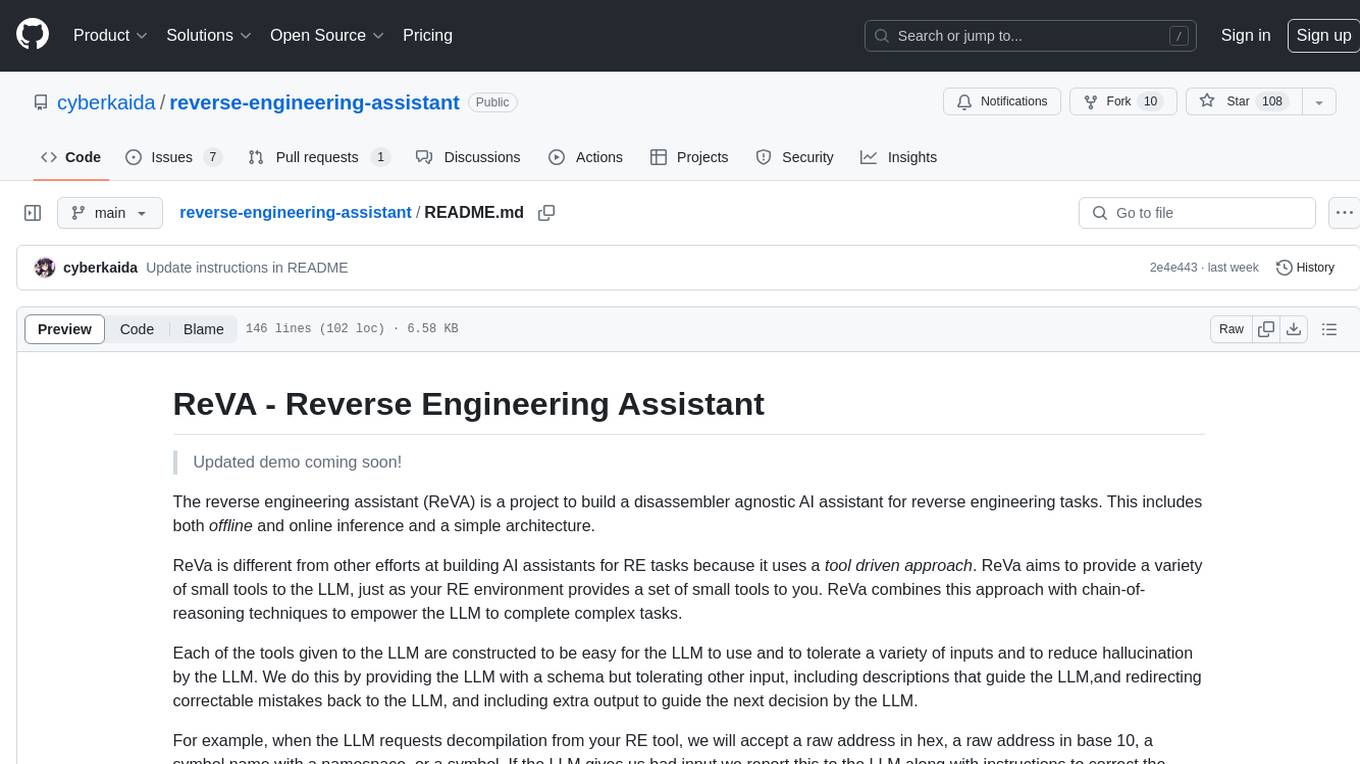
reverse-engineering-assistant
ReVA (Reverse Engineering Assistant) is a project aimed at building a disassembler agnostic AI assistant for reverse engineering tasks. It utilizes a tool-driven approach, providing small tools to the user to empower them in completing complex tasks. The assistant is designed to accept various inputs, guide the user in correcting mistakes, and provide additional context to encourage exploration. Users can ask questions, perform tasks like decompilation, class diagram generation, variable renaming, and more. ReVA supports different language models for online and local inference, with easy configuration options. The workflow involves opening the RE tool and program, then starting a chat session to interact with the assistant. Installation includes setting up the Python component, running the chat tool, and configuring the Ghidra extension for seamless integration. ReVA aims to enhance the reverse engineering process by breaking down actions into small parts, including the user's thoughts in the output, and providing support for monitoring and adjusting prompts.
AutoAudit
AutoAudit is an open-source large language model specifically designed for the field of network security. It aims to provide powerful natural language processing capabilities for security auditing and network defense, including analyzing malicious code, detecting network attacks, and predicting security vulnerabilities. By coupling AutoAudit with ClamAV, a security scanning platform has been created for practical security audit applications. The tool is intended to assist security professionals with accurate and fast analysis and predictions to combat evolving network threats.
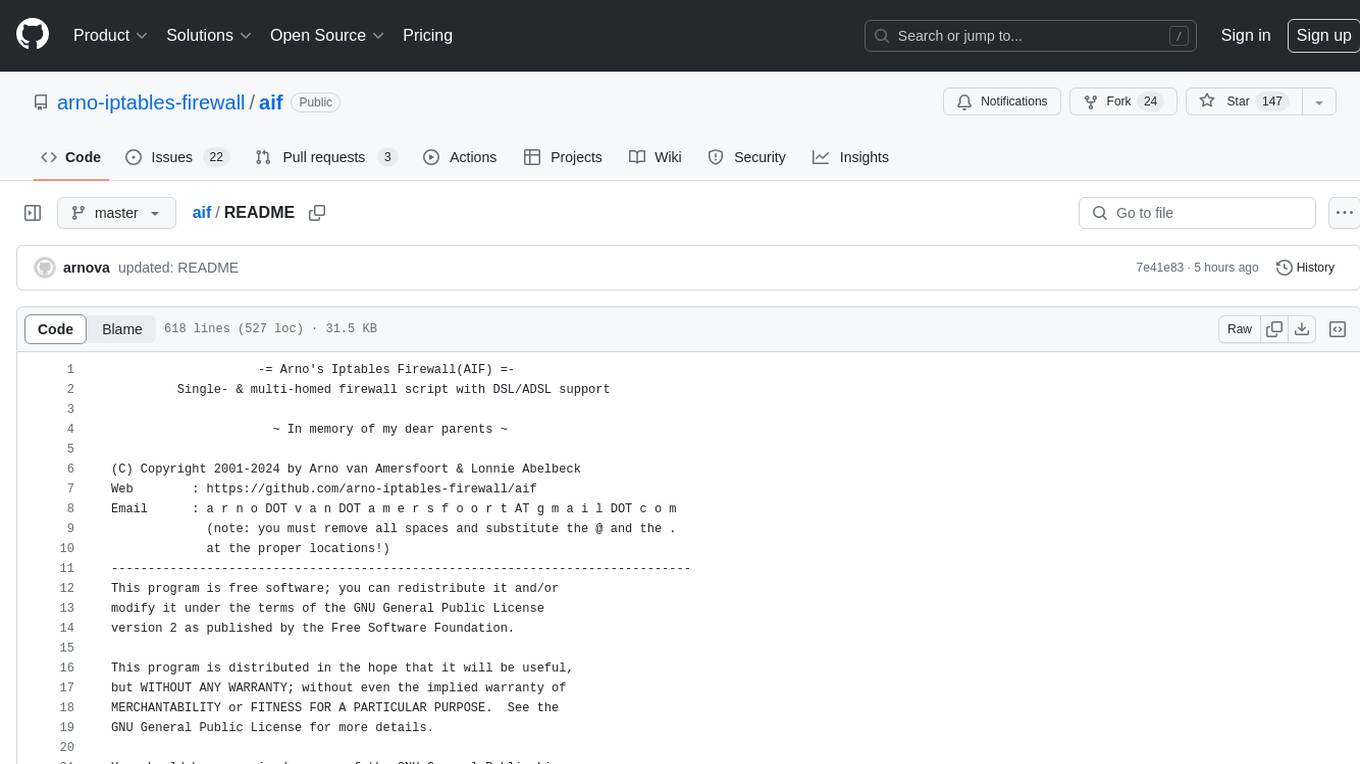
aif
Arno's Iptables Firewall (AIF) is a single- & multi-homed firewall script with DSL/ADSL support. It is a free software distributed under the GNU GPL License. The script provides a comprehensive set of configuration files and plugins for setting up and managing firewall rules, including support for NAT, load balancing, and multirouting. It offers detailed instructions for installation and configuration, emphasizing security best practices and caution when modifying settings. The script is designed to protect against hostile attacks by blocking all incoming traffic by default and allowing users to configure specific rules for open ports and network interfaces.
watchtower
AIShield Watchtower is a tool designed to fortify the security of AI/ML models and Jupyter notebooks by automating model and notebook discoveries, conducting vulnerability scans, and categorizing risks into 'low,' 'medium,' 'high,' and 'critical' levels. It supports scanning of public GitHub repositories, Hugging Face repositories, AWS S3 buckets, and local systems. The tool generates comprehensive reports, offers a user-friendly interface, and aligns with industry standards like OWASP, MITRE, and CWE. It aims to address the security blind spots surrounding Jupyter notebooks and AI models, providing organizations with a tailored approach to enhancing their security efforts.
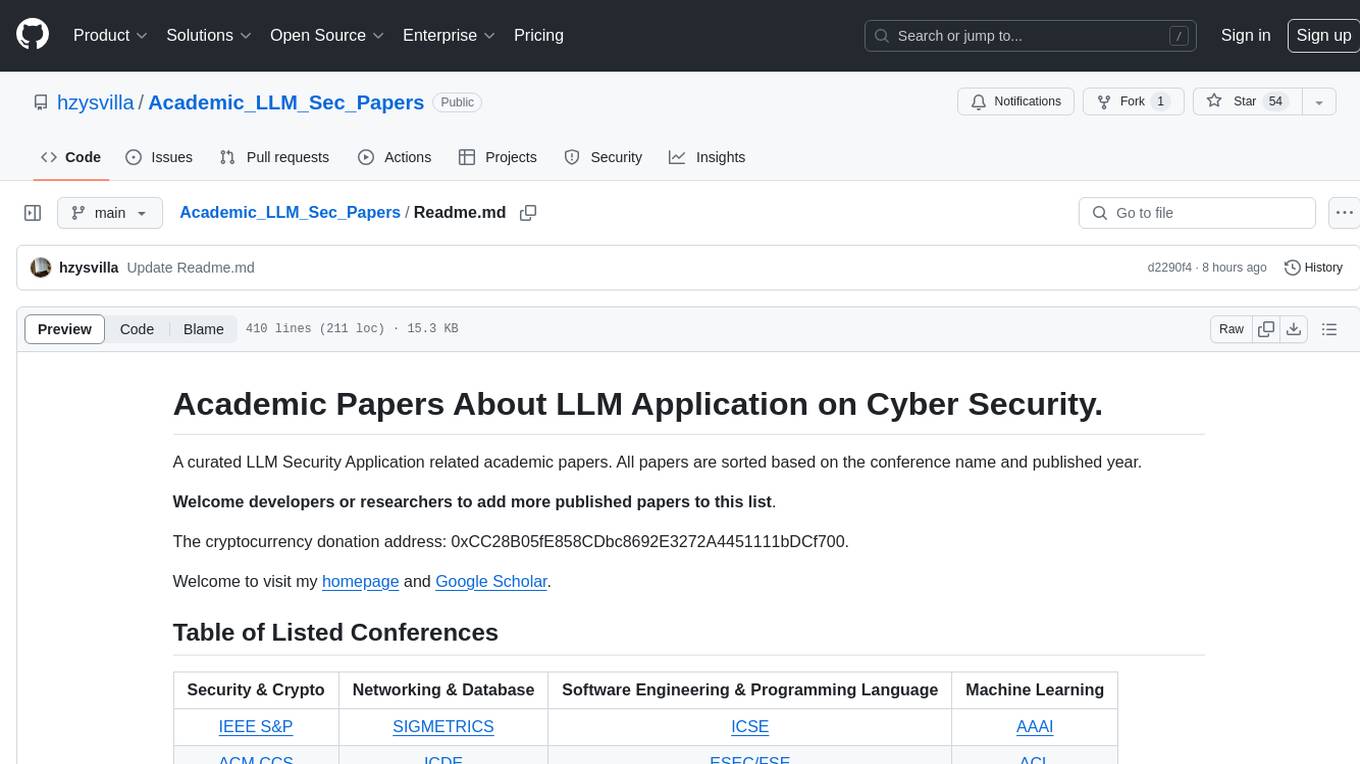
Academic_LLM_Sec_Papers
Academic_LLM_Sec_Papers is a curated collection of academic papers related to LLM Security Application. The repository includes papers sorted by conference name and published year, covering topics such as large language models for blockchain security, software engineering, machine learning, and more. Developers and researchers are welcome to contribute additional published papers to the list. The repository also provides information on listed conferences and journals related to security, networking, software engineering, and cryptography. The papers cover a wide range of topics including privacy risks, ethical concerns, vulnerabilities, threat modeling, code analysis, fuzzing, and more.
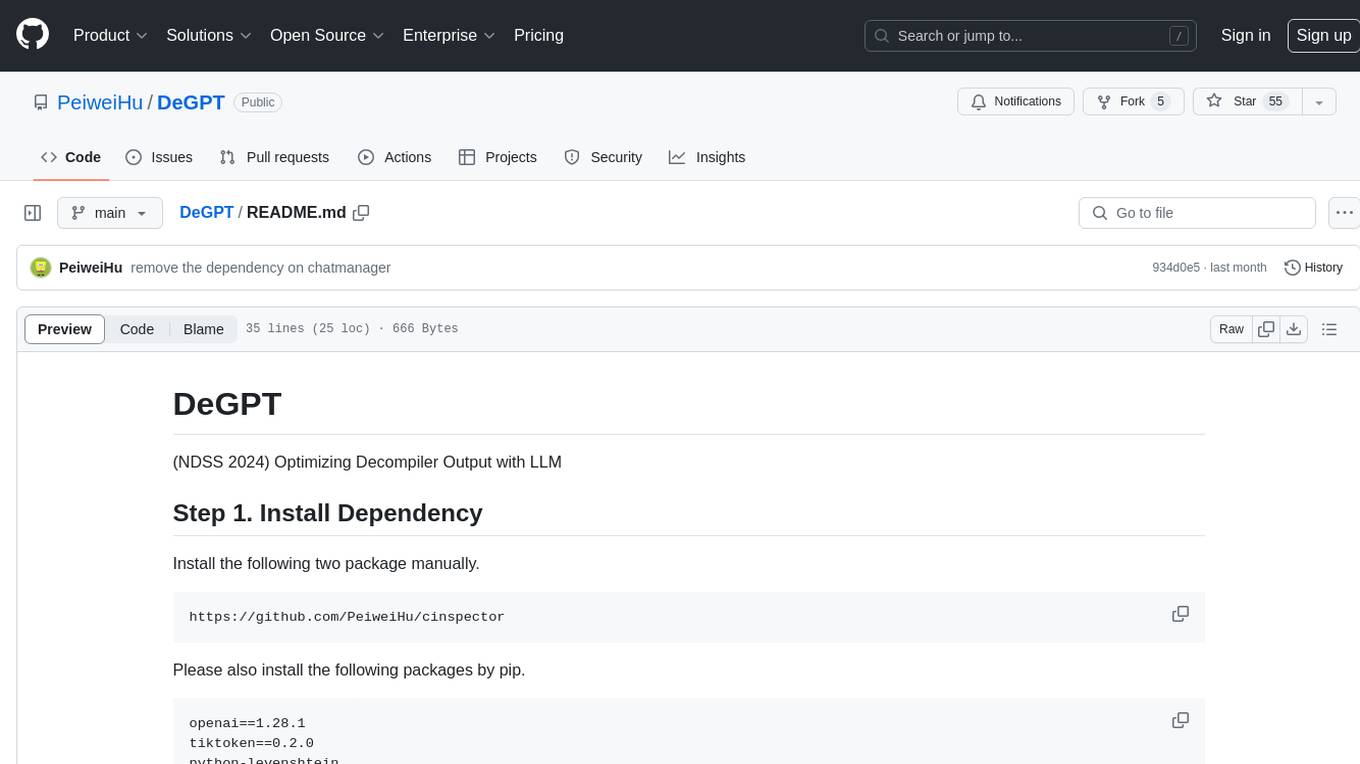
DeGPT
DeGPT is a tool designed to optimize decompiler output using Large Language Models (LLM). It requires manual installation of specific packages and setting up API key for OpenAI. The tool provides functionality to perform optimization on decompiler output by running specific scripts.