
vertex-ai-creative-studio
GenMedia Creative Studio is a Vertex AI generative media user experience highlighting the use of Imagen, Veo, Gemini 🍌, Gemini TTS, Chirp 3, Lyria and other generative media APIs on Google Cloud.
Stars: 418
GenMedia Creative Studio is an application showcasing the capabilities of Google Cloud Vertex AI generative AI creative APIs. It includes features like Gemini for prompt rewriting and multimodal evaluation of generated images. The app is built with Mesop, a Python-based UI framework, enabling rapid development of web and internal apps. The Experimental folder contains stand-alone applications and upcoming features demonstrating cutting-edge generative AI capabilities, such as image generation, prompting techniques, and audio/video tools.
README:
This is not an officially supported Google product. This project is not eligible for the Google Open Source Software Vulnerability Rewards Program. This project is intended for demonstration purposes only. It is not intended for use in a production environment.
- Table of Contents
- GenMedia Creative Studio
- Deploying GenMedia Creative Studio
- Solution Design
- Disclaimer
GenMedia Creative Studio is a web application showcasing Google Cloud's generative media - Veo, Lyria, Chirp, Gemini 2.5 Flash Image Generation (nano-banana), and Gemini TTS along with custom workflows and techniques for creative exploration and inspiration. We're looking forward to see what you create!
Current featureset
- Image: Imagen 3, Imagen 4, Virtual Try-On, Gemini 2.5 Flash Image Generation
- Video: Veo 2, Veo 3
- Music: Lyria
- Speech: Chirp 3 HD, Gemini Text to Speech
- Workflows: Character Consistency, Shop the Look, Starter Pack Moodboard, Interior Designer
- Asset Library
This is built using Mesop, an open source Python framework used at Google for rapid AI app development, and the scaffold for Studio style apps.
The Experimental folder contains a variety of stand-alone applications and new and upcoming features that showcase cutting-edge capabilities with generative AI.
Here's a glimpse of what you'll find:
MCP Tools
- MCP Tools for Genmedia: Model Context Protocol servers for Veo, Imagen, Lyria, Chirp, and Gemini to bring creativity to your agents.
Combined Workflows
- Countdown Workflow: An automated two-stage pipeline to create branded countdown videos.
- Storycraft: An AI-powered video storyboard generation platform that transforms text descriptions into complete video narratives.
- Creative GenMedia Workflow: An end-to-end workflow to produce high-quality, on-brand creative media.
Prompting Techniques
- Promptlandia: A powerful web app to analyze, refine, and improve your prompts.
- Veo Genetic Prompt Optimizer: An automated system to evolve and refine high-level "metaprompts" for Veo.
- Character & Item Consistency: Workflows for maintaining consistency for characters and items across video scenes.
Image Generation & Analysis
- Virtual Try-On: A notebook for virtually trying on outfits at scale.
- Imagen Product Recontextualization: Tools for large-scale product image recontextualization.
- Arena: A visual arena for rating and comparing images from different models.
Audio & Video
- Creative Podcast Assistant: A notebook for creating a podcast with generative media.
- Babel: An experimental app for Chirp 3 HD voices.
...and much more! For a full, detailed list of all experiments, please see the Experiments README.
Deployment of GenMedia Creative Studio is accomplished using a combination of Terraform and Cloud Build. Terraform is used to deploy the infrastructure and Cloud Build is used to create the container image and update the Cloud Run service to use it.
You have two deployment options for this application:
-
Deploy using a custom domain. Use this if:
- You need to support external identities. Included Terraform script does not support this; however, you can customize the script.
- You prefer more control over the domain used
-
Deploy using the autogenerated Cloud Run Domain. Use this if:
- You can not create a DNS entry
- IAP for Cloud Run Known Limitations are non-blockers (e.g., no external identities, no Cloud CDN support)
You'll need the following
- An existing Google Cloud Project
- If you want to use a custom domain, you need the ability to create a DNS A record for your target domain that resolves to the provisioned load balancer
Download the source
git clone https://github.com/GoogleCloudPlatform/vertex-ai-creative-studio.gitThe following environment variables are the minimum required to deploy the application.
- REGION - Should be set to
us-central1. Prior to selecting a different region, validate the GenAI models needed are available here. - PROJECT_ID - Set to the desired Google Cloud project's ID, obtained via
gcloudbelow or you can enter it manually. - DOMAIN_NAME - Update with the DNS name to be used to reach the web application (e.g., creativestudio.example.com). A Google Cloud Managed certificate will be created for this domain.
- INITIAL_USER - Email address of initial user given access to the web application (e.g., [email protected])
Replace the example values and execute the script below:
export REGION=us-central1 PROJECT_ID=$(gcloud config get project)
export [email protected]Follow these steps if you are going to deploy GenMedia Creative Studio using your own custom domain. You will need the ability to create a DNS A record if you choose this deployment option.
Because you are using a custom domain, you will need to export one more variable with the DNS name for the domain that will be used to navigate to GenMedia Creative Studio.
export DOMAIN_NAME=creativestudio.example.comMake sure your command line is in the folder containing this README (i.e., experiments/veo-app). Then create the terraform.tfvars using the following command:
cat > terraform.tfvars << EOF
project_id = "$PROJECT_ID"
initial_user = "$INITIAL_USER"
domain = "$DOMAIN_NAME"
EOF

terraform init
terraform applyA load balancer and a Google Cloud managed certificate are provisioned by the Terraform configuration file. You must create a DNS A record that resolves to the IP address of the provisioned load balancer. Below is a sample output from running the terraform apply command, showing where the provisioned application balancer's IP is displayed.
If you use Google Cloud DNS, follow the steps here. Provisioning a Google-managed certificate might take up to 60 minutes from the moment your DNS and load balancer configuration changes have propagated across the internet.
If you take too long to create the A record, usually >15 minutes or the DNS entry resolves to any other IP address than the load balancer's, provisioning of the Google Cloud Managed certificate may fail with a status of
FAILED_NOT_VISIBLE. If this is the case, make sure the DNS A record is updated correctly and follow the steps here.
A shell script, build.sh, is included in this repo that submits a build to Cloud Build which builds and deploys the application's container image. Use the following command:
./build.shWith both the infrastructure and application deployed, you are just waiting for the certificate to complete provisioning. Once you see the status as "ACTIVE" and the "In use by" section populated (see sample below), your application is ready for use. You can navigate to the Certificate Manager GCP Console page, and select the certificate to keep an eye on the status.
If you are unable to create a DNS record in your corporate domain, you can also use the autogenerated Cloud Run domain along with it's preview support for IAP to secure the endpoint.
Currently, Cloud Run's integration with IAP is a preview feature and is subject to the "Pre-GA Offerings Terms" in the General Service Terms section of the Service Specific Terms. Pre-GA features are available "as is" and might have limited support. For more information, see the launch stage descriptions.
Make sure your command line is in the folder containing this README (i.e., experiments/veo-app). Then create the terraform.tfvars using the following command:
cat > terraform.tfvars << EOF
project_id = "$PROJECT_ID"
initial_user = "$INITIAL_USER"
use_lb = false
EOF

terraform init
terraform apply
Make sure to take note of the Cloud Run URL that is output. This is what you will navigate to in your browser to access the application. Before doing that though, you need to build and deploy the container image.
A shell script, build.sh, is included in this repo that submits a build to Cloud Build which builds and deploys the application's container image. Use the following command:
./build.shThe last step is to change the IAP policy of the Cloud Run service to provide access to a user. You can also use a group but for the purposes of this example, a single user is given access.
gcloud beta iap web add-iam-policy-binding \
--project=$PROJECT_ID \
--region=$REGION \
--member=user:$INITIAL_USER \
--role=roles/iap.httpsResourceAccessor \
--resource-type=cloud-run \
--service=creative-studio
Congratulations, you can now navigate to the address provided in the cloud-run-app-url Terraform output.
Use this option if you want to quickly run the UI without having to setup a local development environment. To get started, use Cloud Shell and follow the tutorial instructions.

There are two way to deploy this solution. One using a custom domain with a load balancer and IAP integration. The other is using Cloud Run's default URL and integrating IAP with Cloud Run. The below diagrams depict the components used for each option.
The above diagram depicts the components that make up the Creative Studio solution. Items of note:
- DNS entry is not deployed as part of the provided Terraform configuration files. You will need to create a DNS A record that resolves to the IP address of the provisioned load balancer so that certificate provisioning succeeds.
- Users are authenticated with Google Accounts and access is managed through Identity Aware Proxy (IAP). IAP does support external identities and you can learn more here.
- Load Balancer - Provides the HTTP access to the Cloud Run hosted application
- Identity Aware Proxy - Limits access to web application for only authenticated users or groups
- Cloud Run - Serverless container runtime used to host Mesop application
- Cloud Firestore - Data store for the image / video / audio metadata. If you're new to Firebase, a great starting point is here.
- Cloud Storage - A bucket is used to store the image / video / audio files
- Cloud Build - Uses build packs to create the container images, push them to Artifact Registry and update the Cloud Run service to use the latest image version. To simplify deployment, connections to a GitHub project and triggers are not deployed w/Terraform. The source code that was cloned locally is compressed and pushed to Cloud Storage. It is this snapshot of the source that is used to build the container image.
- Artifact Registry - Used to store the container images for the web aplication
- Cloud Storage - A bucket is used to store a compressed file of the source used for the build
A python virtual environment, with required packages installed.
Using the uv virtual environment and package manager:
# sync the requirements to a virtual environment
uv sync
If you've done this before, you can also use the command uv sync --upgrade to check for any package version upgrades.
Use the included dotenv.template and create a .env file with your specific environment variables.
Only one environment variable is required:
-
PROJECT_IDyour Google Cloud Project ID, obtained viagcloud config get project
See the template dotenv.template file for the defaults and what environment variable options are available.
Once you have your environment variables set, either on the command line or an in .env file:
uv run main.pyPlease see the Developer's Guide for more information on how this application was built, including specific information about Mesop and the scaffold for Studio style apps.
Using the Mesop app in a virtual environment provides the best debugging and building experience as it supports hot reload.
source .venv/bin/activateStart the app, use the Mesop command in your python virutal environment
mesop main.pyInterested in contributing? Please open an issue describing the intended change. Additionally, bug fixes are welcome, either as pull requests or as GitHub issues.
See CONTRIBUTING.md for details on how to contribute.
Code in this repository is licensed under the Apache 2.0. See LICENSE.
This is not an officially supported Google product. This project is not eligible for the Google Open Source Software Vulnerability Rewards Program.
For Tasks:
Click tags to check more tools for each tasksFor Jobs:
Alternative AI tools for vertex-ai-creative-studio
Similar Open Source Tools
vertex-ai-creative-studio
GenMedia Creative Studio is an application showcasing the capabilities of Google Cloud Vertex AI generative AI creative APIs. It includes features like Gemini for prompt rewriting and multimodal evaluation of generated images. The app is built with Mesop, a Python-based UI framework, enabling rapid development of web and internal apps. The Experimental folder contains stand-alone applications and upcoming features demonstrating cutting-edge generative AI capabilities, such as image generation, prompting techniques, and audio/video tools.
raggenie
RAGGENIE is a low-code RAG builder tool designed to simplify the creation of conversational AI applications. It offers out-of-the-box plugins for connecting to various data sources and building conversational AI on top of them, including integration with pre-built agents for actions. The tool is open-source under the MIT license, with a current focus on making it easy to build RAG applications and future plans for maintenance, monitoring, and transitioning applications from pilots to production.
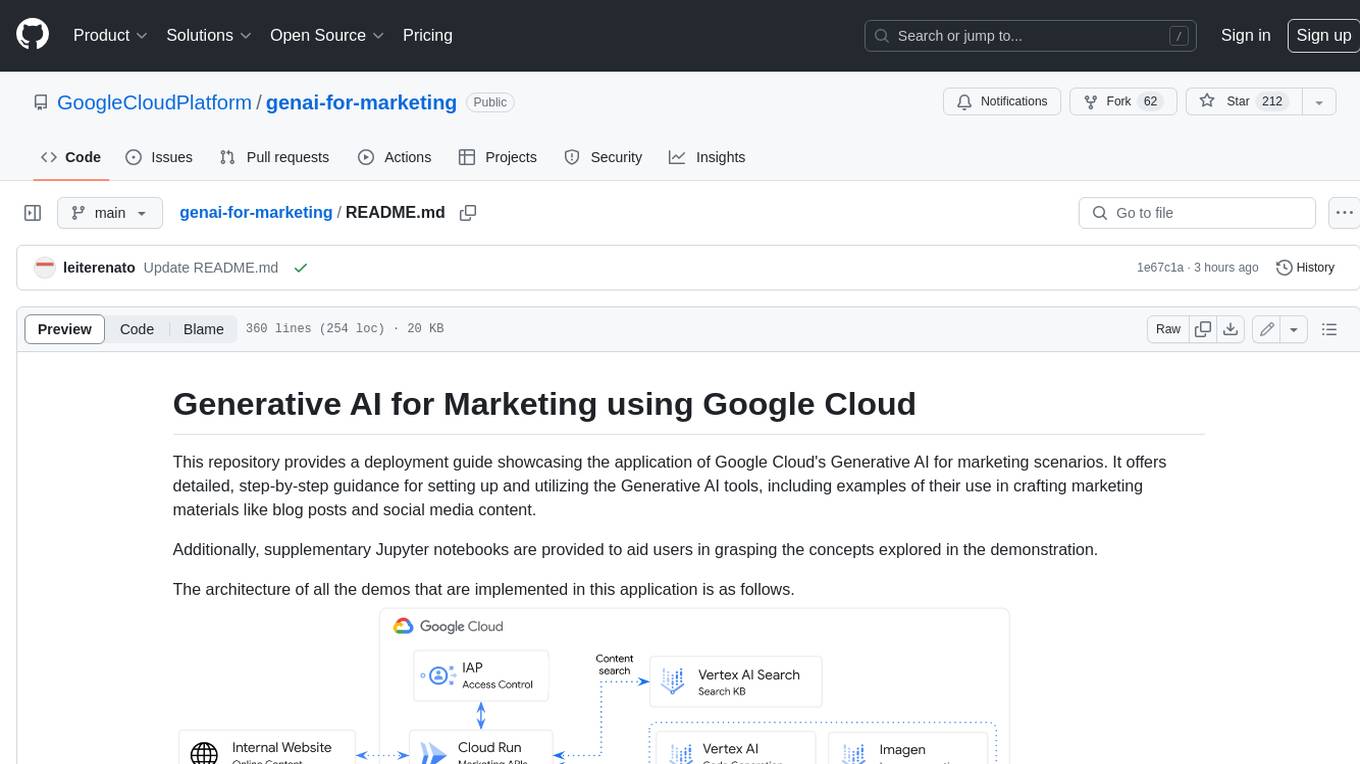
genai-for-marketing
This repository provides a deployment guide for utilizing Google Cloud's Generative AI tools in marketing scenarios. It includes step-by-step instructions, examples of crafting marketing materials, and supplementary Jupyter notebooks. The demos cover marketing insights, audience analysis, trendspotting, content search, content generation, and workspace integration. Users can access and visualize marketing data, analyze trends, improve search experience, and generate compelling content. The repository structure includes backend APIs, frontend code, sample notebooks, templates, and installation scripts.
azure-search-openai-demo
This sample demonstrates a few approaches for creating ChatGPT-like experiences over your own data using the Retrieval Augmented Generation pattern. It uses Azure OpenAI Service to access a GPT model (gpt-35-turbo), and Azure AI Search for data indexing and retrieval. The repo includes sample data so it's ready to try end to end. In this sample application we use a fictitious company called Contoso Electronics, and the experience allows its employees to ask questions about the benefits, internal policies, as well as job descriptions and roles.
cluster-toolkit
Cluster Toolkit is an open-source software by Google Cloud for deploying AI/ML and HPC environments on Google Cloud. It allows easy deployment following best practices, with high customization and extensibility. The toolkit includes tutorials, examples, and documentation for various modules designed for AI/ML and HPC use cases.
airbroke
Airbroke is an open-source error catcher tool designed for modern web applications. It provides a PostgreSQL-based backend with an Airbrake-compatible HTTP collector endpoint and a React-based frontend for error management. The tool focuses on simplicity, maintaining a small database footprint even under heavy data ingestion. Users can ask AI about issues, replay HTTP exceptions, and save/manage bookmarks for important occurrences. Airbroke supports multiple OAuth providers for secure user authentication and offers occurrence charts for better insights into error occurrences. The tool can be deployed in various ways, including building from source, using Docker images, deploying on Vercel, Render.com, Kubernetes with Helm, or Docker Compose. It requires Node.js, PostgreSQL, and specific system resources for deployment.
cymbal-air-toolbox-demo
Cymbal Air Toolbox Demo is a project that provides a production-quality reference implementation for building Agentic applications using Agents and Retrieval Augmented Generation (RAG) to query and interact with data stored in Google Cloud Databases. The demo showcases a customer service assistant for a fictional airline, Cymbal Air, assisting travelers with flight management and providing information about San Francisco International Airport (SFO). It utilizes techniques like Retrieval Augmented Generation (RAG) and Agent-based Orchestration to enhance responses and handle a wide variety of queries. The architecture includes components like the user-facing application, MCP Toolbox middleware server, and a database, offering advantages such as better security, scalability, and recall for agents.
aiCoder
aiCoder is an AI-powered tool designed to streamline the coding process by automating repetitive tasks, providing intelligent code suggestions, and facilitating the integration of new features into existing codebases. It offers a chat interface for natural language interactions, methods and stubs lists for code modification, and settings customization for project-specific prompts. Users can leverage aiCoder to enhance code quality, focus on higher-level design, and save time during development.
devika
Devika is an advanced AI software engineer that can understand high-level human instructions, break them down into steps, research relevant information, and write code to achieve the given objective. Devika utilizes large language models, planning and reasoning algorithms, and web browsing abilities to intelligently develop software. Devika aims to revolutionize the way we build software by providing an AI pair programmer who can take on complex coding tasks with minimal human guidance. Whether you need to create a new feature, fix a bug, or develop an entire project from scratch, Devika is here to assist you.
burpference
Burpference is an open-source extension designed to capture in-scope HTTP requests and responses from Burp's proxy history and send them to a remote LLM API in JSON format. It automates response capture, integrates with APIs, optimizes resource usage, provides color-coded findings visualization, offers comprehensive logging, supports native Burp reporting, and allows flexible configuration. Users can customize system prompts, API keys, and remote hosts, and host models locally to prevent high inference costs. The tool is ideal for offensive web application engagements to surface findings and vulnerabilities.

conversational-agent-langchain
This repository contains a Rest-Backend for a Conversational Agent that allows embedding documents, semantic search, QA based on documents, and document processing with Large Language Models. It uses Aleph Alpha and OpenAI Large Language Models to generate responses to user queries, includes a vector database, and provides a REST API built with FastAPI. The project also features semantic search, secret management for API keys, installation instructions, and development guidelines for both backend and frontend components.
gabber
Gabber is a real-time AI engine that supports graph-based apps with multiple participants and simultaneous media streams. It allows developers to build powerful and developer-friendly AI applications across voice, text, video, and more. The engine consists of frontend and backend services including an editor, engine, and repository. Gabber provides SDKs for JavaScript/TypeScript, React, Python, Unity, and upcoming support for iOS, Android, React Native, and Flutter. The roadmap includes adding more nodes and examples, such as computer use nodes, Unity SDK with robotics simulation, SIP nodes, and multi-participant turn-taking. Users can create apps using nodes, pads, subgraphs, and state machines to define application flow and logic.
n8n-docs
n8n is an extendable workflow automation tool that enables you to connect anything to everything. It is open-source and can be self-hosted or used as a service. n8n provides a visual interface for creating workflows, which can be used to automate tasks such as data integration, data transformation, and data analysis. n8n also includes a library of pre-built nodes that can be used to connect to a variety of applications and services. This makes it easy to create complex workflows without having to write any code.
vespa
Vespa is a platform that performs operations such as selecting a subset of data in a large corpus, evaluating machine-learned models over the selected data, organizing and aggregating it, and returning it, typically in less than 100 milliseconds, all while the data corpus is continuously changing. It has been in development for many years and is used on a number of large internet services and apps which serve hundreds of thousands of queries from Vespa per second.

dataherald
Dataherald is a natural language-to-SQL engine built for enterprise-level question answering over structured data. It allows you to set up an API from your database that can answer questions in plain English. You can use Dataherald to: * Allow business users to get insights from the data warehouse without going through a data analyst * Enable Q+A from your production DBs inside your SaaS application * Create a ChatGPT plug-in from your proprietary data
ultimate-rvc
Ultimate RVC is an extension of AiCoverGen, offering new features and improvements for generating audio content using RVC. It is designed for users looking to integrate singing functionality into AI assistants/chatbots/vtubers, create character voices for songs or books, and train voice models. The tool provides easy setup, voice conversion enhancements, TTS functionality, voice model training suite, caching system, UI improvements, and support for custom configurations. It is available for local and Google Colab use, with a PyPI package for easy access. The tool also offers CLI usage and customization through environment variables.
For similar tasks
vertex-ai-creative-studio
GenMedia Creative Studio is an application showcasing the capabilities of Google Cloud Vertex AI generative AI creative APIs. It includes features like Gemini for prompt rewriting and multimodal evaluation of generated images. The app is built with Mesop, a Python-based UI framework, enabling rapid development of web and internal apps. The Experimental folder contains stand-alone applications and upcoming features demonstrating cutting-edge generative AI capabilities, such as image generation, prompting techniques, and audio/video tools.
For similar jobs
sweep
Sweep is an AI junior developer that turns bugs and feature requests into code changes. It automatically handles developer experience improvements like adding type hints and improving test coverage.
teams-ai
The Teams AI Library is a software development kit (SDK) that helps developers create bots that can interact with Teams and Microsoft 365 applications. It is built on top of the Bot Framework SDK and simplifies the process of developing bots that interact with Teams' artificial intelligence capabilities. The SDK is available for JavaScript/TypeScript, .NET, and Python.
ai-guide
This guide is dedicated to Large Language Models (LLMs) that you can run on your home computer. It assumes your PC is a lower-end, non-gaming setup.

classifai
Supercharge WordPress Content Workflows and Engagement with Artificial Intelligence. Tap into leading cloud-based services like OpenAI, Microsoft Azure AI, Google Gemini and IBM Watson to augment your WordPress-powered websites. Publish content faster while improving SEO performance and increasing audience engagement. ClassifAI integrates Artificial Intelligence and Machine Learning technologies to lighten your workload and eliminate tedious tasks, giving you more time to create original content that matters.
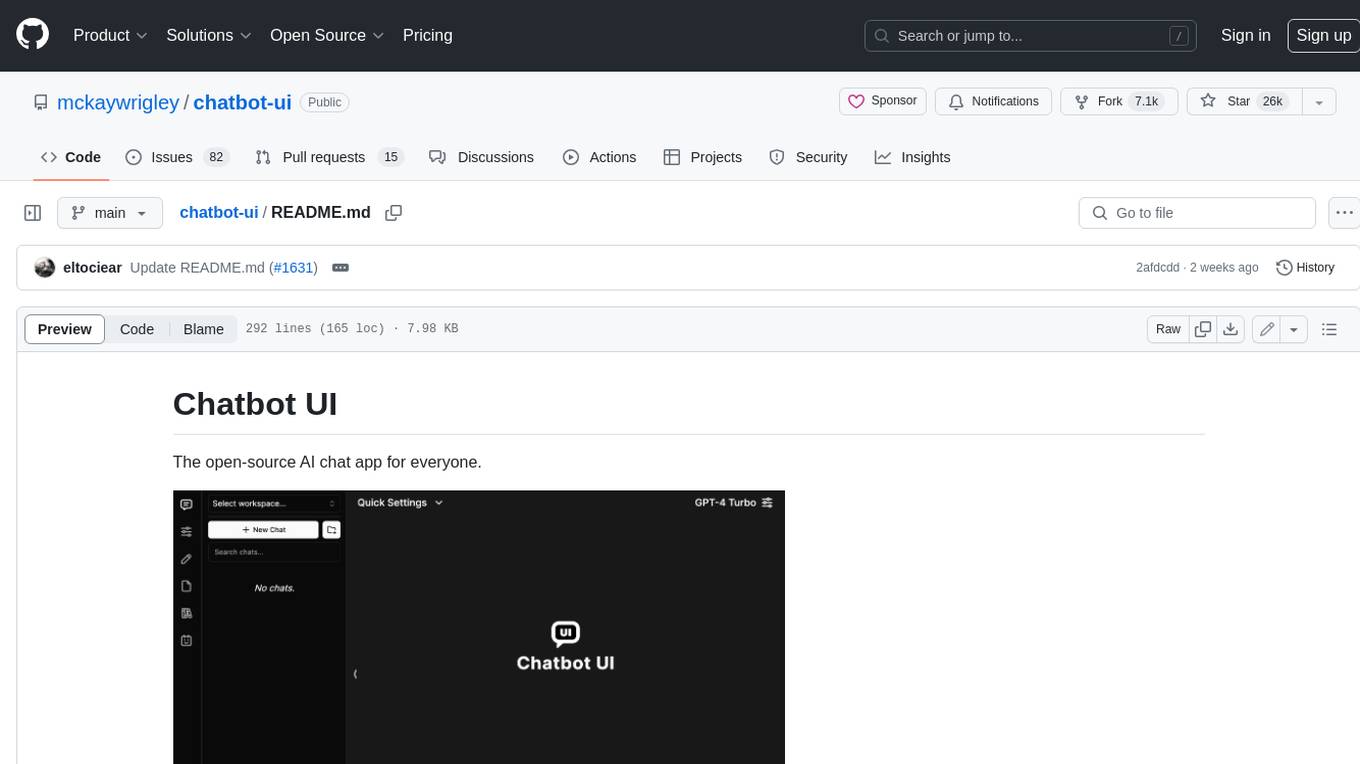
chatbot-ui
Chatbot UI is an open-source AI chat app that allows users to create and deploy their own AI chatbots. It is easy to use and can be customized to fit any need. Chatbot UI is perfect for businesses, developers, and anyone who wants to create a chatbot.
BricksLLM
BricksLLM is a cloud native AI gateway written in Go. Currently, it provides native support for OpenAI, Anthropic, Azure OpenAI and vLLM. BricksLLM aims to provide enterprise level infrastructure that can power any LLM production use cases. Here are some use cases for BricksLLM: * Set LLM usage limits for users on different pricing tiers * Track LLM usage on a per user and per organization basis * Block or redact requests containing PIIs * Improve LLM reliability with failovers, retries and caching * Distribute API keys with rate limits and cost limits for internal development/production use cases * Distribute API keys with rate limits and cost limits for students
uAgents
uAgents is a Python library developed by Fetch.ai that allows for the creation of autonomous AI agents. These agents can perform various tasks on a schedule or take action on various events. uAgents are easy to create and manage, and they are connected to a fast-growing network of other uAgents. They are also secure, with cryptographically secured messages and wallets.
griptape
Griptape is a modular Python framework for building AI-powered applications that securely connect to your enterprise data and APIs. It offers developers the ability to maintain control and flexibility at every step. Griptape's core components include Structures (Agents, Pipelines, and Workflows), Tasks, Tools, Memory (Conversation Memory, Task Memory, and Meta Memory), Drivers (Prompt and Embedding Drivers, Vector Store Drivers, Image Generation Drivers, Image Query Drivers, SQL Drivers, Web Scraper Drivers, and Conversation Memory Drivers), Engines (Query Engines, Extraction Engines, Summary Engines, Image Generation Engines, and Image Query Engines), and additional components (Rulesets, Loaders, Artifacts, Chunkers, and Tokenizers). Griptape enables developers to create AI-powered applications with ease and efficiency.