
seemore
From scratch implementation of a vision language model in pure PyTorch
Stars: 55
seemore is a vision language model developed in Pytorch, implementing components like image encoder, vision-language projector, and decoder language model. The model is built from scratch, including attention mechanisms and patch creation. It is designed for readability and hackability, with the intention to be improved upon. The implementation is based on public publications and borrows attention mechanism from makemore by Andrej Kapathy. The code was developed on Databricks using a single A100 for compute, and MLFlow is used for tracking metrics. The tool aims to provide a simplistic version of vision language models like Grok 1.5/GPT-4 Vision, suitable for experimentation and learning.
README:

Developed using Databricks with ❤️
Update: blog that walks through creating a sparse mixture of experts based vision language model: https://huggingface.co/blog/AviSoori1x/seemoe You can think of this as a simplistic Version of Grok 1.5/ GPT-4 Vision from scratch, in one PyTorch file. The consolidated implementation is in seeMoE.py. The notebook is seeMoE_from_scratch.ipynb
The Blog that walks through this: https://avisoori1x.github.io/2024/04/22/seemore-_Implement_a_Vision_Language_Model_from_Scratch.html
https://huggingface.co/blog/AviSoori1x/seemore-vision-language-model
In this simple implementation of a vision language model (VLM), there are 3 main components.
-
Image Encoder to extract visual features from images. In this case I use a from scratch implementation of the original vision transformer used in CLIP. This is actually a popular choice in many modern VLMs. The one notable exception is Fuyu series of models from Adept, that passes the patchified images directly to the projection layer.
-
Vision-Language Projector - Image embeddings are not of the same shape as text embeddings used by the decoder. So we need to ‘project’ i.e. change dimensionality of image features extracted by the image encoder to match what’s observed in the text embedding space. So image features become ‘visual tokens’ for the decoder. This could be a single layer or an MLP. I’ve used an MLP because it’s worth showing.
-
A decoder only language model. This is the component that ultimately generates text. In my implementation I’ve deviated from what you see in LLaVA etc. a bit by incorporating the projection module to my decoder. Typically this is not observed, and you leave the architecture of the decoder (which is usually an already pretrained model) untouched.
The scaled dot product self attention implementation is borrowed from Andrej Kapathy's makemore (https://github.com/karpathy/makemore). Also the decoder is an autoregressive character-level language model, just like in makemore. Now you see where the name 'seemore' came from :)
Everything is written from the ground up using pytorch. That includes the attention mechanism (both for the vision encoder and language decoder), patch creation for the vision transformer and everything else. Hope this is useful for anyone going through the repo and/ or the associated blog.
Publications heavily referenced for this implementation:
- Large Multimodal Models: Notes on CVPR 2023 Tutorial: https://arxiv.org/pdf/2306.14895.pdf
- Visual Instruction Tuning: https://arxiv.org/pdf/2304.08485.pdf
- Language Is Not All You Need: Aligning Perception with Language Models: https://arxiv.org/pdf/2302.14045.pdf
seemore.py is the entirety of the implementation in a single file of pytorch.
seemore_from_Scratch.ipynb walks through the intuition for the entire model architecture and how everything comes together. I recommend starting here.
seemore_Concise.ipynb is the consolidated hackable implementation that I encourage you to hack, understand, improve and make your own
The input.txt with tinyshakespear and the base64 encoded string representations + corresponding descriptions are in the inputs.csv file in the images directory.
The modules subdirectory contains each of the components in their own .py file for convenience (should you choose to hack on pieces individually/ reuse for your own projects etc.)
The code was entirely developed on Databricks using a single A100 for compute. If you're running this on Databricks, you can scale this on an arbitrarily large GPU cluster with no issues, on the cloud provider of your choice.
I chose to use MLFlow (which comes pre-installed in Databricks. It's fully open source and you can pip install easily elsewhere) as I find it helpful to track and log all the metrics necessary. This is entirely optional but encouraged.
Please note that the implementation emphasizes readability and hackability vs. performance, so there are many ways in which you could improve this. Please try and let me know!
Hope you find this useful. Happy hacking!!
For Tasks:
Click tags to check more tools for each tasksFor Jobs:
Alternative AI tools for seemore
Similar Open Source Tools

seemore
seemore is a vision language model developed in Pytorch, implementing components like image encoder, vision-language projector, and decoder language model. The model is built from scratch, including attention mechanisms and patch creation. It is designed for readability and hackability, with the intention to be improved upon. The implementation is based on public publications and borrows attention mechanism from makemore by Andrej Kapathy. The code was developed on Databricks using a single A100 for compute, and MLFlow is used for tracking metrics. The tool aims to provide a simplistic version of vision language models like Grok 1.5/GPT-4 Vision, suitable for experimentation and learning.
skyeye
SkyEye is an AI-powered Ground Controlled Intercept (GCI) bot designed for the flight simulator Digital Combat Simulator (DCS). It serves as an advanced replacement for the in-game E-2, E-3, and A-50 AI aircraft, offering modern voice recognition, natural-sounding voices, real-world brevity and procedures, a wide range of commands, and intelligent battlespace monitoring. The tool uses Speech-To-Text and Text-To-Speech technology, can run locally or on a cloud server, and is production-ready software used by various DCS communities.
Electronic-Component-Sorter
The Electronic Component Classifier is a project that uses machine learning and artificial intelligence to automate the identification and classification of electrical and electronic components. It features component classification into seven classes, user-friendly design, and integration with Flask for a user-friendly interface. The project aims to reduce human error in component identification, make the process safer and more reliable, and potentially help visually impaired individuals in identifying electronic components.
Large-Language-Model-Notebooks-Course
This practical free hands-on course focuses on Large Language models and their applications, providing a hands-on experience using models from OpenAI and the Hugging Face library. The course is divided into three major sections: Techniques and Libraries, Projects, and Enterprise Solutions. It covers topics such as Chatbots, Code Generation, Vector databases, LangChain, Fine Tuning, PEFT Fine Tuning, Soft Prompt tuning, LoRA, QLoRA, Evaluate Models, Knowledge Distillation, and more. Each section contains chapters with lessons supported by notebooks and articles. The course aims to help users build projects and explore enterprise solutions using Large Language Models.
deep-seek
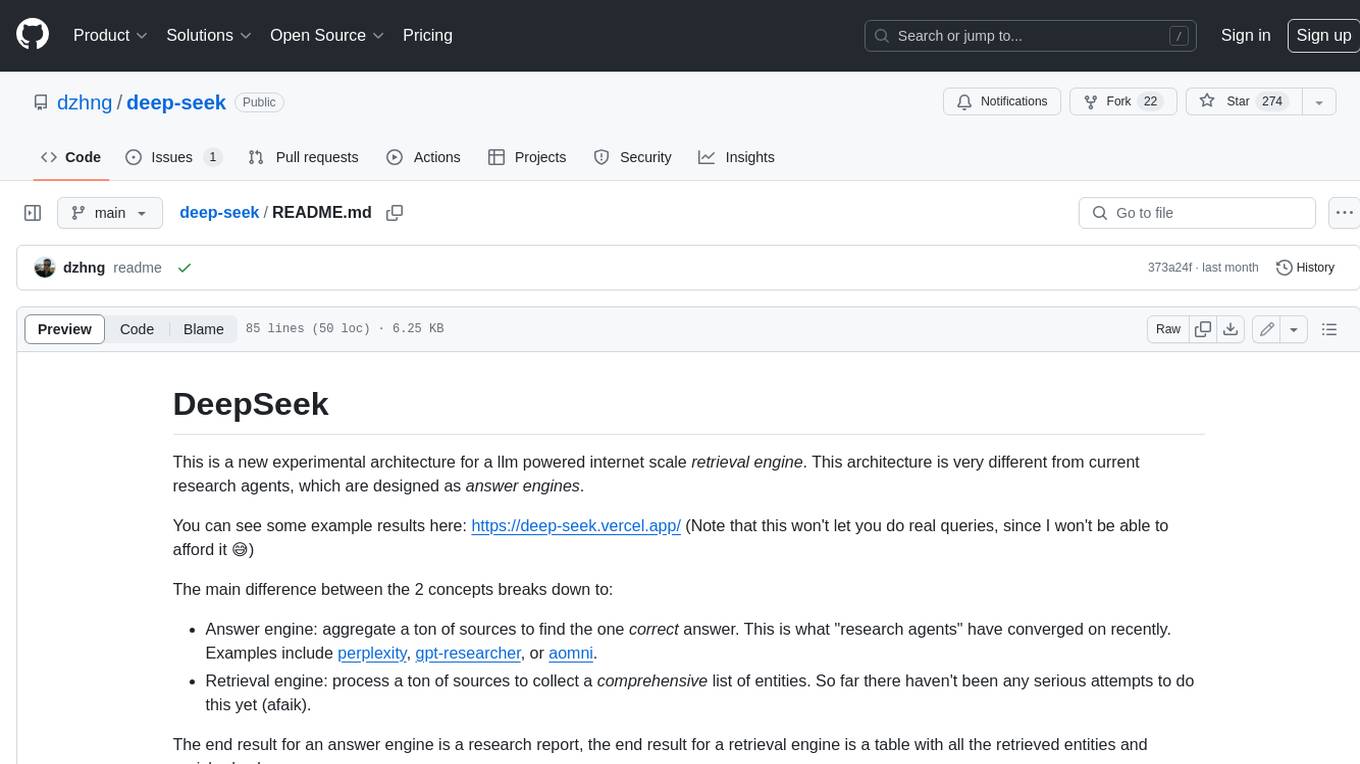
DeepSeek is a new experimental architecture for a large language model (LLM) powered internet-scale retrieval engine. Unlike current research agents designed as answer engines, DeepSeek aims to process a vast amount of sources to collect a comprehensive list of entities and enrich them with additional relevant data. The end result is a table with retrieved entities and enriched columns, providing a comprehensive overview of the topic. DeepSeek utilizes both standard keyword search and neural search to find relevant content, and employs an LLM to extract specific entities and their associated contents. It also includes a smaller answer agent to enrich the retrieved data, ensuring thoroughness. DeepSeek has the potential to revolutionize research and information gathering by providing a comprehensive and structured way to access information from the vastness of the internet.
TypeChat
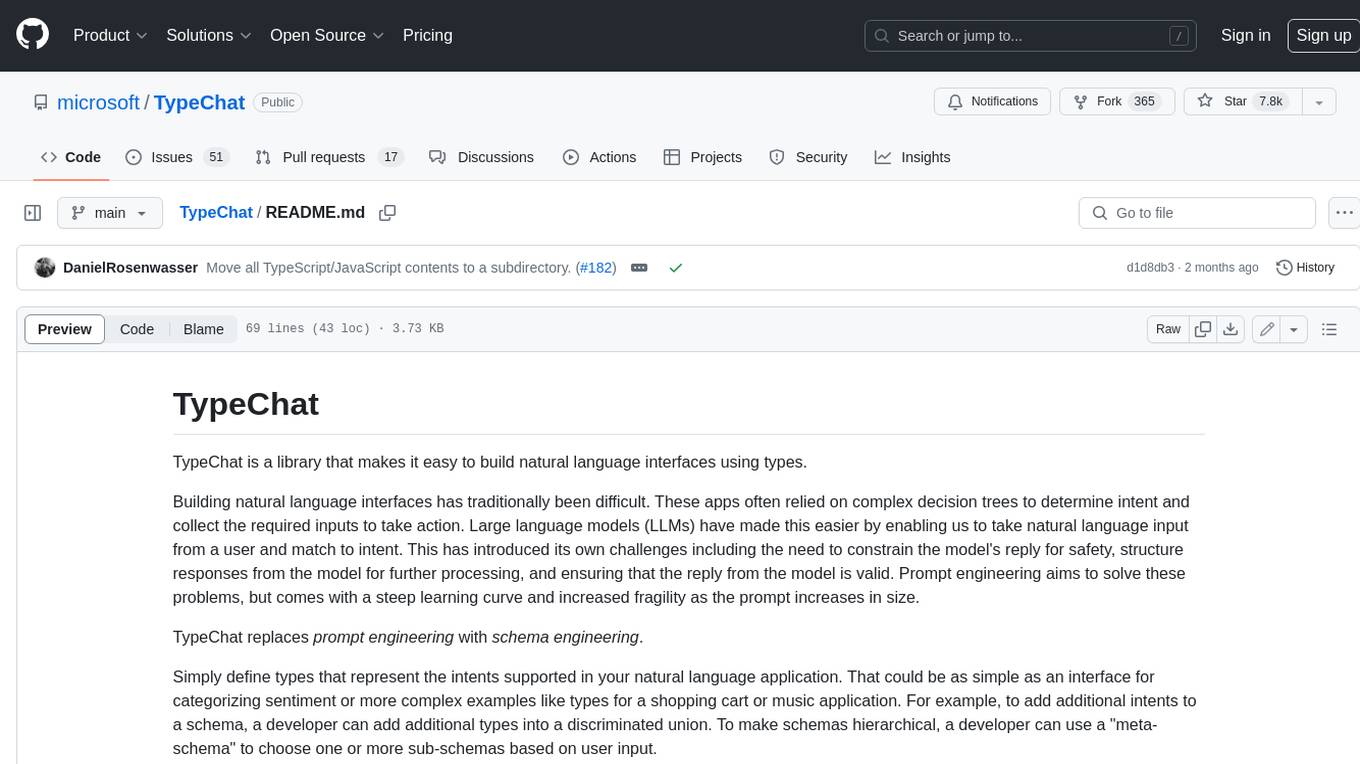
TypeChat is a library that simplifies the creation of natural language interfaces using types. Traditionally, building natural language interfaces has been challenging, often relying on complex decision trees to determine intent and gather necessary inputs for action. Large language models (LLMs) have simplified this process by allowing us to accept natural language input from users and match it to intent. However, this has introduced new challenges, such as the need to constrain the model's response for safety, structure responses from the model for further processing, and ensure the validity of the model's response. Prompt engineering aims to address these issues, but it comes with a steep learning curve and increased fragility as the prompt grows in size.
llm_steer
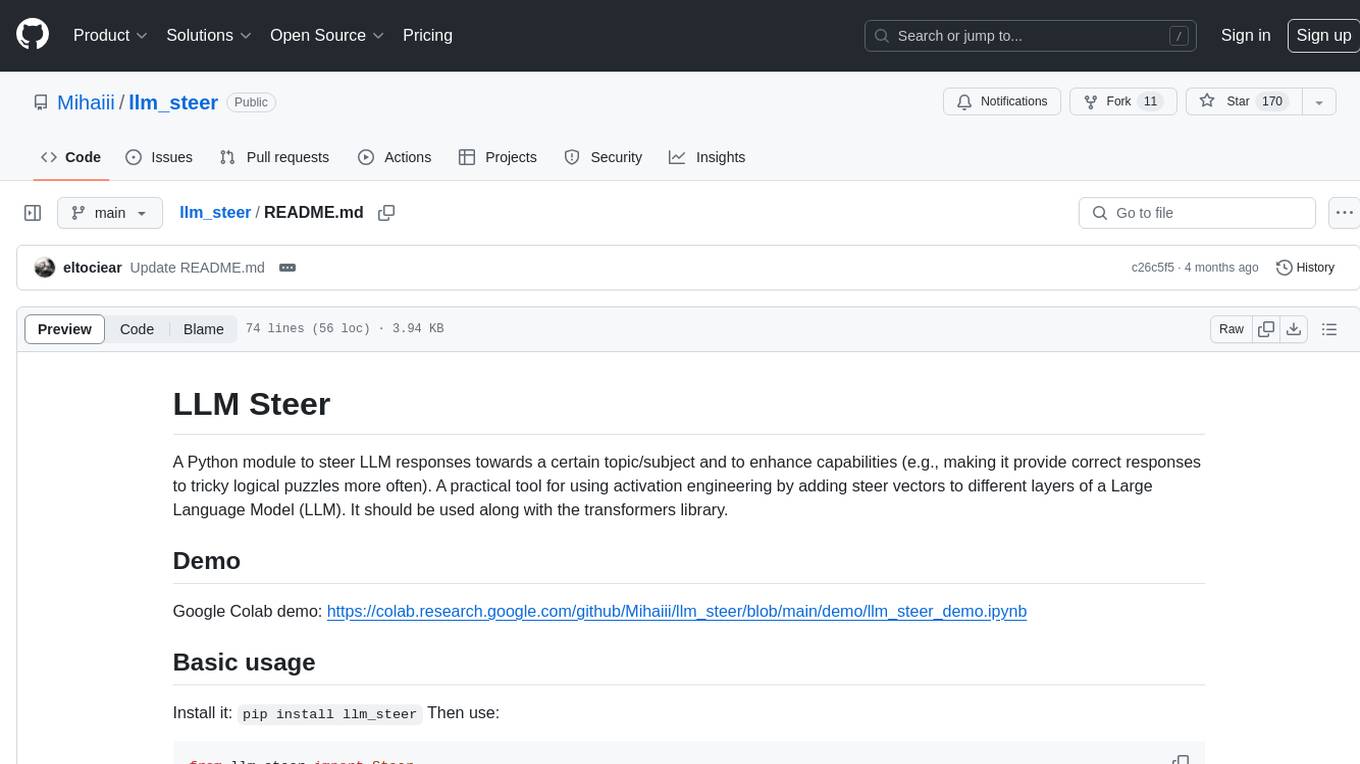
LLM Steer is a Python module designed to steer Large Language Models (LLMs) towards specific topics or subjects by adding steer vectors to different layers of the model. It enhances the model's capabilities, such as providing correct responses to logical puzzles. The tool should be used in conjunction with the transformers library. Users can add steering vectors to specific layers of the model with coefficients and text, retrieve applied steering vectors, and reset all steering vectors to the initial model. Advanced usage involves changing default parameters, but it may lead to the model outputting gibberish in most cases. The tool is meant for experimentation and can be used to enhance role-play characteristics in LLMs.
commonplace-bot
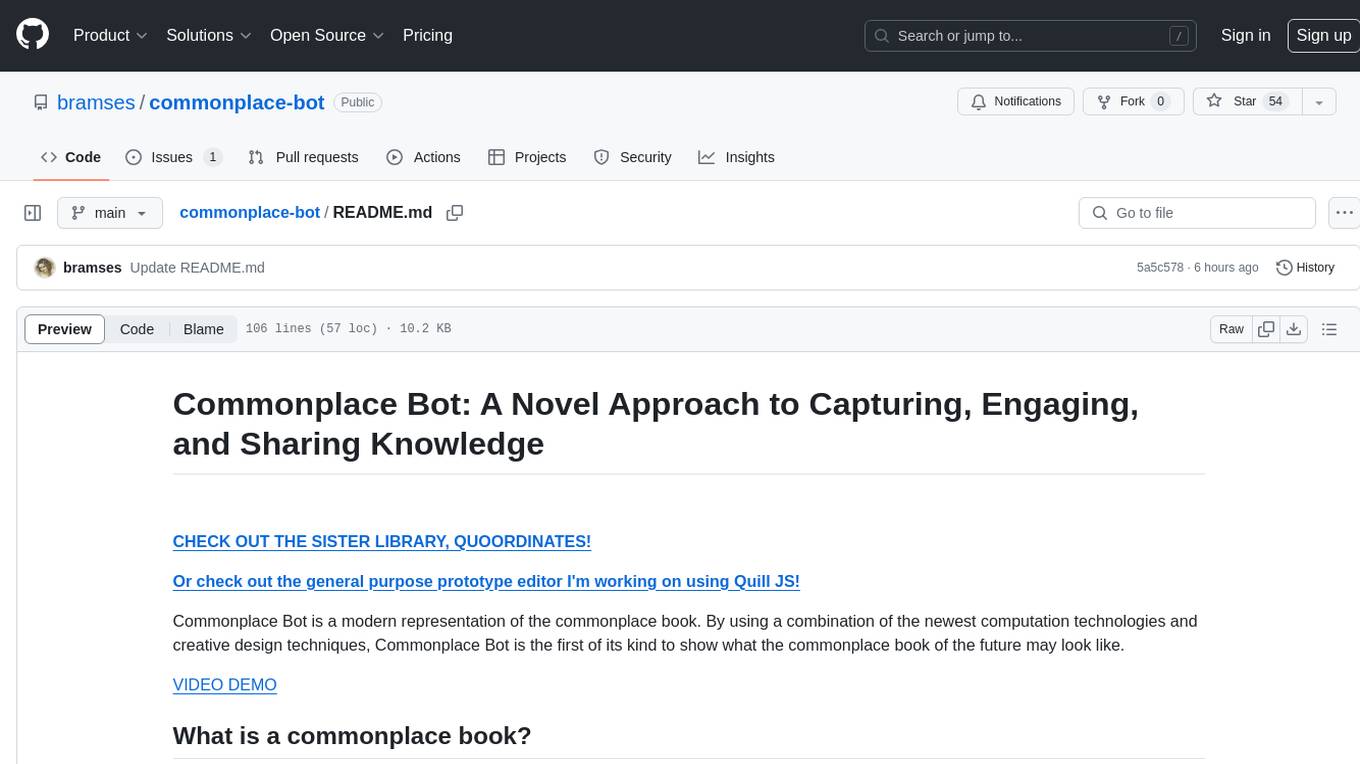
Commonplace Bot is a modern representation of the commonplace book, leveraging modern technological advancements in computation, data storage, machine learning, and networking. It aims to capture, engage, and share knowledge by providing a platform for users to collect ideas, quotes, and information, organize them efficiently, engage with the data through various strategies and triggers, and transform the data into new mediums for sharing. The tool utilizes embeddings and cached transformations for efficient data storage and retrieval, flips traditional engagement rules by engaging with the user, and enables users to alchemize raw data into new forms like art prompts. Commonplace Bot offers a unique approach to knowledge management and creative expression.
xef
xef.ai is a one-stop library designed to bring the power of modern AI to applications and services. It offers integration with Large Language Models (LLM), image generation, and other AI services. The library is packaged in two layers: core libraries for basic AI services integration and integrations with other libraries. xef.ai aims to simplify the transition to modern AI for developers by providing an idiomatic interface, currently supporting Kotlin. Inspired by LangChain and Hugging Face, xef.ai may transmit source code and user input data to third-party services, so users should review privacy policies and take precautions. Libraries are available in Maven Central under the `com.xebia` group, with `xef-core` as the core library. Developers can add these libraries to their projects and explore examples to understand usage.
ClipboardConqueror
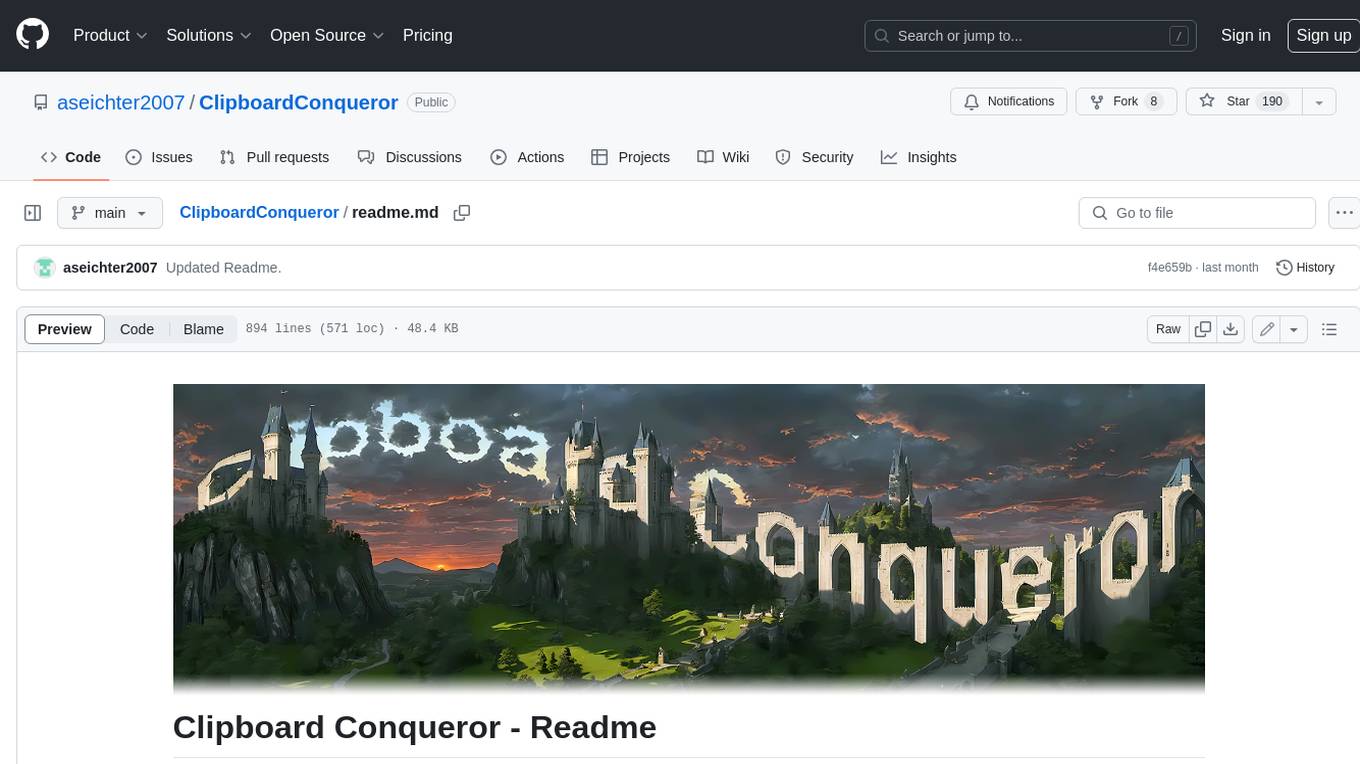
Clipboard Conqueror is a multi-platform omnipresent copilot alternative. Currently requiring a kobold united or openAI compatible back end, this software brings powerful LLM based tools to any text field, the universal copilot you deserve. It simply works anywhere. No need to sign in, no required key. Provided you are using local AI, CC is a data secure alternative integration provided you trust whatever backend you use. *Special thank you to the creators of KoboldAi, KoboldCPP, llamma, openAi, and the communities that made all this possible to figure out.
MediaAI
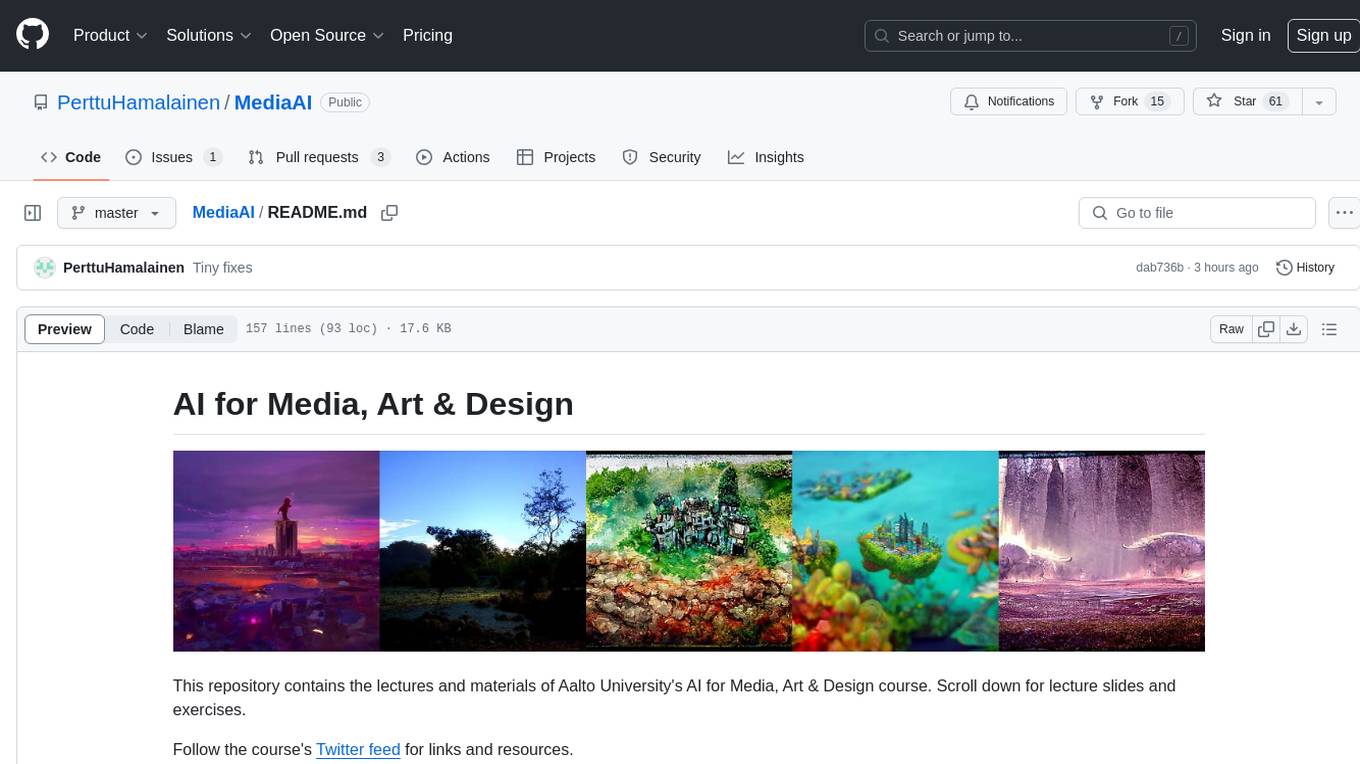
MediaAI is a repository containing lectures and materials for Aalto University's AI for Media, Art & Design course. The course is a hands-on, project-based crash course focusing on deep learning and AI techniques for artists and designers. It covers common AI algorithms & tools, their applications in art, media, and design, and provides hands-on practice in designing, implementing, and using these tools. The course includes lectures, exercises, and a final project based on students' interests. Students can complete the course without programming by creatively utilizing existing tools like ChatGPT and DALL-E. The course emphasizes collaboration, peer-to-peer tutoring, and project-based learning. It covers topics such as text generation, image generation, optimization, and game AI.
AliceVision
AliceVision is a photogrammetric computer vision framework which provides a 3D reconstruction pipeline. It is designed to process images from different viewpoints and create detailed 3D models of objects or scenes. The framework includes various algorithms for feature detection, matching, and structure from motion. AliceVision is suitable for researchers, developers, and enthusiasts interested in computer vision, photogrammetry, and 3D modeling. It can be used for applications such as creating 3D models of buildings, archaeological sites, or objects for virtual reality and augmented reality experiences.
HybridAGI
HybridAGI is the first Programmable LLM-based Autonomous Agent that lets you program its behavior using a **graph-based prompt programming** approach. This state-of-the-art feature allows the AGI to efficiently use any tool while controlling the long-term behavior of the agent. Become the _first Prompt Programmers in history_ ; be a part of the AI revolution one node at a time! **Disclaimer: We are currently in the process of upgrading the codebase to integrate DSPy**
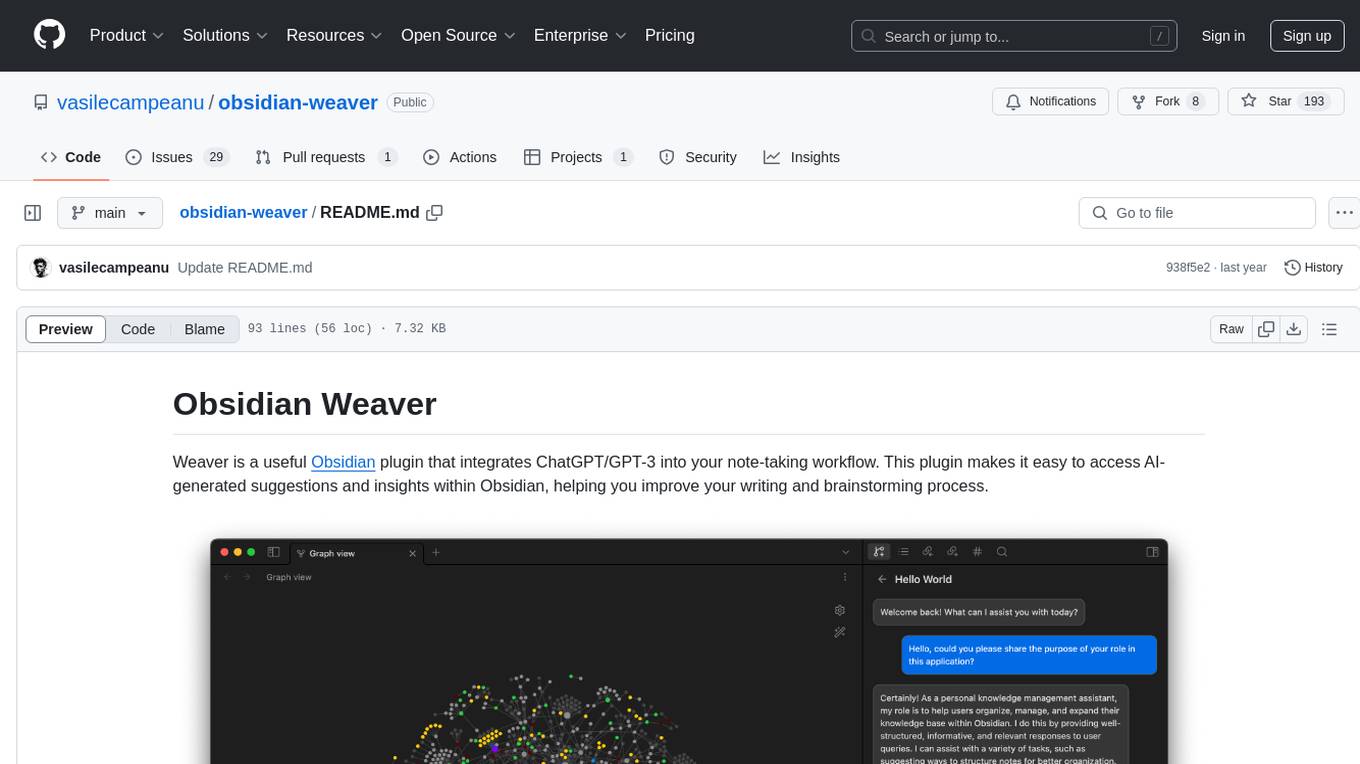
obsidian-weaver
Obsidian Weaver is a plugin that integrates ChatGPT/GPT-3 into the note-taking workflow of Obsidian. It allows users to easily access AI-generated suggestions and insights within Obsidian, enhancing the writing and brainstorming process. The plugin respects Obsidian's philosophy of storing notes locally, ensuring data security and privacy. Weaver offers features like creating new chat sessions with the AI assistant and receiving instant responses, all within the Obsidian environment. It provides a seamless integration with Obsidian's interface, making the writing process efficient and helping users stay focused. The plugin is constantly being improved with new features and updates to enhance the note-taking experience.
gen-cv
This repository is a rich resource offering examples of synthetic image generation, manipulation, and reasoning using Azure Machine Learning, Computer Vision, OpenAI, and open-source frameworks like Stable Diffusion. It provides practical insights into image processing applications, including content generation, video analysis, avatar creation, and image manipulation with various tools and APIs.
farmvibes-ai
FarmVibes.AI is a repository focused on developing multi-modal geospatial machine learning models for agriculture and sustainability. It enables users to fuse various geospatial and spatiotemporal datasets, such as satellite imagery, drone imagery, and weather data, to generate robust insights for agriculture-related problems. The repository provides fusion workflows, data preparation tools, model training notebooks, and an inference engine to facilitate the creation of geospatial models tailored for agriculture and farming. Users can interact with the tools via a local cluster, REST API, or a Python client, and the repository includes documentation and notebook examples to guide users in utilizing FarmVibes.AI for tasks like harvest date detection, climate impact estimation, micro climate prediction, and crop identification.
For similar tasks

seemore
seemore is a vision language model developed in Pytorch, implementing components like image encoder, vision-language projector, and decoder language model. The model is built from scratch, including attention mechanisms and patch creation. It is designed for readability and hackability, with the intention to be improved upon. The implementation is based on public publications and borrows attention mechanism from makemore by Andrej Kapathy. The code was developed on Databricks using a single A100 for compute, and MLFlow is used for tracking metrics. The tool aims to provide a simplistic version of vision language models like Grok 1.5/GPT-4 Vision, suitable for experimentation and learning.
OpenAI-CLIP-Feature
This repository provides code for extracting image and text features using OpenAI CLIP models, supporting both global and local grid visual features. It aims to facilitate multi visual-and-language downstream tasks by allowing users to customize input and output grid resolution easily. The extracted features have shown comparable or superior results in image captioning tasks without hyperparameter tuning. The repo supports various CLIP models and provides detailed information on supported settings and results on MSCOCO image captioning. Users can get started by setting up experiments with the extracted features using X-modaler.
ai-algorithms
This repository is a work in progress that contains first-principle implementations of groundbreaking AI algorithms using various deep learning frameworks. Each implementation is accompanied by supporting research papers, aiming to provide comprehensive educational resources for understanding and implementing foundational AI algorithms from scratch.
create-million-parameter-llm-from-scratch
The 'create-million-parameter-llm-from-scratch' repository provides a detailed guide on creating a Large Language Model (LLM) with 2.3 million parameters from scratch. The blog replicates the LLaMA approach, incorporating concepts like RMSNorm for pre-normalization, SwiGLU activation function, and Rotary Embeddings. The model is trained on a basic dataset to demonstrate the ease of creating a million-parameter LLM without the need for a high-end GPU.
glossAPI
The glossAPI project aims to develop a Greek language model as open-source software, with code licensed under EUPL and data under Creative Commons BY-SA. The project focuses on collecting and evaluating open text sources in Greek, with efforts to prioritize and gather textual data sets. The project encourages contributions through the CONTRIBUTING.md file and provides resources in the wiki for viewing and modifying recorded sources. It also welcomes ideas and corrections through issue submissions. The project emphasizes the importance of open standards, ethically secured data, privacy protection, and addressing digital divides in the context of artificial intelligence and advanced language technologies.
LLM101n
LLM101n is a course focused on building a Storyteller AI Large Language Model (LLM) from scratch in Python, C, and CUDA. The course covers various topics such as language modeling, machine learning, attention mechanisms, tokenization, optimization, device usage, precision training, distributed optimization, datasets, inference, finetuning, deployment, and multimodal applications. Participants will gain a deep understanding of AI, LLMs, and deep learning through hands-on projects and practical examples.
x-lstm
This repository contains an unofficial implementation of the xLSTM model introduced in Beck et al. (2024). It serves as a didactic tool to explain the details of a modern Long-Short Term Memory model with competitive performance against Transformers or State-Space models. The repository also includes a Lightning-based implementation of a basic LLM for multi-GPU training. It provides modules for scalar-LSTM and matrix-LSTM, as well as an xLSTM LLM built using Pytorch Lightning for easy training on multi-GPUs.
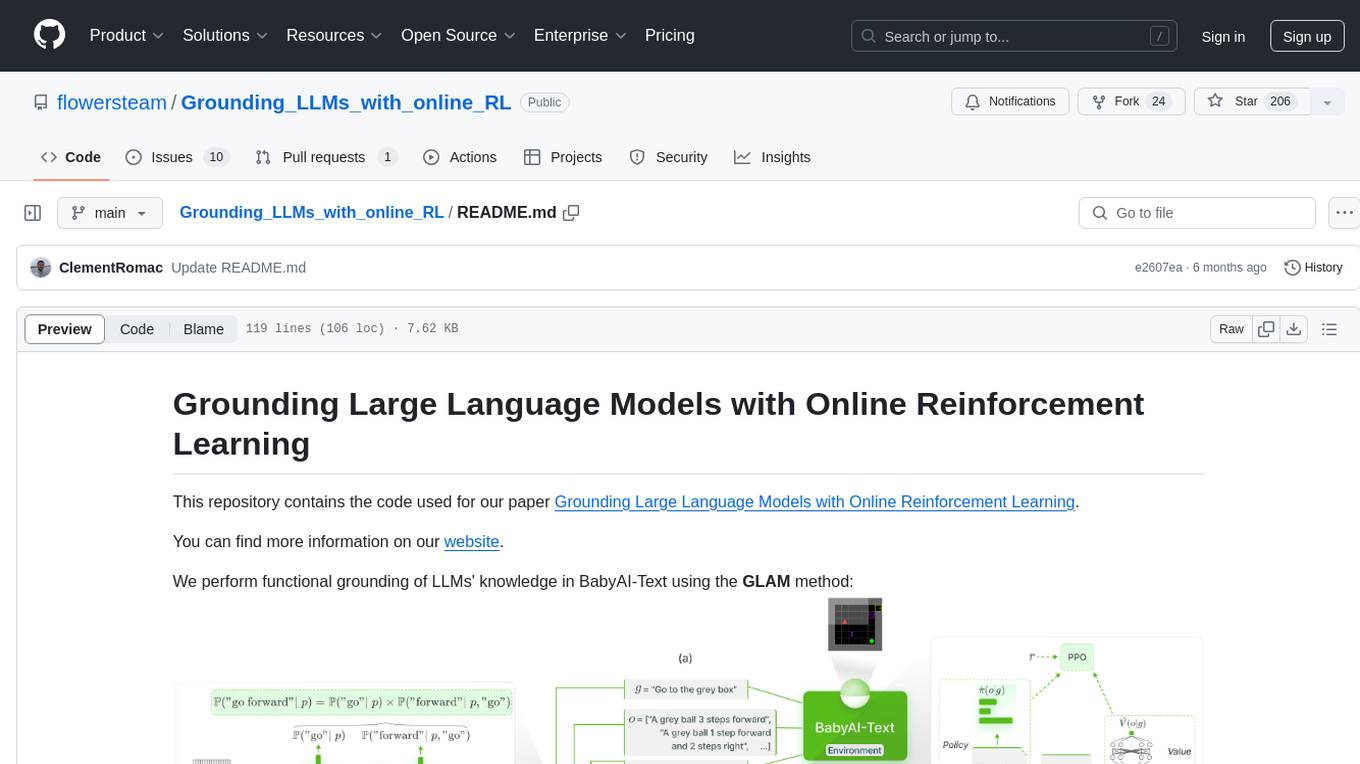
Grounding_LLMs_with_online_RL
This repository contains code for grounding large language models' knowledge in BabyAI-Text using the GLAM method. It includes the BabyAI-Text environment, code for experiments, and training agents. The repository is structured with folders for the environment, experiments, agents, configurations, SLURM scripts, and training scripts. Installation steps involve creating a conda environment, installing PyTorch, required packages, BabyAI-Text, and Lamorel. The launch process involves using Lamorel with configs and training scripts. Users can train a language model and evaluate performance on test episodes using provided scripts and config entries.
For similar jobs
sweep
Sweep is an AI junior developer that turns bugs and feature requests into code changes. It automatically handles developer experience improvements like adding type hints and improving test coverage.
teams-ai
The Teams AI Library is a software development kit (SDK) that helps developers create bots that can interact with Teams and Microsoft 365 applications. It is built on top of the Bot Framework SDK and simplifies the process of developing bots that interact with Teams' artificial intelligence capabilities. The SDK is available for JavaScript/TypeScript, .NET, and Python.
ai-guide
This guide is dedicated to Large Language Models (LLMs) that you can run on your home computer. It assumes your PC is a lower-end, non-gaming setup.
classifai
Supercharge WordPress Content Workflows and Engagement with Artificial Intelligence. Tap into leading cloud-based services like OpenAI, Microsoft Azure AI, Google Gemini and IBM Watson to augment your WordPress-powered websites. Publish content faster while improving SEO performance and increasing audience engagement. ClassifAI integrates Artificial Intelligence and Machine Learning technologies to lighten your workload and eliminate tedious tasks, giving you more time to create original content that matters.
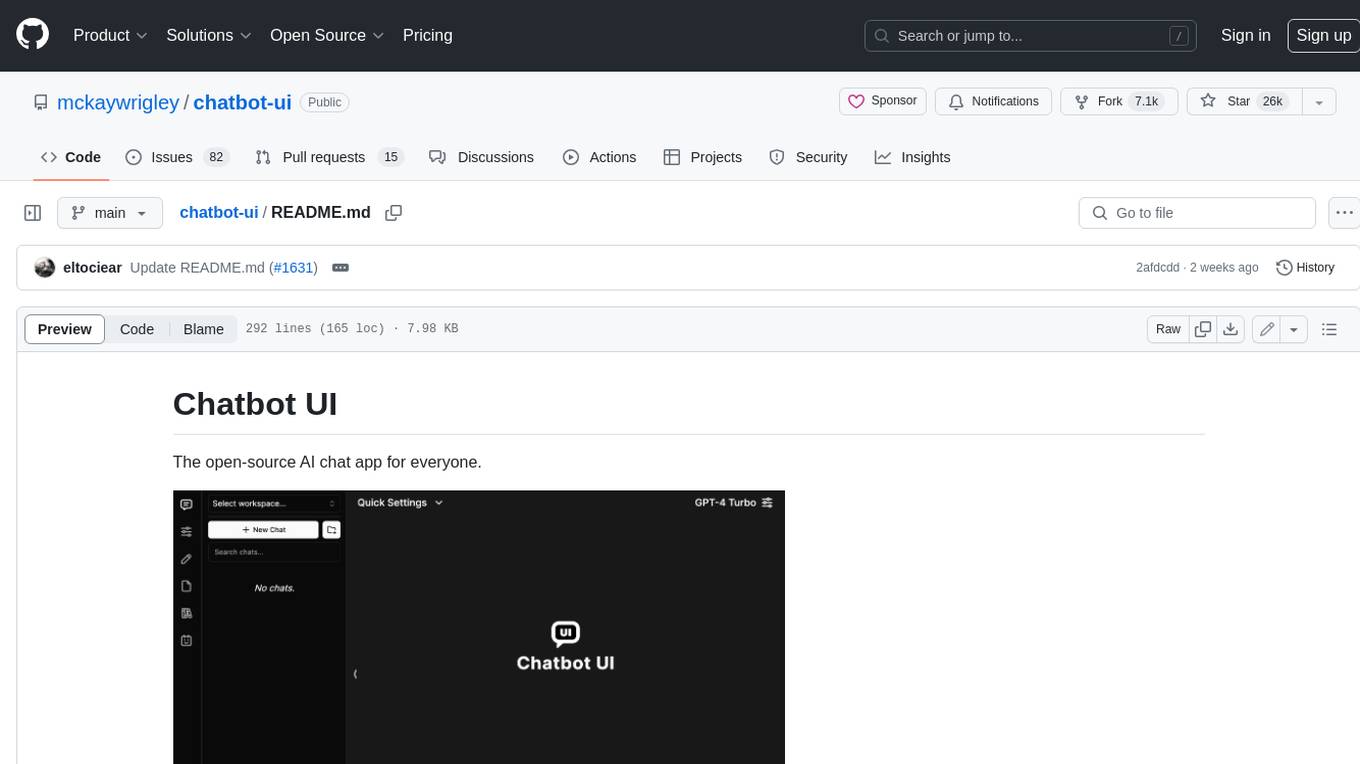
chatbot-ui
Chatbot UI is an open-source AI chat app that allows users to create and deploy their own AI chatbots. It is easy to use and can be customized to fit any need. Chatbot UI is perfect for businesses, developers, and anyone who wants to create a chatbot.
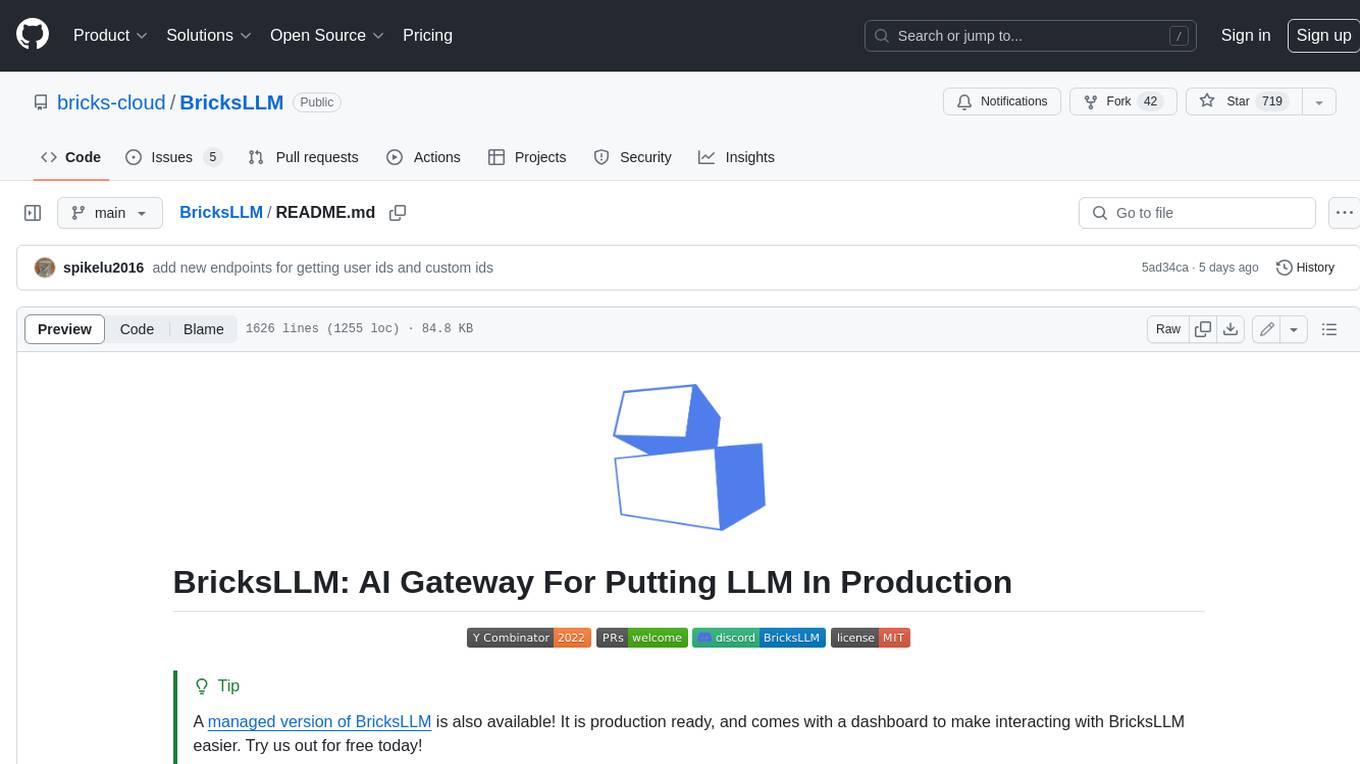
BricksLLM
BricksLLM is a cloud native AI gateway written in Go. Currently, it provides native support for OpenAI, Anthropic, Azure OpenAI and vLLM. BricksLLM aims to provide enterprise level infrastructure that can power any LLM production use cases. Here are some use cases for BricksLLM: * Set LLM usage limits for users on different pricing tiers * Track LLM usage on a per user and per organization basis * Block or redact requests containing PIIs * Improve LLM reliability with failovers, retries and caching * Distribute API keys with rate limits and cost limits for internal development/production use cases * Distribute API keys with rate limits and cost limits for students
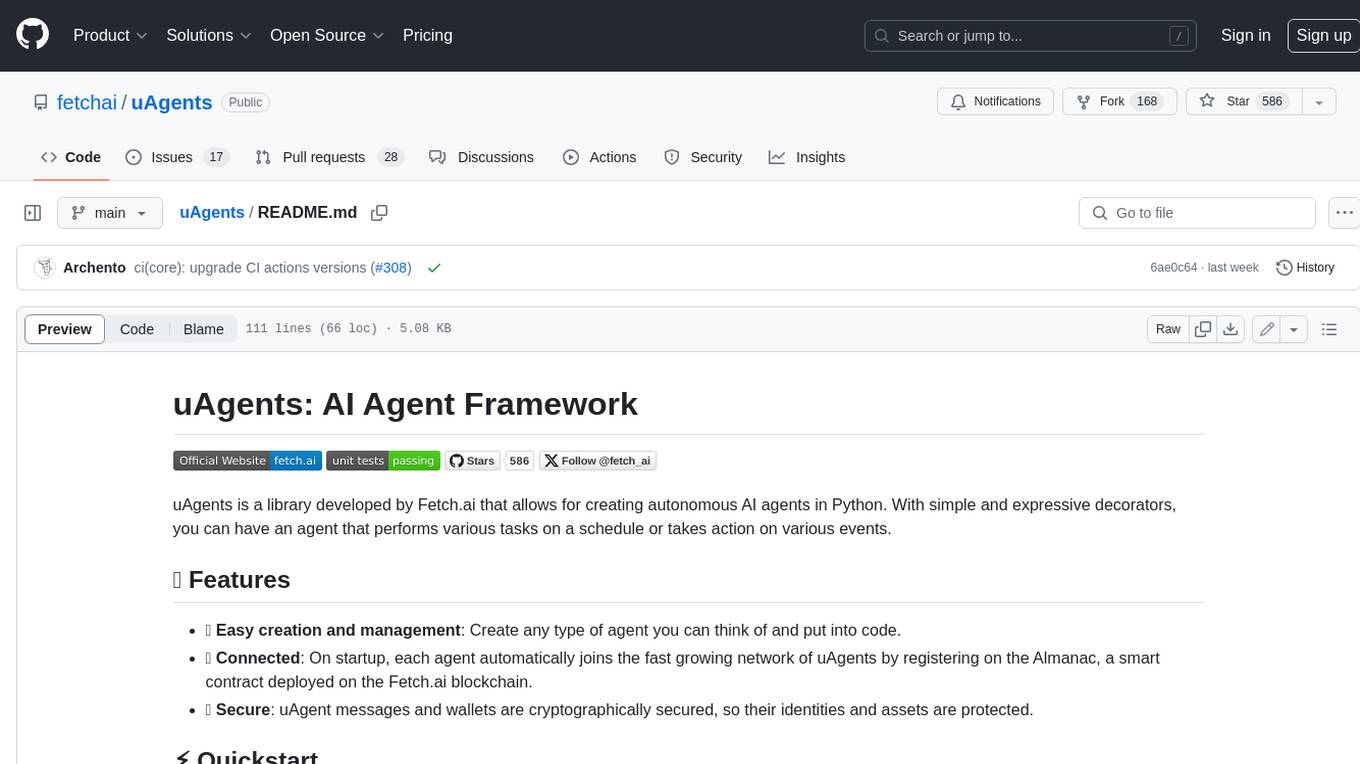
uAgents
uAgents is a Python library developed by Fetch.ai that allows for the creation of autonomous AI agents. These agents can perform various tasks on a schedule or take action on various events. uAgents are easy to create and manage, and they are connected to a fast-growing network of other uAgents. They are also secure, with cryptographically secured messages and wallets.
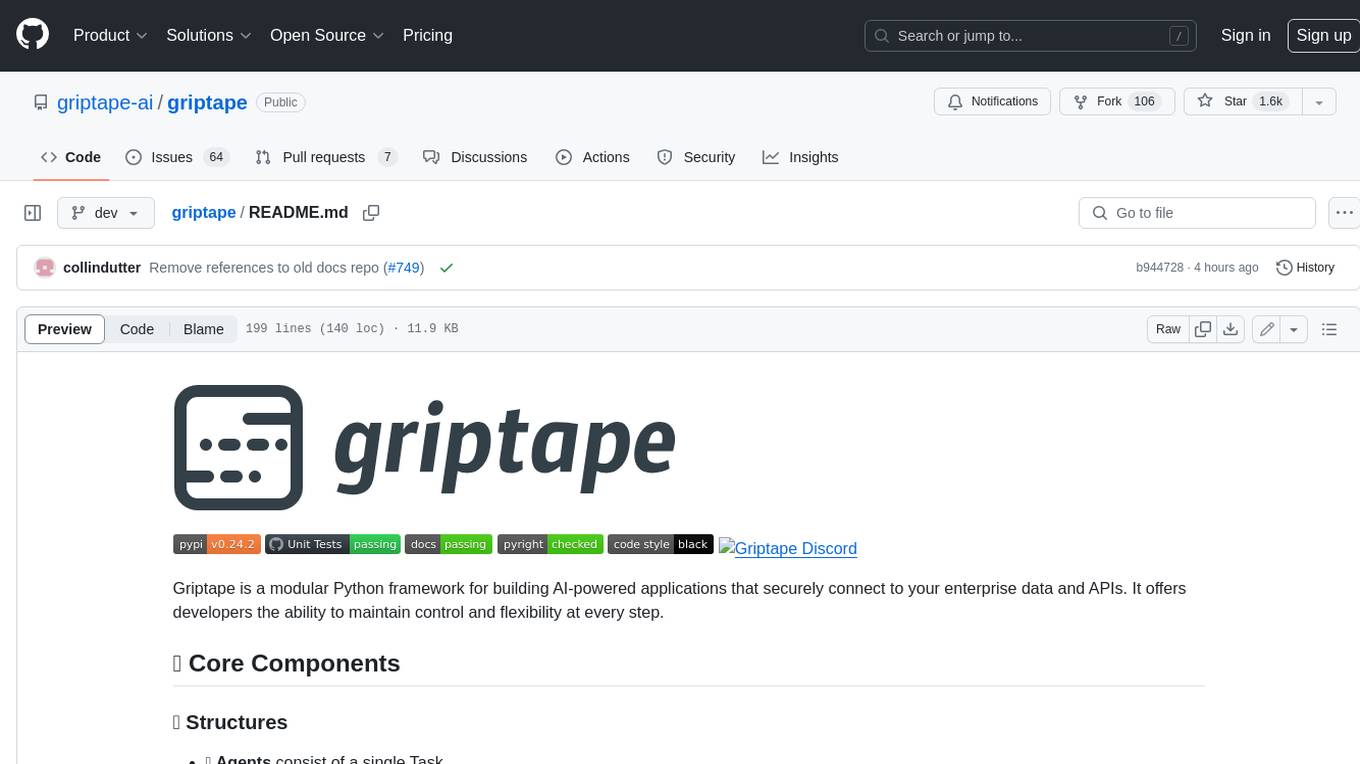
griptape
Griptape is a modular Python framework for building AI-powered applications that securely connect to your enterprise data and APIs. It offers developers the ability to maintain control and flexibility at every step. Griptape's core components include Structures (Agents, Pipelines, and Workflows), Tasks, Tools, Memory (Conversation Memory, Task Memory, and Meta Memory), Drivers (Prompt and Embedding Drivers, Vector Store Drivers, Image Generation Drivers, Image Query Drivers, SQL Drivers, Web Scraper Drivers, and Conversation Memory Drivers), Engines (Query Engines, Extraction Engines, Summary Engines, Image Generation Engines, and Image Query Engines), and additional components (Rulesets, Loaders, Artifacts, Chunkers, and Tokenizers). Griptape enables developers to create AI-powered applications with ease and efficiency.
