
figma-console-mcp
Your design system as an API. Connect AI to Figma for extraction, creation, and debugging.
Stars: 261
Figma Console MCP is a Model Context Protocol server that bridges design and development, giving AI assistants complete access to Figma for extraction, creation, and debugging. It connects AI assistants like Claude to Figma, enabling plugin debugging, visual debugging, design system extraction, design creation, variable management, real-time monitoring, and three installation methods. The server offers 53+ tools for NPX and Local Git setups, while Remote SSE provides read-only access with 16 tools. Users can create and modify designs with AI, contribute to projects, or explore design data. The server supports authentication via personal access tokens and OAuth, and offers tools for navigation, console debugging, visual debugging, design system extraction, design creation, design-code parity, variable management, and AI-assisted design creation.
README:

Your design system as an API. Model Context Protocol server that bridges design and development—giving AI assistants complete access to Figma for extraction, creation, and debugging.
Figma Console MCP connects AI assistants (like Claude) to Figma, enabling:
- 🐛 Plugin debugging - Capture console logs, errors, and stack traces
- 📸 Visual debugging - Take screenshots for context
- 🎨 Design system extraction - Pull variables, components, and styles
- ✏️ Design creation - Create UI components, frames, and layouts directly in Figma
- 🔧 Variable management - Create, update, rename, and delete design tokens
- ⚡ Real-time monitoring - Watch logs as plugins execute
- 🔄 Three ways to install - Remote SSE (OAuth, zero-setup), NPX (npm package), or Local Git (source code)
First, decide what you want to do:
| I want to... | Setup Method | Time |
|---|---|---|
| Create and modify designs with AI | NPX Setup (Recommended) | ~10 min |
| Contribute to the project | Local Git Setup | ~15 min |
| Just explore my design data (read-only) | Remote SSE | ~2 min |
| Capability | NPX / Local Git | Remote SSE |
|---|---|---|
| Read design data | ✅ | ✅ |
| Create components & frames | ✅ | ❌ |
| Edit existing designs | ✅ | ❌ |
| Manage design tokens/variables | ✅ | ❌ |
| Desktop Bridge plugin | ✅ | ❌ |
| Total tools available | 53+ | 16 |
Bottom line: Remote SSE is read-only with ~34% of the tools. If you want AI to actually design in Figma, use NPX Setup.
Best for: Designers who want full AI-assisted design capabilities.
What you get: All 53+ tools including design creation, variable management, and component instantiation.
- [ ] Node.js 18+ — Check with
node --version(Download) - [ ] Figma Desktop installed (not just the web app)
- [ ] An MCP client (Claude Code, Cursor, Windsurf, Claude Desktop, etc.)
- Go to figma.com/developers/api#access-tokens
- Click "Get personal access token"
- Enter description:
Figma Console MCP -
Copy the token — you won't see it again! (starts with
figd_)
Claude Code (CLI):
claude mcp add figma-console -s user -e FIGMA_ACCESS_TOKEN=figd_YOUR_TOKEN_HERE -- npx -y figma-console-mcp@latestCursor / Windsurf / Claude Desktop:
Add to your MCP config file:
{
  "mcpServers": {
    "figma-console": {
      "command": "npx",
      "args": ["-y", "figma-console-mcp@latest"],
      "env": {
        "FIGMA_ACCESS_TOKEN": "figd_YOUR_TOKEN_HERE"
      }
    }
  }
}Option A — Desktop Bridge Plugin (Recommended):
- Open Figma Desktop normally (no special flags needed)
- Go to Plugins → Development → Import plugin from manifest...
- Select
figma-desktop-bridge/manifest.jsonfrom the figma-console-mcp directory - Run the plugin in your Figma file — it auto-connects via WebSocket
One-time setup. No need to restart Figma with special flags.
Option B — CDP Debug Mode (Alternative):
Quit Figma completely, then restart with:
-
macOS:
open -a "Figma" --args --remote-debugging-port=9222 -
Windows:
cmd /c "%LOCALAPPDATA%\Figma\Figma.exe" --remote-debugging-port=9222
Verify at http://localhost:9222 — you should see inspectable Figma pages.
Restart your MCP client to load the new configuration.
Check Figma status
→ Should show connection status with active transport (WebSocket or CDP)
Create a simple frame with a blue background
→ Should create a frame in Figma (confirms write access!)
Best for: Developers who want to modify source code or contribute to the project.
What you get: Same 53+ tools as NPX, plus full source code access.
# Clone and build
git clone https://github.com/southleft/figma-console-mcp.git
cd figma-console-mcp
npm install
npm run build:local{
"mcpServers": {
"figma-console": {
"command": "node",
"args": ["/absolute/path/to/figma-console-mcp/dist/local.js"],
"env": {
"FIGMA_ACCESS_TOKEN": "figd_YOUR_TOKEN_HERE"
}
}
}
}Then follow NPX Steps 3-5 above.
Best for: Quickly evaluating the tool or read-only design data extraction.
What you get: 18 read-only tools — view data, take screenshots, read logs, design-code parity. Cannot create or modify designs.
- Open Claude Desktop → Settings → Connectors
- Click "Add Custom Connector"
- Enter:
-
Name:
Figma Console (Read-Only) -
URL:
https://figma-console-mcp.southleft.com/sse
-
Name:
- Click "Add" — Done! ✅
OAuth authentication happens automatically when you first use design system tools.
⚠️ Known Issue: Claude Code's native--transport ssehas a bug. Usemcp-remoteinstead:
claude mcp add figma-console -s user -- npx -y mcp-remote@latest https://figma-console-mcp.southleft.com/sse💡 Tip: For full capabilities, use NPX Setup instead of Remote SSE.
{
  "mcpServers": {
    "figma-console": {
      "command": "npx",
      "args": ["-y", "mcp-remote", "https://figma-console-mcp.southleft.com/sse"]
    }
  }
}Ready for design creation? Follow the NPX Setup guide above.
| Feature | NPX (Recommended) | Local Git | Remote SSE |
|---|---|---|---|
| Setup time | ~10 minutes | ~15 minutes | ~2 minutes |
| Total tools | 53+ | 53+ | 18 (read-only) |
| Design creation | ✅ | ✅ | ❌ |
| Variable management | ✅ | ✅ | ❌ |
| Component instantiation | ✅ | ✅ | ❌ |
| Desktop Bridge plugin | ✅ | ✅ | ❌ |
| Variables (no Enterprise) | ✅ | ✅ | ❌ |
| Console logs | ✅ (zero latency) | ✅ (zero latency) | ✅ |
| Read design data | ✅ | ✅ | ✅ |
| Authentication | PAT (manual) | PAT (manual) | OAuth (automatic) |
| Automatic updates | ✅ (@latest) |
Manual (git pull) |
✅ |
| Source code access | ❌ | ✅ | ❌ |
Key insight: Remote SSE is read-only with ~34% of the tools. Use NPX for full capabilities.
After setup, try these prompts:
Basic test (both modes):
Navigate to https://www.figma.com and check status
Design system test (requires auth):
Get design variables from [your Figma file URL]
Plugin test (Local Mode only):
Show me the primary font for [your theme name]
When you first use design system tools:
- Browser opens automatically to Figma authorization page
- Click "Allow" to authorize (one-time)
- Token stored securely and refreshed automatically
- Works with Free, Pro, and Enterprise Figma plans
- Visit https://www.figma.com/developers/api#access-tokens
- Generate token
- Add to MCP config as
FIGMA_ACCESS_TOKENenvironment variable
-
figma_navigate- Open Figma URLs -
figma_get_status- Check connection status
-
figma_get_console_logs- Retrieve console logs -
figma_watch_console- Real-time log streaming -
figma_clear_console- Clear log buffer -
figma_reload_plugin- Reload current page
-
figma_take_screenshot- Capture UI screenshots
-
figma_get_variables- Extract design tokens/variables -
figma_get_component- Get component data (metadata or reconstruction spec) -
figma_get_component_for_development- Component + image -
figma_get_component_image- Just the image -
figma_get_styles- Color, text, effect styles -
figma_get_file_data- Full file structure -
figma_get_file_for_plugin- Optimized file data
-
figma_execute- Power tool: Run any Figma Plugin API code to create designs- Create frames, shapes, text, components
- Apply auto-layout, styles, effects
- Build complete UI mockups programmatically
-
figma_arrange_component_set- Organize variants into professional component sets- Convert multiple component variants into a proper Figma component set
- Applies native purple dashed border visualization automatically
- Creates white container frame with title, row labels, and column headers
- Row labels vertically centered with each grid row
- Column headers horizontally centered with each column
- Use natural language like "arrange these variants" or "organize as component set"
-
figma_set_description- Document components with rich descriptions- Add descriptions to components, component sets, and styles
- Supports markdown formatting for rich documentation
- Descriptions appear in Dev Mode for developers
-
figma_check_design_parity- Compare Figma component specs against code implementation, producing a scored diff report with actionable fix items -
figma_generate_component_doc- Generate platform-agnostic markdown documentation by merging Figma design data with code-side info
-
figma_create_variable_collection- Create new variable collections with modes -
figma_create_variable- Create COLOR, FLOAT, STRING, or BOOLEAN variables -
figma_update_variable- Update variable values in specific modes -
figma_rename_variable- Rename variables while preserving values -
figma_delete_variable- Delete variables -
figma_delete_variable_collection- Delete collections and all their variables -
figma_add_mode- Add modes to collections (e.g., "Dark", "Mobile") -
figma_rename_mode- Rename existing modes -
figma_batch_create_variables- Create up to 100 variables in one call (10-50x faster) -
figma_batch_update_variables- Update up to 100 variable values in one call -
figma_setup_design_tokens- Create complete token system (collection + modes + variables) atomically
Navigate to my Figma plugin and show me any console errors
Watch the console for 30 seconds while I test my plugin
Get the last 20 console logs
Get all design variables from https://figma.com/design/abc123
Extract color styles and show me the CSS exports
Get the Button component with a visual reference image
Get the Badge component in reconstruction format for programmatic creation
Create a success notification card with a checkmark icon and message
Design a button component with hover and disabled states
Build a navigation bar with logo, menu items, and user avatar
Create a modal dialog with header, content area, and action buttons
Arrange these button variants into a component set
Organize my icon variants as a proper component set with the purple border
Create a new color collection called "Brand Colors" with Light and Dark modes
Add a primary color variable with value #3B82F6 for Light and #60A5FA for Dark
Rename the "Default" mode to "Light Theme"
Add a "High Contrast" mode to the existing collection
Compare the Button component in Figma against our React implementation
Check design parity for the Card component before sign-off
Generate component documentation for the Dialog from our design system
Take a screenshot of the current Figma canvas
Navigate to this file and capture what's on screen
⚠️ Local Mode Only: This feature requires the Desktop Bridge plugin and only works with Local Mode installation (NPX or Local Git). Remote Mode is read-only and cannot create or modify designs.
One of the most powerful capabilities of this MCP server is the ability to design complete UI components and pages directly in Figma through natural language conversation with any MCP-compatible AI assistant like Claude Desktop or Claude Code.
Create original designs from scratch:
Design a login card with email and password fields, a "Forgot password?" link,
and a primary Sign In button. Use 32px padding, 16px border radius, and subtle shadow.
Leverage existing component libraries:
Build a dashboard header using the Avatar component for the user profile,
Button components for actions, and Badge components for notifications.
Generate complete page layouts:
Create a settings page with a sidebar navigation, a main content area with form fields,
and a sticky footer with Save and Cancel buttons.
- You describe what you want in plain English
-
The AI searches your component library using
figma_search_componentsto find relevant building blocks -
Components are instantiated with proper variants and properties via
figma_instantiate_component -
Custom elements are created using the full Figma Plugin API via
figma_execute - Visual validation automatically captures screenshots and iterates until the design looks right
| Role | Use Case |
|---|---|
| Designers | Rapidly prototype ideas without manual frame-by-frame construction. Explore variations quickly by describing changes. |
| Developers | Generate UI mockups during planning discussions. Create visual specs without switching to design tools. |
| Product Managers | Sketch out feature concepts during ideation. Communicate visual requirements directly to stakeholders. |
| Design System Teams | Test component flexibility by generating compositions. Identify gaps in component coverage. |
| Agencies | Speed up initial concept delivery. Iterate on client feedback in real-time during calls. |
Brand New Design:
"Create a notification toast with an icon on the left, title and description text, and a dismiss button. Use our brand colors."
The AI creates custom frames, applies your design tokens, and builds the component from scratch.
Component Composition:
"Build a user profile card using the Avatar component (large size), two Button components (Edit Profile and Settings), and a Badge for the user's status."
The AI searches your library, finds the exact components, and assembles them with proper spacing and alignment.
Design Iteration:
"The spacing feels too tight. Increase the gap between sections to 24px and make the heading larger."
The AI modifies the existing design, takes a screenshot to verify, and continues iterating until you're satisfied.
The AI automatically follows a validation workflow after creating designs:
- Create → Execute the design code
- Screenshot → Capture the result
- Analyze → Check alignment, spacing, and visual balance
- Iterate → Fix any issues detected
- Verify → Final screenshot to confirm
This ensures designs aren't just technically correct—they look right.
The Figma Desktop Bridge plugin is the recommended way to connect Figma to the MCP server. It communicates via WebSocket — no special Figma launch flags needed, and it persists across Figma restarts.
- Open Figma Desktop (normal launch — no debug flags needed)
- Go to Plugins → Development → Import plugin from manifest...
- Select
figma-desktop-bridge/manifest.jsonfrom the figma-console-mcp directory - Run the plugin in your Figma file — it auto-connects to
ws://localhost:9223 - Ask your AI: "Check Figma status" to verify the connection
One-time import. Once imported, the plugin stays in your Development plugins list. Just run it whenever you want to use the MCP.
📖 Desktop Bridge Documentation
Read Operations:
- Variables without Enterprise API
- Reliable component descriptions (bypasses API bugs)
- Multi-mode support (Light/Dark/Brand variants)
- Real-time selection tracking and document change monitoring
Write Operations:
-
Design Creation - Create frames, shapes, text, components via
figma_execute - Variable Management - Full CRUD operations on variables and collections
- Mode Management - Add and rename modes for multi-theme support
- The MCP server tries WebSocket first (port 9223, instant check) via the Desktop Bridge plugin
- If no WebSocket client is connected, it falls back to CDP (port 9222) if available
- The transport is selected automatically per-command — no configuration needed
- All 53+ tools work identically through either transport
CDP as fallback: If you also launch Figma with --remote-debugging-port=9222, CDP serves as a fallback transport. CDP captures all page-level console logs while WebSocket captures plugin-context logs. figma_navigate requires CDP for browser-level navigation; in WebSocket mode it returns the connected file info with guidance instead.
Multiple files: The WebSocket server supports multiple simultaneous plugin connections — one per open Figma file. Each connection is tracked by file key with independent state (selection, document changes, console logs).
Environment variables:
-
FIGMA_WS_PORT— Override the server-side WebSocket port (default: 9223). Note: the plugin UI and manifest are hard-coded to port 9223. Using a custom port also requires updatingwsPortinui.htmlandallowedDomainsinmanifest.json.
Plugin Limitation: Only works in Local Mode (NPX or Local Git). Remote SSE mode cannot access it.
Figma Console MCP includes support for MCP Apps — rich interactive UI experiences that render directly inside any MCP client that supports the MCP Apps protocol extension. Built with the official @modelcontextprotocol/ext-apps SDK.
What are MCP Apps? Traditional MCP tools return text or images to the AI. MCP Apps go further — they render interactive HTML interfaces inline in the chat, allowing users to browse, filter, and interact with data directly without consuming AI context.
An interactive design token explorer.
Usage: Ask Claude to "browse the design tokens" or "show me the design tokens" while connected to a Figma file.
Features:
- Browse all tokens organized by collection with expandable sections
- Filter by type (Colors, Numbers, Strings) and search by name/description
- Per-collection mode columns (Light, Dark, Custom) matching Figma's Variables panel
- Color swatches, alias resolution, and click-to-copy on any value
- Works without Enterprise plan via Desktop Bridge (local mode)
A Lighthouse-style health scorecard that audits your design system across six categories.
Usage: Ask Claude to "audit the design system" or "show me design system health" while connected to a Figma file.
Features:
- Overall weighted score (0–100) with six category gauges: Naming, Tokens, Components, Accessibility, Consistency, Coverage
- Expandable category sections with individual findings, severity indicators, and actionable details
- Diagnostic locations linking findings to specific variables, components, or collections
- Tooltips explaining each check's purpose and scoring criteria
- Refresh button to re-run the audit without consuming AI context
- Pure scoring engine with no external dependencies — all analysis runs locally
Enabling MCP Apps:
MCP Apps are gated behind an environment variable. Add to your MCP config:
{
  "mcpServers": {
    "figma-console-local": {
      "command": "node",
      "args": ["/path/to/figma-console-mcp/dist/local.js"],
      "env": {
        "FIGMA_ACCESS_TOKEN": "figd_YOUR_TOKEN_HERE",
        "ENABLE_MCP_APPS": "true"
      }
    }
  }
}
Note: MCP Apps require an MCP client with ext-apps protocol support (e.g. Claude Desktop). This feature is experimental and the protocol may evolve.
Planned MCP Apps:
- Component Gallery — Visual browser for searching and previewing components with variant exploration
- Style Inspector — Interactive panel for exploring color, text, and effect styles with live previews
- Variable Diff Viewer — Side-by-side comparison of token values across modes and branches
The architecture supports adding new apps with minimal boilerplate — each app is a self-contained module with its own server-side tool registration and client-side UI.
- Setup Guide - Complete setup guide for all MCP clients
- Self-Hosting - Deploy your own instance on Cloudflare
- Architecture - How it works under the hood
- OAuth Setup - Configure OAuth for self-hosted deployments
- Troubleshooting - Common issues and solutions
Figma Console MCP (This Project) - Debugging & data extraction
- ✅ Real-time console logs from Figma plugins
- ✅ Screenshot capture and visual debugging
- ✅ Error stack traces and runtime monitoring
- ✅ Raw design data extraction (JSON)
- ✅ Works remotely or locally
Figma Official Dev Mode MCP - Code generation
- ✅ Generates React/HTML code from designs
- ✅ Tailwind/CSS class generation
- ✅ Component boilerplate scaffolding
Use both together for the complete workflow: generate code with Official MCP, then debug and extract data with Console MCP.
Current Status: v1.8.0 (Stable) - Production-ready with WebSocket Bridge, 53+ tools, and MCP Apps
Recent Releases:
- [x] v1.8.0 - WebSocket Bridge transport (CDP-free connectivity), real-time selection/document tracking,
figma_get_selection+figma_get_design_changestools - [x] v1.7.0 - MCP Apps (Token Browser, Design System Dashboard), batch variable operations, design-code parity tools
- [x] v1.5.0 - Node manipulation tools, component property management, component set arrangement
- [x] v1.3.0 - Design creation via
figma_execute, variable CRUD operations
Coming Next:
- [ ] Component template library - Common UI pattern generation
- [ ] Visual regression testing - Screenshot diff capabilities
- [ ] Design linting - Automated compliance and accessibility checks
- [ ] AI enhancements - Intelligent component suggestions and auto-layout optimization
git clone https://github.com/southleft/figma-console-mcp.git
cd figma-console-mcp
npm install

# Local mode development
npm run dev:local

# Cloud mode development
npm run dev

# Build
npm run buildMIT - See LICENSE file for details.
- 📚 Documentation Site — Complete guides, tutorials, and API reference
- 📖 Local Docs — Documentation source files
- 🐛 Report Issues
- 💬 Discussions
- 🌐 Model Context Protocol
- 🎨 Figma API
For Tasks:
Click tags to check more tools for each tasksFor Jobs:
Alternative AI tools for figma-console-mcp
Similar Open Source Tools
figma-console-mcp
Figma Console MCP is a Model Context Protocol server that bridges design and development, giving AI assistants complete access to Figma for extraction, creation, and debugging. It connects AI assistants like Claude to Figma, enabling plugin debugging, visual debugging, design system extraction, design creation, variable management, real-time monitoring, and three installation methods. The server offers 53+ tools for NPX and Local Git setups, while Remote SSE provides read-only access with 16 tools. Users can create and modify designs with AI, contribute to projects, or explore design data. The server supports authentication via personal access tokens and OAuth, and offers tools for navigation, console debugging, visual debugging, design system extraction, design creation, design-code parity, variable management, and AI-assisted design creation.
layra
LAYRA is the world's first visual-native AI automation engine that sees documents like a human, preserves layout and graphical elements, and executes arbitrarily complex workflows with full Python control. It empowers users to build next-generation intelligent systems with no limits or compromises. Built for Enterprise-Grade deployment, LAYRA features a modern frontend, high-performance backend, decoupled service architecture, visual-native multimodal document understanding, and a powerful workflow engine.
MassGen
MassGen is a cutting-edge multi-agent system that leverages the power of collaborative AI to solve complex tasks. It assigns a task to multiple AI agents who work in parallel, observe each other's progress, and refine their approaches to converge on the best solution to deliver a comprehensive and high-quality result. The system operates through an architecture designed for seamless multi-agent collaboration, with key features including cross-model/agent synergy, parallel processing, intelligence sharing, consensus building, and live visualization. Users can install the system, configure API settings, and run MassGen for various tasks such as question answering, creative writing, research, development & coding tasks, and web automation & browser tasks. The roadmap includes plans for advanced agent collaboration, expanded model, tool & agent integration, improved performance & scalability, enhanced developer experience, and a web interface.
llamafarm
LlamaFarm is a comprehensive AI framework that empowers users to build powerful AI applications locally, with full control over costs and deployment options. It provides modular components for RAG systems, vector databases, model management, prompt engineering, and fine-tuning. Users can create differentiated AI products without needing extensive ML expertise, using simple CLI commands and YAML configs. The framework supports local-first development, production-ready components, strategy-based configuration, and deployment anywhere from laptops to the cloud.
tingly-box
Tingly Box is a tool that helps in deciding which model to call, compressing context, and routing requests efficiently. It offers secure, reliable, and customizable functional extensions. With features like unified API, smart routing, context compression, auto API translation, blazing fast performance, flexible authentication, visual control panel, and client-side usage stats, Tingly Box provides a comprehensive solution for managing AI models and tokens. It supports integration with various IDEs, CLI tools, SDKs, and AI applications, making it versatile and easy to use. The tool also allows seamless integration with OAuth providers like Claude Code, enabling users to utilize existing quotas in OpenAI-compatible tools. Tingly Box aims to simplify AI model management and usage by providing a single endpoint for multiple providers with minimal configuration, promoting seamless integration with SDKs and CLI tools.
mcp-pointer
MCP Pointer is a local tool that combines an MCP Server with a Chrome Extension to allow users to visually select DOM elements in the browser and make textual context available to agentic coding tools like Claude Code. It bridges between the browser and AI tools via the Model Context Protocol, enabling real-time communication and compatibility with various AI tools. The tool extracts detailed information about selected elements, including text content, CSS properties, React component detection, and more, making it a valuable asset for developers working with AI-powered web development.
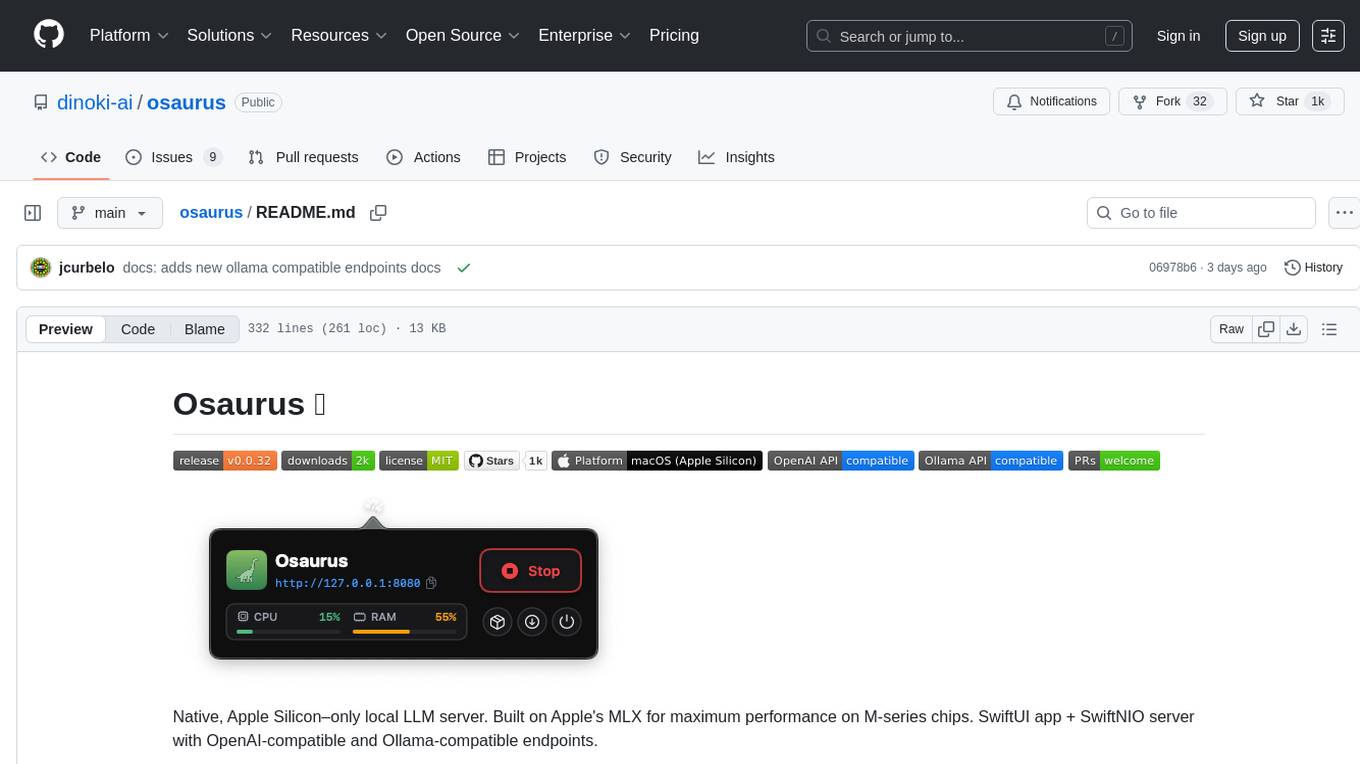
osaurus
Osaurus is a native, Apple Silicon-only local LLM server built on Apple's MLX for maximum performance on M‑series chips. It is a SwiftUI app + SwiftNIO server with OpenAI‑compatible and Ollama‑compatible endpoints. The tool supports native MLX text generation, model management, streaming and non‑streaming chat completions, OpenAI‑compatible function calling, real-time system resource monitoring, and path normalization for API compatibility. Osaurus is designed for macOS 15.5+ and Apple Silicon (M1 or newer) with Xcode 16.4+ required for building from source.
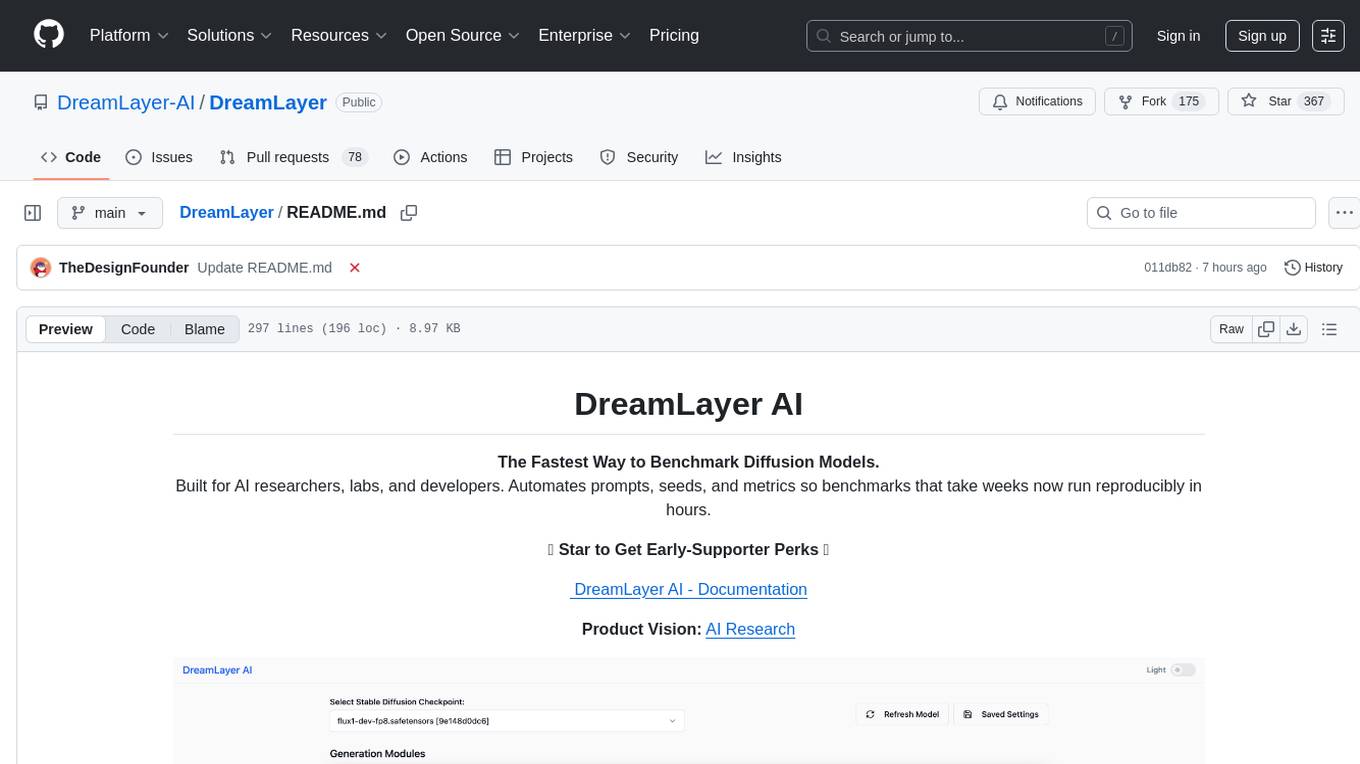
DreamLayer
DreamLayer AI is an open-source Stable Diffusion WebUI designed for AI researchers, labs, and developers. It automates prompts, seeds, and metrics for benchmarking models, datasets, and samplers, enabling reproducible evaluations across multiple seeds and configurations. The tool integrates custom metrics and evaluation pipelines, providing a streamlined workflow for AI research. With features like automated benchmarking, reproducibility, built-in metrics, multi-modal readiness, and researcher-friendly interface, DreamLayer AI aims to simplify and accelerate the model evaluation process.
handit.ai
Handit.ai is an autonomous engineer tool designed to fix AI failures 24/7. It catches failures, writes fixes, tests them, and ships PRs automatically. It monitors AI applications, detects issues, generates fixes, tests them against real data, and ships them as pull requests—all automatically. Users can write JavaScript, TypeScript, Python, and more, and the tool automates what used to require manual debugging and firefighting.
indexify
Indexify is an open-source engine for building fast data pipelines for unstructured data (video, audio, images, and documents) using reusable extractors for embedding, transformation, and feature extraction. LLM Applications can query transformed content friendly to LLMs by semantic search and SQL queries. Indexify keeps vector databases and structured databases (PostgreSQL) updated by automatically invoking the pipelines as new data is ingested into the system from external data sources. **Why use Indexify** * Makes Unstructured Data **Queryable** with **SQL** and **Semantic Search** * **Real-Time** Extraction Engine to keep indexes **automatically** updated as new data is ingested. * Create **Extraction Graph** to describe **data transformation** and extraction of **embedding** and **structured extraction**. * **Incremental Extraction** and **Selective Deletion** when content is deleted or updated. * **Extractor SDK** allows adding new extraction capabilities, and many readily available extractors for **PDF**, **Image**, and **Video** indexing and extraction. * Works with **any LLM Framework** including **Langchain**, **DSPy**, etc. * Runs on your laptop during **prototyping** and also scales to **1000s of machines** on the cloud. * Works with many **Blob Stores**, **Vector Stores**, and **Structured Databases** * We have even **Open Sourced Automation** to deploy to Kubernetes in production.
AIPex
AIPex is a revolutionary Chrome extension that transforms your browser into an intelligent automation platform. Using natural language commands and AI-powered intelligence, AIPex can automate virtually any browser task - from complex multi-step workflows to simple repetitive actions. It offers features like natural language control, AI-powered intelligence, multi-step automation, universal compatibility, smart data extraction, precision actions, form automation, visual understanding, developer-friendly with extensive API, and lightning-fast execution of automation tasks.
evi-run
evi-run is a powerful, production-ready multi-agent AI system built on Python using the OpenAI Agents SDK. It offers instant deployment, ultimate flexibility, built-in analytics, Telegram integration, and scalable architecture. The system features memory management, knowledge integration, task scheduling, multi-agent orchestration, custom agent creation, deep research, web intelligence, document processing, image generation, DEX analytics, and Solana token swap. It supports flexible usage modes like private, free, and pay mode, with upcoming features including NSFW mode, task scheduler, and automatic limit orders. The technology stack includes Python 3.11, OpenAI Agents SDK, Telegram Bot API, PostgreSQL, Redis, and Docker & Docker Compose for deployment.
ClaudeBar
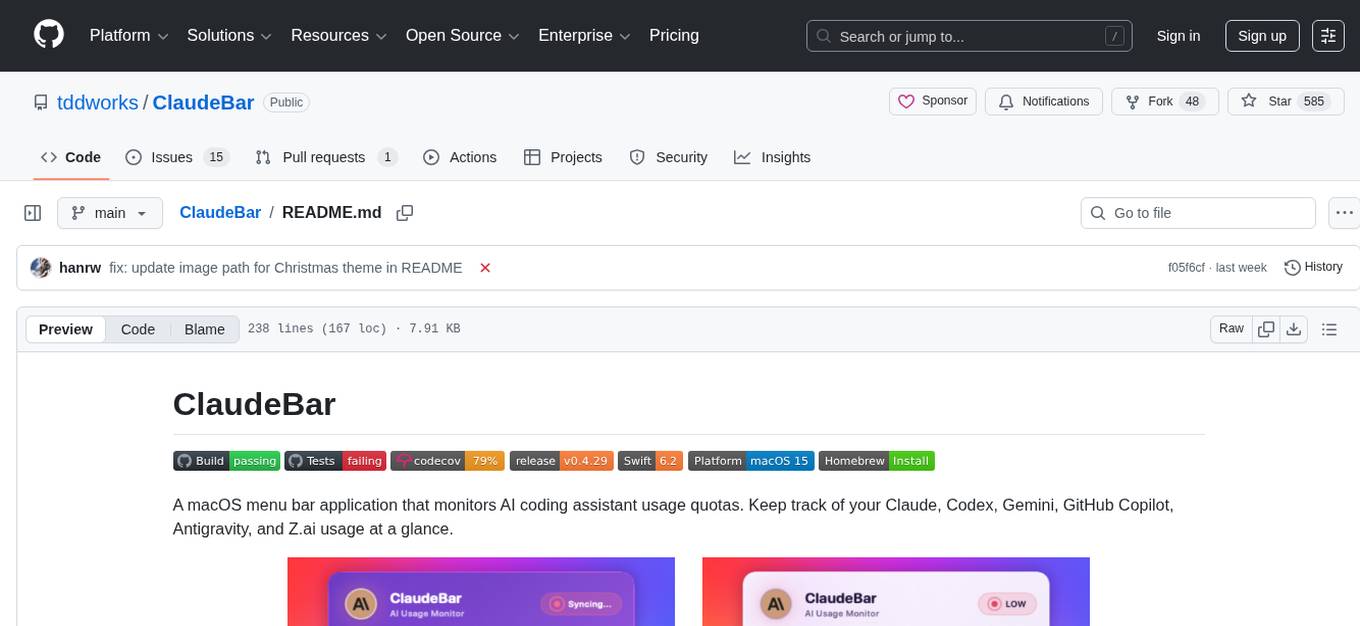
ClaudeBar is a macOS menu bar application that monitors AI coding assistant usage quotas. It allows users to keep track of their usage of Claude, Codex, Gemini, GitHub Copilot, Antigravity, and Z.ai at a glance. The application offers multi-provider support, real-time quota tracking, multiple themes, visual status indicators, system notifications, auto-refresh feature, and keyboard shortcuts for quick access. Users can customize monitoring by toggling individual providers on/off and receive alerts when quota status changes. The tool requires macOS 15+, Swift 6.2+, and CLI tools installed for the providers to be monitored.
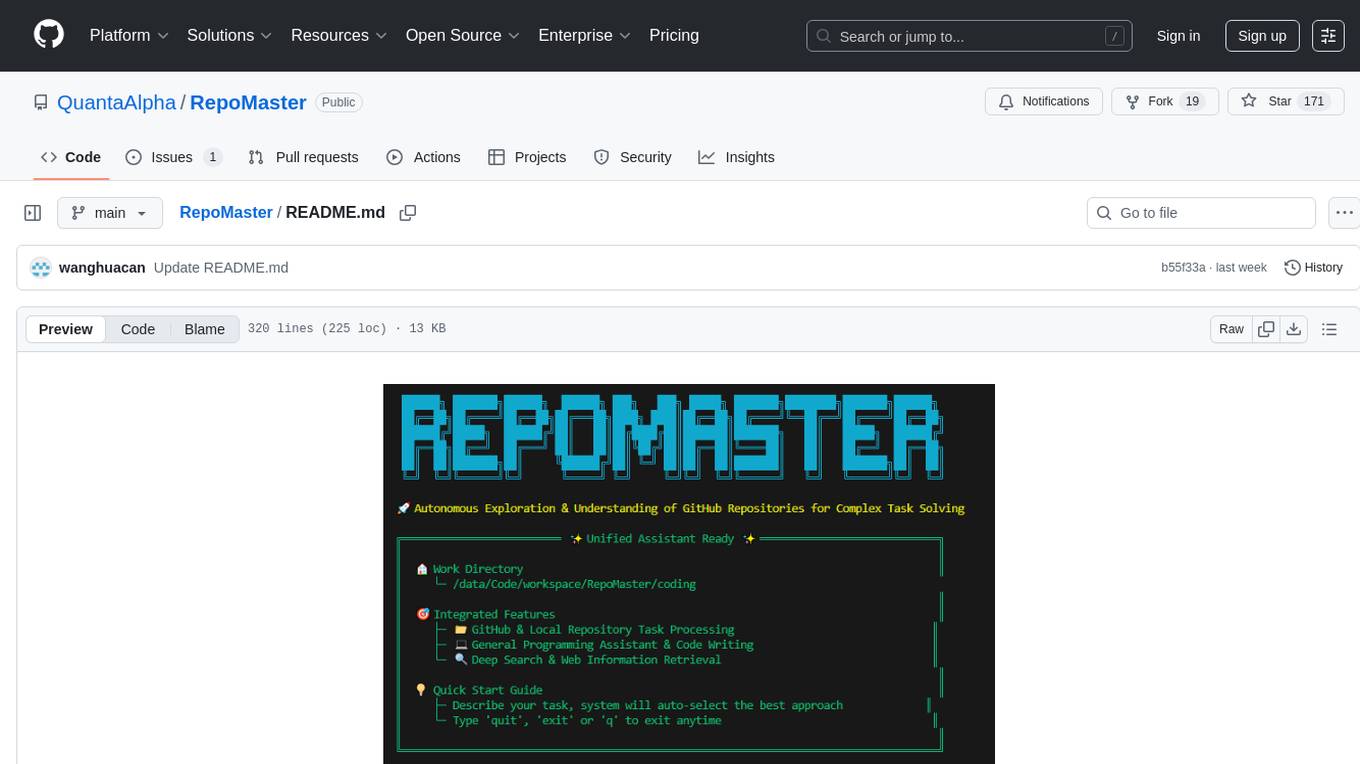
RepoMaster
RepoMaster is an AI agent that leverages GitHub repositories to solve complex real-world tasks. It transforms how coding tasks are solved by automatically finding the right GitHub tools and making them work together seamlessly. Users can describe their tasks, and RepoMaster's AI analysis leads to auto discovery and smart execution, resulting in perfect outcomes. The tool provides a web interface for beginners and a command-line interface for advanced users, along with specialized agents for deep search, general assistance, and repository tasks.
persistent-ai-memory
Persistent AI Memory System is a comprehensive tool that offers persistent, searchable storage for AI assistants. It includes features like conversation tracking, MCP tool call logging, and intelligent scheduling. The system supports multiple databases, provides enhanced memory management, and offers various tools for memory operations, schedule management, and system health checks. It also integrates with various platforms like LM Studio, VS Code, Koboldcpp, Ollama, and more. The system is designed to be modular, platform-agnostic, and scalable, allowing users to handle large conversation histories efficiently.
DeepSeekAI
DeepSeekAI is a browser extension plugin that allows users to interact with AI by selecting text on web pages and invoking the DeepSeek large model to provide AI responses. The extension enhances browsing experience by enabling users to get summaries or answers for selected text directly on the webpage. It features context text selection, API key integration, draggable and resizable window, AI streaming replies, Markdown rendering, one-click copy, re-answer option, code copy functionality, language switching, and multi-turn dialogue support. Users can install the extension from Chrome Web Store or Edge Add-ons, or manually clone the repository, install dependencies, and build the extension. Configuration involves entering the DeepSeek API key in the extension popup window to start using the AI-driven responses.
For similar tasks
readme-ai
README-AI is a developer tool that auto-generates README.md files using a combination of data extraction and generative AI. It streamlines documentation creation and maintenance, enhancing developer productivity. This project aims to enable all skill levels, across all domains, to better understand, use, and contribute to open-source software. It offers flexible README generation, supports multiple large language models (LLMs), provides customizable output options, works with various programming languages and project types, and includes an offline mode for generating boilerplate README files without external API calls.
AIDE-unipi
AIDE @ unipi is a repository containing students' material for the course in Artificial Intelligence and Data Engineering at University of Pisa. It includes slides, students' notes, information about exams methods, oral questions, past exams, and links to past students' projects. The material is unofficial and created by students for students, checked only by students. Contributions are welcome through pull requests, issues, or contacting maintainers. The repository aims to provide non-profit resources for the course, with the opportunity for contributors to be acknowledged and credited. It also offers links to Telegram and WhatsApp groups for further interaction and a Google Drive folder with additional resources for AIDE published by past students.
figma-console-mcp
Figma Console MCP is a Model Context Protocol server that bridges design and development, giving AI assistants complete access to Figma for extraction, creation, and debugging. It connects AI assistants like Claude to Figma, enabling plugin debugging, visual debugging, design system extraction, design creation, variable management, real-time monitoring, and three installation methods. The server offers 53+ tools for NPX and Local Git setups, while Remote SSE provides read-only access with 16 tools. Users can create and modify designs with AI, contribute to projects, or explore design data. The server supports authentication via personal access tokens and OAuth, and offers tools for navigation, console debugging, visual debugging, design system extraction, design creation, design-code parity, variable management, and AI-assisted design creation.
For similar jobs
figma-console-mcp
Figma Console MCP is a Model Context Protocol server that bridges design and development, giving AI assistants complete access to Figma for extraction, creation, and debugging. It connects AI assistants like Claude to Figma, enabling plugin debugging, visual debugging, design system extraction, design creation, variable management, real-time monitoring, and three installation methods. The server offers 53+ tools for NPX and Local Git setups, while Remote SSE provides read-only access with 16 tools. Users can create and modify designs with AI, contribute to projects, or explore design data. The server supports authentication via personal access tokens and OAuth, and offers tools for navigation, console debugging, visual debugging, design system extraction, design creation, design-code parity, variable management, and AI-assisted design creation.
khoj
Khoj is an open-source, personal AI assistant that extends your capabilities by creating always-available AI agents. You can share your notes and documents to extend your digital brain, and your AI agents have access to the internet, allowing you to incorporate real-time information. Khoj is accessible on Desktop, Emacs, Obsidian, Web, and Whatsapp, and you can share PDF, markdown, org-mode, notion files, and GitHub repositories. You'll get fast, accurate semantic search on top of your docs, and your agents can create deeply personal images and understand your speech. Khoj is self-hostable and always will be.
Windrecorder
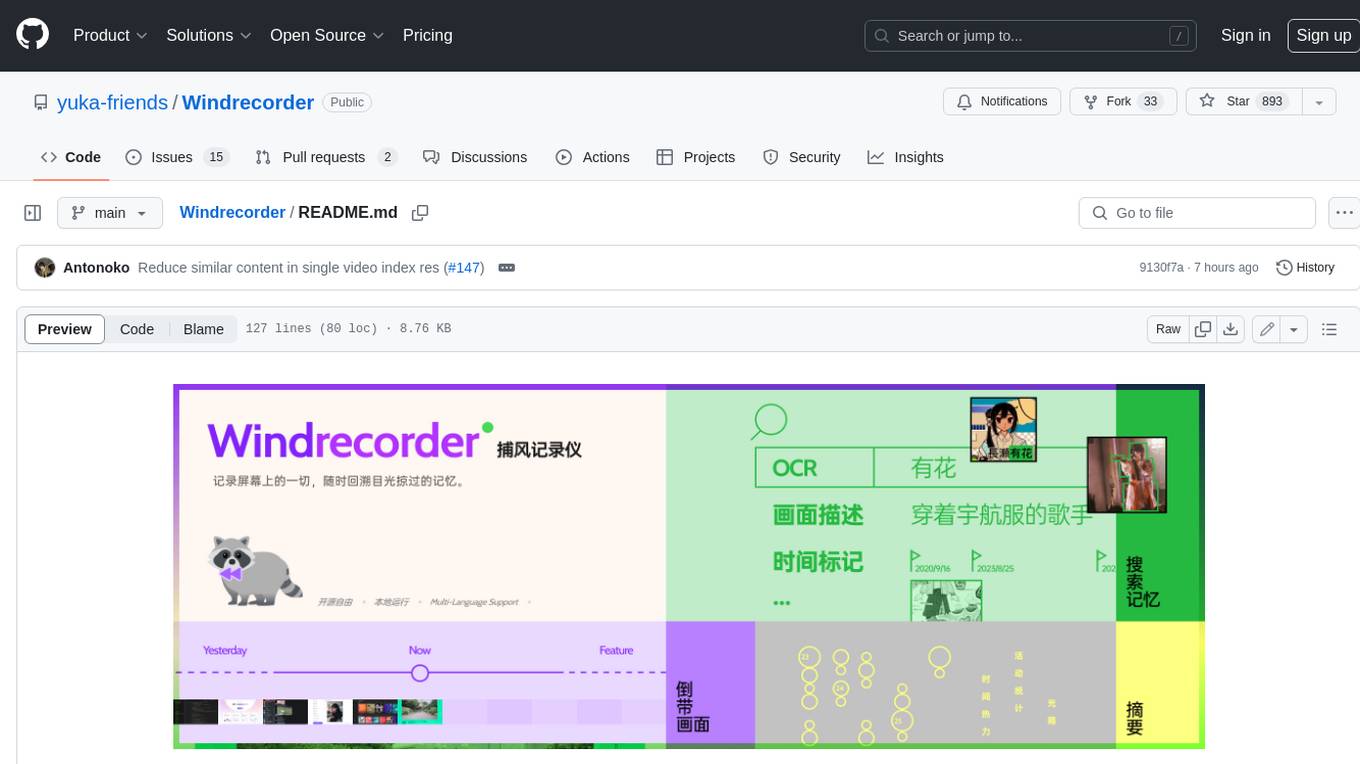
Windrecorder is an open-source tool that helps you retrieve memory cues by recording everything on your screen. It can search based on OCR text or image descriptions and provides a summary of your activities. All of its capabilities run entirely locally, without the need for an internet connection or uploading any data, giving you complete ownership of your data.
forge
Forge is a free and open-source digital collectible card game (CCG) engine written in Java. It is designed to be easy to use and extend, and it comes with a variety of features that make it a great choice for developers who want to create their own CCGs. Forge is used by a number of popular CCGs, including Ascension, Dominion, and Thunderstone.
userscripts
Greasemonkey userscripts. A userscript manager such as Tampermonkey is required to run these scripts.
freeGPT
freeGPT provides free access to text and image generation models. It supports various models, including gpt3, gpt4, alpaca_7b, falcon_40b, prodia, and pollinations. The tool offers both asynchronous and non-asynchronous interfaces for text completion and image generation. It also features an interactive Discord bot that provides access to all the models in the repository. The tool is easy to use and can be integrated into various applications.
open-saas
Open SaaS is a free and open-source React and Node.js template for building SaaS applications. It comes with a variety of features out of the box, including authentication, payments, analytics, and more. Open SaaS is built on top of the Wasp framework, which provides a number of features to make it easy to build SaaS applications, such as full-stack authentication, end-to-end type safety, jobs, and one-command deploy.
AIGODLIKE-ComfyUI-Translation
A plugin for multilingual translation of ComfyUI, This plugin implements translation of resident menu bar/search bar/right-click context menu/node, etc