
talemate
Roleplay with AI with a focus on strong narration, consistent world and game state tracking.
Stars: 209
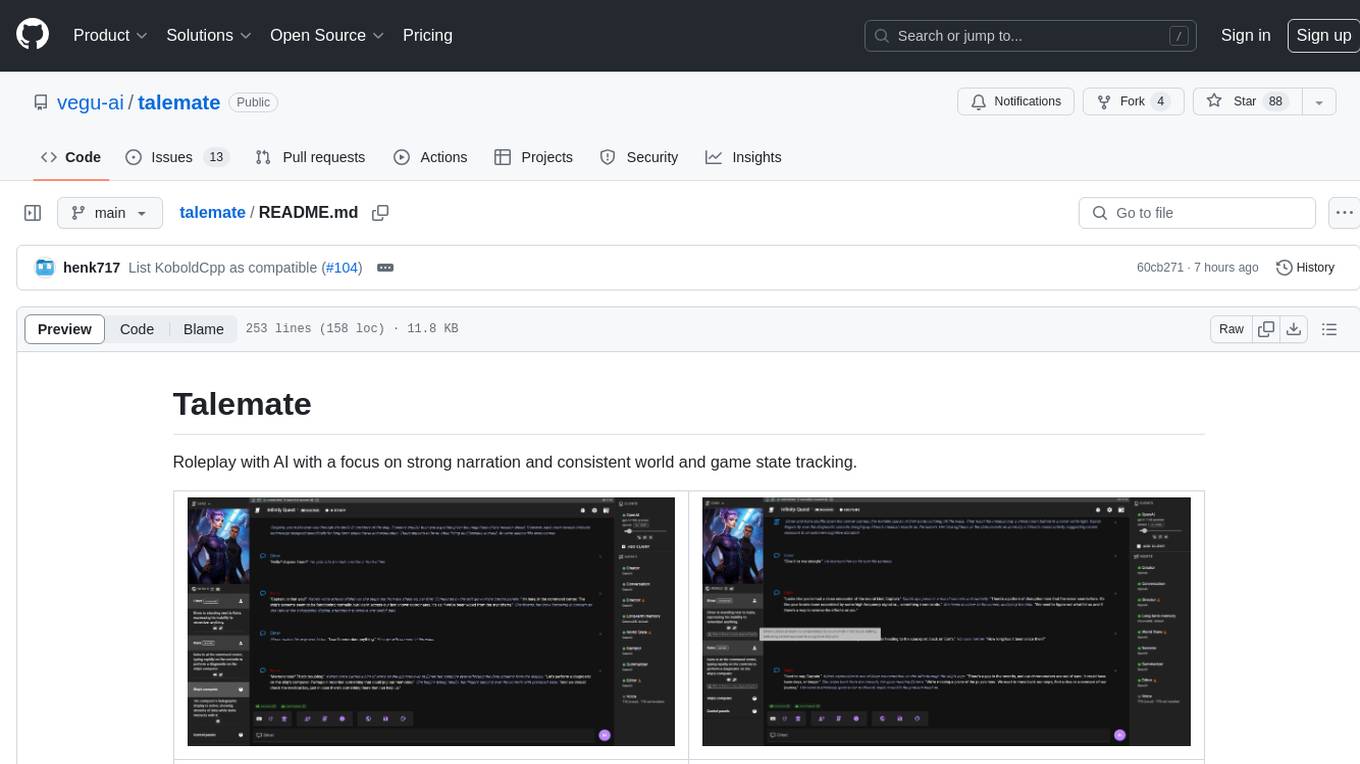
Talemate is a roleplay tool that allows users to interact with AI agents for dialogue, narration, summarization, direction, editing, world state management, character/scenario creation, text-to-speech, and visual generation. It supports multiple AI clients and APIs, offers long-term memory using ChromaDB, and provides tools for managing NPCs, AI-assisted character creation, and scenario creation. Users can customize prompts using Jinja2 templates and benefit from a modern, responsive UI. The tool also integrates with Runpod for enhanced functionality.
README:
Roleplay with AI with a focus on strong narration and consistent world and game state tracking.
 |
 |
|---|---|
 |
 |
 |
 |
- Multiple agents for dialogue, narration, summarization, direction, editing, world state management, character/scenario creation, text-to-speech, and visual generation
- Supports per agent API selection
- Long-term memory and passage of time tracking
- Narrative world state management to reinforce character and world truths
- Creative tools for managing NPCs, AI-assisted character, and scenario creation with template support
- Context management for character details, world information, past events, and pinned information
- Customizable templates for all prompts using Jinja2
- Modern, responsive UI
Supported self-hosted APIs:
- KoboldCpp (Local, Runpod, VastAI, also includes image gen support)
- oobabooga/text-generation-webui (local or with runpod support)
- LMStudio
- TabbyAPI
Generic OpenAI api implementations (tested and confirmed working):
For Tasks:
Click tags to check more tools for each tasksFor Jobs:
Alternative AI tools for talemate
Similar Open Source Tools

talemate
Talemate is a roleplay tool that allows users to interact with AI agents for dialogue, narration, summarization, direction, editing, world state management, character/scenario creation, text-to-speech, and visual generation. It supports multiple AI clients and APIs, offers long-term memory using ChromaDB, and provides tools for managing NPCs, AI-assisted character creation, and scenario creation. Users can customize prompts using Jinja2 templates and benefit from a modern, responsive UI. The tool also integrates with Runpod for enhanced functionality.
CodeFuse-muAgent
CodeFuse-muAgent is a Multi-Agent framework designed to streamline Standard Operating Procedure (SOP) orchestration for agents. It integrates toolkits, code libraries, knowledge bases, and sandbox environments for rapid construction of complex Multi-Agent interactive applications. The framework enables efficient execution and handling of multi-layered and multi-dimensional tasks.
agentsociety
AgentSociety is an advanced framework designed for building agents in urban simulation environments. It integrates LLMs' planning, memory, and reasoning capabilities to generate realistic behaviors. The framework supports dataset-based, text-based, and rule-based environments with interactive visualization. It includes tools for interviews, surveys, interventions, and metric recording tailored for social experimentation.
langgraph
LangGraph is a low-level orchestration framework for building, managing, and deploying long-running, stateful agents. It provides durable execution, human-in-the-loop capabilities, comprehensive memory management, debugging tools, and production-ready deployment infrastructure. LangGraph can be used standalone or integrated with other LangChain products to streamline LLM application development.
langchain
LangChain is a framework for building LLM-powered applications that simplifies AI application development by chaining together interoperable components and third-party integrations. It helps developers connect LLMs to diverse data sources, swap models easily, and future-proof decisions as technology evolves. LangChain's ecosystem includes tools like LangSmith for agent evals, LangGraph for complex task handling, and LangGraph Platform for deployment and scaling. Additional resources include tutorials, how-to guides, conceptual guides, a forum, API reference, and chat support.
enthusiast
Enthusiast is a production-ready agentic AI framework for E-commerce, offering tools like Retrieval-Argumented Generation (RAG), vector search, and workflow orchestrator. It helps in building AI-powered tools with customized agents for tasks like smart information search, customer support, content generation, and knowledge base automation. Enthusiast provides validation and evaluation components to ensure responses are grounded in actual data, reducing time, cost, and complexity in AI development.
vectordb-recipes
This repository contains examples, applications, starter code, & tutorials to help you kickstart your GenAI projects. * These are built using LanceDB, a free, open-source, serverless vectorDB that **requires no setup**. * It **integrates into python data ecosystem** so you can simply start using these in your existing data pipelines in pandas, arrow, pydantic etc. * LanceDB has **native Typescript SDK** using which you can **run vector search** in serverless functions! This repository is divided into 3 sections: - Examples - Get right into the code with minimal introduction, aimed at getting you from an idea to PoC within minutes! - Applications - Ready to use Python and web apps using applied LLMs, VectorDB and GenAI tools - Tutorials - A curated list of tutorials, blogs, Colabs and courses to get you started with GenAI in greater depth.
llmariner
LLMariner is an extensible open source platform built on Kubernetes to simplify the management of generative AI workloads. It enables efficient handling of training and inference data within clusters, with OpenAI-compatible APIs for seamless integration with a wide range of AI-driven applications.
yao
YAO is an open-source application engine written in Golang, suitable for developing business systems, website/APP API, admin panel, and self-built low-code platforms. It adopts a flow-based programming model to implement functions by writing YAO DSL or using JavaScript. Yao allows developers to create web services by processes, creating a database model, writing API services, and describing dashboard interfaces just by JSON for web & hardware, and 10x productivity. It is based on the flow-based programming idea, developed in Go language, and supports multiple ways to expand the data stream processor. Yao has a built-in data management system, making it suitable for quickly making various management backgrounds, CRM, ERP, and other internal enterprise systems. It is highly versatile, efficient, and performs better than PHP, JAVA, and other languages.
awesome-claude-code
Awesome Claude Code is a curated list of slash-commands, CLAUDE.md files, CLI tools, and other resources for enhancing your Claude Code workflow. It includes a variety of agent skills, workflows, tooling, hooks, slash-commands, and more to help developers improve their coding experience using Claude Code, a CLI-based coding assistant from Anthropic. The list covers a wide range of topics such as AI development, project management, code analysis, documentation, CI/CD, and domain-specific projects. Whether you are a beginner or an experienced developer, this repository provides valuable resources to enhance your coding skills and workflow with Claude Code.
kgateway
Kgateway is a feature-rich, fast, and flexible Kubernetes-native API gateway built on top of Envoy proxy and the Kubernetes Gateway API. It excels in function-level routing, supports legacy apps, microservices, and serverless, offers robust discovery capabilities, integrates seamlessly with open-source projects, and is designed to support hybrid applications with various technologies, architectures, protocols, and clouds.
moon
Moon is a monitoring and alerting platform suitable for multiple domains, supporting various application scenarios such as cloud-native, Internet of Things (IoT), and Artificial Intelligence (AI). It simplifies operational work of cloud-native monitoring, boasts strong IoT and AI support capabilities, and meets diverse monitoring needs across industries. Capable of real-time data monitoring, intelligent alerts, and fault response for various fields.

llms-tools
The 'llms-tools' repository is a comprehensive collection of AI tools, open-source projects, and research related to Large Language Models (LLMs) and Chatbots. It covers a wide range of topics such as AI in various domains, open-source models, chats & assistants, visual language models, evaluation tools, libraries, devices, income models, text-to-image, computer vision, audio & speech, code & math, games, robotics, typography, bio & med, military, climate, finance, and presentation. The repository provides valuable resources for researchers, developers, and enthusiasts interested in exploring the capabilities of LLMs and related technologies.
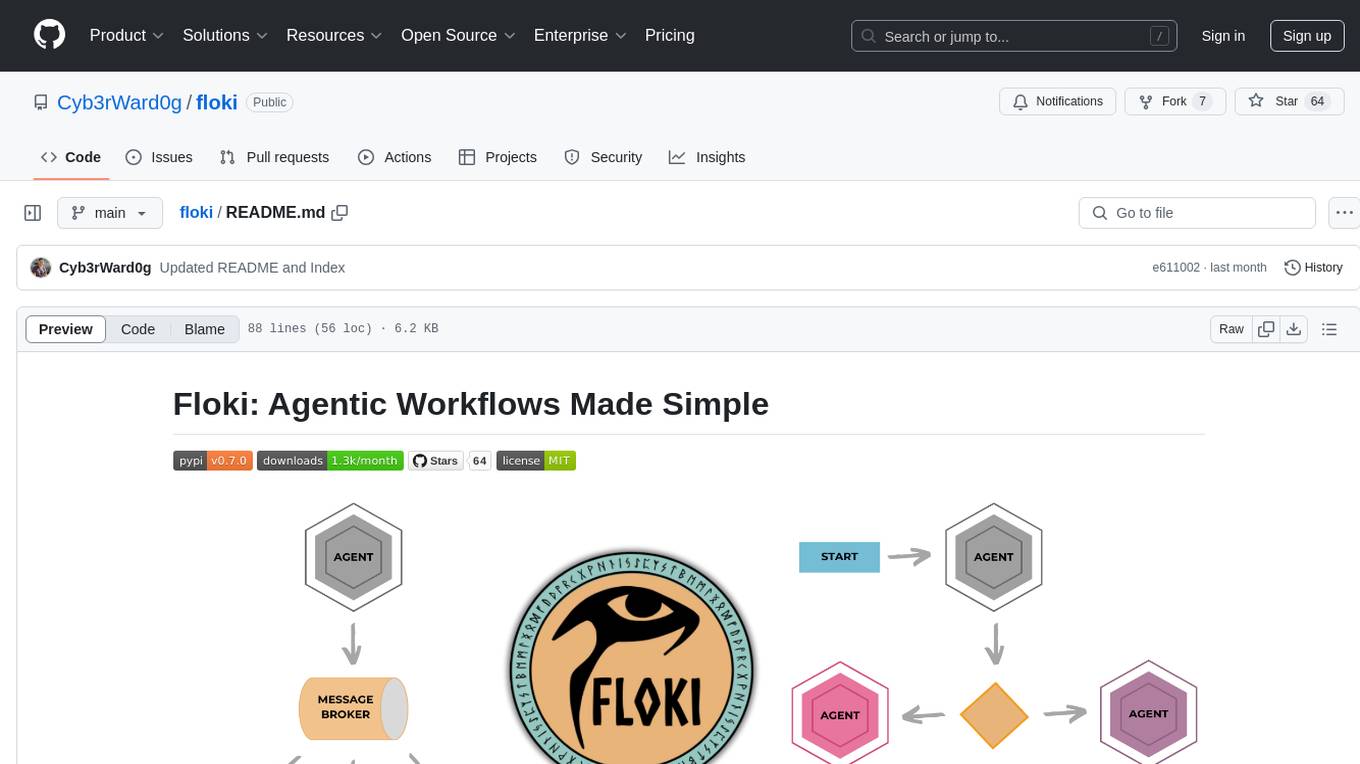
floki
Floki is an open-source framework for researchers and developers to experiment with LLM-based autonomous agents. It provides tools to create, orchestrate, and manage agents while seamlessly connecting to LLM inference APIs. Built on Dapr, Floki leverages a unified programming model that simplifies microservices and supports both deterministic workflows and event-driven interactions. By bringing together these features, Floki provides a powerful way to explore agentic workflows and the components that enable multi-agent systems to collaborate and scale, all powered by Dapr.
learn-agentic-ai
Learn Agentic AI is a repository that is part of the Panaversity Certified Agentic and Robotic AI Engineer program. It covers AI-201 and AI-202 courses, providing fundamentals and advanced knowledge in Agentic AI. The repository includes video playlists, projects, and project submission guidelines for students to enhance their understanding and skills in the field of AI engineering.
AI.Labs
AI.Labs is an open-source project that integrates advanced artificial intelligence technologies to create a powerful AI platform. It focuses on integrating AI services like large language models, speech recognition, and speech synthesis for functionalities such as dialogue, voice interaction, and meeting transcription. The project also includes features like a large language model dialogue system, speech recognition for meeting transcription, speech-to-text voice synthesis, integration of translation and chat, and uses technologies like C#, .Net, SQLite database, XAF, OpenAI API, TTS, and STT.
For similar tasks

talemate
Talemate is a roleplay tool that allows users to interact with AI agents for dialogue, narration, summarization, direction, editing, world state management, character/scenario creation, text-to-speech, and visual generation. It supports multiple AI clients and APIs, offers long-term memory using ChromaDB, and provides tools for managing NPCs, AI-assisted character creation, and scenario creation. Users can customize prompts using Jinja2 templates and benefit from a modern, responsive UI. The tool also integrates with Runpod for enhanced functionality.
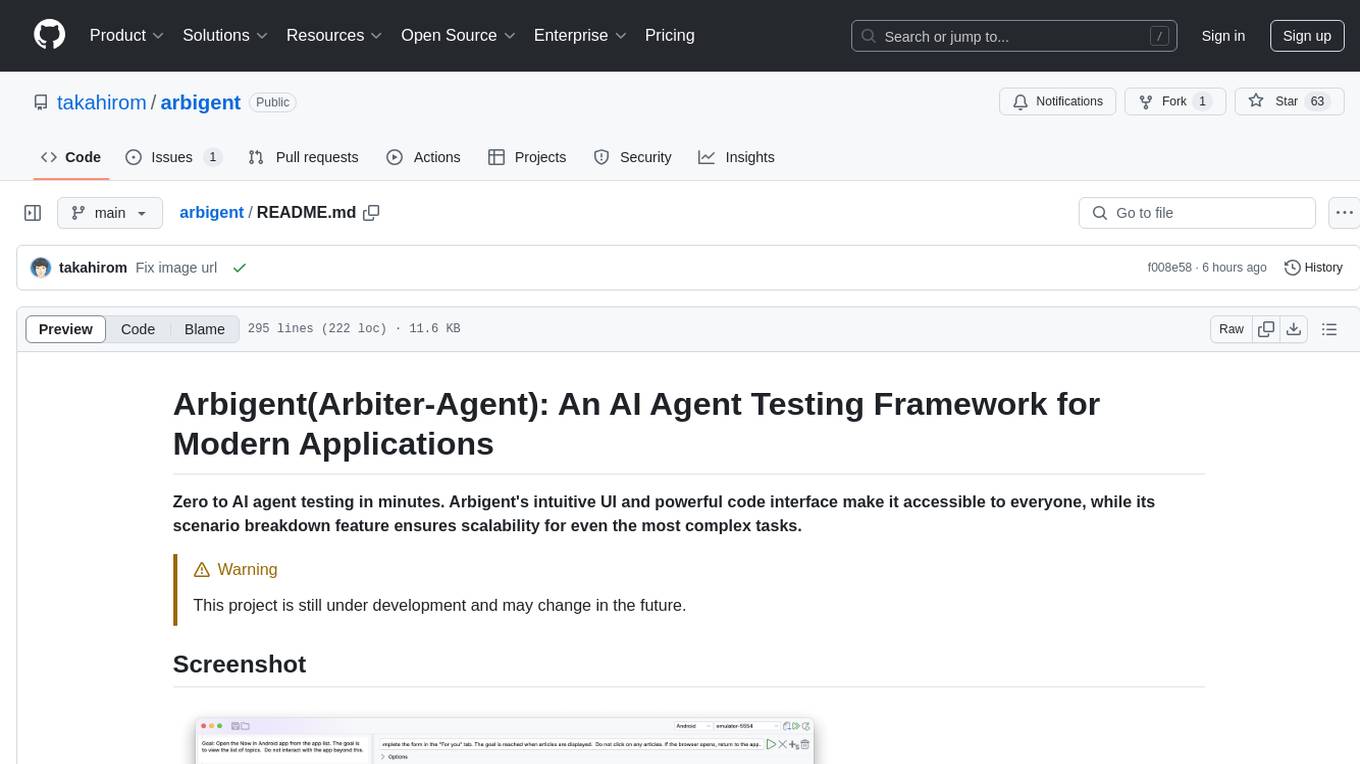
arbigent
Arbigent (Arbiter-Agent) is an AI agent testing framework designed to make AI agent testing practical for modern applications. It addresses challenges faced by traditional UI testing frameworks and AI agents by breaking down complex tasks into smaller, dependent scenarios. The framework is customizable for various AI providers, operating systems, and form factors, empowering users with extensive customization capabilities. Arbigent offers an intuitive UI for scenario creation and a powerful code interface for seamless test execution. It supports multiple form factors, optimizes UI for AI interaction, and is cost-effective by utilizing models like GPT-4o mini. With a flexible code interface and open-source nature, Arbigent aims to revolutionize AI agent testing in modern applications.
ai-commits-intellij-plugin
AI Commits is a plugin for IntelliJ-based IDEs and Android Studio that generates commit messages using git diff and OpenAI. It offers features such as generating commit messages from diff using OpenAI API, computing diff only from selected files and lines in the commit dialog, creating custom prompts for commit message generation, using predefined variables and hints to customize prompts, choosing any of the models available in OpenAI API, setting OpenAI network proxy, and setting custom OpenAI compatible API endpoint.
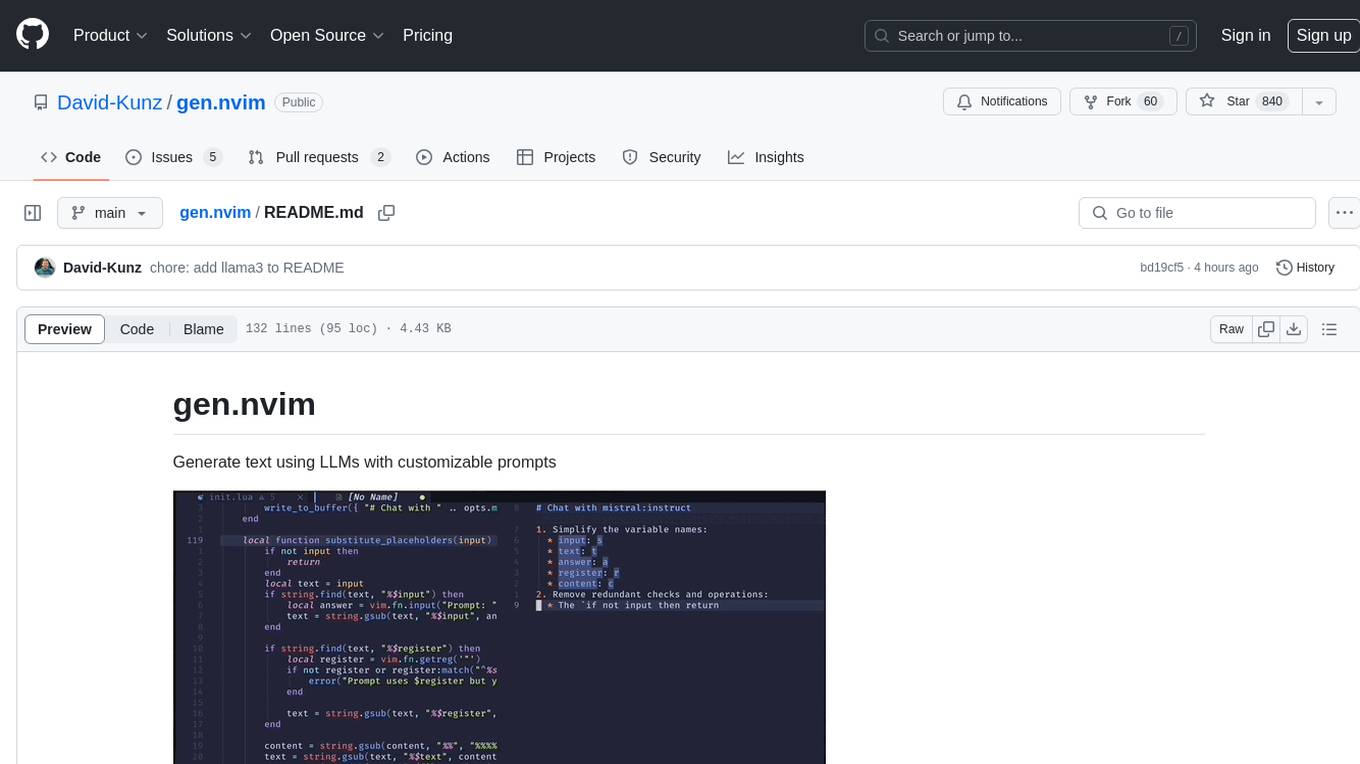
gen.nvim
gen.nvim is a tool that allows users to generate text using Language Models (LLMs) with customizable prompts. It requires Ollama with models like `llama3`, `mistral`, or `zephyr`, along with Curl for installation. Users can use the `Gen` command to generate text based on predefined or custom prompts. The tool provides key maps for easy invocation and allows for follow-up questions during conversations. Additionally, users can select a model from a list of installed models and customize prompts as needed.
llm-document-ocr
LLM Document OCR is a Node.js tool that utilizes GPT4 and Claude3 for OCR and data extraction. It converts PDFs into PNGs, crops white-space, cleans up JSON strings, and supports various image formats. Users can customize prompts for data extraction. The tool is sponsored by Mercoa, offering API for BillPay and Invoicing.
dialog
Dialog is an API-focused tool designed to simplify the deployment of Large Language Models (LLMs) for programmers interested in AI. It allows users to deploy any LLM based on the structure provided by dialog-lib, enabling them to spend less time coding and more time training their models. The tool aims to humanize Retrieval-Augmented Generative Models (RAGs) and offers features for better RAG deployment and maintenance. Dialog requires a knowledge base in CSV format and a prompt configuration in TOML format to function effectively. It provides functionalities for loading data into the database, processing conversations, and connecting to the LLM, with options to customize prompts and parameters. The tool also requires specific environment variables for setup and configuration.
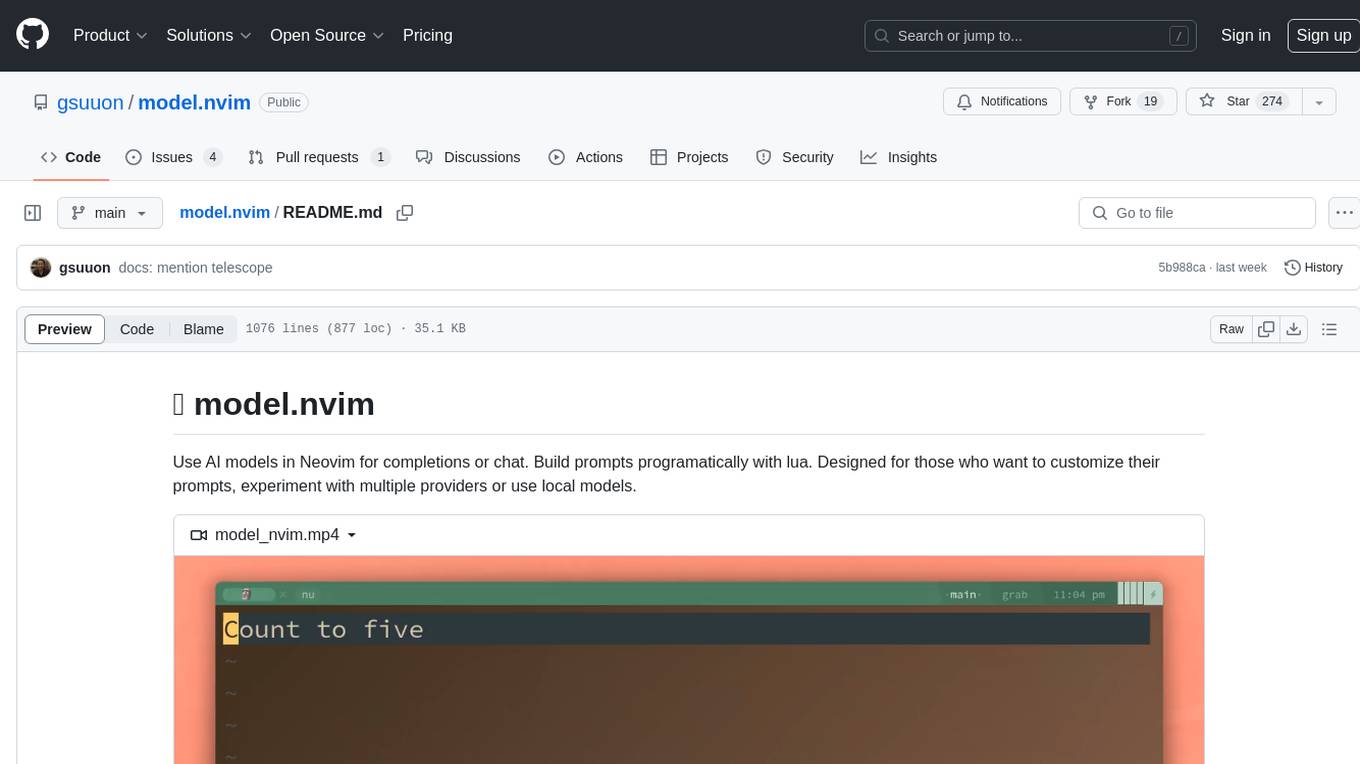
model.nvim
model.nvim is a tool designed for Neovim users who want to utilize AI models for completions or chat within their text editor. It allows users to build prompts programmatically with Lua, customize prompts, experiment with multiple providers, and use both hosted and local models. The tool supports features like provider agnosticism, programmatic prompts in Lua, async and multistep prompts, streaming completions, and chat functionality in 'mchat' filetype buffer. Users can customize prompts, manage responses, and context, and utilize various providers like OpenAI ChatGPT, Google PaLM, llama.cpp, ollama, and more. The tool also supports treesitter highlights and folds for chat buffers.
RSSbrew
RSSBrew is a self-hosted RSS tool designed for aggregating multiple RSS feeds, applying custom filters, and generating AI summaries. It allows users to control content through custom filters based on Link, Title, and Description, with various match types and relationship operators. Users can easily combine multiple feeds into a single processed feed and use AI for article summarization and digest creation. The tool supports Docker deployment and regular installation, with ongoing documentation and development. Licensed under AGPL-3.0, RSSBrew is a versatile tool for managing and summarizing RSS content.
For similar jobs
promptflow
**Prompt flow** is a suite of development tools designed to streamline the end-to-end development cycle of LLM-based AI applications, from ideation, prototyping, testing, evaluation to production deployment and monitoring. It makes prompt engineering much easier and enables you to build LLM apps with production quality.
deepeval
DeepEval is a simple-to-use, open-source LLM evaluation framework specialized for unit testing LLM outputs. It incorporates various metrics such as G-Eval, hallucination, answer relevancy, RAGAS, etc., and runs locally on your machine for evaluation. It provides a wide range of ready-to-use evaluation metrics, allows for creating custom metrics, integrates with any CI/CD environment, and enables benchmarking LLMs on popular benchmarks. DeepEval is designed for evaluating RAG and fine-tuning applications, helping users optimize hyperparameters, prevent prompt drifting, and transition from OpenAI to hosting their own Llama2 with confidence.
MegaDetector
MegaDetector is an AI model that identifies animals, people, and vehicles in camera trap images (which also makes it useful for eliminating blank images). This model is trained on several million images from a variety of ecosystems. MegaDetector is just one of many tools that aims to make conservation biologists more efficient with AI. If you want to learn about other ways to use AI to accelerate camera trap workflows, check out our of the field, affectionately titled "Everything I know about machine learning and camera traps".
leapfrogai
LeapfrogAI is a self-hosted AI platform designed to be deployed in air-gapped resource-constrained environments. It brings sophisticated AI solutions to these environments by hosting all the necessary components of an AI stack, including vector databases, model backends, API, and UI. LeapfrogAI's API closely matches that of OpenAI, allowing tools built for OpenAI/ChatGPT to function seamlessly with a LeapfrogAI backend. It provides several backends for various use cases, including llama-cpp-python, whisper, text-embeddings, and vllm. LeapfrogAI leverages Chainguard's apko to harden base python images, ensuring the latest supported Python versions are used by the other components of the stack. The LeapfrogAI SDK provides a standard set of protobuffs and python utilities for implementing backends and gRPC. LeapfrogAI offers UI options for common use-cases like chat, summarization, and transcription. It can be deployed and run locally via UDS and Kubernetes, built out using Zarf packages. LeapfrogAI is supported by a community of users and contributors, including Defense Unicorns, Beast Code, Chainguard, Exovera, Hypergiant, Pulze, SOSi, United States Navy, United States Air Force, and United States Space Force.
llava-docker
This Docker image for LLaVA (Large Language and Vision Assistant) provides a convenient way to run LLaVA locally or on RunPod. LLaVA is a powerful AI tool that combines natural language processing and computer vision capabilities. With this Docker image, you can easily access LLaVA's functionalities for various tasks, including image captioning, visual question answering, text summarization, and more. The image comes pre-installed with LLaVA v1.2.0, Torch 2.1.2, xformers 0.0.23.post1, and other necessary dependencies. You can customize the model used by setting the MODEL environment variable. The image also includes a Jupyter Lab environment for interactive development and exploration. Overall, this Docker image offers a comprehensive and user-friendly platform for leveraging LLaVA's capabilities.

carrot
The 'carrot' repository on GitHub provides a list of free and user-friendly ChatGPT mirror sites for easy access. The repository includes sponsored sites offering various GPT models and services. Users can find and share sites, report errors, and access stable and recommended sites for ChatGPT usage. The repository also includes a detailed list of ChatGPT sites, their features, and accessibility options, making it a valuable resource for ChatGPT users seeking free and unlimited GPT services.
TrustLLM
TrustLLM is a comprehensive study of trustworthiness in LLMs, including principles for different dimensions of trustworthiness, established benchmark, evaluation, and analysis of trustworthiness for mainstream LLMs, and discussion of open challenges and future directions. Specifically, we first propose a set of principles for trustworthy LLMs that span eight different dimensions. Based on these principles, we further establish a benchmark across six dimensions including truthfulness, safety, fairness, robustness, privacy, and machine ethics. We then present a study evaluating 16 mainstream LLMs in TrustLLM, consisting of over 30 datasets. The document explains how to use the trustllm python package to help you assess the performance of your LLM in trustworthiness more quickly. For more details about TrustLLM, please refer to project website.
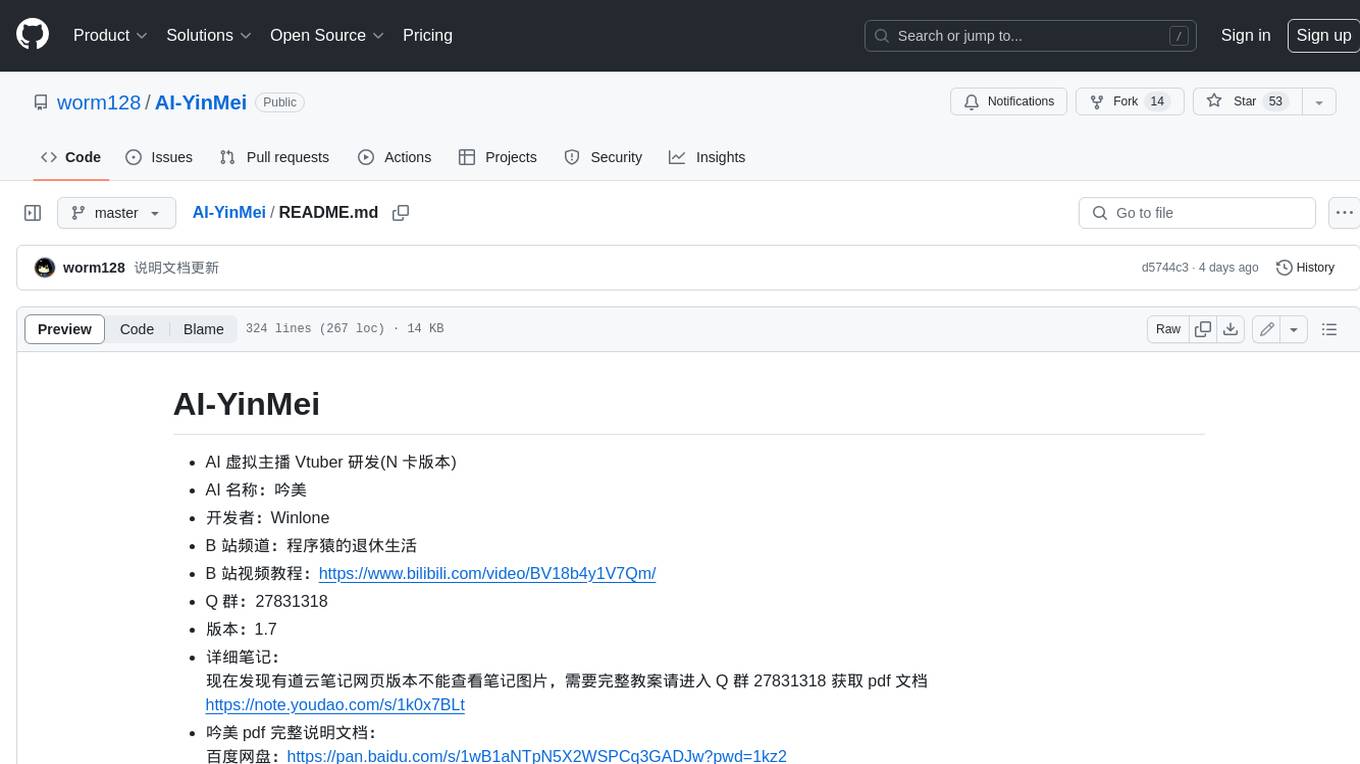
AI-YinMei
AI-YinMei is an AI virtual anchor Vtuber development tool (N card version). It supports fastgpt knowledge base chat dialogue, a complete set of solutions for LLM large language models: [fastgpt] + [one-api] + [Xinference], supports docking bilibili live broadcast barrage reply and entering live broadcast welcome speech, supports Microsoft edge-tts speech synthesis, supports Bert-VITS2 speech synthesis, supports GPT-SoVITS speech synthesis, supports expression control Vtuber Studio, supports painting stable-diffusion-webui output OBS live broadcast room, supports painting picture pornography public-NSFW-y-distinguish, supports search and image search service duckduckgo (requires magic Internet access), supports image search service Baidu image search (no magic Internet access), supports AI reply chat box [html plug-in], supports AI singing Auto-Convert-Music, supports playlist [html plug-in], supports dancing function, supports expression video playback, supports head touching action, supports gift smashing action, supports singing automatic start dancing function, chat and singing automatic cycle swing action, supports multi scene switching, background music switching, day and night automatic switching scene, supports open singing and painting, let AI automatically judge the content.