
aiode
Discord bot that plays Spotify tracks and YouTube videos or any URL including Soundcloud links and Twitch streams
Stars: 288
aiode is a Discord bot that plays Spotify tracks and YouTube videos or any URL including Soundcloud links and Twitch streams. It allows users to create cross-platform playlists, customize player commands, create custom command presets, adjust properties for deeper customization, sign in to Spotify to play personal playlists, manage access permissions for commands, customize bot summoning methods, and execute advanced admin commands. The bot also features a scripting sandbox for running and storing custom groovy scripts and modifying command behavior through interceptors.
README:
 Discord bot that plays Spotify tracks and YouTube videos or any URL including Soundcloud links and Twitch streams.
Help keep aiode free and open source for everyone
- Play and search Spotify tracks and YouTube videos or playlists or play any URL including Soundcloud links and Twitch streams
- Create cross-platform playlists with tracks from any source
- Simple and customisable player commands
- Create custom command presets as shortcuts for your most used commands
- Adjustable properties for even deeper customisation
- Sign in to Spotify to play your own playlists or upload aiode playlists
- Manage what roles can access which commands
- Customise how you want to summon your bot by using a custom prefix or giving your bot a name
- Advanced admin commands such as updating and rebooting the bot or cleaning up the database available to bot administrators
- Capable scripting sandbox that enables running and storing custom groovy scripts and modifying command behavior through interceptors
Invite the bot to join your guild
1.1 Go to https://discordapp.com/developers/applications and create an application
2.1 Go to https://developer.spotify.com/dashboard/applications to create a Spotify application and copy the client id
Don't have a domain? You could either go without logins all together and still use most of aiode's features or use your router's public ip and setup port forwarding for your router.
3.1 Go to https://console.developers.google.com/ and create a project for the YouTube Data API and create and copy the credentials
4.1.1 Navigate to your cloned project and go to src/main/resources and create the settings-private.properties from the example below and fill in the blanks. This file is included in gitignore to make sure you don't accidentally publish it.
4.1.2 Adjust datasource properties and enter the database user and password, database setup will be discussed further in 4.2.1.
4.1.3 To take advantage of the admin commands that can perform administrative actions, such as updating and restarting the bot, be sure to add your Discord user id to the aiode.security.admin_users property. To find your Discord user id, enable Developer Mode in the App Settings > Appearance. Then go to any guild, right click your user and click "Copy ID".
4.1.4 To supplement filebroker.io integration, you may set up a bot account and paste the username and password below. This ensures that the bot has access to all posts shared with that bot account.
4.1.5 Set up YouTube bot detection countermeasures if you are getting the "sign in to confirm you are not a bot" error (optional)
4.1.5.1 Enable YouTube OAUTH support for lavaplayer to avoid YouTube bot detection (causing the "sing in to confirm you are not a bot" error). Set value of aiode.tokens.yt-oauth-refresh-token to "init" and follow the oauth flow, then replace the value with your token.
4.1.5.2 Set up a poToken by following the guide and setting the aiode.tokens.yt-po-token and aiode.tokens.yt-po-visitor-data properties.
##########
# tokens #
##########
aiode.tokens.discord_token=
aiode.tokens.spotify_client_id=
aiode.tokens.spotify_client_secret=
aiode.tokens.youtube_credentials=
############
# security #
############
#define user ids (comma separated) that may access admin commands. These users can always use each command irregardless of access configurations
aiode.security.admin_users=
##############
# datasource #
##############
spring.datasource.username=postgres
spring.datasource.password=postgres
########
# IPv6 #
########
# list IPv6 blocks to use for the lavaplayer route planner (comma separated)
aiode.preferences.ipv6_blocks=
##############################
# top.gg settings (optional) #
##############################
#copy your discord client id here
aiode.tokens.discord_bot_id=
#copy your top.gg token here
aiode.tokens.topgg_token=
#######################
# youtube credentials #
#######################
# set these properties to support age restricted videos on YouTube, see https://github.com/Walkyst/lavaplayer-fork/issues/18
aiode.tokens.yt-email=
aiode.tokens.yt-password=
aiode.tokens.yt-oauth-refresh-token=
aiode.tokens.yt-po-token=
aiode.tokens.yt-po-visitor-data=
##############
# filebroker #
##############
aiode.filebroker.bot_user_name=
aiode.filebroker.bot_user_password=4.2.1 Review the datasource properties and make necessary adjustments. If you are using a local postgres server and name your database "aiode" you can leave it as it is. If you need help setting up your postgres server, please refer to their official documentation: http://www.postgresqltutorial.com/.
4.2.2 For Aiode to manage the YouTube API quota usage automatically, be sure to fill in the aiode.preferences.youtube_api_daily_quota property; open the Google developer console and go to Library > YouTube Data API v3 > Manage > Quotas
4.2.3 Change the aiode.server.base_uri property to your domain or public IP (without slash at the end) and adjust aiode.server.spotify_login_callback to the corresponding endpoint for Spotify logins (normally BASE_URI + "/login")
Don't have a domain? You could either go without a web server all together and still use most of aiode's features or use your
router's public ip and setup port forwarding for your router to the machine where you're running aiode via the port specified by the SERVER_PORT property.
###################
# server settings #
###################
aiode.server.port=8000
aiode.server.base_uri=http://localhost:8000
aiode.server.spotify_login_callback=http://localhost:8000/login
spring.liquibase.change-log=classpath:liquibase/dbchangelog.xml
spring.liquibase.contexts=definition,initialvalue,constraint
liquibase.change-log-path=src/main/resources/liquibase/dbchangelog.xml
liquibase.referenceUrl=hibernate:spring:net.robinfriedli.aiode.entities?dialect=org.hibernate.dialect.PostgreSQLDialect
###############
# preferences #
###############
# replace this value with your YouTube API Quota: open the Google developer console and go to Library > YouTube Data API v3 > Manage > Quotas
aiode.preferences.youtube_api_daily_quota=1000001
# partitioned = true means that data, such as playlists, presets and scripts will be separated between guilds
# if you host this bot privately and want to share data between few guilds you can set this property to 'false'
# however you should decide decide which mode to use before using the bot; if you have been using the bot with partitioned = true
# and several guilds have playlists or presets or scripts with the same name and you switch to partitioned = false then
# many queries will break because names are no longer unique
aiode.preferences.mode_partitioned=true
aiode.preferences.queue_size_max=10000
# maximum entity count per guild (if mode_partitioned = true, else entity count total)
aiode.preferences.playlist_count_max=50
aiode.preferences.playlist_size_max=5000
aiode.preferences.preset_count_max=100
aiode.preferences.script_count_max=100
aiode.preferences.interceptor_count_max=10
# defines max heap size for the bootRun task
aiode.preferences.max_heap_size=2048m
# disable / enable commands in the scripting category and custom scripted command interceptors
aiode.preferences.enable_scripting=true
##############
# datasource #
##############
spring.datasource.url=jdbc:postgresql://localhost:5432/aiode
spring.datasource.driverClassName=org.postgresql.Driver
spring.jpa.database-platform=org.hibernate.dialect.PostgreSQLDialect
spring.jpa.properties.hibernate.current_session_context_class=thread
# pool
spring.datasource.hikari.minimumIdle=5
spring.datasource.hikari.maximumPoolSize=50
# cache
spring.jpa.properties.hibernate.cache.use_query_cache=true
spring.jpa.properties.hibernate.cache.use_second_level_cache=true
spring.jpa.properties.hibernate.cache.region.factory_class=org.hibernate.cache.jcache.JCacheRegionFactory
spring.jpa.properties.hibernate.javax.cache.provider=org.ehcache.jsr107.EhcacheCachingProvider
spring.jpa.properties.hibernate.javax.cache.missing_cache_strategy=create
##############
# filebroker #
##############
aiode.filebroker.api_base_url=https://filebroker.io/api/Requires:
- java jdk 21 or above (preferably 21, as it is the version used in development and thus main supported version)
- (only for the experimental webapp) rust and cargo-make with the
wasm32-unknown-unknowntarget for the webapp
Install rust, preferably via rustup, then add the wasm32-unknown-unknown target by running rustup target add wasm32-unknown-unknown and install cargo-make with cargo install --force cargo-make. Finally, navigate to src/main/webapp and compile the webapp with cargo make build.
Navigate to the project root directory and install aiode by running ./gradlew build (or if you have gradle installed you can just run gradle build).
Then you can launch aiode using the jar file or the bootRun gradle task. You can either run the
jar file in build/libs by running java -jar build/libs/aiode-1.0-SNAPSHOT.jar or run the bash script bash/launch.sh
or use the gradle bootRun task by running ./gradlew bootRun. To keep the program running when closing the terminal window use a
terminal multiplexer tool like tmux (Unix-like operating systems (e.g. Linux or MacOS) only) to manage a terminal session.
For Tasks:
Click tags to check more tools for each tasksFor Jobs:
Alternative AI tools for aiode
Similar Open Source Tools

aiode
aiode is a Discord bot that plays Spotify tracks and YouTube videos or any URL including Soundcloud links and Twitch streams. It allows users to create cross-platform playlists, customize player commands, create custom command presets, adjust properties for deeper customization, sign in to Spotify to play personal playlists, manage access permissions for commands, customize bot summoning methods, and execute advanced admin commands. The bot also features a scripting sandbox for running and storing custom groovy scripts and modifying command behavior through interceptors.
supavec
Supavec is an open-source tool that serves as an alternative to Carbon.ai. It allows users to build powerful RAG applications using any data source and at any scale. The tool is designed to provide a simple API endpoint for easy integration and usage. Supavec is built with Next.js, Supabase, Tailwind CSS, Bun, and Upstash, offering a robust and flexible solution for application development. Users can refer to the API documentation for detailed information on how to utilize the tool effectively.
supavec
Supavec is an open-source tool that serves as an alternative to Carbon.ai. It allows users to build powerful RAG applications using any data source and at any scale. The tool is designed to provide a cloud version for easy access and offers simple API endpoints for seamless integration. Built with Next.js, Supabase, Tailwind CSS, Bun, and Upstash, Supavec empowers users to create innovative applications with ease. The API documentation is available for reference, making it convenient for developers to get started and explore the tool's capabilities.
tap4-ai-webui
Tap4 AI Web UI is an open source AI tools directory built by Tap4 AI Tools Directory. The project aims to help everyone build their own AI Tools Directory easily. Users can fork the project, deploy it to Vercel with one click, and update their own AI tools using the data list in the project. The web UI features internationalization, SEO friendliness, dynamic sitemap generation, fast shipping, NEXT 14 with app route, and integration with Supabase serverless database.
SecureAI-Tools
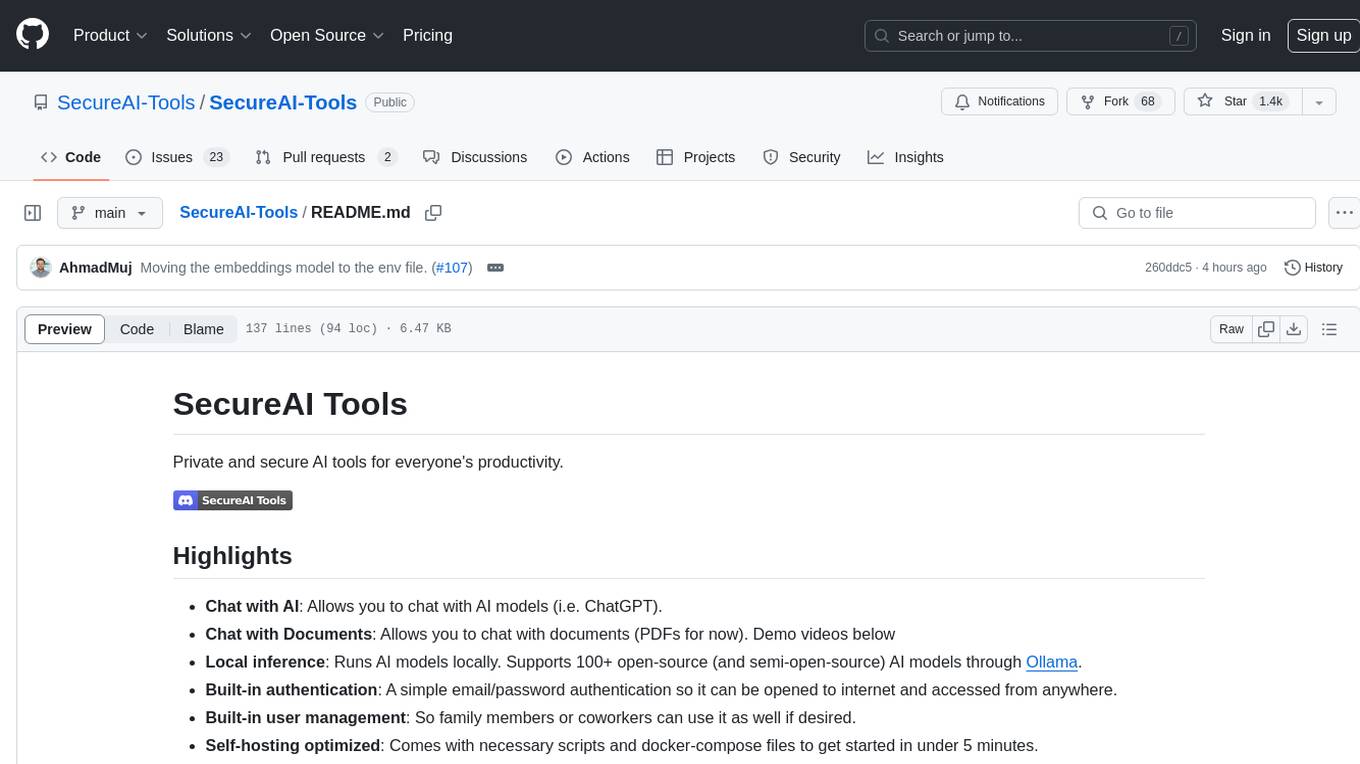
SecureAI Tools is a private and secure AI tool that allows users to chat with AI models, chat with documents (PDFs), and run AI models locally. It comes with built-in authentication and user management, making it suitable for family members or coworkers. The tool is self-hosting optimized and provides necessary scripts and docker-compose files for easy setup in under 5 minutes. Users can customize the tool by editing the .env file and enabling GPU support for faster inference. SecureAI Tools also supports remote OpenAI-compatible APIs, with lower hardware requirements for using remote APIs only. The tool's features wishlist includes chat sharing, mobile-friendly UI, and support for more file types and markdown rendering.

OmniSteward
OmniSteward is an AI-powered steward system based on large language models that can interact with users through voice or text to help control smart home devices and computer programs. It supports multi-turn dialogue, tool calling for complex tasks, multiple LLM models, voice recognition, smart home control, computer program management, online information retrieval, command line operations, and file management. The system is highly extensible, allowing users to customize and share their own tools.
LLMinator
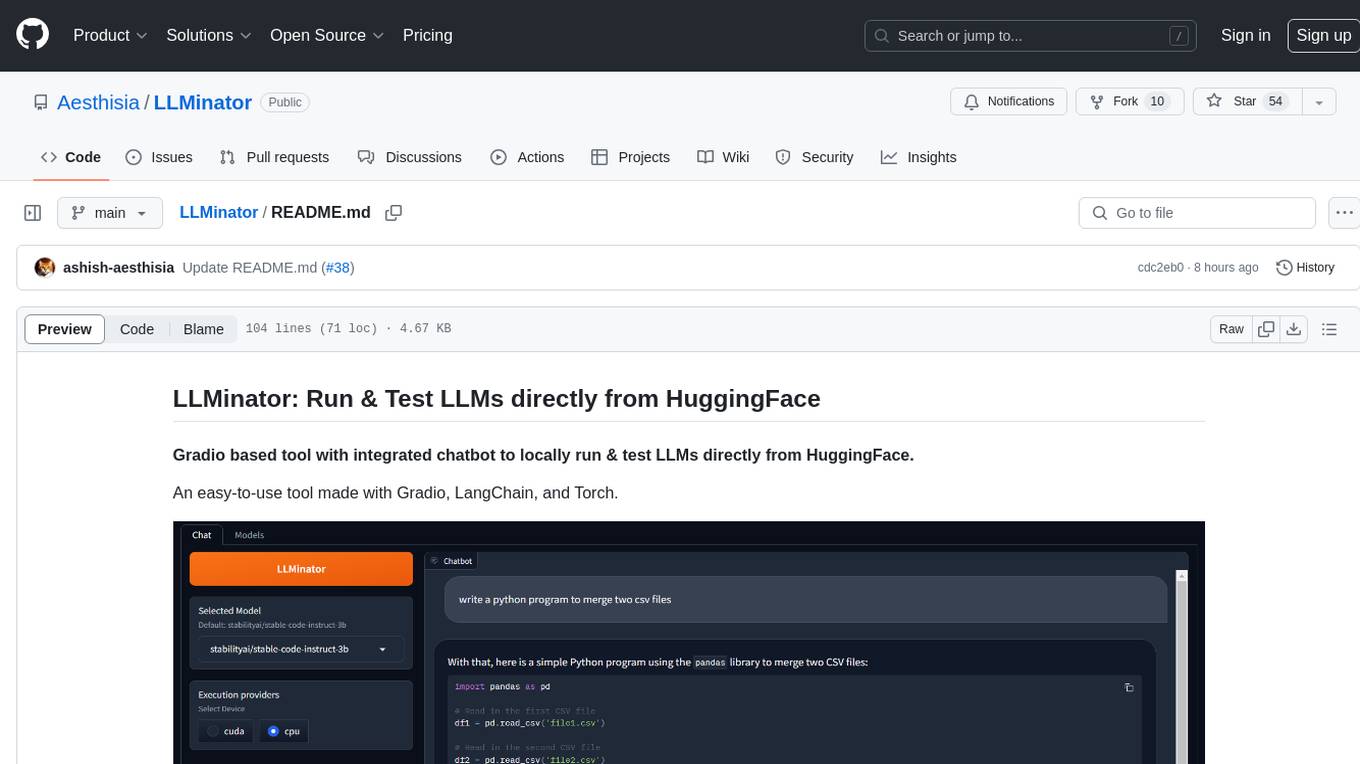
LLMinator is a Gradio-based tool with an integrated chatbot designed to locally run and test Language Model Models (LLMs) directly from HuggingFace. It provides an easy-to-use interface made with Gradio, LangChain, and Torch, offering features such as context-aware streaming chatbot, inbuilt code syntax highlighting, loading any LLM repo from HuggingFace, support for both CPU and CUDA modes, enabling LLM inference with llama.cpp, and model conversion capabilities.
midjourney-bot
Discord Midjourney Bot is an open-source bot designed for AI enthusiasts, providing various AI art functionalities without any paywalls. Users can enjoy features like text to image conversion, image transformation, logo generation, face swap, image upscaling, and more. The bot aims to offer advanced customizable image generation capabilities, including access to language models and canvas size customization. Additionally, the project is open to partnerships and investments, with opportunities for bloggers to review the product. The bot requires Node v18+ to run and integrates with Replicate API for certain functionalities.
obsidian-ai-assistant
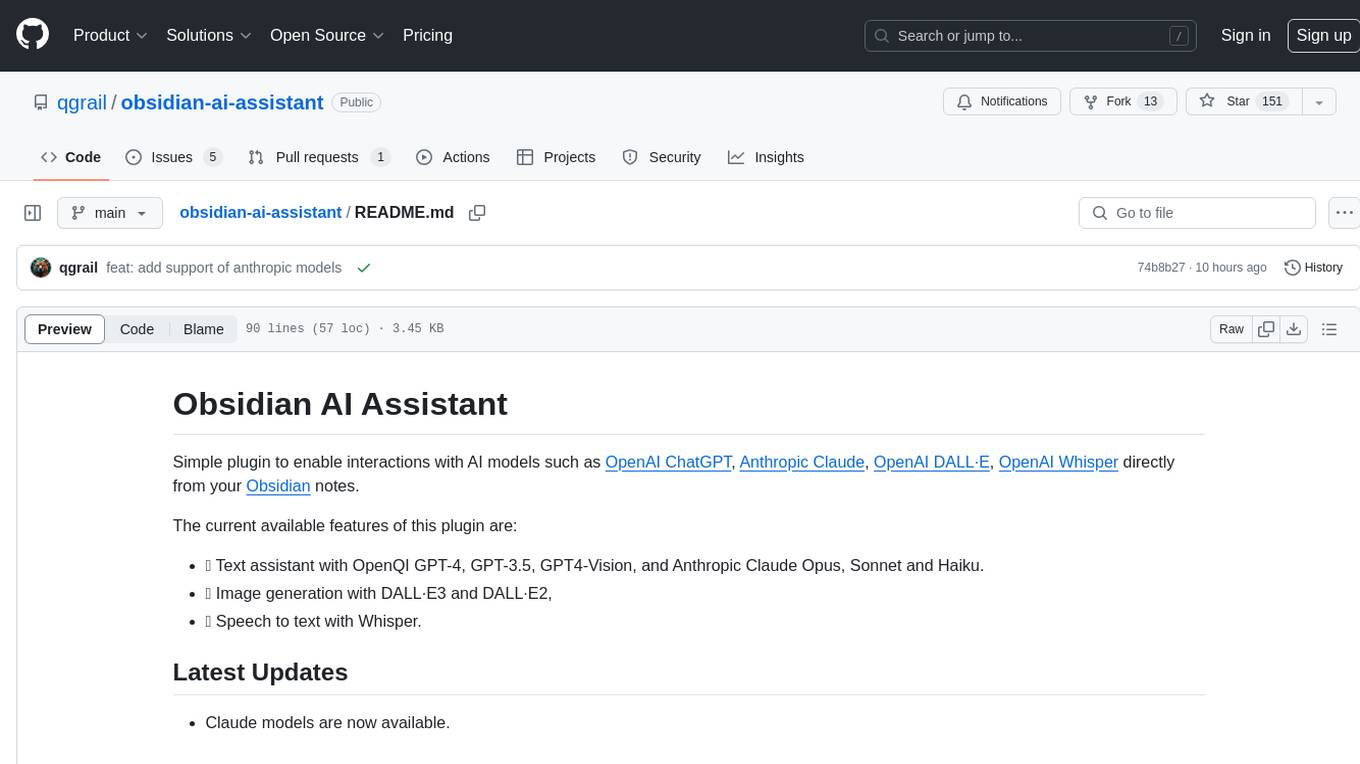
Obsidian AI Assistant is a simple plugin that enables interactions with various AI models such as OpenAI ChatGPT, Anthropic Claude, OpenAI DALL·E, and OpenAI Whisper directly from Obsidian notes. The plugin offers features like text assistance, image generation, and speech-to-text functionality. Users can chat with the AI assistant, generate images for notes, and dictate notes using speech-to-text. The plugin allows customization of text models, image generation options, and language settings for speech-to-text. It requires official API keys for using OpenAI and Anthropic Claude models.
FileKitty
FileKitty is a simple file selection and concatenation tool that allows users to select files from a directory, concatenate them into a single file, save the concatenated file, and copy files to the clipboard. It is useful for concatenating files for use in a single file format and pasting file contents into an LLM to provide context to a prompt. The tool is built using Poetry to manage dependencies and build the app.
pear-landing-page
PearAI Landing Page is an open-source AI-powered code editor managed by Nang and Pan. It is built with Next.js, Vercel, Tailwind CSS, and TypeScript. The project requires setting up environment variables for proper configuration. Users can run the project locally by starting the development server and visiting the specified URL in the browser. Recommended extensions include Prettier, ESLint, and JavaScript and TypeScript Nightly. Contributions to the project are welcomed and appreciated.
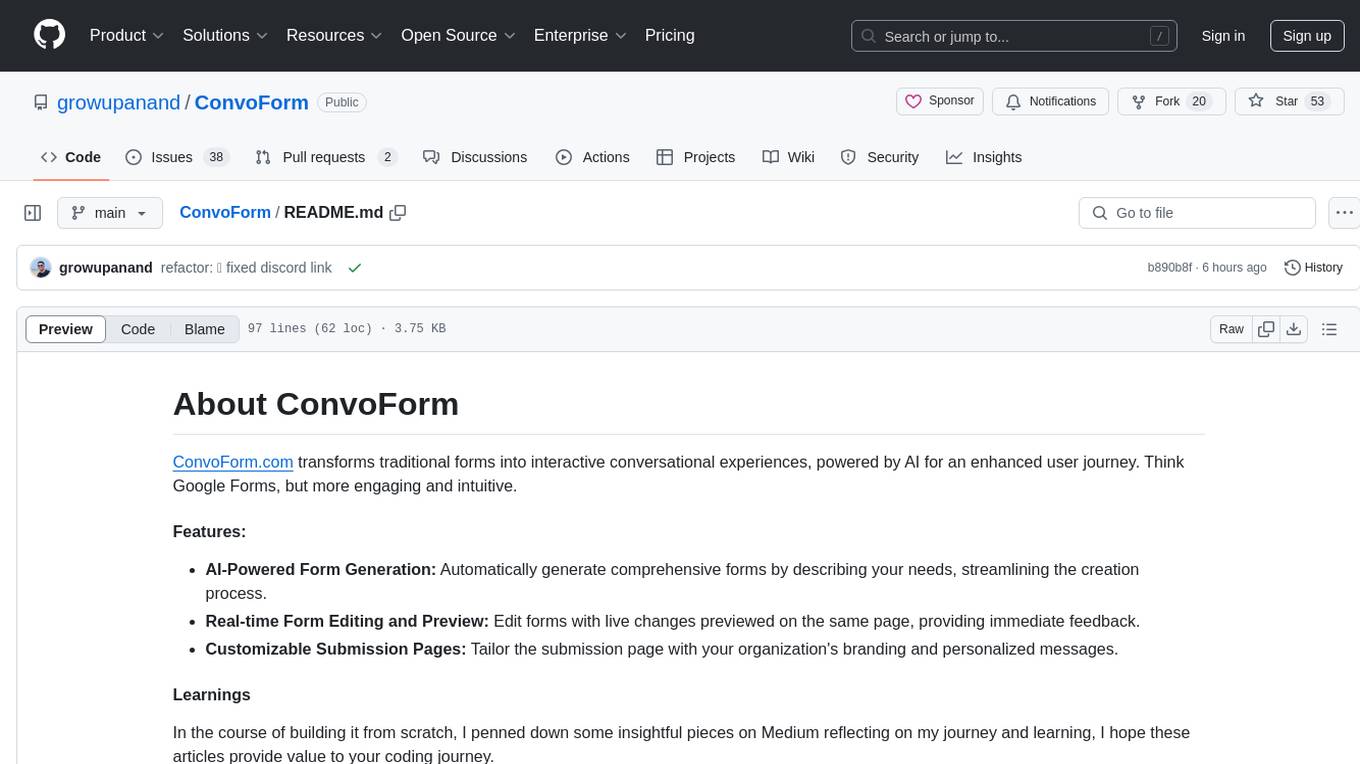
ConvoForm
ConvoForm.com transforms traditional forms into interactive conversational experiences, powered by AI for an enhanced user journey. It offers AI-Powered Form Generation, Real-time Form Editing and Preview, and Customizable Submission Pages. The tech stack includes Next.js for frontend, tRPC for backend, GPT-3.5-Turbo for AI integration, and Socket.io for real-time updates. Local setup requires Node.js, pnpm, Git, PostgreSQL database, Clerk for Authentication, OpenAI key, Redis Database, and Sentry for monitoring. The project is open for contributions and is licensed under the MIT License.
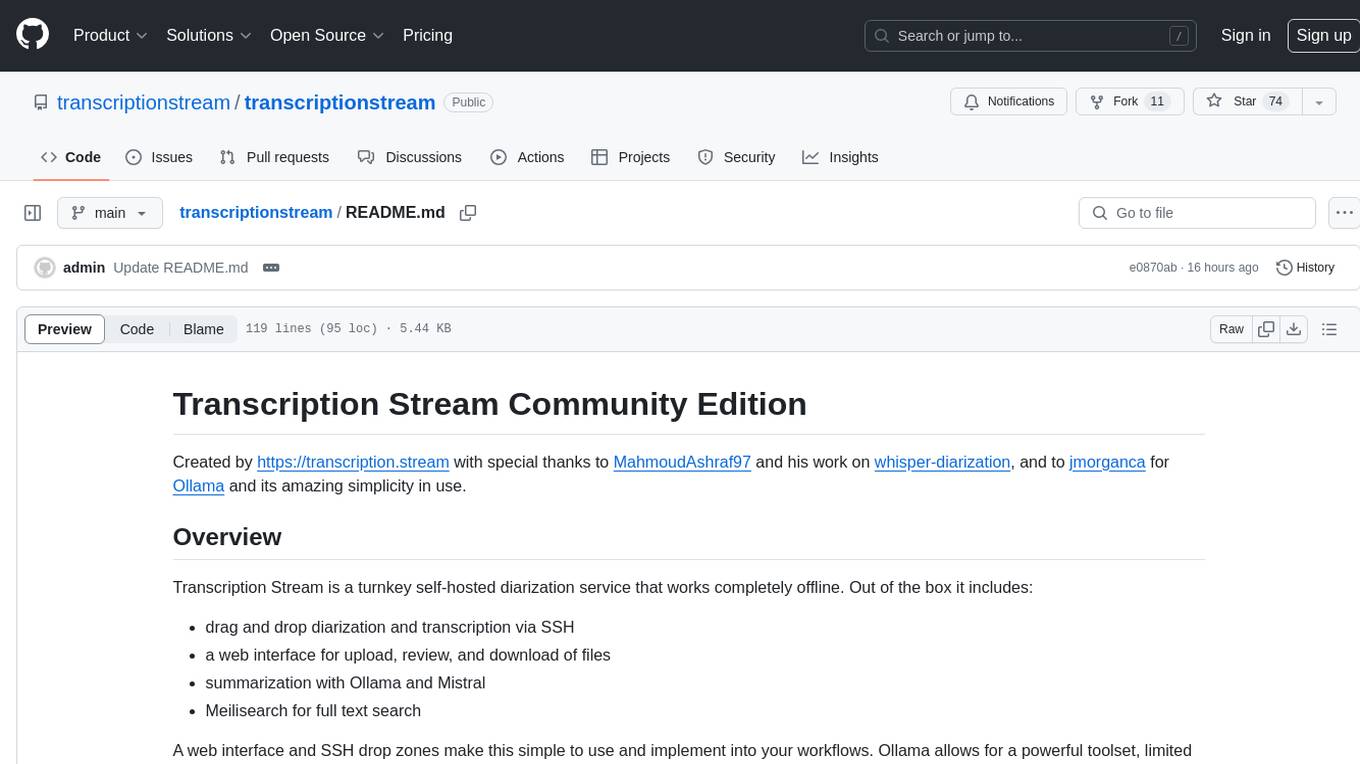
transcriptionstream
Transcription Stream is a self-hosted diarization service that works offline, allowing users to easily transcribe and summarize audio files. It includes a web interface for file management, Ollama for complex operations on transcriptions, and Meilisearch for fast full-text search. Users can upload files via SSH or web interface, with output stored in named folders. The tool requires a NVIDIA GPU and provides various scripts for installation and running. Ports for SSH, HTTP, Ollama, and Meilisearch are specified, along with access details for SSH server and web interface. Customization options and troubleshooting tips are provided in the documentation.
ninja
Ninja is a project that serves as a reverse engineered proxy for ChatGPT. It allows users to acquire API keys, authenticate using email/password, proxy ChatGPT-API/OpenAI-API, access ChatGPT WebUI, utilize IP proxy pool, and solve FunCaptcha with Capsolver.com. The project has a very small memory footprint and is designed for ease of use. Please note that the project has ended.
extensionOS
Extension | OS is an open-source browser extension that brings AI directly to users' web browsers, allowing them to access powerful models like LLMs seamlessly. Users can create prompts, fix grammar, and access intelligent assistance without switching tabs. The extension aims to revolutionize online information interaction by integrating AI into everyday browsing experiences. It offers features like Prompt Factory for tailored prompts, seamless LLM model access, secure API key storage, and a Mixture of Agents feature. The extension was developed to empower users to unleash their creativity with custom prompts and enhance their browsing experience with intelligent assistance.
AI-Youtube-Shorts-Generator
AI Youtube Shorts Generator is a Python tool that utilizes GPT-4 and Whisper to generate engaging YouTube shorts from long-form videos. It downloads videos, transcribes them, extracts highlights, detects speakers, and crops content vertically for shorts. The tool requires Python 3.7 or higher, FFmpeg, and OpenCV. Users can contribute to the project under the MIT License.
For similar tasks

aiode
aiode is a Discord bot that plays Spotify tracks and YouTube videos or any URL including Soundcloud links and Twitch streams. It allows users to create cross-platform playlists, customize player commands, create custom command presets, adjust properties for deeper customization, sign in to Spotify to play personal playlists, manage access permissions for commands, customize bot summoning methods, and execute advanced admin commands. The bot also features a scripting sandbox for running and storing custom groovy scripts and modifying command behavior through interceptors.
airsonic-refix
Airsonic (refix) UI is a modern responsive web frontend designed for airsonic-advanced, navidrome, gonic, and other subsonic compatible music servers. It offers features such as responsive UI for desktop and mobile, browsing library for albums, artists, genres, playback with persistent queue, repeat & shuffle, MediaSession integration, playlist management with drag and drop, search, favorites, internet radio, and podcasts.
For similar jobs

aiode
aiode is a Discord bot that plays Spotify tracks and YouTube videos or any URL including Soundcloud links and Twitch streams. It allows users to create cross-platform playlists, customize player commands, create custom command presets, adjust properties for deeper customization, sign in to Spotify to play personal playlists, manage access permissions for commands, customize bot summoning methods, and execute advanced admin commands. The bot also features a scripting sandbox for running and storing custom groovy scripts and modifying command behavior through interceptors.
aimp-discord-presence
AIMP - Discord Presence is a plugin for AIMP that changes the status of Discord based on the music you are listening to. It allows users to share their detected activity with others on Discord. The plugin settings are stored in the AIMP configuration file, and users can customize various options such as application ID, timestamp, album art display, and image settings for different playback states.
Discord-AI-Selfbot
Discord-AI-Selfbot is a Python-based Discord selfbot that uses the `discord.py-self` library to automatically respond to messages mentioning its trigger word using Groq API's Llama-3 model. It functions as a normal Discord bot on a real Discord account, enabling interactions in DMs, servers, and group chats without needing to invite a bot. The selfbot comes with features like custom AI instructions, free LLM model usage, mention and reply recognition, message handling, channel-specific responses, and a psychoanalysis command to analyze user messages for insights on personality.
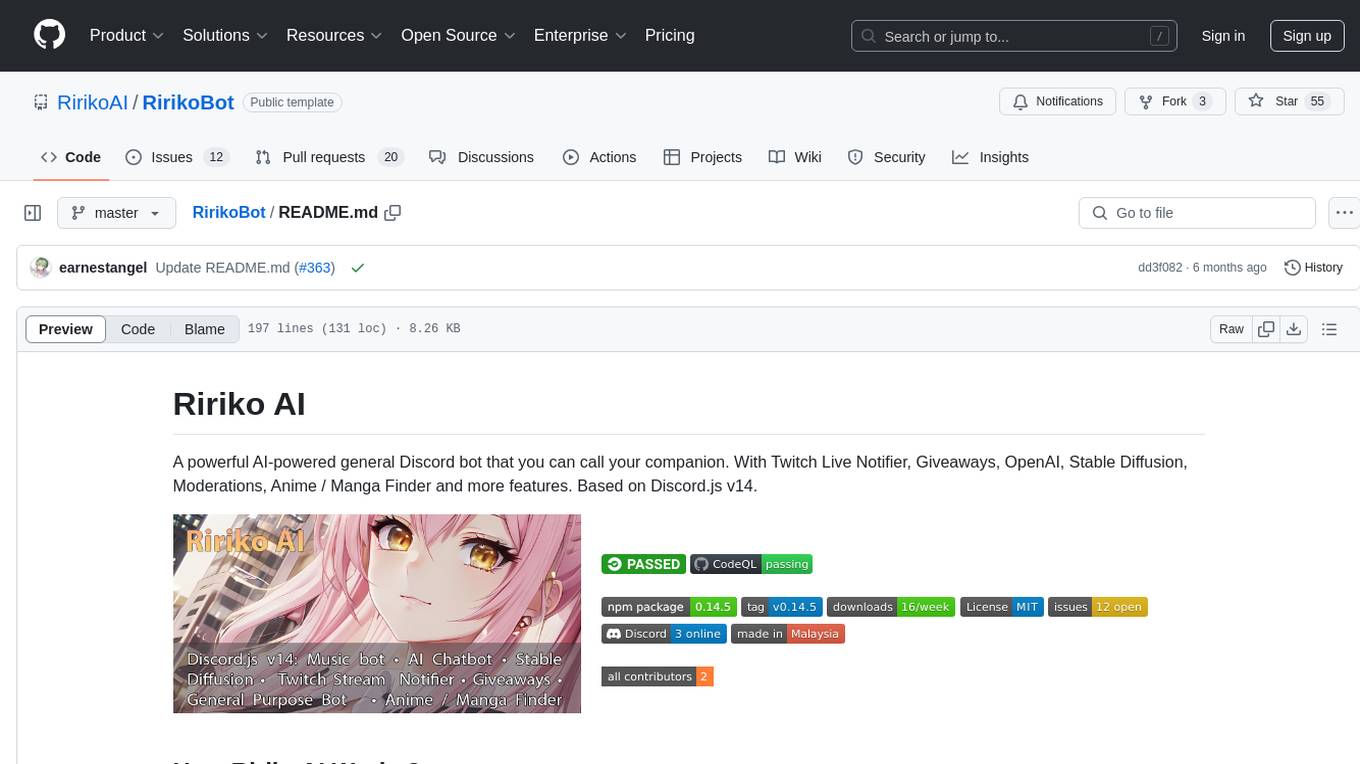
RirikoBot
RirikoBot is a powerful AI-powered Discord bot with features like Twitch Live Notifier, Giveaways, OpenAI, Stable Diffusion, Moderations, Anime / Manga Finder, and more. It is based on Discord.js v14 and can be hosted on a PC or a Server. Users can interact with the bot through various commands to access different functionalities.
stable-diffusion-discord-bot
A discord bot built to interface with the InvokeAI fork of stable-diffusion. It is a work in progress for a major rewrite of the arty project, compatible with `invokeai 5.1.1`. The bot supports various functionalities like building node graphs from job requests, refreshing renders using png metadata, removing backgrounds, job progress tracking, and LLM integration. Users can install custom invokeai nodes for advanced functionality and launch the bot natively or with docker. Patches and pull requests are welcomed.
vrt-cogs
Vrt-Cogs is a collection of various useful and fun plugins (cogs) for Red-DiscordBot, allowing users to enhance their Discord server experience. The repository includes a wide range of cogs such as an intuitive ban appeal system, an AI assistant powered by OpenAI's ChatGPT, tools for documenting cogs, managing bank balances, tracking economy, hosting events, translating messages, sending emails, managing guild settings, playing games, and more. These cogs offer functionalities to automate tasks, engage users, and enhance server management. The repository also provides tools for profiling cogs, managing Space Engineers servers, setting up a ticket system, integrating with Upgrade.Chat API, accessing Xbox profiles, and more.
commandkit
Commandkit is a discord.js meta-framework designed for building powerful, modular, and extensible Discord bots with ease. It provides a range of packages for various functionalities such as AI, caching, devtools, i18n, legacy support, queuing, Redis integration, and task management. The framework aims to simplify the process of creating and managing Discord bots by offering a structured and versatile solution.
Gemini-Discord-Bot
A Discord bot leveraging Google Gemini for advanced conversation, content understanding, image/video/audio recognition, and more. Features conversational AI, image/video/audio and file recognition, custom personalities, admin controls, downloadable conversation history, multiple AI tools, status monitoring, and slash command UI. Users can invite the bot to their Discord server, configure preferences, upload files for analysis, and use slash commands for various actions. Customizable through `config.js` for default personalities, activities, colors, and feature toggles. Admin commands restricted to server admins for security. Local storage for chat history and settings, with a reminder not to commit secrets in `.env` file. Licensed under MIT.
