
NarratoAI
利用AI大模型,一键解说并剪辑视频; Using AI models to automatically provide commentary and edit videos with a single click.
Stars: 6570
NarratoAI is an automated video narration tool that provides an all-in-one solution for script writing, automated video editing, voice-over, and subtitle generation. It is powered by LLM to enhance efficient content creation. The tool aims to simplify the process of creating film commentary and editing videos by automating various tasks such as script writing and voice-over generation. NarratoAI offers a user-friendly interface for users to easily generate video scripts, edit videos, and customize video parameters. With future plans to optimize story generation processes and support additional large models, NarratoAI is a versatile tool for content creators looking to streamline their video production workflow.
README:
本项目仅供学习和研究使用,不得商用。如需商业授权,请联系作者。
- 2025.05.11 发布新版本 0.6.0,支持 短剧解说 和 优化剪辑流程
- 2025.03.06 发布新版本 0.5.2,支持 DeepSeek R1 和 DeepSeek V3 模型进行短剧混剪
- 2024.12.16 发布新版本 0.3.9,支持阿里 Qwen2-VL 模型理解视频;支持短剧混剪
- 2024.11.24 开通 discord 社群:https://discord.com/invite/V2pbAqqQNb
- 2024.11.11 迁移开源社群,欢迎加入! 加入官方社群
- 2024.11.10 发布官方文档,详情参见 官方文档
- 2024.11.10 发布新版本 v0.3.5;优化视频剪辑流程,
即日起全面支持DeepSeek模型!注册即享2000万免费Token(价值14元平台配额),剪辑10分钟视频仅需0.1元!
🔥 快速领福利:
1️⃣ 点击链接注册:https://cloud.siliconflow.cn/i/pyOKqFCV
2️⃣ 使用手机号登录,务必填写邀请码:pyOKqFCV
3️⃣ 领取14元配额,极速体验高性价比AI剪辑
💡 小成本大创作:
硅基流动API Key一键接入,智能剪辑效率翻倍!
(注:邀请码为福利领取唯一凭证,注册后自动到账)
立即行动,用「pyOKqFCV」解锁你的AI生产力!
😊 更新步骤: 整合包:点击 update.bat 一键更新脚本 代码构建:使用 git pull 拉去最新代码
1. NarratoAI 是一款完全免费的软件,近期在社交媒体(抖音等)上发现,有人将 NarratoAI 改名后售卖,下面是部分截图,切忌不要上当受骗!!!
2. 近期在 x (推特) 上发现有人冒充作者在 pump.fun 平台上发行代币! 这是骗子!!! 不要被割了韭菜 !!!目前 NarratoAI 没有在 x(推特) 上做任何官方宣传,注意甄别
下面是此人 x(推特) 首页截图
- [x] windows 整合包发布
- [x] 优化剧情生成流程,提升生成效果
- [x] 发布 0.3.5 整合包
- [x] 支持阿里 Qwen2-VL 大模型理解视频
- [x] 支持短剧混剪
- [x] 一键合并素材
- [x] 一键转录
- [x] 一键清理缓存
- [ ] 支持导出剪映草稿
- [X] 支持短剧解说
- [ ] 主角人脸匹配
- [ ] 支持根据口播,文案,视频素材自动匹配
- [ ] 支持更多 TTS 引擎
- [ ] ...
- 建议最低 CPU 4核或以上,内存 8G 或以上,显卡非必须
- Windows 10/11 或 MacOS 11.0 以上系统
- Python 3.12+
👏 1. 可以提交 issue或者 pull request
💬 2. 加入开源社区交流群
📷 3. 关注公众号【NarratoAI助手】,掌握最新资讯
该项目基于以上项目重构而来,增加了影视解说功能,感谢大佬的开源精神 🥳🥳🥳
点击查看 LICENSE 文件
For Tasks:
Click tags to check more tools for each tasksFor Jobs:
Alternative AI tools for NarratoAI
Similar Open Source Tools

NarratoAI
NarratoAI is an automated video narration tool that provides an all-in-one solution for script writing, automated video editing, voice-over, and subtitle generation. It is powered by LLM to enhance efficient content creation. The tool aims to simplify the process of creating film commentary and editing videos by automating various tasks such as script writing and voice-over generation. NarratoAI offers a user-friendly interface for users to easily generate video scripts, edit videos, and customize video parameters. With future plans to optimize story generation processes and support additional large models, NarratoAI is a versatile tool for content creators looking to streamline their video production workflow.
chatgpt-plus
ChatGPT-PLUS is an open-source AI assistant solution based on AI large language model API, with a built-in operational management backend for easy deployment. It integrates multiple large language models from platforms like OpenAI, Azure, ChatGLM, Xunfei Xinghuo, and Wenxin Yanyan. Additionally, it includes MidJourney and Stable Diffusion AI drawing features. The system offers a complete open-source solution with ready-to-use frontend and backend applications, providing a seamless typing experience via Websocket. It comes with various pre-trained role applications such as Xiaohongshu writer, English translation master, Socrates, Confucius, Steve Jobs, and weekly report assistant to meet various chat and application needs. Users can enjoy features like Suno Wensheng music, integration with MidJourney/Stable Diffusion AI drawing, personal WeChat QR code for payment, built-in Alipay and WeChat payment functions, support for various membership packages and point card purchases, and plugin API integration for developing powerful plugins using large language model functions.
xiaozhi-esp32
The xiaozhi-esp32 repository is the first hardware project by Xia Ge, focusing on creating an AI chatbot using ESP32, SenseVoice, and Qwen72B. The project aims to help beginners in AI hardware development understand how to apply language models to hardware devices. It supports various functionalities such as Wi-Fi configuration, offline voice wake-up, multilingual speech recognition, voiceprint recognition, TTS using large models, and more. The project encourages participation for learning and improvement, providing resources for hardware and firmware development.
geekai
GeekAI is an open-source AI assistant solution based on AI large language model API, featuring a complete system with ready-to-use front-end and back-end management, providing a seamless typing experience via Websocket. It integrates various pre-trained character applications like Xiaohongshu writing assistant, English translation master, Socrates, Confucius, Steve Jobs, and weekly report assistant. The tool supports multiple large language models from platforms like OpenAI, Azure, Wenxin Yanyan, Xunfei Xinghuo, and Tsinghua ChatGLM. Additionally, it includes MidJourney and Stable Diffusion AI drawing functionalities for creating various artworks such as text-based images, face swapping, and blending images. Users can utilize personal WeChat QR codes for payment without the need for enterprise payment channels, and the tool offers integrated payment options like Alipay and WeChat Pay with support for multiple membership packages and point card purchases. It also features a plugin API for developing powerful plugins using large language model functions, including built-in plugins for Weibo hot search, today's headlines, morning news, and AI drawing functions.
chatgpt-infinity
ChatGPT Infinity is a free and powerful add-on that makes ChatGPT generate infinite answers on any topic. It offers customizable topic selection, multilingual support, adjustable response interval, and auto-scroll feature for a seamless chat experience.
nonebot-plugin-marshoai
nonebot-plugin-marshoai is a chatbot plugin that utilizes the OpenAI standard format API, such as the GitHub Models API, to enable chat functionalities. The plugin features the character Marsho, a cute cat girl, for engaging conversations. It supports OneBot adapters and GitHub Models API, with limited validation for other adapters. Developed by Melobot.
AIBotPublic
AIBotPublic is an open-source version of AIBotPro, a comprehensive AI tool that provides various features such as knowledge base construction, AI drawing, API hosting, and more. It supports custom plugins and parallel processing of multiple files. The tool is built using bootstrap4 for the frontend, .NET6.0 for the backend, and utilizes technologies like SqlServer, Redis, and Milvus for database and vector database functionalities. It integrates third-party dependencies like Baidu AI OCR, Milvus C# SDK, Google Search, and more to enhance its capabilities.
LxgwZhenKai
LxgwZhenKai is a Chinese font derived from LXGW WenKai, manually adjusted for boldness and supplemented with AI assistance for character additions. The font aims to provide a comfortable reading experience on screens while also serving as a bold version of LXGW WenKai for temporary use. It contains over 13,000 characters, including common simplified and traditional Chinese characters, and is licensed under SIL Open Font License 1.1. Users are allowed to freely use, distribute, modify, and create derivative fonts based on LxgwZhenKai.
ChatGPT-On-CS
ChatGPT-On-CS is an intelligent chatbot tool based on large models, supporting various platforms like WeChat, Taobao, Bilibili, Douyin, Weibo, and more. It can handle text, voice, and image inputs, access external resources through plugins, and customize enterprise AI applications based on proprietary knowledge bases. Users can set custom replies, utilize ChatGPT interface for intelligent responses, send images and binary files, and create personalized chatbots using knowledge base files. The tool also features platform-specific plugin systems for accessing external resources and supports enterprise AI applications customization.
Jarvis
Jarvis is a powerful virtual AI assistant designed to simplify daily tasks through voice command integration. It features automation, device management, and personalized interactions, transforming technology engagement. Built using Python and AI models, it serves personal and administrative needs efficiently, making processes seamless and productive.
chatgpt-auto-refresh
ChatGPT Auto Refresh is a userscript that keeps ChatGPT sessions fresh by eliminating network errors and Cloudflare checks. It removes the 10-minute time limit from conversations when Chat History is disabled, ensuring a seamless experience. The tool is safe, lightweight, and a time-saver, allowing users to keep their sessions alive without constant copy/paste/refresh actions. It works even in background tabs, providing convenience and efficiency for users interacting with ChatGPT. The tool relies on the chatgpt.js library and is compatible with various browsers using Tampermonkey, making it accessible to a wide range of users.
Juggle
Juggle is a low-code tool for interface orchestration, which can quickly orchestrate simple APIs into a complex interface. The orchestrated interface can be directly used by the front end, greatly improving development efficiency and reducing development costs.
KouriChat
KouriChat is a project that seamlessly integrates virtual and real interactions, providing eternal gentle bonds. It offers features like WeChat integration, immersive role-playing, intelligent conversation segmentation, emotion-based emojis, image generation, image recognition, voice messages, and more. The project is focused on technical research and learning exchanges, with a strong emphasis on ethical and legal guidelines. Users are required to take full responsibility for their actions, especially minors who should use the tool under supervision. The project architecture includes avatar configurations, data storage, handlers, AI service interfaces, a web UI, and utility libraries.

Ai-Hoshino
Ai Hoshino - MD is a WhatsApp bot tool with features like voice and text interaction, group configuration, anti-delete, anti-link, personalized welcome messages, chatbot functionality, sticker creation, sub-bot integration, RPG game, YouTube music and video downloads, and more. The tool is actively maintained by Starlights Team and offers a range of functionalities for WhatsApp users.
langchat
LangChat is an enterprise AIGC project solution in the Java ecosystem. It integrates AIGC large model functionality on top of the RBAC permission system to help enterprises quickly customize AI knowledge bases and enterprise AI robots. It supports integration with various large models such as OpenAI, Gemini, Ollama, Azure, Zhifu, Alibaba Tongyi, Baidu Qianfan, etc. The project is developed solely by TyCoding and is continuously evolving. It features multi-modality, dynamic configuration, knowledge base support, advanced RAG capabilities, function call customization, multi-channel deployment, workflows visualization, AIGC client application, and more.
FastGPT
FastGPT is a knowledge base Q&A system based on the LLM large language model, providing out-of-the-box data processing, model calling and other capabilities. At the same time, you can use Flow to visually arrange workflows to achieve complex Q&A scenarios!
For similar tasks

NarratoAI
NarratoAI is an automated video narration tool that provides an all-in-one solution for script writing, automated video editing, voice-over, and subtitle generation. It is powered by LLM to enhance efficient content creation. The tool aims to simplify the process of creating film commentary and editing videos by automating various tasks such as script writing and voice-over generation. NarratoAI offers a user-friendly interface for users to easily generate video scripts, edit videos, and customize video parameters. With future plans to optimize story generation processes and support additional large models, NarratoAI is a versatile tool for content creators looking to streamline their video production workflow.
wunjo.wladradchenko.ru
Wunjo AI is a comprehensive tool that empowers users to explore the realm of speech synthesis, deepfake animations, video-to-video transformations, and more. Its user-friendly interface and privacy-first approach make it accessible to both beginners and professionals alike. With Wunjo AI, you can effortlessly convert text into human-like speech, clone voices from audio files, create multi-dialogues with distinct voice profiles, and perform real-time speech recognition. Additionally, you can animate faces using just one photo combined with audio, swap faces in videos, GIFs, and photos, and even remove unwanted objects or enhance the quality of your deepfakes using the AI Retouch Tool. Wunjo AI is an all-in-one solution for your voice and visual AI needs, offering endless possibilities for creativity and expression.
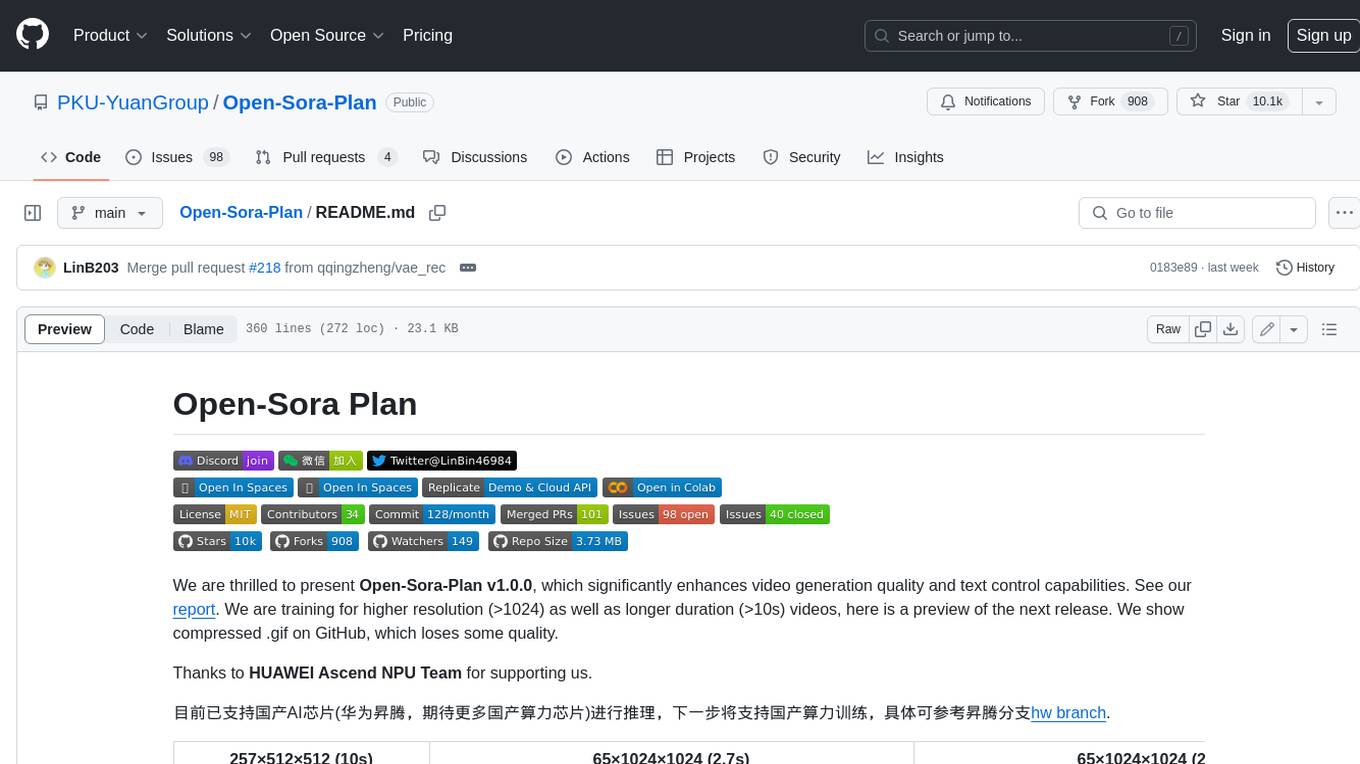
Open-Sora-Plan
Open-Sora-Plan is a project that aims to create a simple and scalable repo to reproduce Sora (OpenAI, but we prefer to call it "ClosedAI"). The project is still in its early stages, but the team is working hard to improve it and make it more accessible to the open-source community. The project is currently focused on training an unconditional model on a landscape dataset, but the team plans to expand the scope of the project in the future to include text2video experiments, training on video2text datasets, and controlling the model with more conditions.
Rewind-AI-Main
Rewind AI is a free and open-source AI-powered video editing tool that allows users to easily create and edit videos. It features a user-friendly interface, a wide range of editing tools, and support for a variety of video formats. Rewind AI is perfect for beginners and experienced video editors alike.
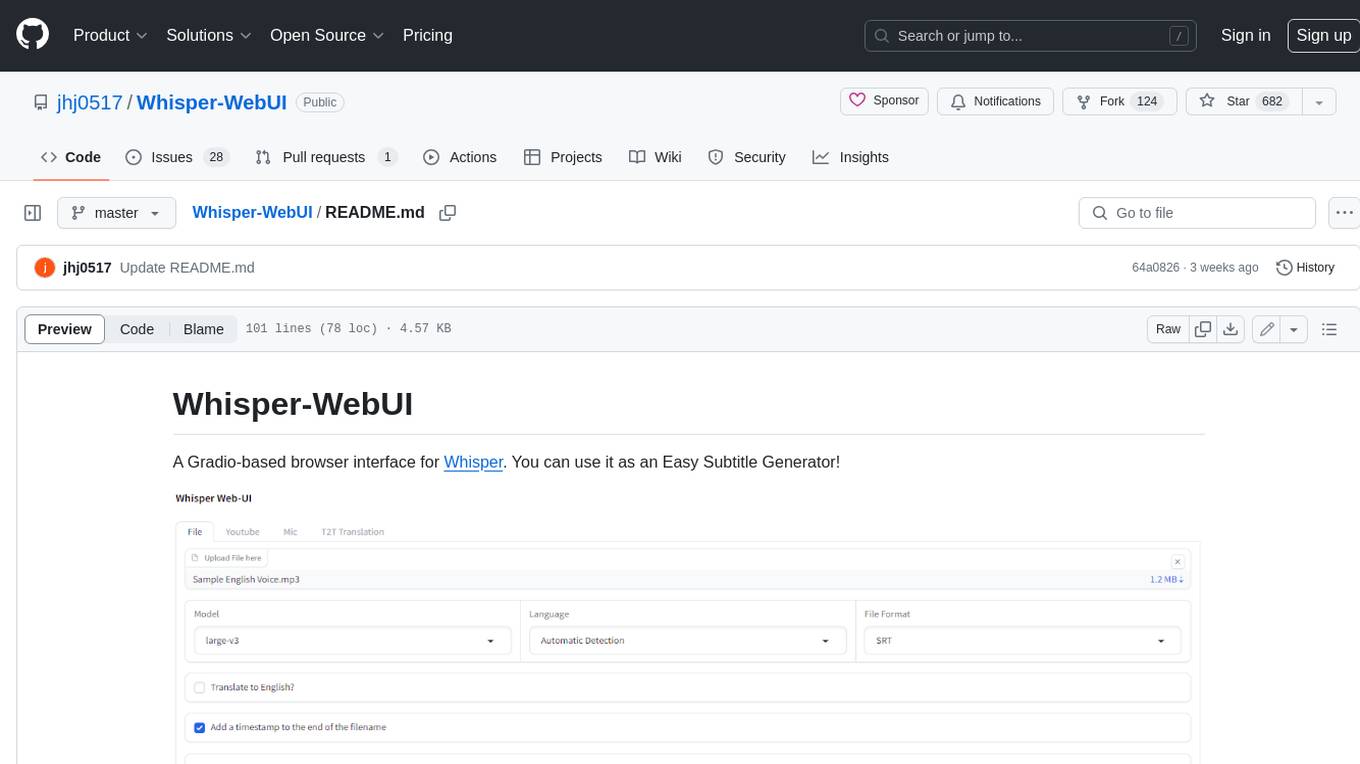
Whisper-WebUI
Whisper-WebUI is a Gradio-based browser interface for Whisper, serving as an Easy Subtitle Generator. It supports generating subtitles from various sources such as files, YouTube, and microphone. The tool also offers speech-to-text and text-to-text translation features, utilizing Facebook NLLB models and DeepL API. Users can translate subtitle files from other languages to English and vice versa. The project integrates faster-whisper for improved VRAM usage and transcription speed, providing efficiency metrics for optimized whisper models. Additionally, users can choose from different Whisper models based on size and language requirements.

CushyStudio
CushyStudio is a generative AI platform designed for creatives of any level to effortlessly create stunning images, videos, and 3D models. It offers CushyApps, a collection of visual tools tailored for different artistic tasks, and CushyKit, an extensive toolkit for custom apps development and task automation. Users can dive into the AI revolution, unleash their creativity, share projects, and connect with a vibrant community. The platform aims to simplify the AI art creation process and provide a user-friendly environment for designing interfaces, adding custom logic, and accessing various tools.
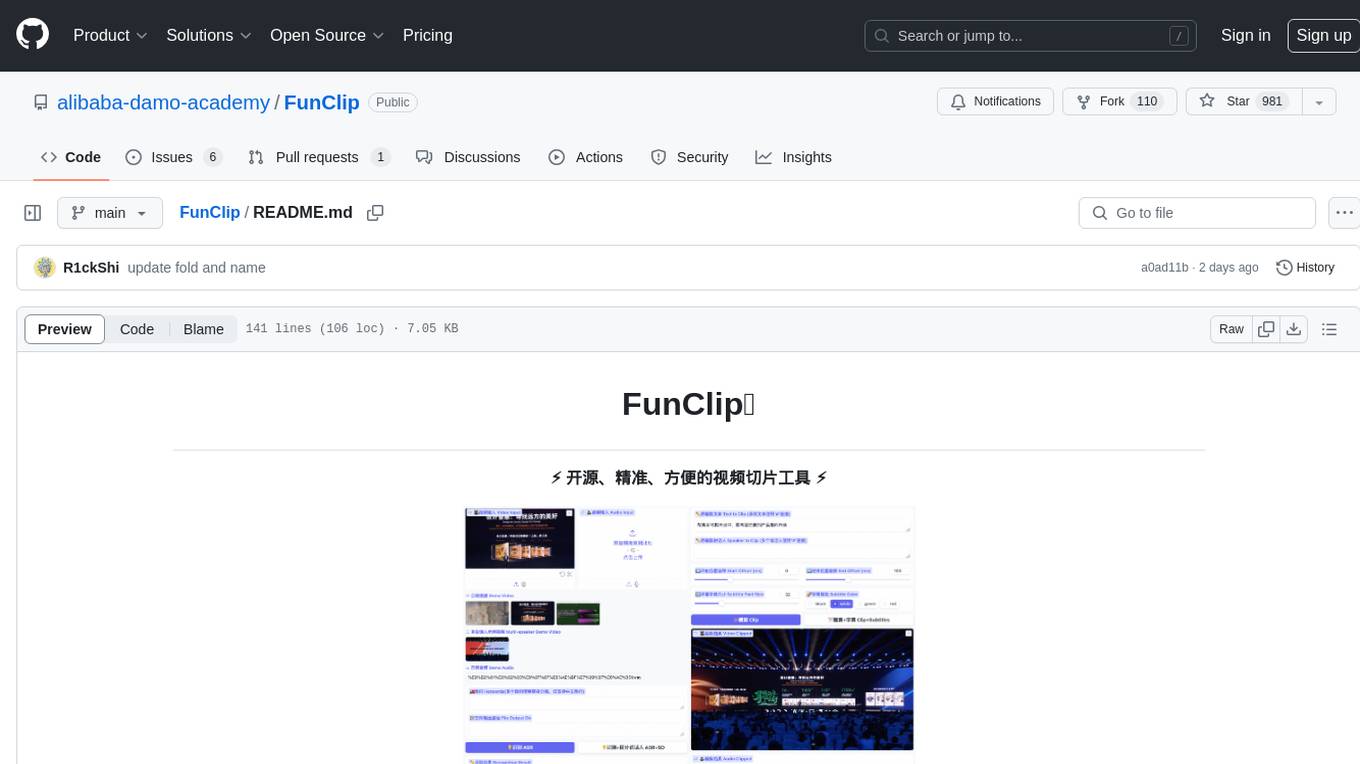
FunClip
FunClip is an open-source, locally deployable automated video editing tool that utilizes the FunASR Paraformer series models from Alibaba DAMO Academy for speech recognition in videos. Users can select text segments or speakers from the recognition results and click the clip button to obtain the corresponding video segments. FunClip integrates advanced features such as the Paraformer-Large model for accurate Chinese ASR, SeACo-Paraformer for customized hotword recognition, CAM++ speaker recognition model, Gradio interactive interface for easy usage, support for multiple free edits with automatic SRT subtitles generation, and segment-specific SRT subtitles.
ChopperBot
A multifunctional, intelligent, personalized, scalable, easy to build, and fully automated multi platform intelligent live video editing and publishing robot. ChopperBot is a comprehensive AI tool that automatically analyzes and slices the most interesting clips from popular live streaming platforms, generates and publishes content, and manages accounts. It supports plugin DIY development and hot swapping functionality, making it easy to customize and expand. With ChopperBot, users can quickly build their own live video editing platform without the need to install any software, thanks to its visual management interface.
For similar jobs
LLMStack
LLMStack is a no-code platform for building generative AI agents, workflows, and chatbots. It allows users to connect their own data, internal tools, and GPT-powered models without any coding experience. LLMStack can be deployed to the cloud or on-premise and can be accessed via HTTP API or triggered from Slack or Discord.
daily-poetry-image
Daily Chinese ancient poetry and AI-generated images powered by Bing DALL-E-3. GitHub Action triggers the process automatically. Poetry is provided by Today's Poem API. The website is built with Astro.
exif-photo-blog
EXIF Photo Blog is a full-stack photo blog application built with Next.js, Vercel, and Postgres. It features built-in authentication, photo upload with EXIF extraction, photo organization by tag, infinite scroll, light/dark mode, automatic OG image generation, a CMD-K menu with photo search, experimental support for AI-generated descriptions, and support for Fujifilm simulations. The application is easy to deploy to Vercel with just a few clicks and can be customized with a variety of environment variables.
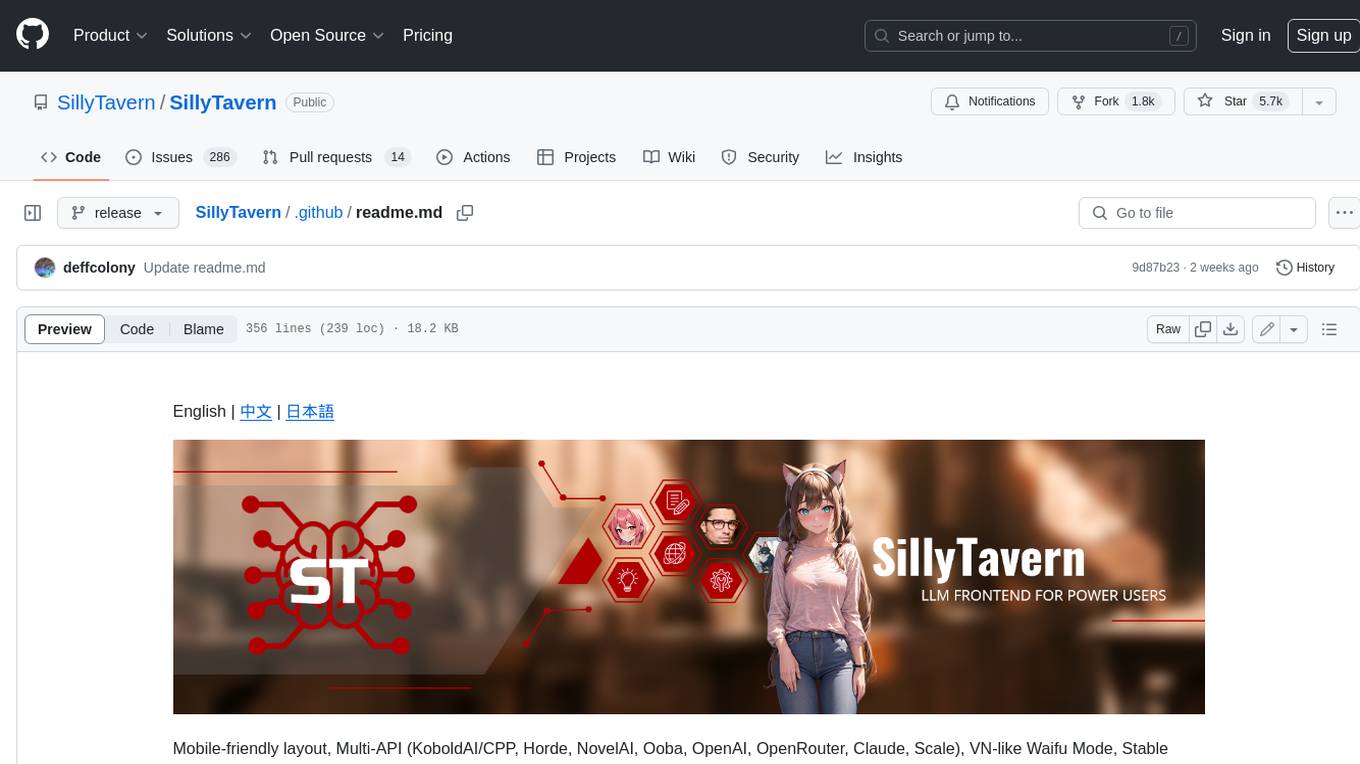
SillyTavern
SillyTavern is a user interface you can install on your computer (and Android phones) that allows you to interact with text generation AIs and chat/roleplay with characters you or the community create. SillyTavern is a fork of TavernAI 1.2.8 which is under more active development and has added many major features. At this point, they can be thought of as completely independent programs.
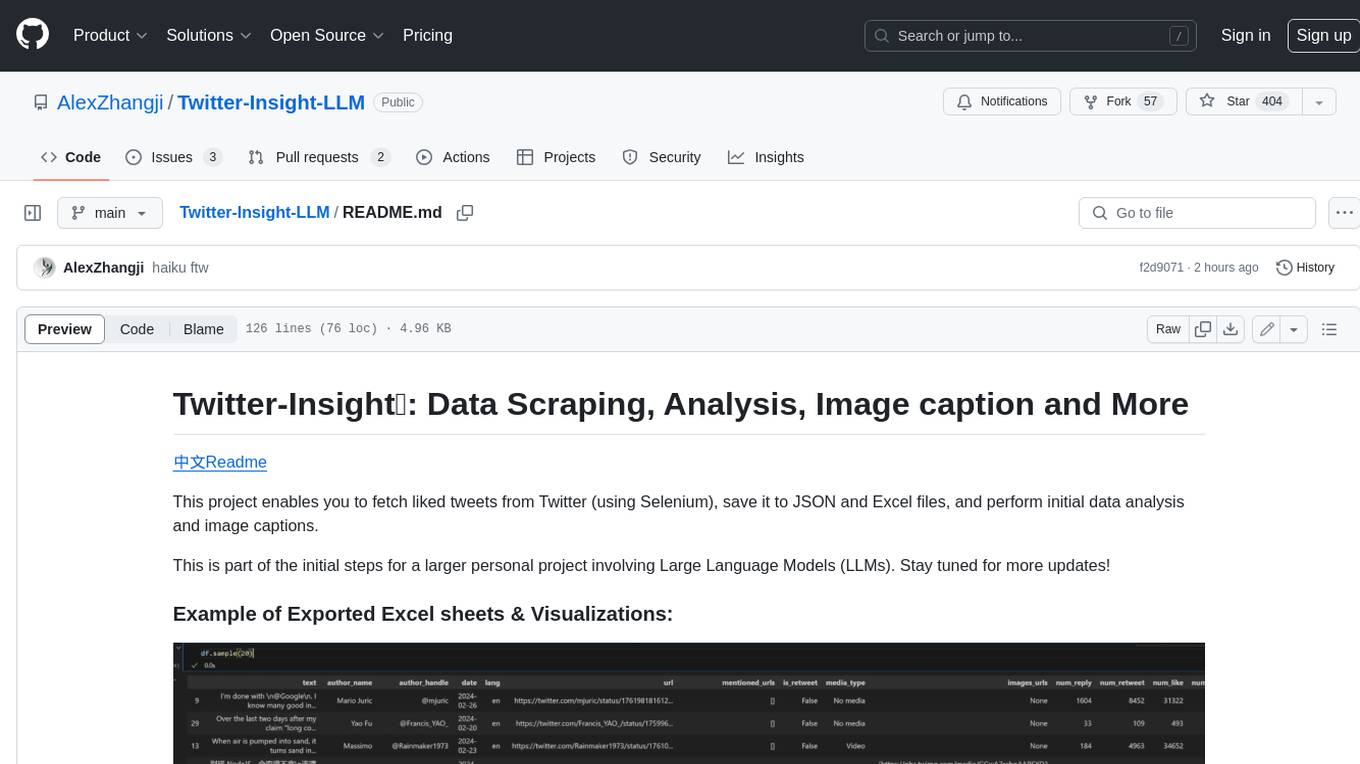
Twitter-Insight-LLM
This project enables you to fetch liked tweets from Twitter (using Selenium), save it to JSON and Excel files, and perform initial data analysis and image captions. This is part of the initial steps for a larger personal project involving Large Language Models (LLMs).
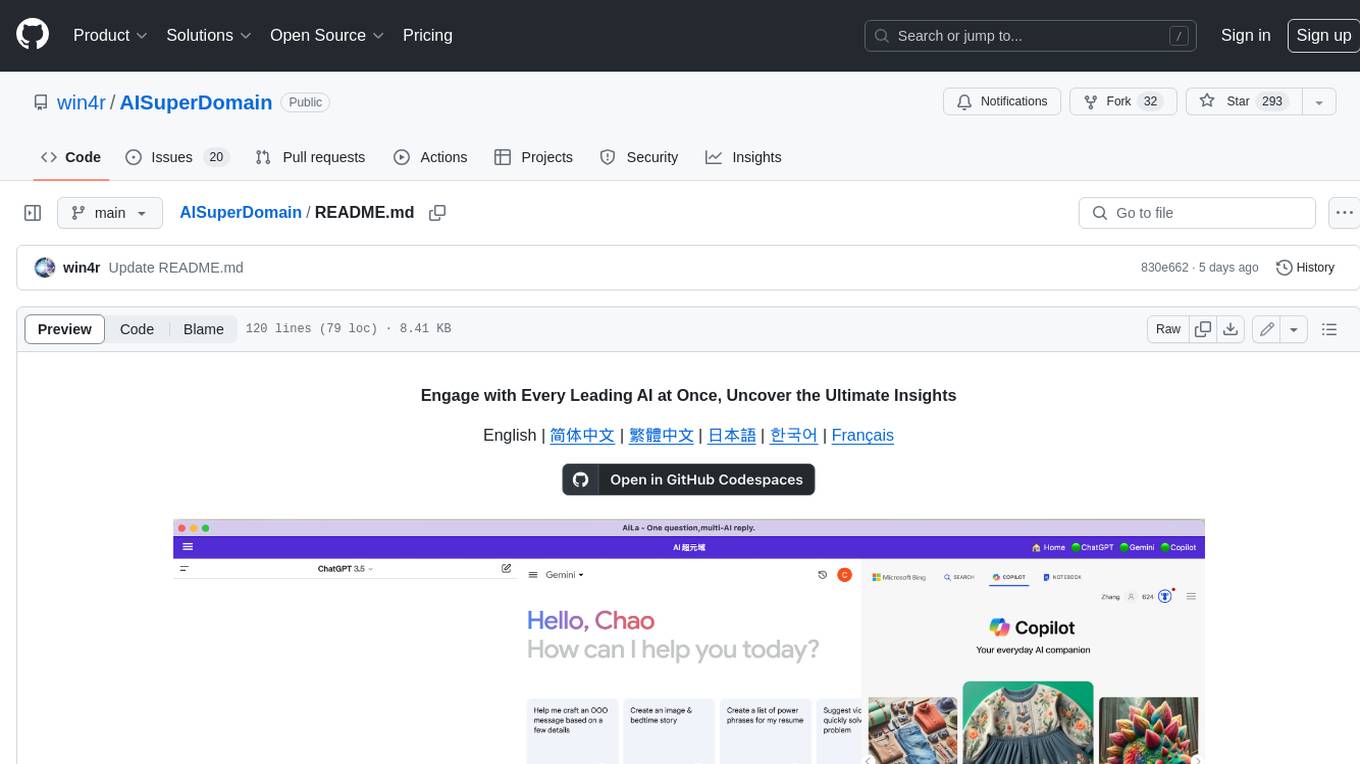
AISuperDomain
Aila Desktop Application is a powerful tool that integrates multiple leading AI models into a single desktop application. It allows users to interact with various AI models simultaneously, providing diverse responses and insights to their inquiries. With its user-friendly interface and customizable features, Aila empowers users to engage with AI seamlessly and efficiently. Whether you're a researcher, student, or professional, Aila can enhance your AI interactions and streamline your workflow.
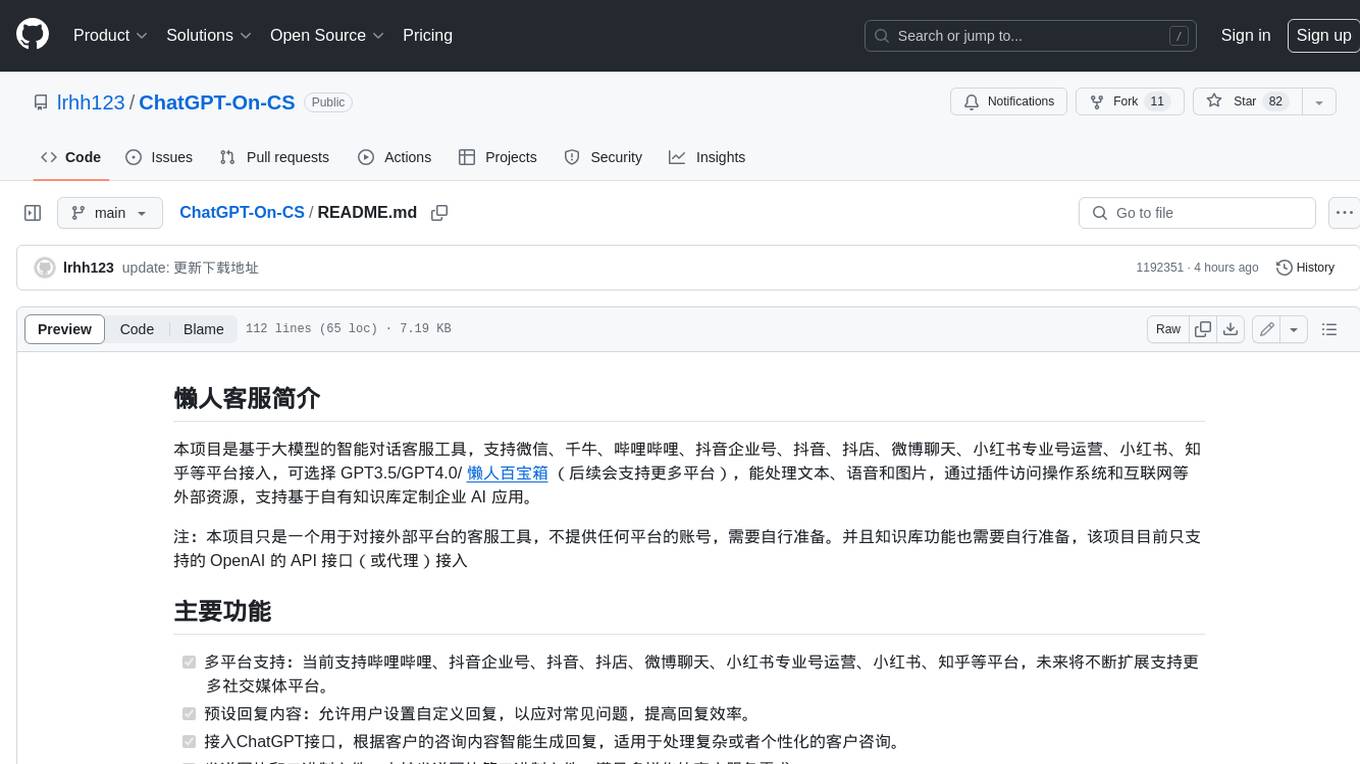
ChatGPT-On-CS
This project is an intelligent dialogue customer service tool based on a large model, which supports access to platforms such as WeChat, Qianniu, Bilibili, Douyin Enterprise, Douyin, Doudian, Weibo chat, Xiaohongshu professional account operation, Xiaohongshu, Zhihu, etc. You can choose GPT3.5/GPT4.0/ Lazy Treasure Box (more platforms will be supported in the future), which can process text, voice and pictures, and access external resources such as operating systems and the Internet through plug-ins, and support enterprise AI applications customized based on their own knowledge base.
obs-localvocal
LocalVocal is a live-streaming AI assistant plugin for OBS that allows you to transcribe audio speech into text and perform various language processing functions on the text using AI / LLMs (Large Language Models). It's privacy-first, with all data staying on your machine, and requires no GPU, cloud costs, network, or downtime.


