please-cli
An AI helper for creating CLI commands
Stars: 73
Please CLI is an AI helper script designed to create CLI commands by leveraging the GPT model. Users can input a command description, and the script will generate a Linux command based on that input. The tool offers various functionalities such as invoking commands, copying commands to the clipboard, asking questions about commands, and more. It supports parameters for explanation, using different AI models, displaying additional output, storing API keys, querying ChatGPT with specific models, showing the current version, and providing help messages. Users can install Please CLI via Homebrew, apt, Nix, dpkg, AUR, or manually from source. The tool requires an OpenAI API key for operation and offers configuration options for setting API keys and OpenAI settings. Please CLI is licensed under the Apache License 2.0 by TNG Technology Consulting GmbH.
README:
An AI helper script to create CLI commands.
please <command description>This will call GPT to generate a Linux command based on your input.
please list all files smaller than 1MB in the current folder, \
         sort them by size and show their name and line count
💡 Command:
  find . -maxdepth 1 -type f -size -1M -exec wc -l {} + | sort -n -k1'

❗ What should I do? [use arrow keys or initials to navigate]
> [I] Invoke   [C] Copy to clipboard   [Q] Ask a question   [A] Abort
You may then:
- Invoke the command directly (pressing I)
- Copy the command to the clipboard (pressing C)
- Ask a question about the command (pressing Q)
- Abort (pressing A)
### Parameters
- `-e` or `--explanation` will explain the command for you
- `-l` or `--legacy` will use the GPT3.5 AI model instead of GPT4 (in case you don't have API access to GPT4)
- `--debug` will display additional output
- `-a` or `--api-key` will store your API key in the local keychain
- `-m` or `--model` will query ChatGPT with the specified model
- `-v` or `--version` will show the current version
- `-h` or `--help` will show the help messageUsing Homebrew (ugrades will be available via brew upgrade please)
brew tap TNG/please
brew install please
Using apt (upgrades will be available via apt upgrade please)
curl -sS https://tng.github.io/apt-please/public_key.gpg | gpg --dearmor | sudo tee /etc/apt/trusted.gpg.d/please.gpg > /dev/null
echo "deb https://tng.github.io/apt-please/ ./" | sudo tee -a /etc/apt/sources.list
sudo apt-get update

sudo apt-get install pleasegit clone https://github.com/TNG/please-cli.git
cd please-cli
nix-env -i -f .Using Nix Flakes
nix run github:TNG/please-cliManual upgrades
wget https://tng.github.io/apt-please/please.deb
sudo dpkg -i please.deb
sudo apt-get install -fThe latest release is in the AUR under the name please-cli. It can be installed manually or with a helper.
Alternatively, you can build the package from source via
wget https://raw.githubusercontent.com/TNG/please-cli/main/PKGBUILD
makepkg --clean --install --syncdepsJust copying the script (manual upgrades)
wget https://raw.githubusercontent.com/TNG/please-cli/main/please.sh
sudo cp please.sh /usr/local/bin/please
sudo chmod +x /usr/local/bin/please

# Install jq and (if on Linux) secret-tool as well as xclip using the package manager of your choiceYou need an OpenAI API key. You can get one here: https://beta.openai.com/. Once logged in, click your account in the top right corner and select "View API Keys". You can then create a new key using the "Create new secret key" button.
The API key needs to be set:
- either via an environment variable
OPENAI_API_KEY, - or via a keychain entry
OPENAI_API_KEY(macOS keychain and secret-tool on Linux are supported)
The easiest way to set the API Key is to use the please command itself to do so:
please -aThis will set the API key in the keychain of your operating system (secret-tool on Linux, macOS keychain on MacOS).
You can also set the API key via an environment variable, run
export OPENAI_API_KEY=<YOUR_API_KEY>To store your API key yourself using secret-tool, run
secret-tool store --label="OPENAI_API_KEY" username "${USER}" key_name OPENAI_API_KEY apiKey "${apiKey}"To store your API key using macOS keychain, run
security add-generic-password -a "${USER}" -s OPENAI_API_KEY -w "${apiKey}"You can use the following OpenAI compatible environment variables:
-
OPENAI_API_KEY- Your OpenAI API key -
OPENAI_API_BASE- The base URL for the OpenAI API -
OPENAI_API_VERSION- The version of the OpenAI API
You can use the more specific environment variables if you do not want to change OpenAI settings globally:
-
PLEASE_OPENAI_API_KEY- Your OpenAI API key -
PLEASE_OPENAI_API_BASE- The base URL for the OpenAI API -
PLEASE_OPENAI_API_VERSION- The version of the OpenAI API -
PLEASE_OPENAI_CHAT_MODEL- The chat model to use
If you receive the following error message:
Error: Received HTTP status 404
The model: gpt-4 does not exist
The API key you are using is not authorized to use GPT-4. You may also want to use the --legacy flag to use GPT-3.5 instead.
You can also apply for GPT4 API access here: https://openai.com/waitlist/gpt-4-api
Please CLI is published under the Apache License 2.0, see http://www.apache.org/licenses/LICENSE-2.0 for details.
Copyright 2023 TNG Technology Consulting GmbH
For Tasks:
Click tags to check more tools for each tasksFor Jobs:
Alternative AI tools for please-cli
Similar Open Source Tools

please-cli
Please CLI is an AI helper script designed to create CLI commands by leveraging the GPT model. Users can input a command description, and the script will generate a Linux command based on that input. The tool offers various functionalities such as invoking commands, copying commands to the clipboard, asking questions about commands, and more. It supports parameters for explanation, using different AI models, displaying additional output, storing API keys, querying ChatGPT with specific models, showing the current version, and providing help messages. Users can install Please CLI via Homebrew, apt, Nix, dpkg, AUR, or manually from source. The tool requires an OpenAI API key for operation and offers configuration options for setting API keys and OpenAI settings. Please CLI is licensed under the Apache License 2.0 by TNG Technology Consulting GmbH.
tiledesk-dashboard
Tiledesk is an open-source live chat platform with integrated chatbots written in Node.js and Express. It is designed to be a multi-channel platform for web, Android, and iOS, and it can be used to increase sales or provide post-sales customer service. Tiledesk's chatbot technology allows for automation of conversations, and it also provides APIs and webhooks for connecting external applications. Additionally, it offers a marketplace for apps and features such as CRM, ticketing, and data export.
mods
AI for the command line, built for pipelines. LLM based AI is really good at interpreting the output of commands and returning the results in CLI friendly text formats like Markdown. Mods is a simple tool that makes it super easy to use AI on the command line and in your pipelines. Mods works with OpenAI, Groq, Azure OpenAI, and LocalAI To get started, install Mods and check out some of the examples below. Since Mods has built-in Markdown formatting, you may also want to grab Glow to give the output some _pizzazz_.
hash
HASH is a self-building, open-source database which grows, structures and checks itself. With it, we're creating a platform for decision-making, which helps you integrate, understand and use data in a variety of different ways.
codespin
CodeSpin.AI is a set of open-source code generation tools that leverage large language models (LLMs) to automate coding tasks. With CodeSpin, you can generate code in various programming languages, including Python, JavaScript, Java, and C++, by providing natural language prompts. CodeSpin offers a range of features to enhance code generation, such as custom templates, inline prompting, and the ability to use ChatGPT as an alternative to API keys. Additionally, CodeSpin provides options for regenerating code, executing code in prompt files, and piping data into the LLM for processing. By utilizing CodeSpin, developers can save time and effort in coding tasks, improve code quality, and explore new possibilities in code generation.
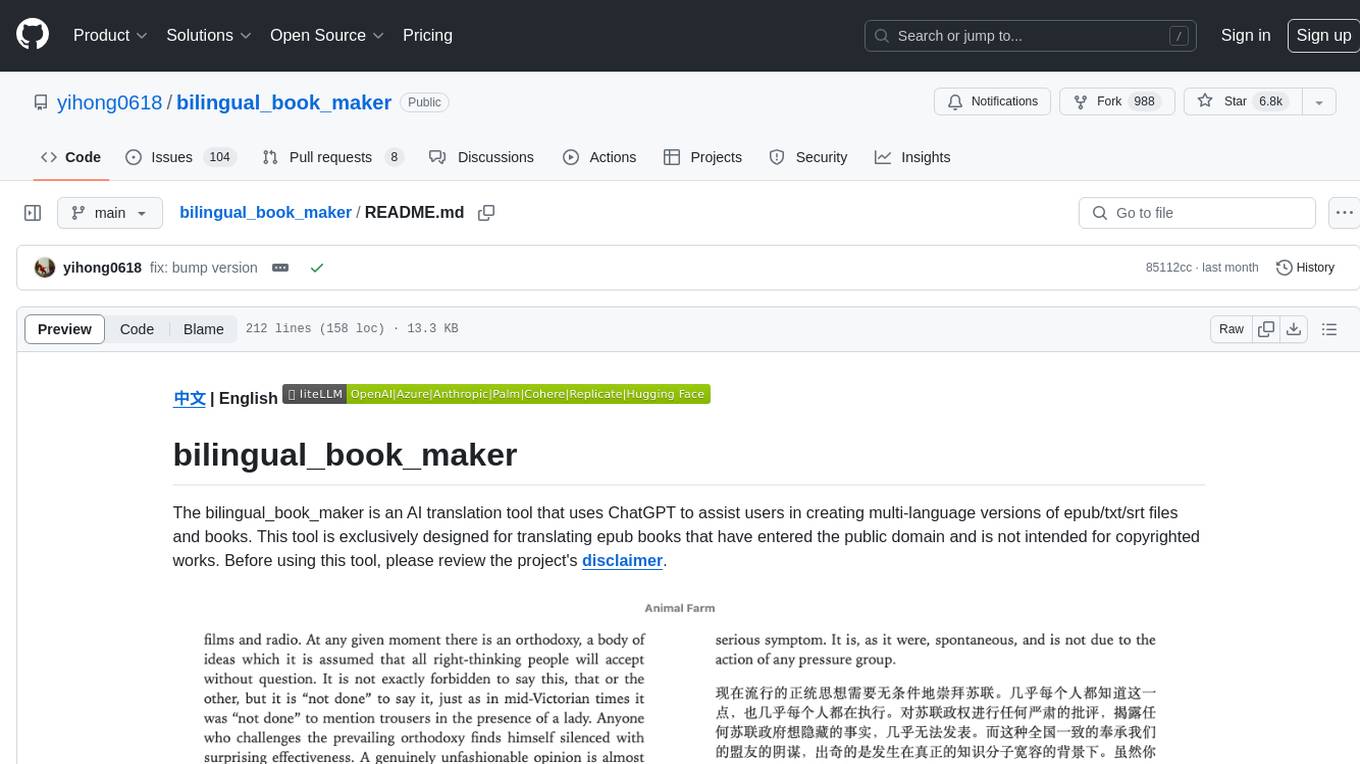
bilingual_book_maker
The bilingual_book_maker is an AI translation tool that uses ChatGPT to assist users in creating multi-language versions of epub/txt/srt files and books. It supports various models like gpt-4, gpt-3.5-turbo, claude-2, palm, llama-2, azure-openai, command-nightly, and gemini. Users need ChatGPT or OpenAI token, epub/txt books, internet access, and Python 3.8+. The tool provides options to specify OpenAI API key, model selection, target language, proxy server, context addition, translation style, and more. It generates bilingual books in epub format after translation. Users can test translations, set batch size, tweak prompts, and use different models like DeepL, Google Gemini, Tencent TranSmart, and more. The tool also supports retranslation, translating specific tags, and e-reader type specification. Docker usage is available for easy setup.
llm-vscode
llm-vscode is an extension designed for all things LLM, utilizing llm-ls as its backend. It offers features such as code completion with 'ghost-text' suggestions, the ability to choose models for code generation via HTTP requests, ensuring prompt size fits within the context window, and code attribution checks. Users can configure the backend, suggestion behavior, keybindings, llm-ls settings, and tokenization options. Additionally, the extension supports testing models like Code Llama 13B, Phind/Phind-CodeLlama-34B-v2, and WizardLM/WizardCoder-Python-34B-V1.0. Development involves cloning llm-ls, building it, and setting up the llm-vscode extension for use.
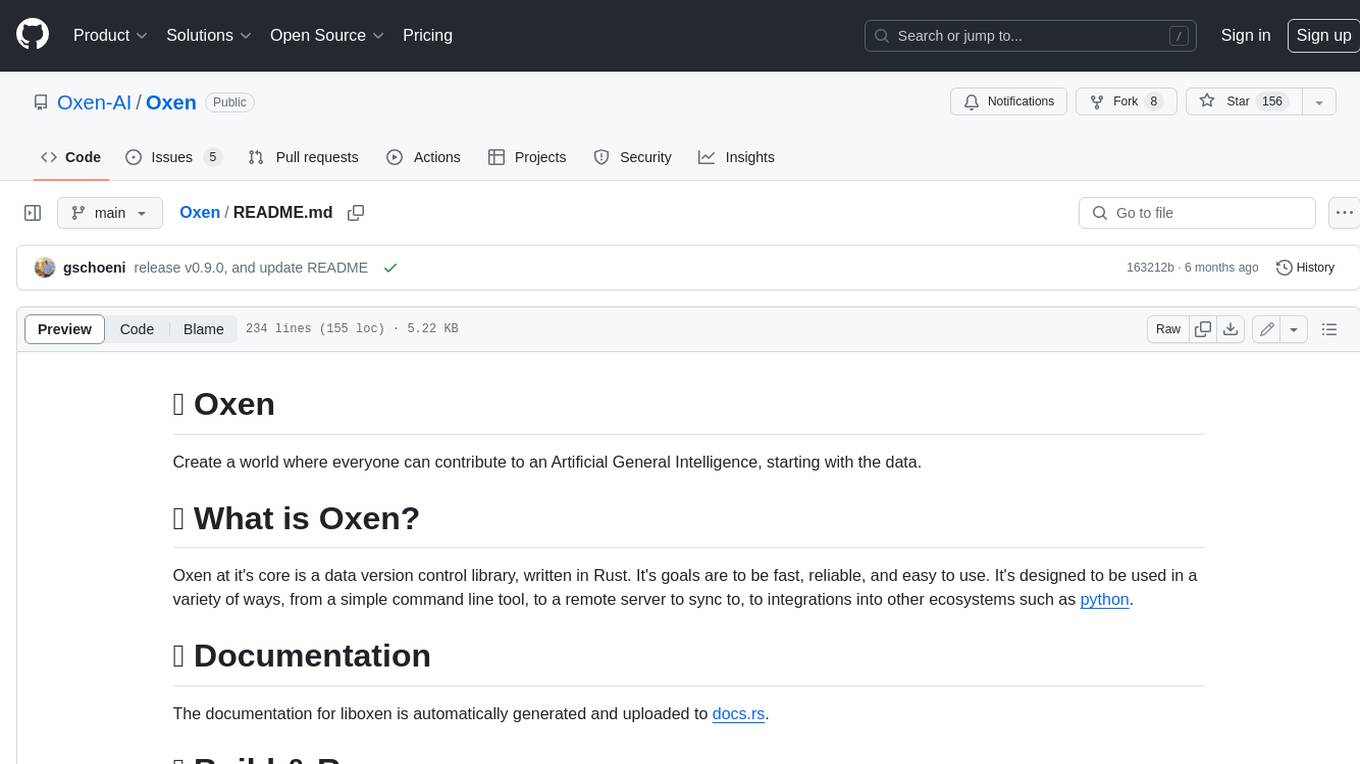
Oxen
Oxen is a data version control library, written in Rust. It's designed to be fast, reliable, and easy to use. Oxen can be used in a variety of ways, from a simple command line tool to a remote server to sync to, to integrations into other ecosystems such as python.
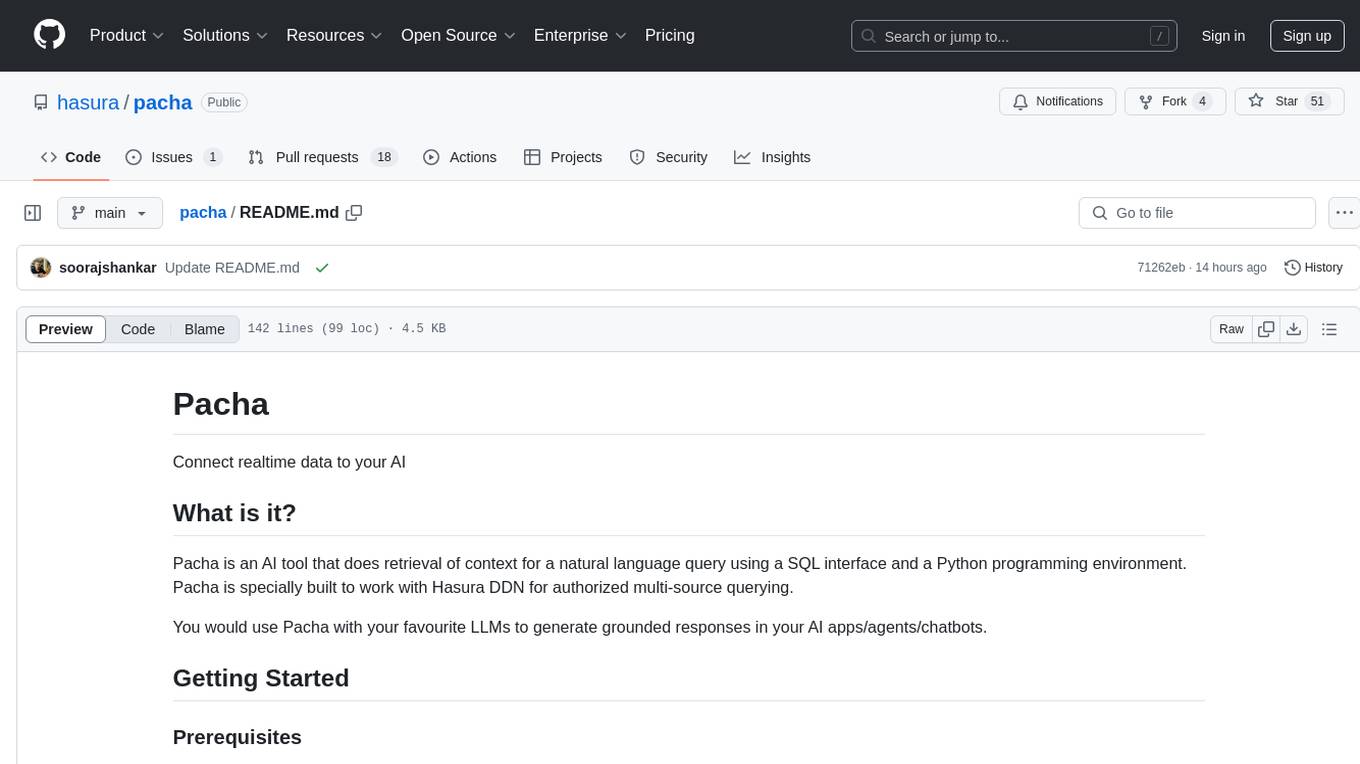
pacha
Pacha is an AI tool designed for retrieving context for natural language queries using a SQL interface and Python programming environment. It is optimized for working with Hasura DDN for multi-source querying. Pacha is used in conjunction with language models to produce informed responses in AI applications, agents, and chatbots.
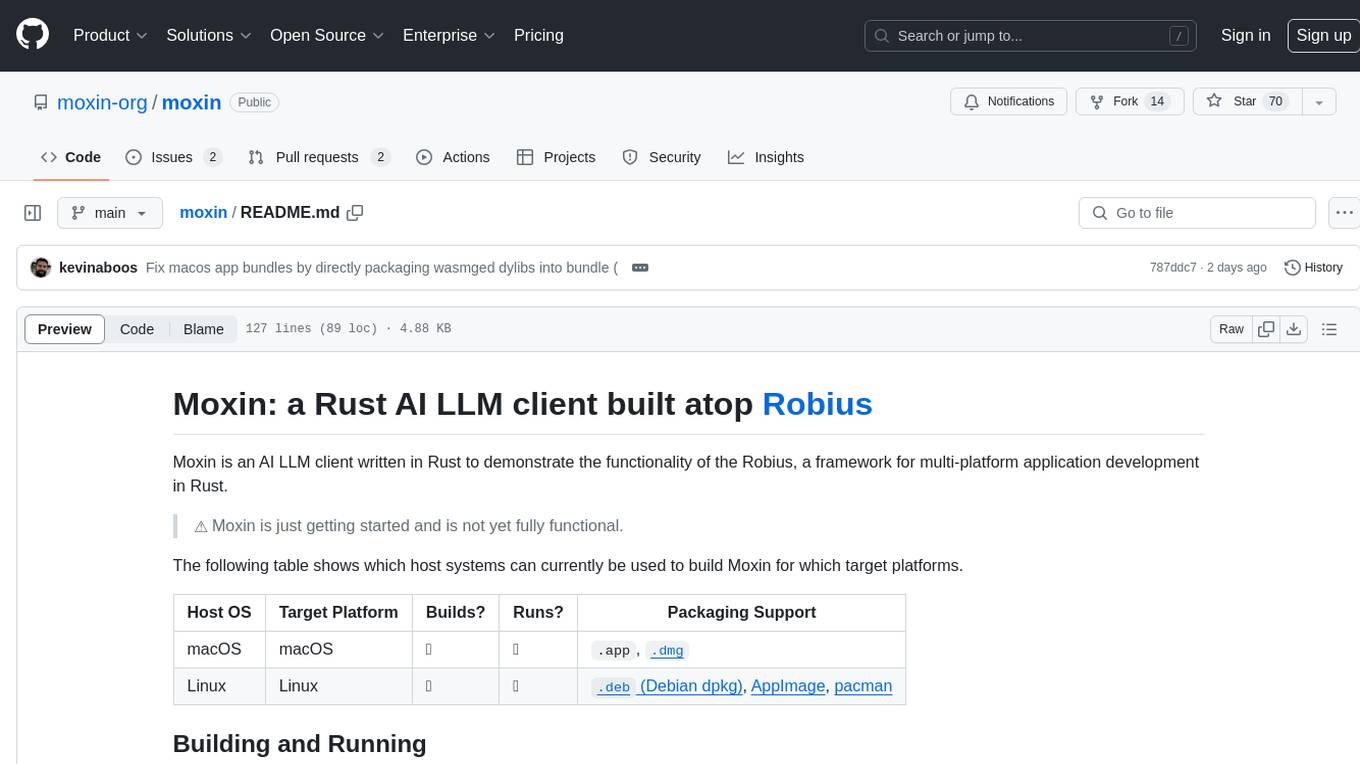
moxin
Moxin is an AI LLM client written in Rust to demonstrate the functionality of the Robius framework for multi-platform application development. It is currently in early stages of development and not fully functional. The tool supports building and running on macOS and Linux systems, with packaging options available for distribution. Users can install the required WasmEdge WASM runtime and dependencies to build and run Moxin. Packaging for distribution includes generating `.deb` Debian packages, AppImage, and pacman installation packages for Linux, as well as `.app` bundles and `.dmg` disk images for macOS. The macOS app is not signed, leading to a warning on installation, which can be resolved by removing the quarantine attribute from the installed app.
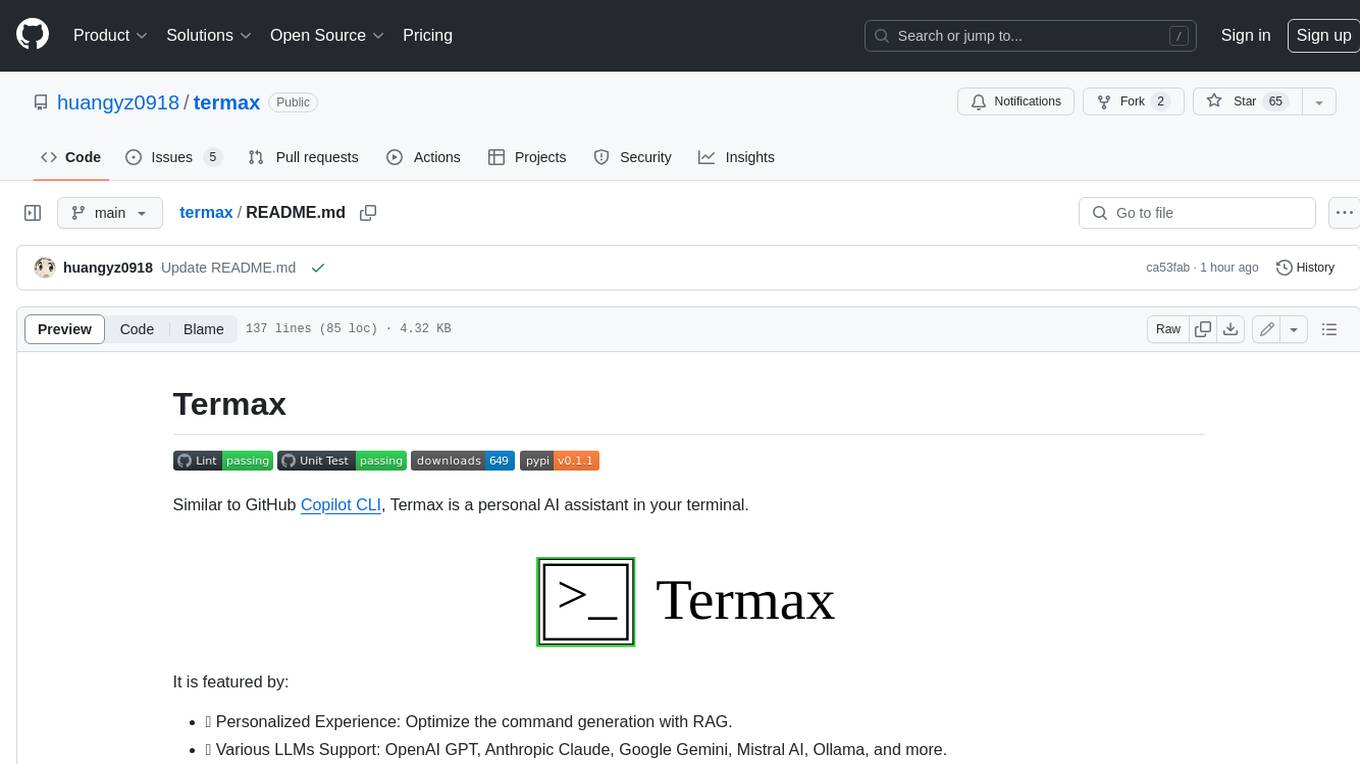
termax
Termax is an LLM agent in your terminal that converts natural language to commands. It is featured by: - Personalized Experience: Optimize the command generation with RAG. - Various LLMs Support: OpenAI GPT, Anthropic Claude, Google Gemini, Mistral AI, and more. - Shell Extensions: Plugin with popular shells like `zsh`, `bash` and `fish`. - Cross Platform: Able to run on Windows, macOS, and Linux.
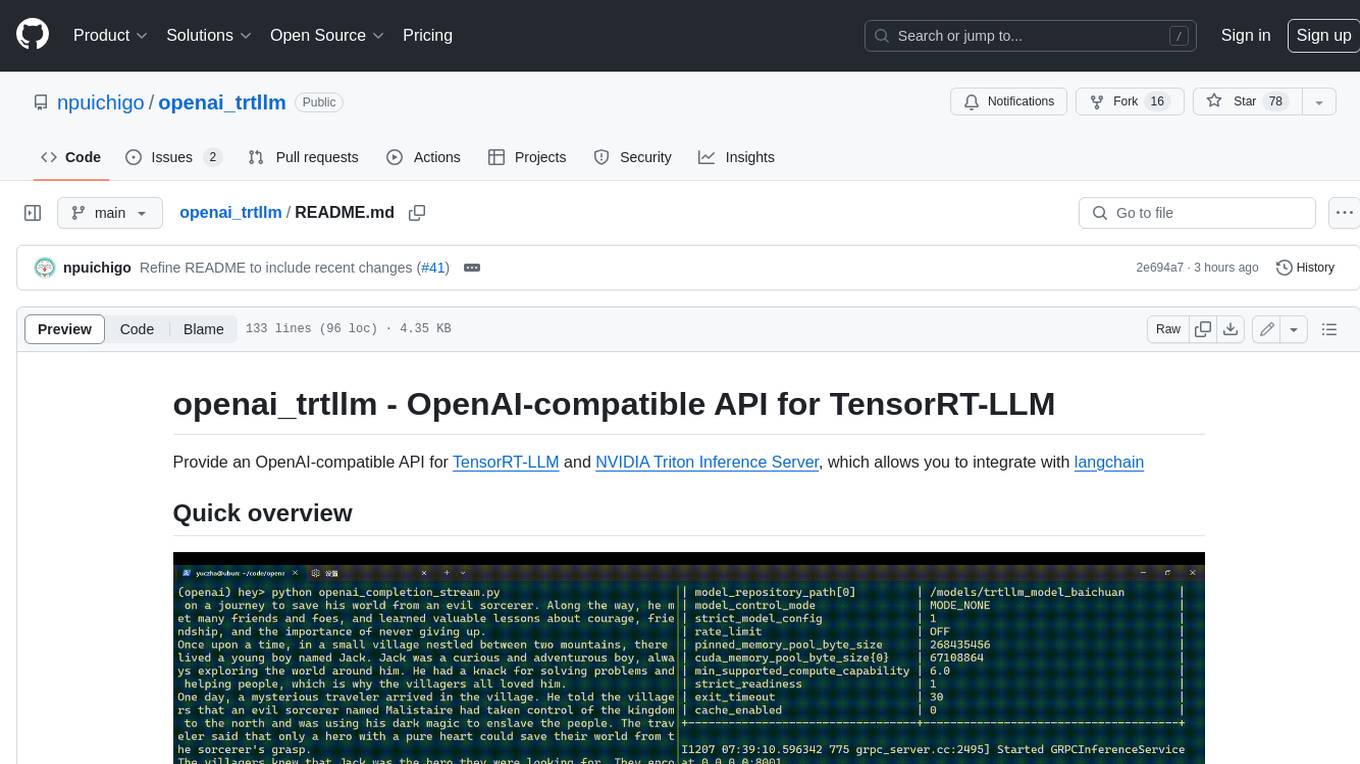
openai_trtllm
OpenAI-compatible API for TensorRT-LLM and NVIDIA Triton Inference Server, which allows you to integrate with langchain
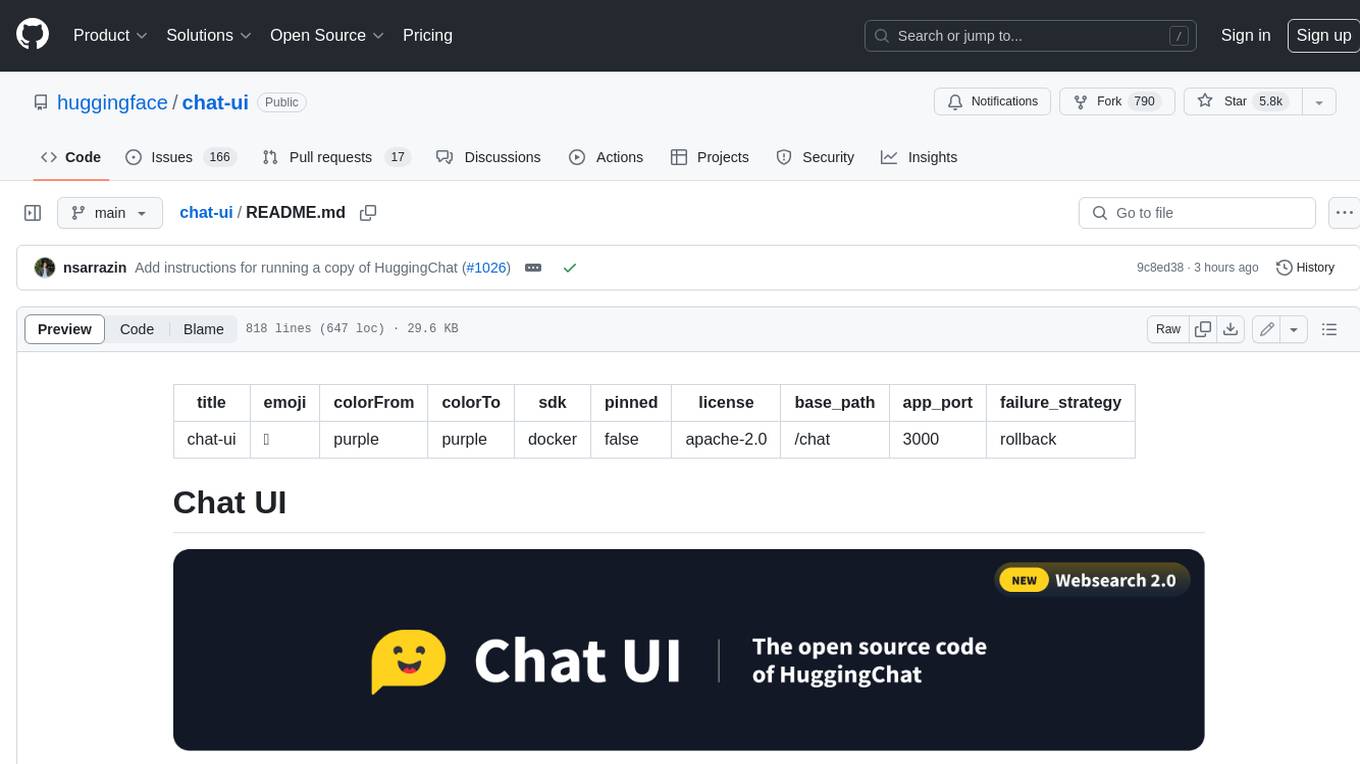
chat-ui
A chat interface using open source models, eg OpenAssistant or Llama. It is a SvelteKit app and it powers the HuggingChat app on hf.co/chat.
desktop
ComfyUI Desktop is a packaged desktop application that allows users to easily use ComfyUI with bundled features like ComfyUI source code, ComfyUI-Manager, and uv. It automatically installs necessary Python dependencies and updates with stable releases. The app comes with Electron, Chromium binaries, and node modules. Users can store ComfyUI files in a specified location and manage model paths. The tool requires Python 3.12+ and Visual Studio with Desktop C++ workload for Windows. It uses nvm to manage node versions and yarn as the package manager. Users can install ComfyUI and dependencies using comfy-cli, download uv, and build/launch the code. Troubleshooting steps include rebuilding modules and installing missing libraries. The tool supports debugging in VSCode and provides utility scripts for cleanup. Crash reports can be sent to help debug issues, but no personal data is included.

go-embeddings
This project provides API clients for fetching embeddings from various LLM providers. It includes implementations for OpenAI, Cohere, Google Vertex, VoyageAI, Ollama, and AWS Bedrock. Sample programs demonstrate how to use the client packages. The 'document' package offers text splitters inspired by Langchain framework. Environment variables are used to initialize API clients for each provider. Contributions are welcome.
For similar tasks
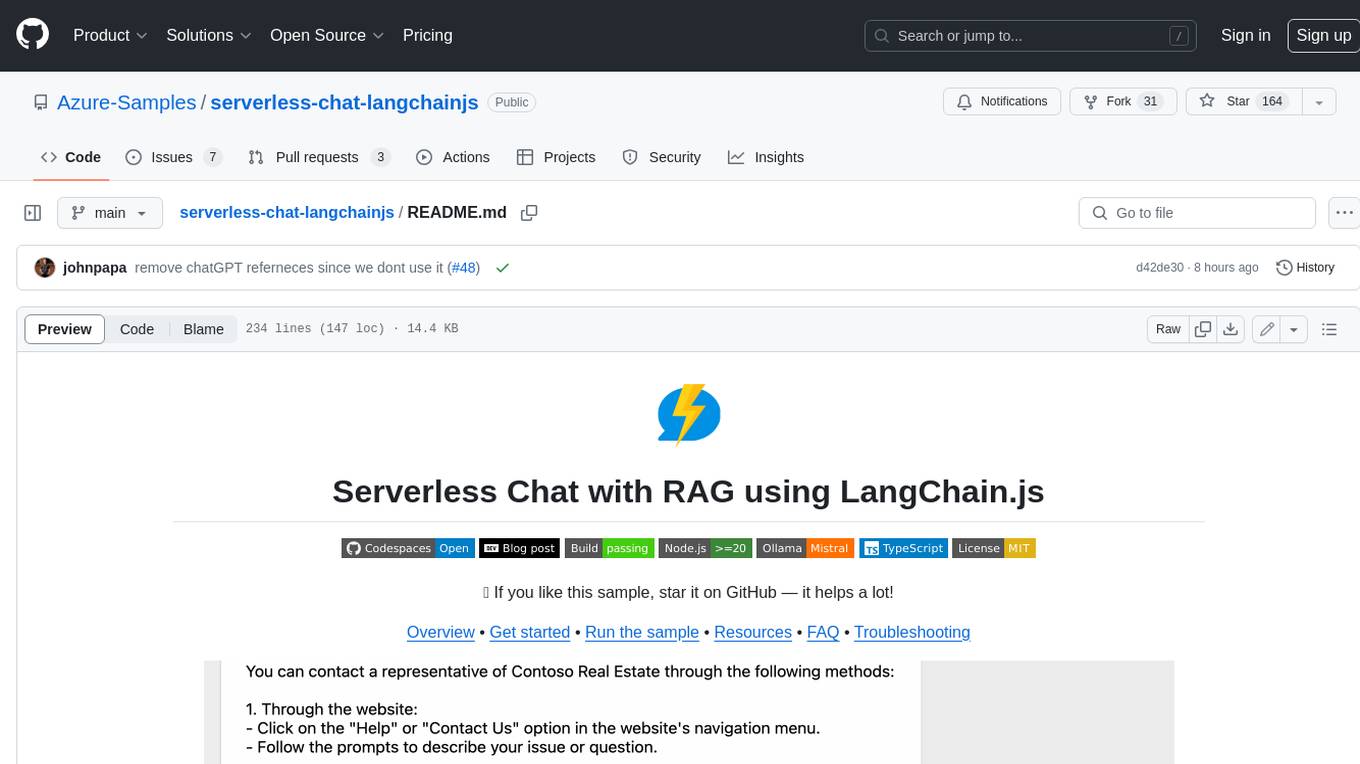
serverless-chat-langchainjs
This sample shows how to build a serverless chat experience with Retrieval-Augmented Generation using LangChain.js and Azure. The application is hosted on Azure Static Web Apps and Azure Functions, with Azure Cosmos DB for MongoDB vCore as the vector database. You can use it as a starting point for building more complex AI applications.
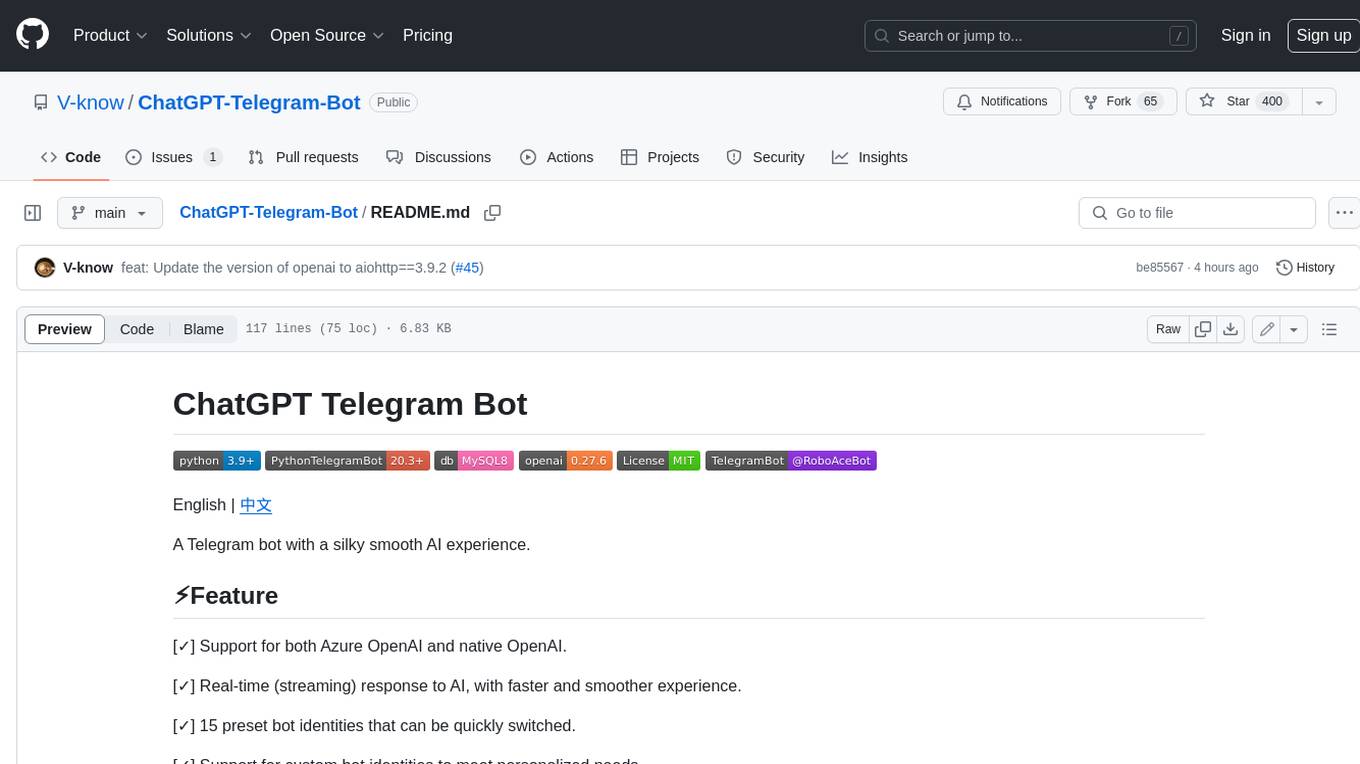
ChatGPT-Telegram-Bot
ChatGPT Telegram Bot is a Telegram bot that provides a smooth AI experience. It supports both Azure OpenAI and native OpenAI, and offers real-time (streaming) response to AI, with a faster and smoother experience. The bot also has 15 preset bot identities that can be quickly switched, and supports custom bot identities to meet personalized needs. Additionally, it supports clearing the contents of the chat with a single click, and restarting the conversation at any time. The bot also supports native Telegram bot button support, making it easy and intuitive to implement required functions. User level division is also supported, with different levels enjoying different single session token numbers, context numbers, and session frequencies. The bot supports English and Chinese on UI, and is containerized for easy deployment.
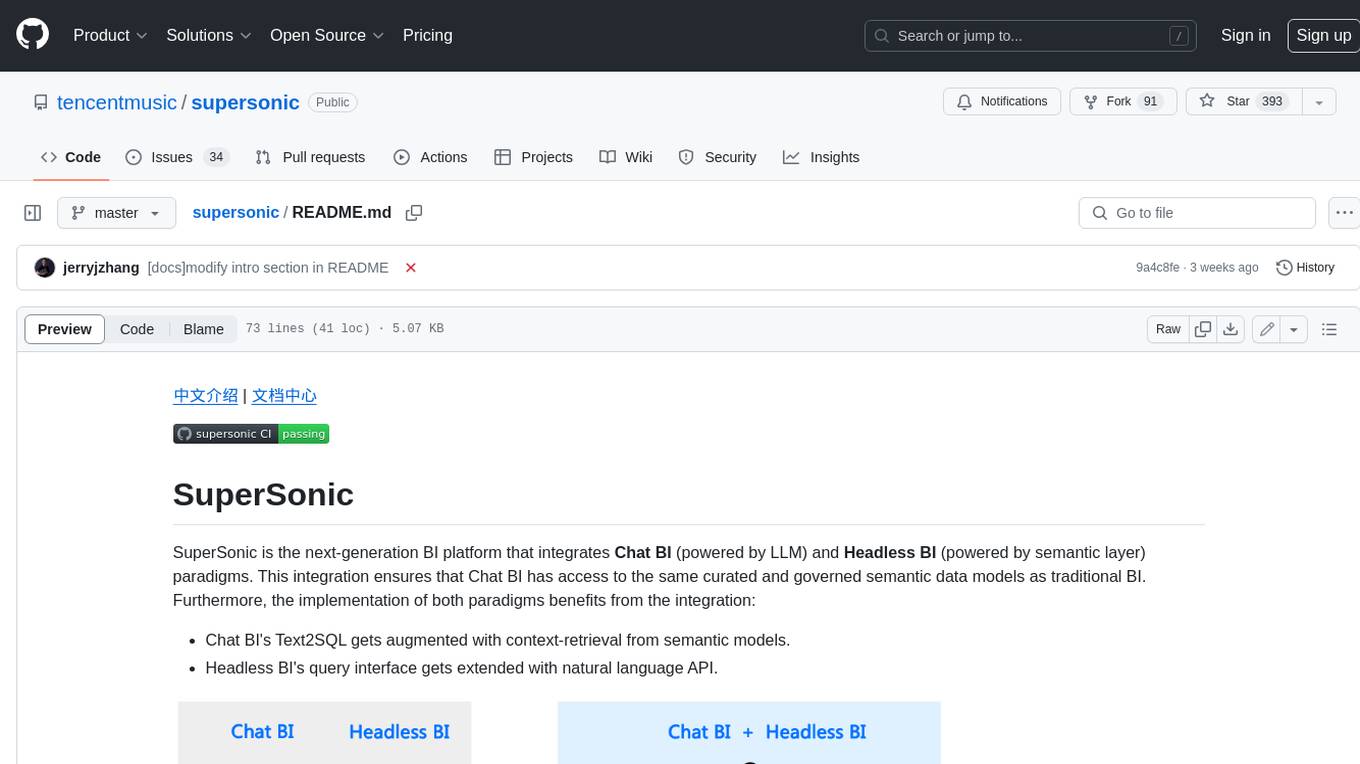
supersonic
SuperSonic is a next-generation BI platform that integrates Chat BI (powered by LLM) and Headless BI (powered by semantic layer) paradigms. This integration ensures that Chat BI has access to the same curated and governed semantic data models as traditional BI. Furthermore, the implementation of both paradigms benefits from the integration: * Chat BI's Text2SQL gets augmented with context-retrieval from semantic models. * Headless BI's query interface gets extended with natural language API. SuperSonic provides a Chat BI interface that empowers users to query data using natural language and visualize the results with suitable charts. To enable such experience, the only thing necessary is to build logical semantic models (definition of metric/dimension/tag, along with their meaning and relationships) through a Headless BI interface. Meanwhile, SuperSonic is designed to be extensible and composable, allowing custom implementations to be added and configured with Java SPI. The integration of Chat BI and Headless BI has the potential to enhance the Text2SQL generation in two dimensions: 1. Incorporate data semantics (such as business terms, column values, etc.) into the prompt, enabling LLM to better understand the semantics and reduce hallucination. 2. Offload the generation of advanced SQL syntax (such as join, formula, etc.) from LLM to the semantic layer to reduce complexity. With these ideas in mind, we develop SuperSonic as a practical reference implementation and use it to power our real-world products. Additionally, to facilitate further development we decide to open source SuperSonic as an extensible framework.
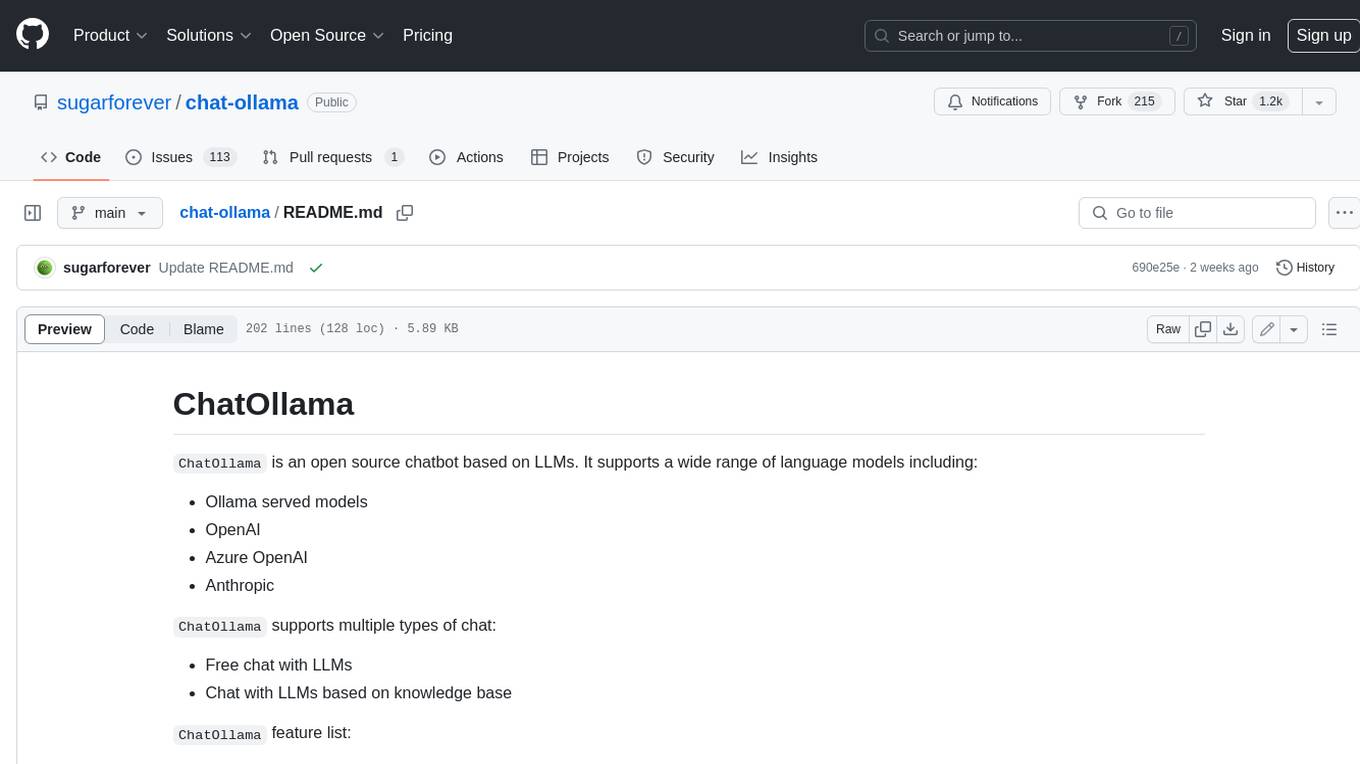
chat-ollama
ChatOllama is an open-source chatbot based on LLMs (Large Language Models). It supports a wide range of language models, including Ollama served models, OpenAI, Azure OpenAI, and Anthropic. ChatOllama supports multiple types of chat, including free chat with LLMs and chat with LLMs based on a knowledge base. Key features of ChatOllama include Ollama models management, knowledge bases management, chat, and commercial LLMs API keys management.
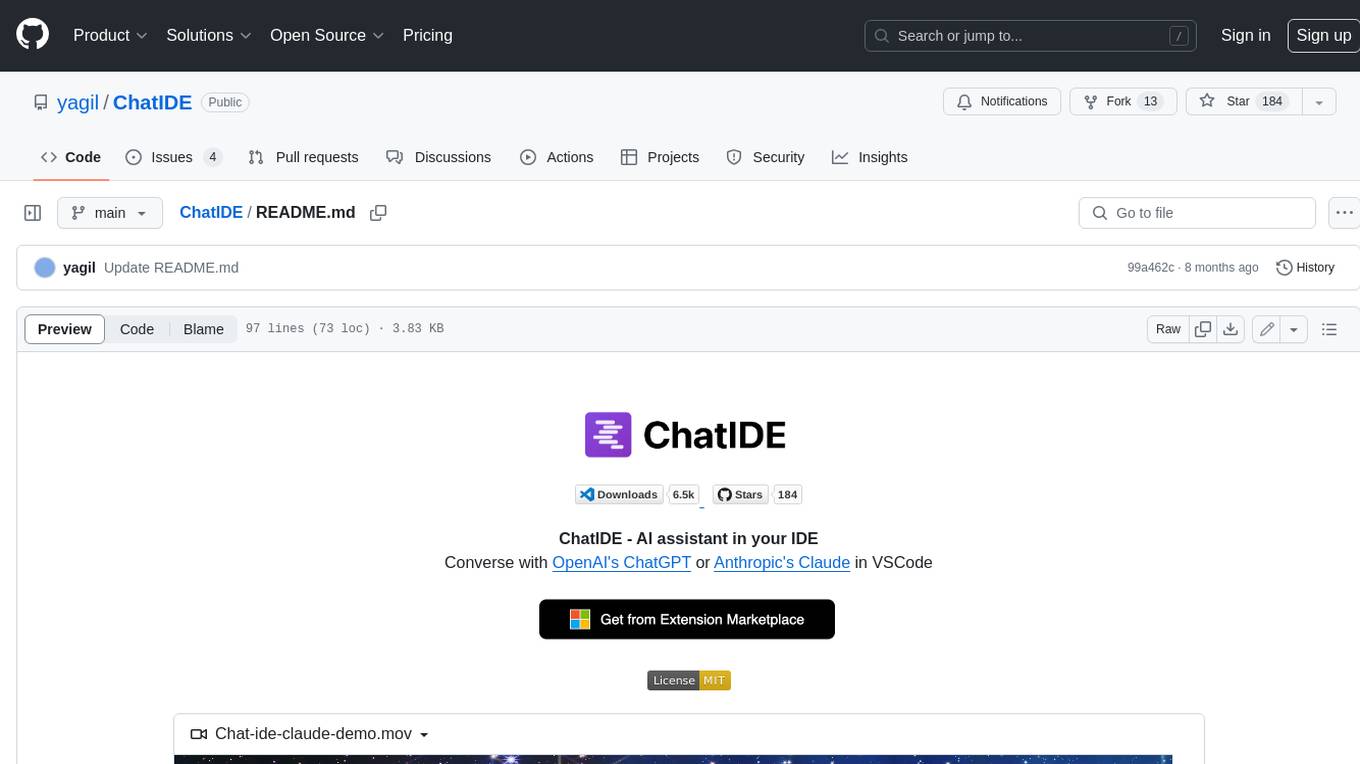
ChatIDE
ChatIDE is an AI assistant that integrates with your IDE, allowing you to converse with OpenAI's ChatGPT or Anthropic's Claude within your development environment. It provides a seamless way to access AI-powered assistance while coding, enabling you to get real-time help, generate code snippets, debug errors, and brainstorm ideas without leaving your IDE.
azure-search-openai-javascript
This sample demonstrates a few approaches for creating ChatGPT-like experiences over your own data using the Retrieval Augmented Generation pattern. It uses Azure OpenAI Service to access the ChatGPT model (gpt-35-turbo), and Azure AI Search for data indexing and retrieval.
xiaogpt
xiaogpt is a tool that allows you to play ChatGPT and other LLMs with Xiaomi AI Speaker. It supports ChatGPT, New Bing, ChatGLM, Gemini, Doubao, and Tongyi Qianwen. You can use it to ask questions, get answers, and have conversations with AI assistants. xiaogpt is easy to use and can be set up in a few minutes. It is a great way to experience the power of AI and have fun with your Xiaomi AI Speaker.
googlegpt
GoogleGPT is a browser extension that brings the power of ChatGPT to Google Search. With GoogleGPT, you can ask ChatGPT questions and get answers directly in your search results. You can also use GoogleGPT to generate text, translate languages, and more. GoogleGPT is compatible with all major browsers, including Chrome, Firefox, Edge, and Safari.
For similar jobs
sweep
Sweep is an AI junior developer that turns bugs and feature requests into code changes. It automatically handles developer experience improvements like adding type hints and improving test coverage.
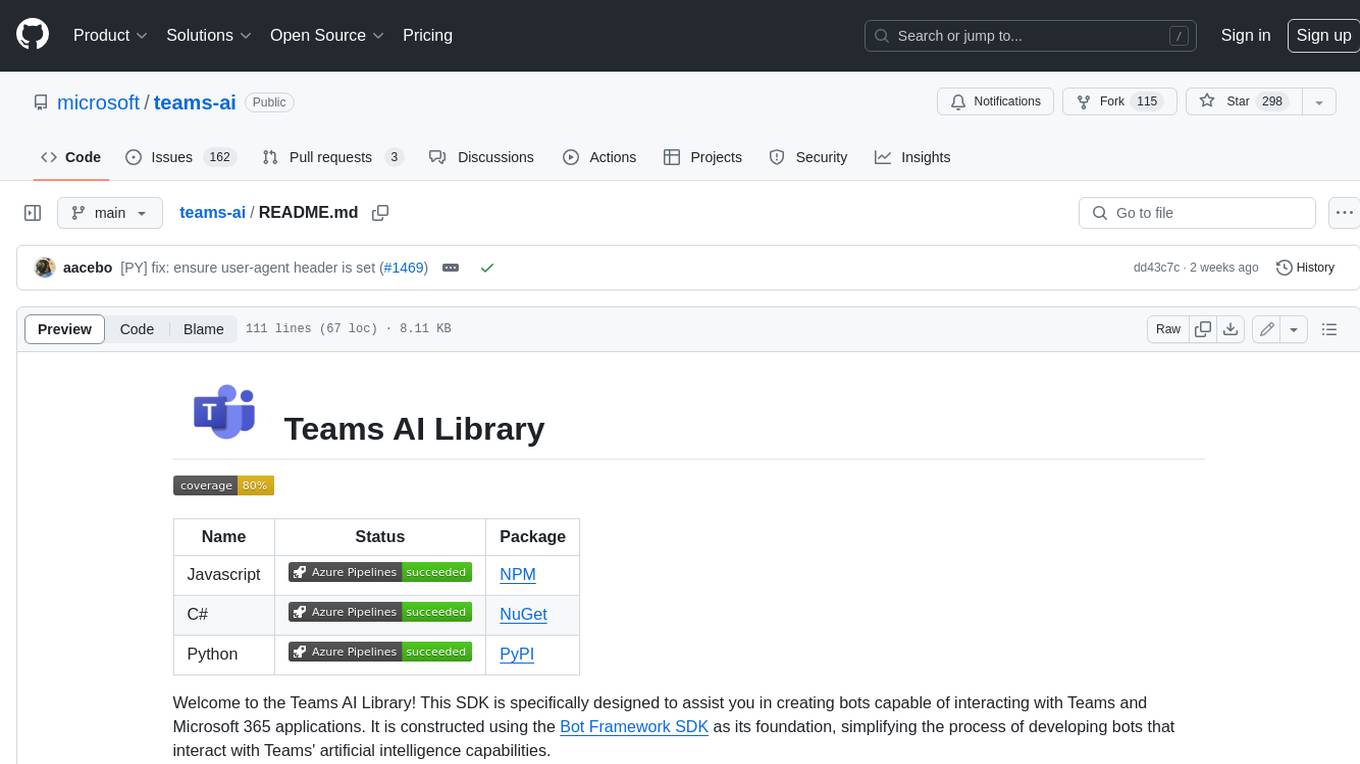
teams-ai
The Teams AI Library is a software development kit (SDK) that helps developers create bots that can interact with Teams and Microsoft 365 applications. It is built on top of the Bot Framework SDK and simplifies the process of developing bots that interact with Teams' artificial intelligence capabilities. The SDK is available for JavaScript/TypeScript, .NET, and Python.
ai-guide
This guide is dedicated to Large Language Models (LLMs) that you can run on your home computer. It assumes your PC is a lower-end, non-gaming setup.
classifai
Supercharge WordPress Content Workflows and Engagement with Artificial Intelligence. Tap into leading cloud-based services like OpenAI, Microsoft Azure AI, Google Gemini and IBM Watson to augment your WordPress-powered websites. Publish content faster while improving SEO performance and increasing audience engagement. ClassifAI integrates Artificial Intelligence and Machine Learning technologies to lighten your workload and eliminate tedious tasks, giving you more time to create original content that matters.
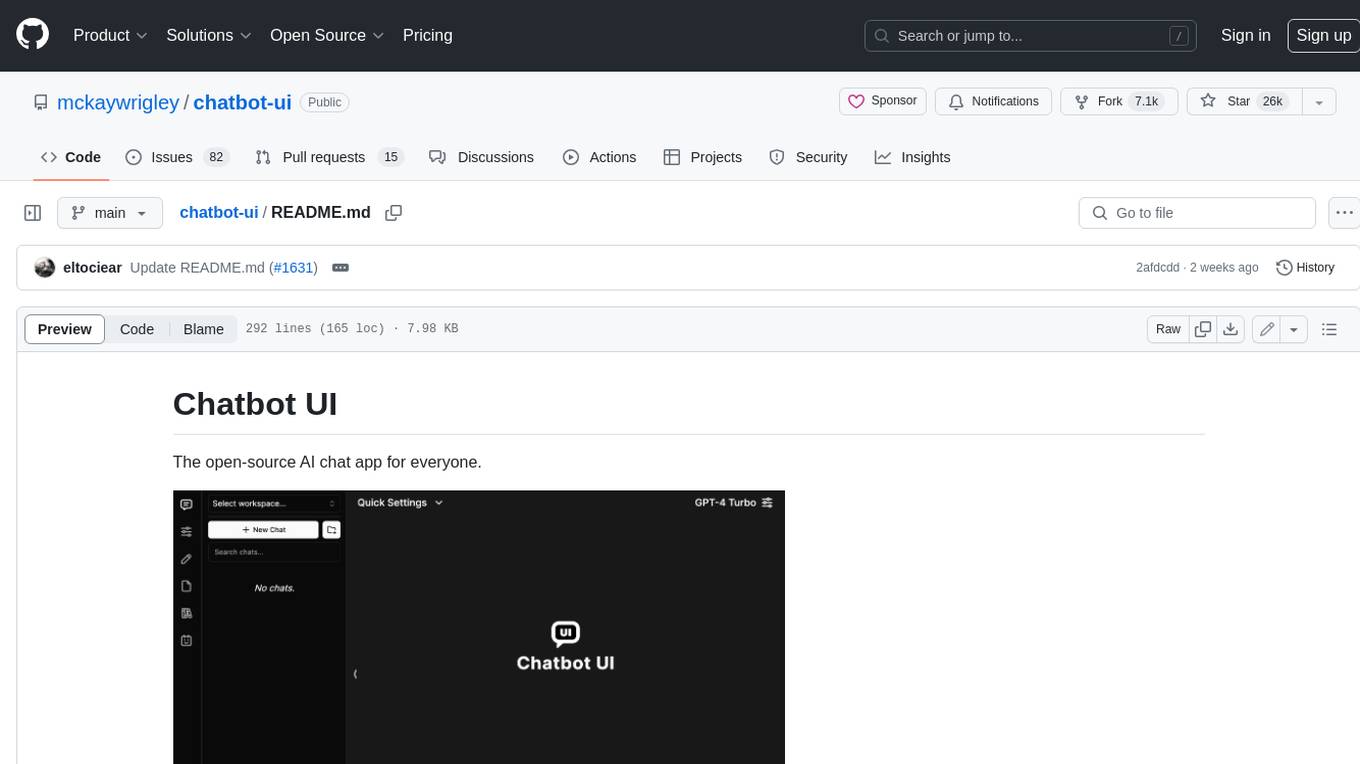
chatbot-ui
Chatbot UI is an open-source AI chat app that allows users to create and deploy their own AI chatbots. It is easy to use and can be customized to fit any need. Chatbot UI is perfect for businesses, developers, and anyone who wants to create a chatbot.
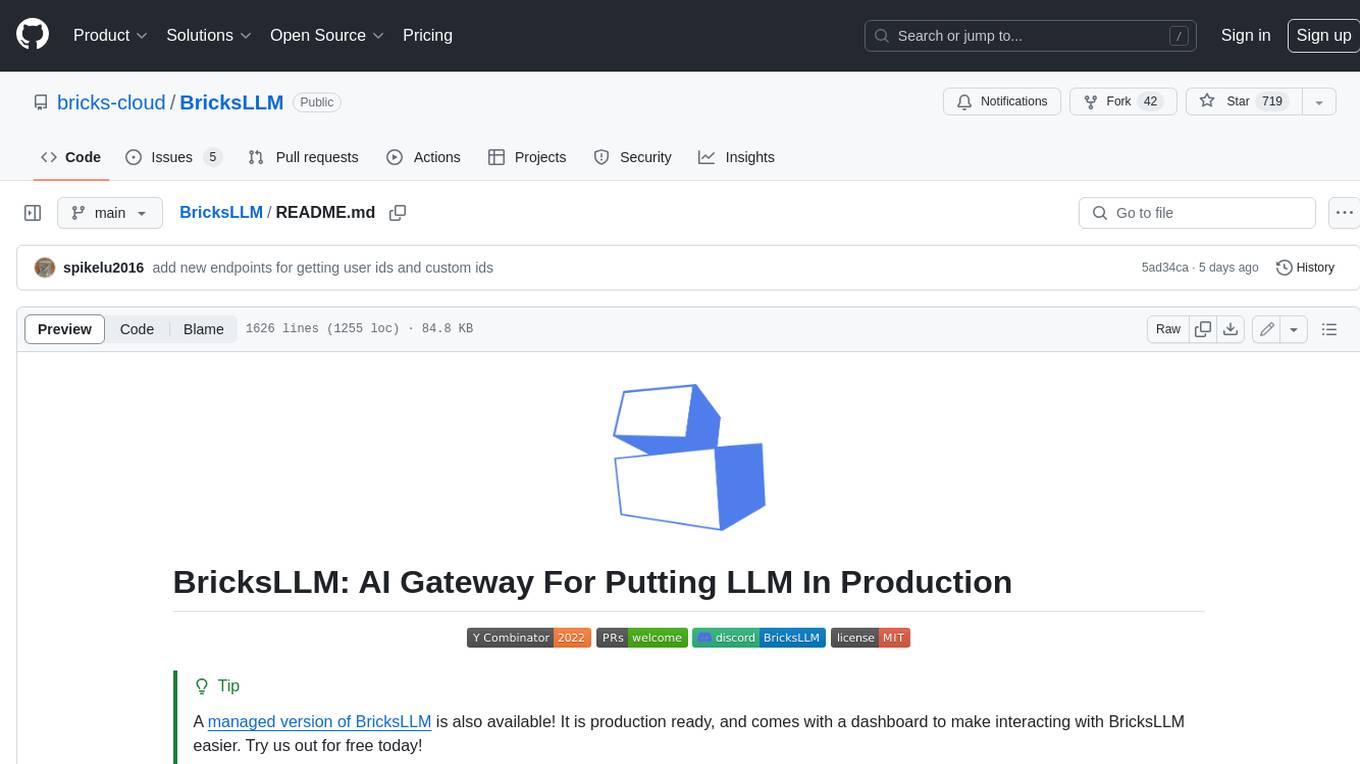
BricksLLM
BricksLLM is a cloud native AI gateway written in Go. Currently, it provides native support for OpenAI, Anthropic, Azure OpenAI and vLLM. BricksLLM aims to provide enterprise level infrastructure that can power any LLM production use cases. Here are some use cases for BricksLLM: * Set LLM usage limits for users on different pricing tiers * Track LLM usage on a per user and per organization basis * Block or redact requests containing PIIs * Improve LLM reliability with failovers, retries and caching * Distribute API keys with rate limits and cost limits for internal development/production use cases * Distribute API keys with rate limits and cost limits for students
uAgents
uAgents is a Python library developed by Fetch.ai that allows for the creation of autonomous AI agents. These agents can perform various tasks on a schedule or take action on various events. uAgents are easy to create and manage, and they are connected to a fast-growing network of other uAgents. They are also secure, with cryptographically secured messages and wallets.
griptape
Griptape is a modular Python framework for building AI-powered applications that securely connect to your enterprise data and APIs. It offers developers the ability to maintain control and flexibility at every step. Griptape's core components include Structures (Agents, Pipelines, and Workflows), Tasks, Tools, Memory (Conversation Memory, Task Memory, and Meta Memory), Drivers (Prompt and Embedding Drivers, Vector Store Drivers, Image Generation Drivers, Image Query Drivers, SQL Drivers, Web Scraper Drivers, and Conversation Memory Drivers), Engines (Query Engines, Extraction Engines, Summary Engines, Image Generation Engines, and Image Query Engines), and additional components (Rulesets, Loaders, Artifacts, Chunkers, and Tokenizers). Griptape enables developers to create AI-powered applications with ease and efficiency.

